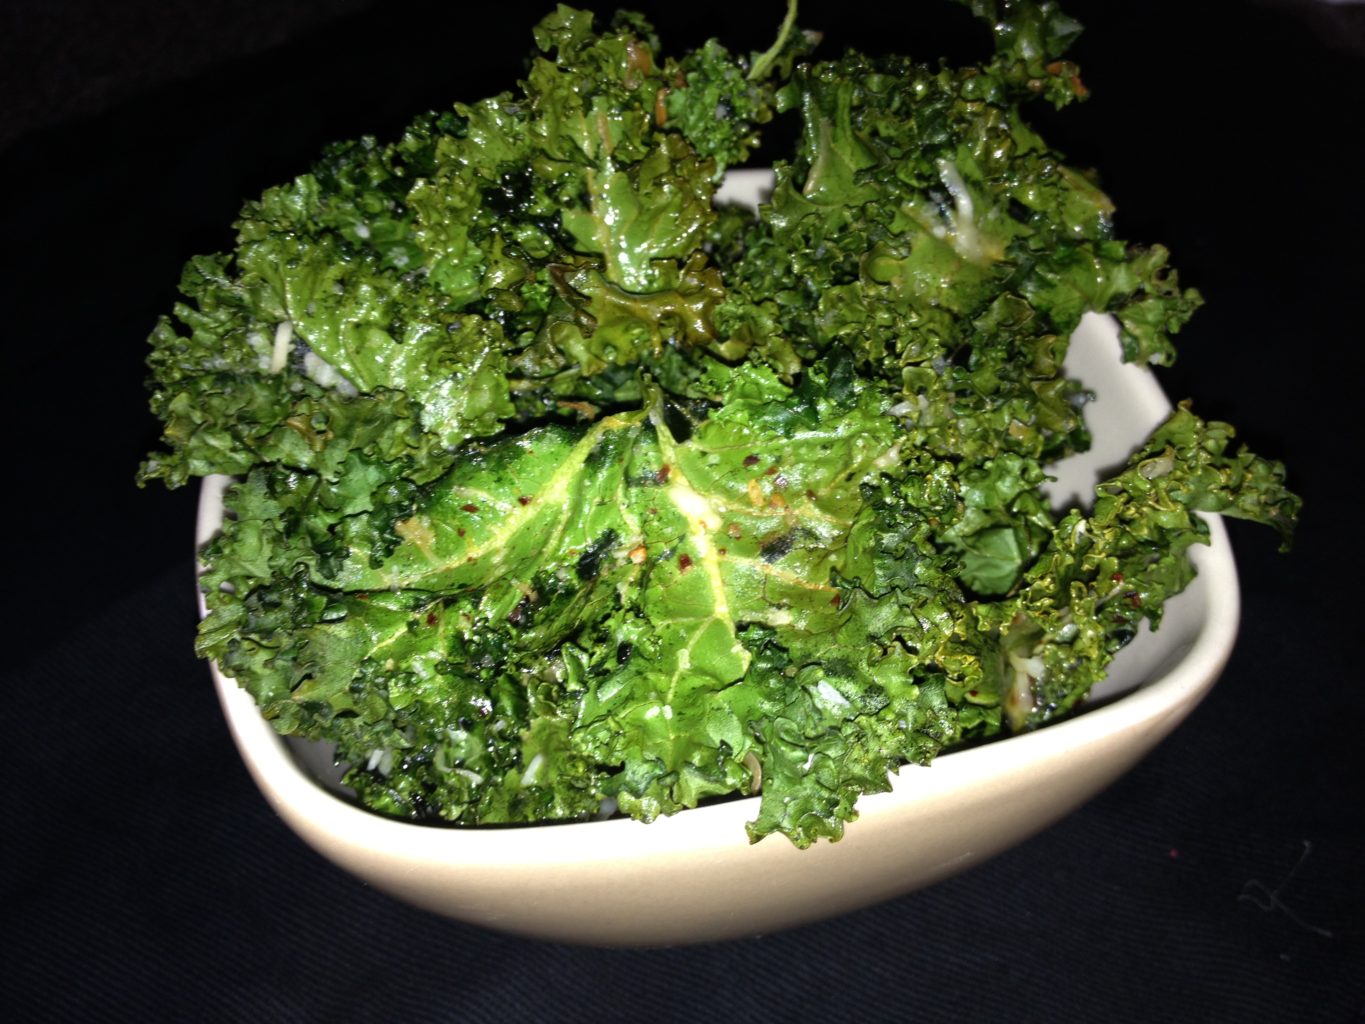

Baked Kale Chips – A Delicious, Highly Nutritious, Low Calorie, Easy to Make Snack!
Are you missing that crunchy and slightly salty taste of potato chips, but don’t want the amount of fat and calories that goes in to making them? Well, have no …
Are you missing that crunchy and slightly salty taste of potato chips, but don’t want the amount of fat and calories that goes in to making them? Well, have no …
There is nothing quite like planning the garden to make you ready for spring to hurry up and get here! So this past week, as we watched December’s snow melt …
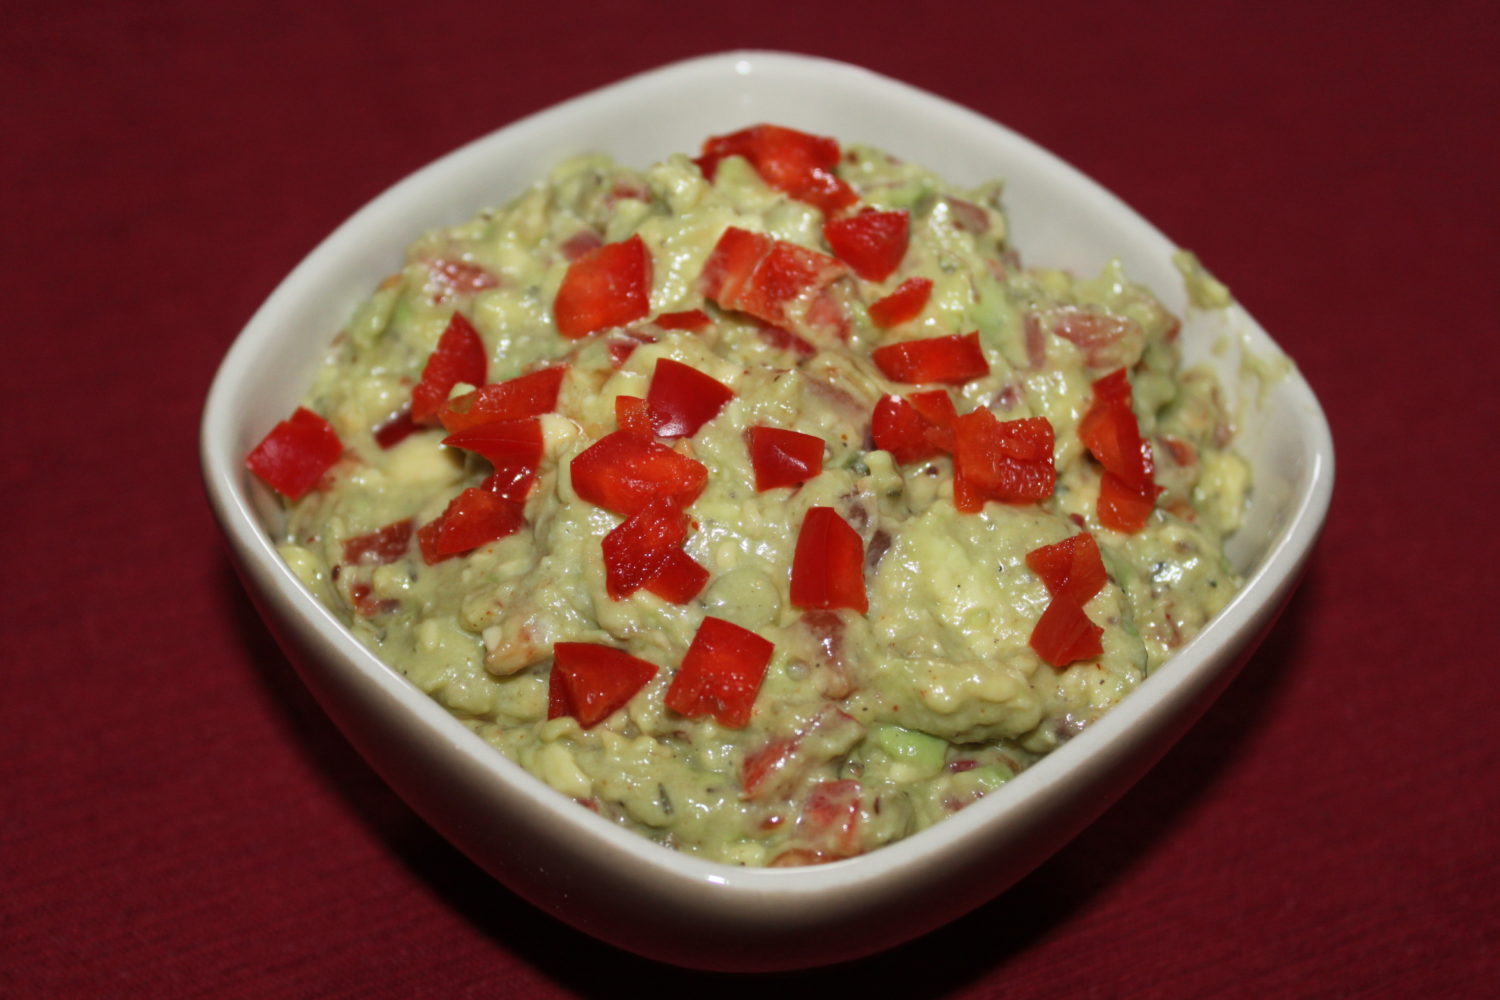

As the new year begins, many people vow to eat more fruits and vegetables and become healthier for 2013. We all know the benefits of eating a diet heavy in …
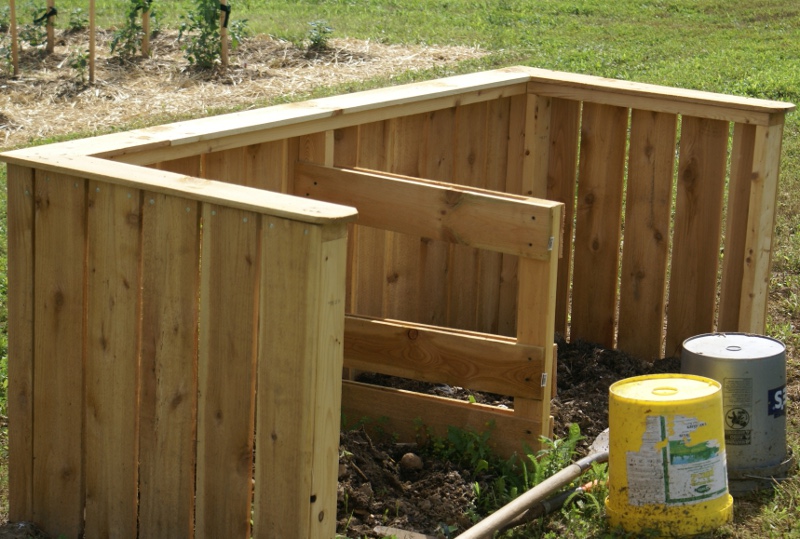

There are few things that can make your garden more successful than compost. Compost, or “Black Gold” as it is so often called, improves soil vitality and structure – and …