If you are looking to turn a drab concrete floor into a beautiful, elegant and durable finished surface – using acid stain is the answer!
Not only can the look be absolutely stunning, it can also save you thousands of dollars in flooring costs. Even better, once created, it forms an extremely tough and nearly indestructible floor. And, one that also happens to be one of the easiest floor surfaces of all to maintain.
One of the best decisions we ever made when building our original farmhouse back in 2016 was to use acid stain on our concrete slab floors.
It created both a beautiful and durable surface for the interior spaces of our home. It was also surprisingly easy to tackle ourselves. Even more, it allowed us to save big on our budget by not having to purchase any final flooring for the house.
In fact, other than the price of a few large area rugs to soften the space – the cost of the acid stain and sealer was it!
So when it came to designing and building the barndominium and our cabin projects at the farm this year, we knew that concrete floors and acid staining would again be a major part of the plan for both! See: The Barndominium Project
The Advantages Of Using Acid Stain
Acid stains have a big advantage over floor paints and traditional stains. They are actually not a true “stain” as the name implies. Instead, the acid reacts chemically with the minerals in the concrete to etch a permanent color into the surface.
This gives it an upper hand over painting or staining a floor. Most notably, that the color is not a coating, but a permanent stain burned into the floor through a chemical reaction.

That, of course, means the floor will not chip or peel like paint or stain often can. And once a sealer or wax is applied, the floor becomes nearly damage proof. In fact, the only maintenance needed is an occasional coat of sealer every few years to keep the sheen of the floor desired!
So how does it all work? And just how easy is it to apply? With those questions in mind, here is a look at the four simple steps to creating your own gorgeous, acid-stained concrete floors!
How To Acid Stain Concrete Floors – 4 Simple Steps To Success!
Acid Staining Existing vs New Concrete Floors
Before we get into the 4 basic “how-to” steps of acid staining concrete, it is important to cover a few important topics relating to the concrete you will be staining.
First and foremost, acid stain will work best on newer concrete or concrete that has never been sealed. If a paint or sealer has been used, it will have to be removed for the stain to work.
Furthermore, if a muriatic acid has been used to clean the floor, it unfortunately probably removed the minerals in the floor needed for the acid stain to etch its color into the surface.

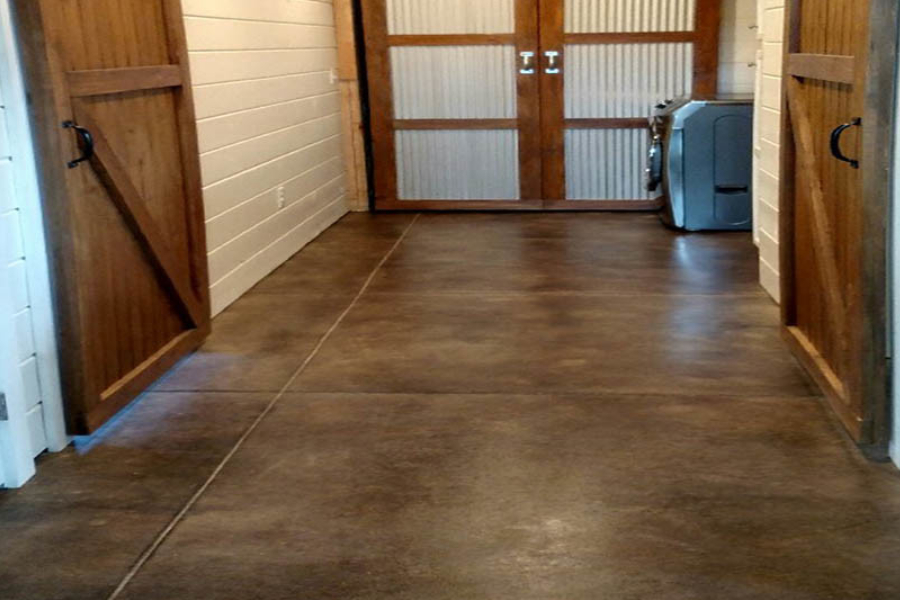
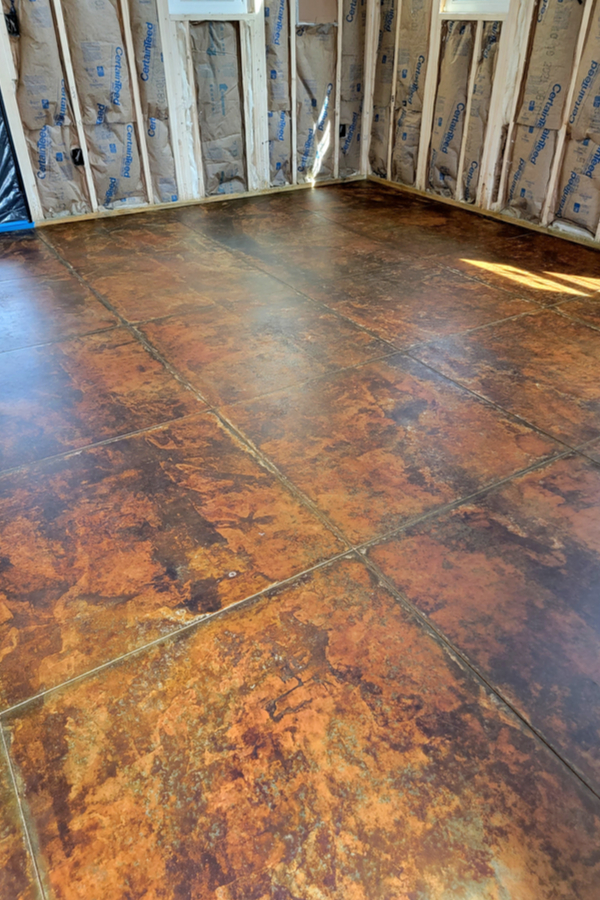
We knew we would be using acid stain on our floors, so we left them unsealed after the pour. We also took one extra step and had our concrete scored into 3′ x 3′ tiles when they cut it for expansion joints. This allows for the finished floor to look like large “marbled” tiles when stained.
With new concrete, you need to let the floor cure for about a month. If you apply the stain too soon, the chemicals in the new concrete will not react well with the stain. If you are staining old concrete, the most important thing of all is to make sure there is no sealer on top.
#1 Prepping The Floor
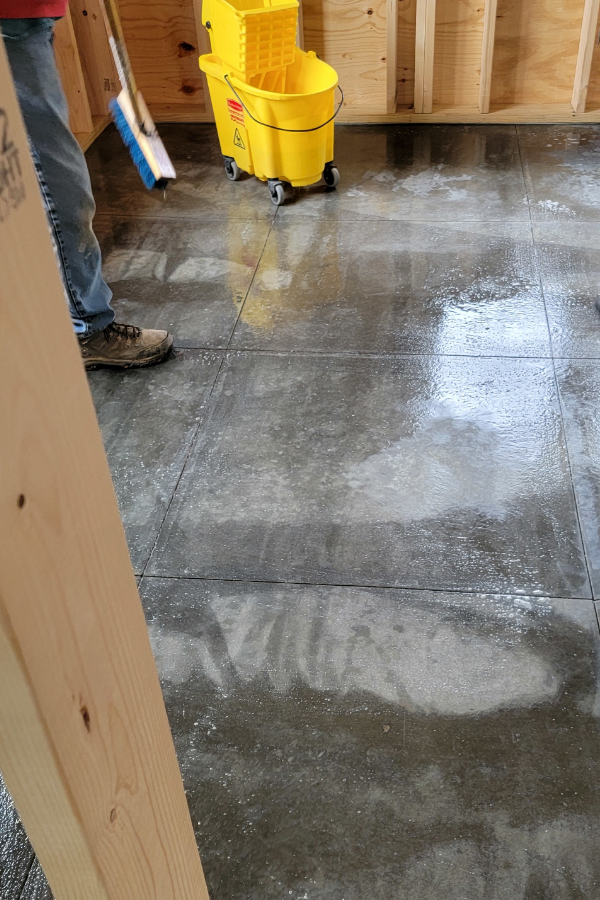
Cleaning and prepping the concrete surface before applying the acid stain is absolutely vital to success. Dirt, grease or grime will repel stain from reacting. These particles can leave spots, unwanted streaks, or keep the stain from entirely penetrating.
Start by mopping the surface with a mild dish detergent. A simple solution of basic dish soap and water will work well to clean the floor. For grease spots or stubborn stains, use a concrete spot de-greaser to lift out the stain.
Avoid any harsh chemicals that could keep the acid from reacting with the concrete. If you have a large surface, or for floors that have excessive dirt and grime, you may want to consider renting a power floor cleaner.
Do not use muriatic acid or other acids to clean the floor. As noted above, this will keep your acid stain from working. Once the floor has been cleaned, rinse and mop the entire surface one final time.
This will help to remove any soap residue that might remain. Finally, before staining, protect all of the wall surfaces with plastic and tape.
It’s best to protect up to at least 12 to 24″ to avoid getting acid stain on the walls. With only the studs up on our project, it certainly made the process easier not having to worry about drywall or wood wall trim!
#2 Applying The Stain
Before working with acid stain, it’s important to have the proper safety gear on hand for personal protection.
That includes protective goggles, gloves, rubber boots and a mask. It is an acid, so taking precautions to keep it away from your skin and eyes is extremely important. Once you have your safety gear on, its time to get to work!
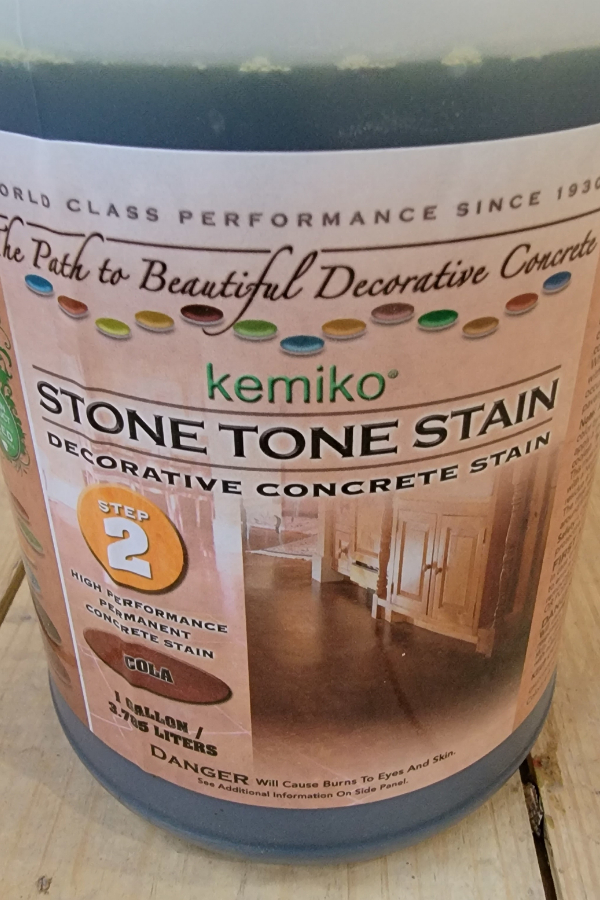
Carefully pour your acid into the pump sprayer. You can control the color intensity by diluting the stain with distilled water. For our new barndominium and cabin projects, we selected the Cola color stain from Kemiko. Product Link : (Cola Acid Stain – Kemiko brand)
The effect or coloring of acid stains can be altered by diluting with water. To get the color we liked most, our stain was mixed 50/50 with water. It is best to trial the stain with a spray bottle in a few areas that will be inconspicuous.
The Process – How To Acid Stain Concrete Floors
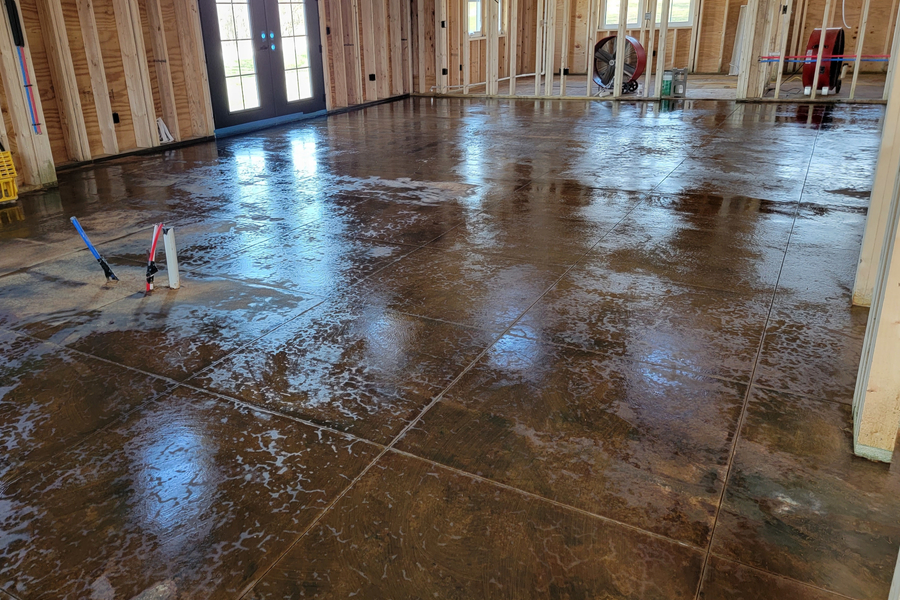
Once you have the mix and look you like, you can begin to spray the entire floor. Starting from the back of the space, apply the stain liberally, thoroughly coating the surface. For corners and tight spaces, use a brush to apply stain.
While one person sprays, have a second person on hand with a stiff push broom to help rub the stain into the surface. Rub the stain in small random motions to drive the stain into the concrete and still keep the random look.
Now it’s time to step back and let the acid do the work. At this point, you will likely worry the color is not what you thought it would be. Don’t worry! The true color will occur once the sealer goes on. We had that exact experience when doing ours at the original farmhouse and it certainly scared us at first!
The longer you leave the stain on, the deeper and darker the colors will be. Usually somewhere between 4 and 6 hours is best, but the look is entirely up to the user.
#3 Deactivating The Acid Stain – How To Acid Stain Concrete Floors
Once 4 to 6 hours have passed, its time to deactivate the acid stain. You can make your deactivating solution with a ratio of 2 cups of baking soda and 5 gallons of water. They also make de-activators for purchase as well.
Mix thoroughly and apply to the floor, mopping it as you go. The baking soda stops the acid process from etching the floor.
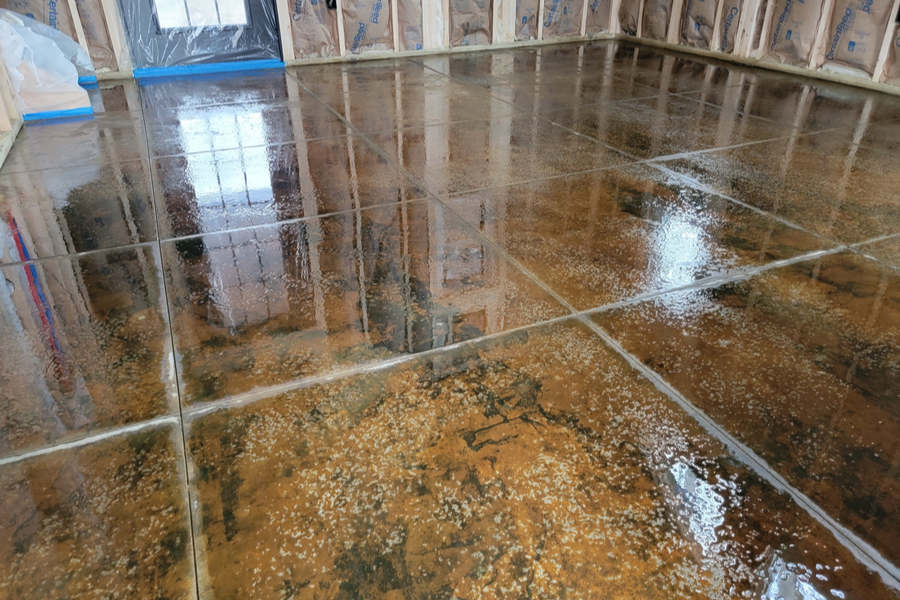
As one person applies the baking soda/water mixture, have a second person go behind with a shop vac to suck up the water from the surface. Repeat and rinse with plain water two more times to remove any final residue.
It is at this stage when the water is put on to clean that you will start to see what the floor will look like when sealed.
#4 Sealing – How To Acid Stain Concrete Floors
Once the floor has dried from your final rinse, it’s time to seal. This is the final step that will give your acid stain its final look and shine. It is best to allow your floor a day or so to completely dry before sealing.
There are a lot of concrete sealers and waxes available, so make sure before applying you choose a sealer compatible with your acid stain of choice. You can get everything from a high gloss “wet-look” to semi-gloss and even matte finishes. Again, it’s all about personal preference.
Using a roller, you will want to apply a minimum of two coats of sealer. Again, for tight spaces and corners, apply the sealer with a brush. Allow the floor to dry to the touch between coats. Once complete, it’s best to allow at least 24 hours to dry completely before foot traffic.
Once the floor is dry, it will be able to handle decades of use and abuse with ease! A coat of sealer every few years will be more than enough to keep your floors looking great. Here is to trying your hand at using acid stains to create a beautiful concrete floor! Jim & Mary.
Jim and Mary Competti have been writing gardening, DIY and recipe articles and books for over 15 years from their 46 acre Ohio farm. The two are frequent speakers on all things gardening and love to travel in their spare time.
As always, feel free to email us at thefarm@owgarden.com with comments, questions, or to simply say hello! You can sign up for our free email list in the subscribe now box in the middle of this article. Follow us on Facebook here : OWG Facebook. This article may contain affiliate links.

