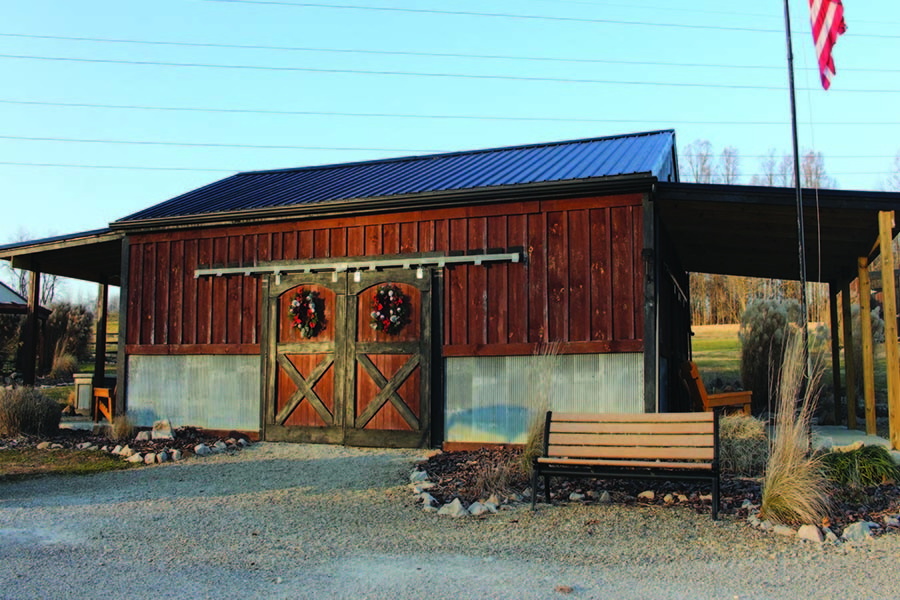
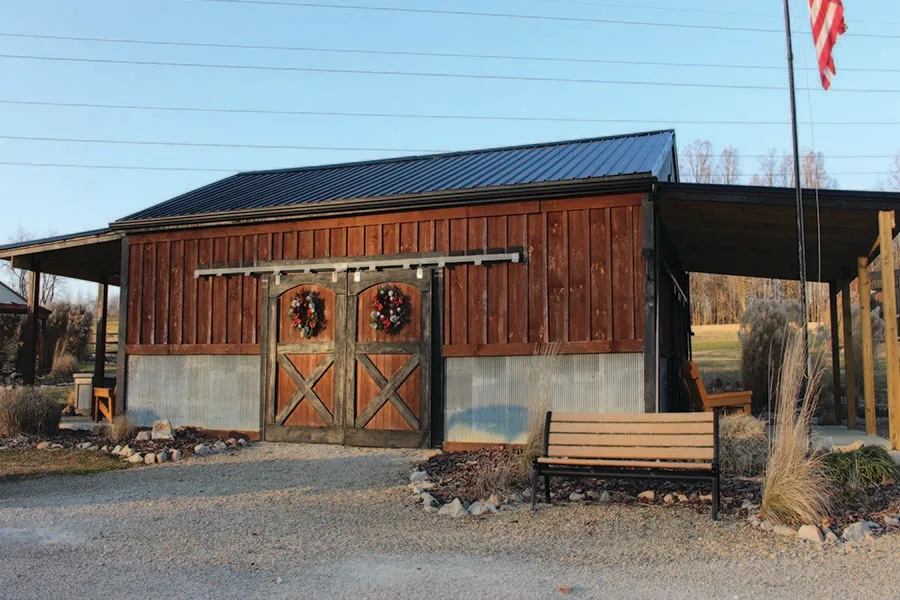
Finding A New Life For An Old Barn – Keeping A Family Treasure Alive
There is nothing in the world like the charm and aged beauty of an old barn. Especially one that has been in the family for more than 100 years. Our …
There is nothing in the world like the charm and aged beauty of an old barn. Especially one that has been in the family for more than 100 years. Our …
Well – #25 finally got crossed off the list! Host a Barn Party. We had our first of what we hope will become an annual barn party event for our …
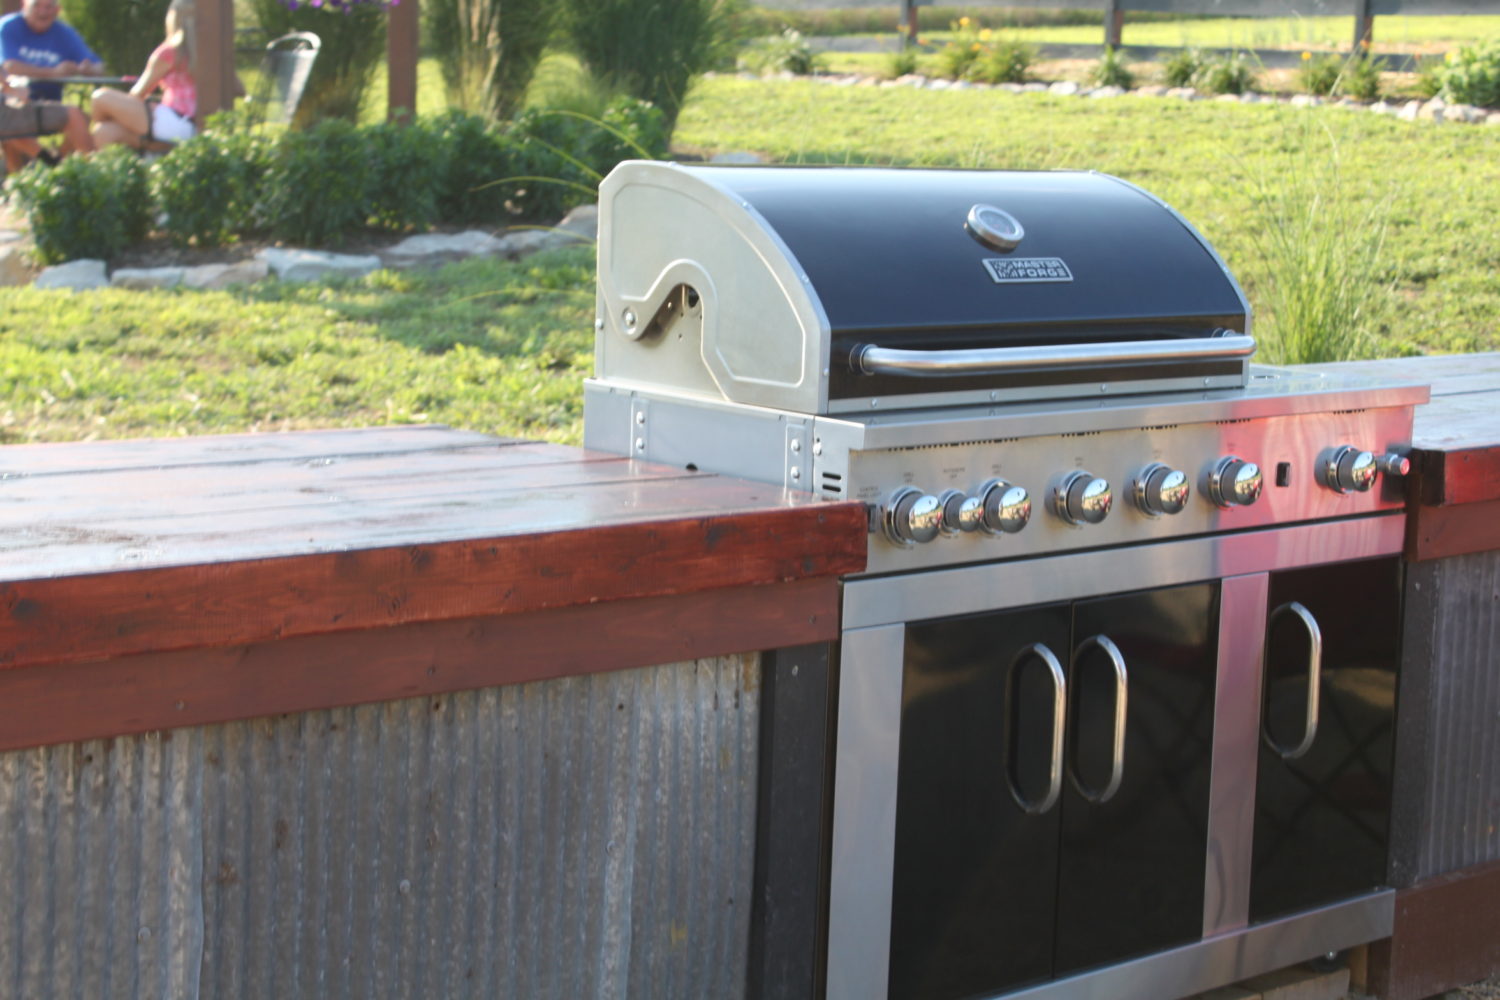
The Rustic Outdoor Kitchen Project With the barn party deadline looming for a party when we first built the barn – we needed to come up with a plan for our finishing …
Nothing will quite make you finish up projects like hosting a party. The barn table project has been on the “to-do” list for sometime and was one of our “TOP …
100% nuts! Looking back – that’s what we were! The idea came with a simple pencil drawing over the winter of 2010-2011. It was what we hoped would someday become …
We have used pallet wood and the left over barn wood from the two barns we tore down to do just about everything. This past week – Mary came up …
One of our “Top 30” goals for 2012 was to resurrect the old flag pole that used to fly at my Mom and Dad’s house. My dad had built the …
Finally! Something that we are going to see. After the last few weeks of digging ditches and drains and a whole lot of work that only gets buried – we …
Over the last year – we have all but become best friends with Bob, the owner of our local tool rental shop. It seems like every other week there is …
Yesterday was a great day for the family. Each and every year – my four sisters, brother, spouses, nieces, nephews and even great grand children gather up at my moms …