
The Recycled Chicken Coop Pallet Project
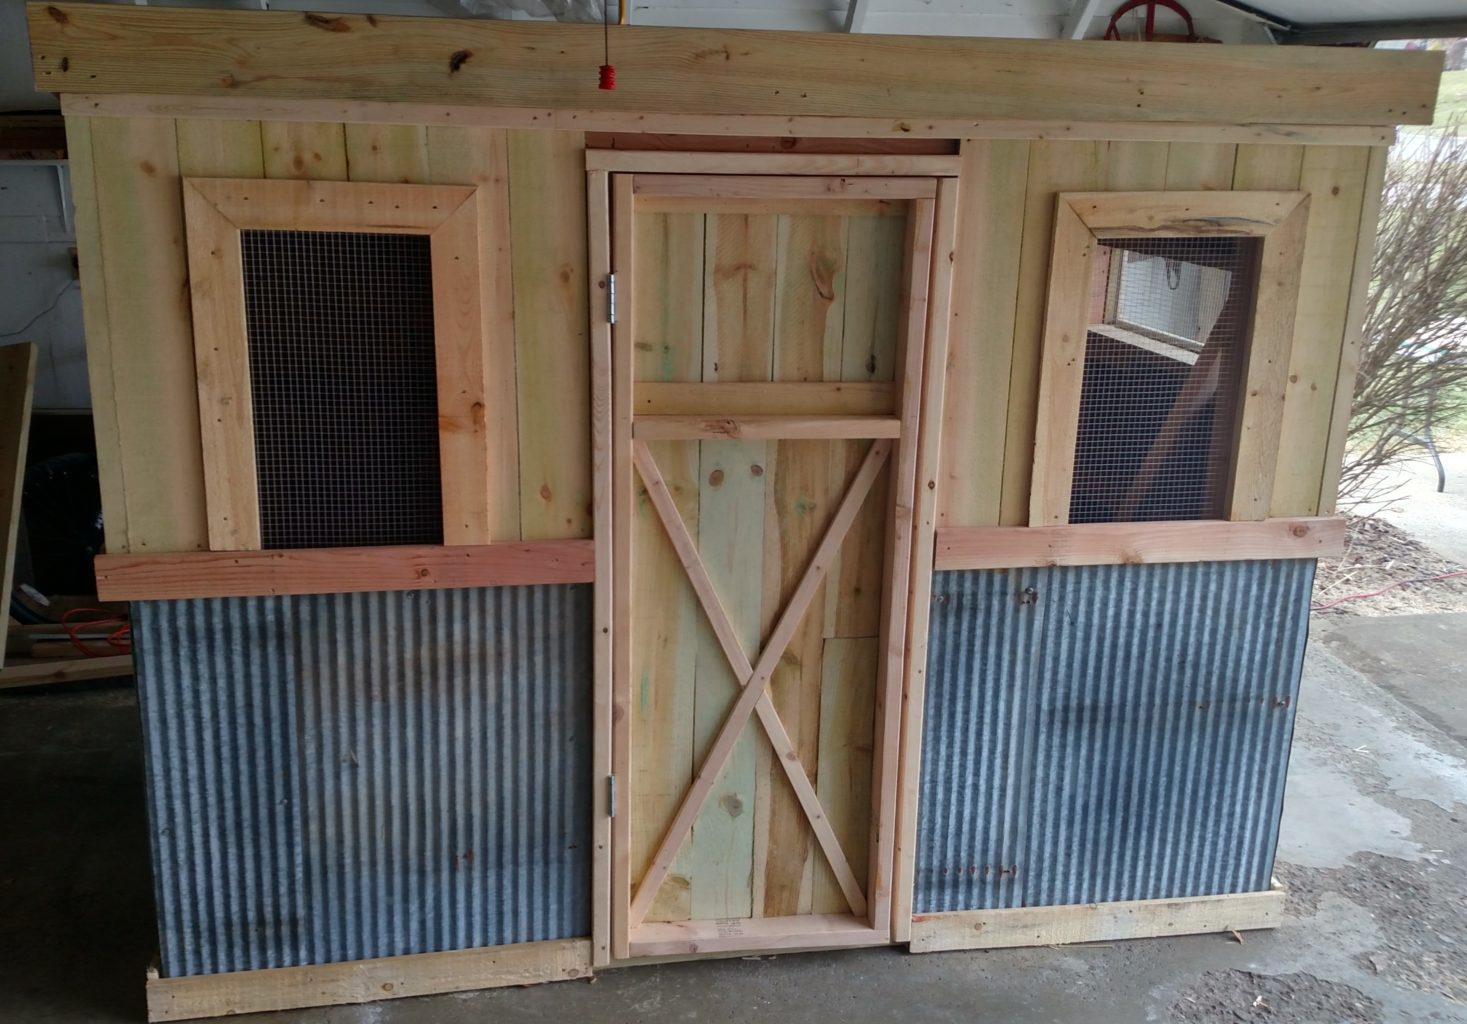
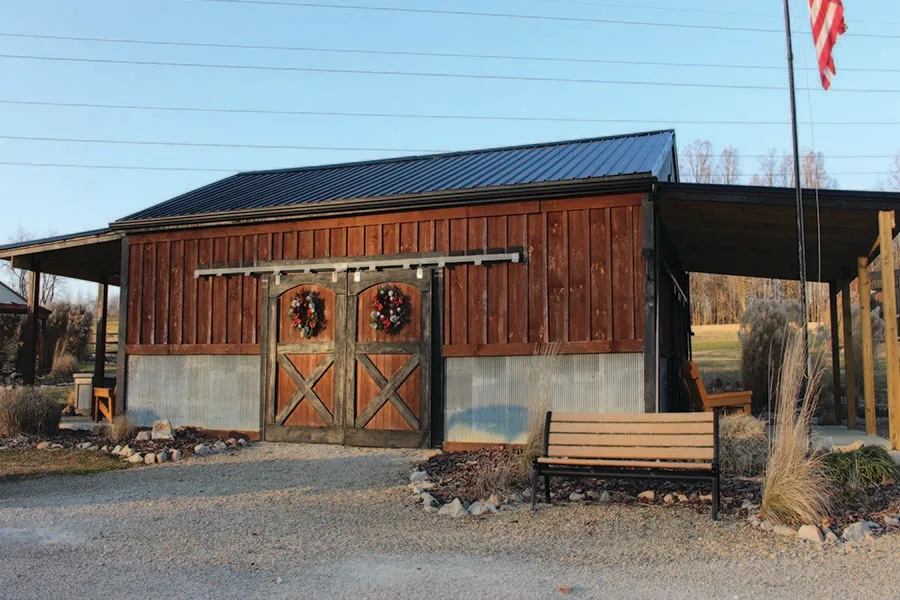
Creating A Chicken Coop From Recycled Materials Ever since creating Old World Garden Farms in late 2010 – we’ve tried to really show that you can build much of what you need …
Creating A Chicken Coop From Recycled Materials Ever since creating Old World Garden Farms in late 2010 – we’ve tried to really show that you can build much of what you need …

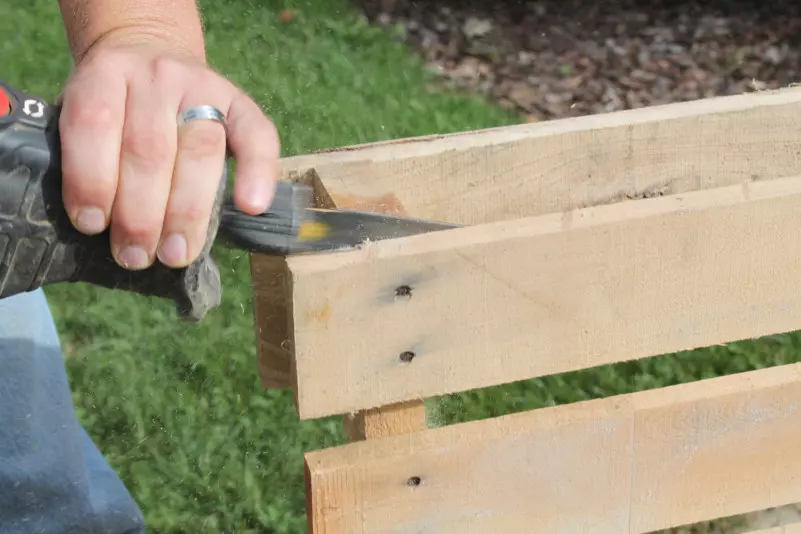
How to disassemble a pallet with ease. Using recycled pallet wood is a great way to make some really rustic, unique and functional pieces on a shoestring budget – learn …

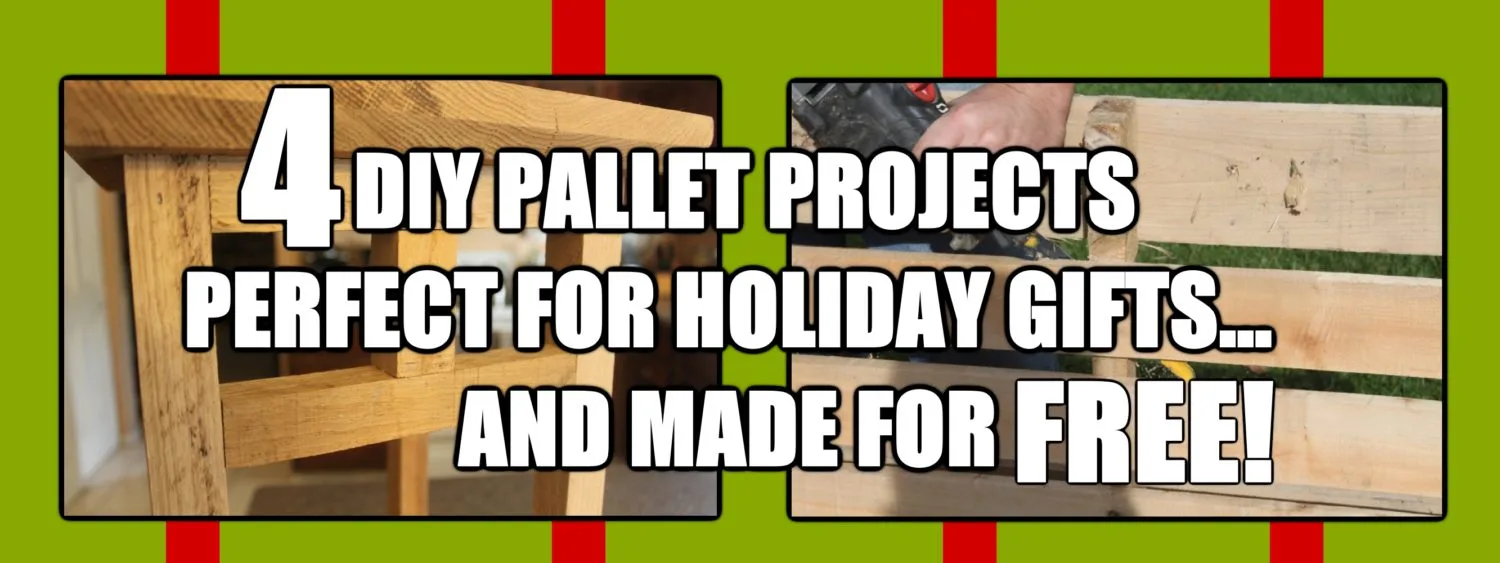
With Christmas just a few months away – now is a great time to start thinking about what to get those “hard to buy for” friends and family. Here’s a great …
In a way, it’s comical that a simple, common, disposable item such as a pallet could be responsible for creating so much at our little farm. To most, pallets are …
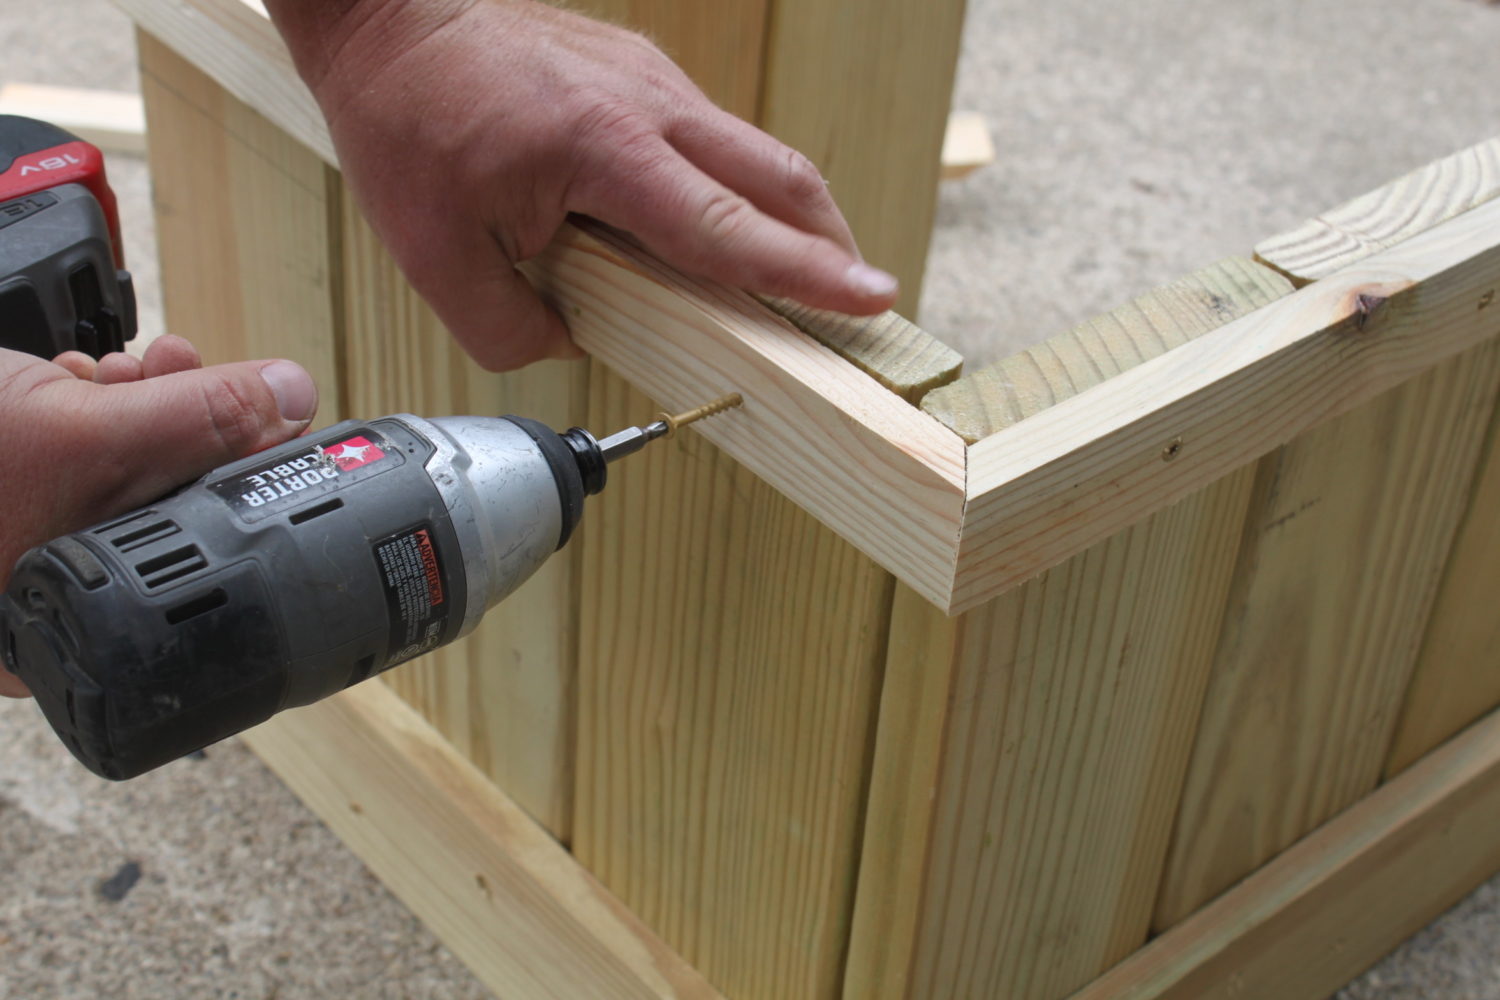

How to work with pallet wood! Whether at the house or at the farm, pallets have played a major role in helping us to build much of what we need on …
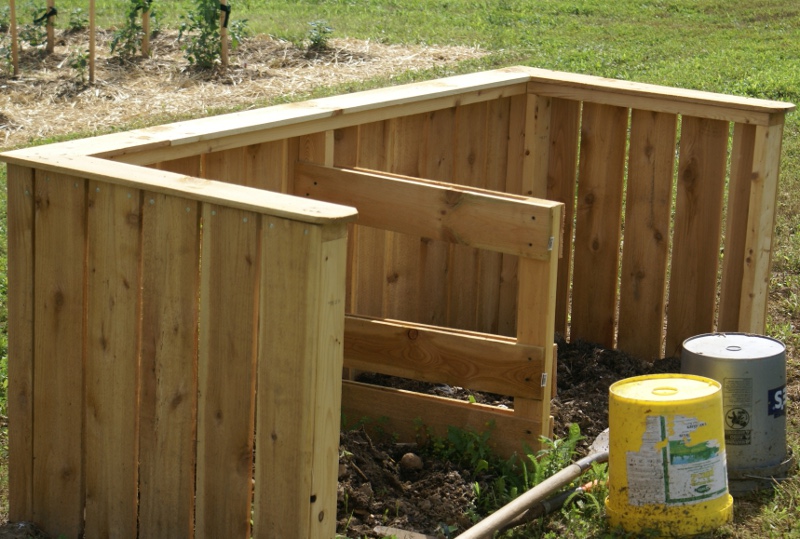

There are few things that can make your garden more successful than compost. Compost, or “Black Gold” as it is so often called, improves soil vitality and structure – and …
We wanted a small display shelf for between our canning cabinet and buffet hutch in our dining room. So – staying with the pallet theme used to build those two …
What to do with a bunch of left over pallet wood and shipping crate panels? Well – for us – it became the materials to build our buffet hutch in …
Over the last 6 months or so – it seems that we always have a comment or two to the blog on our canning cabinet that we built out of …