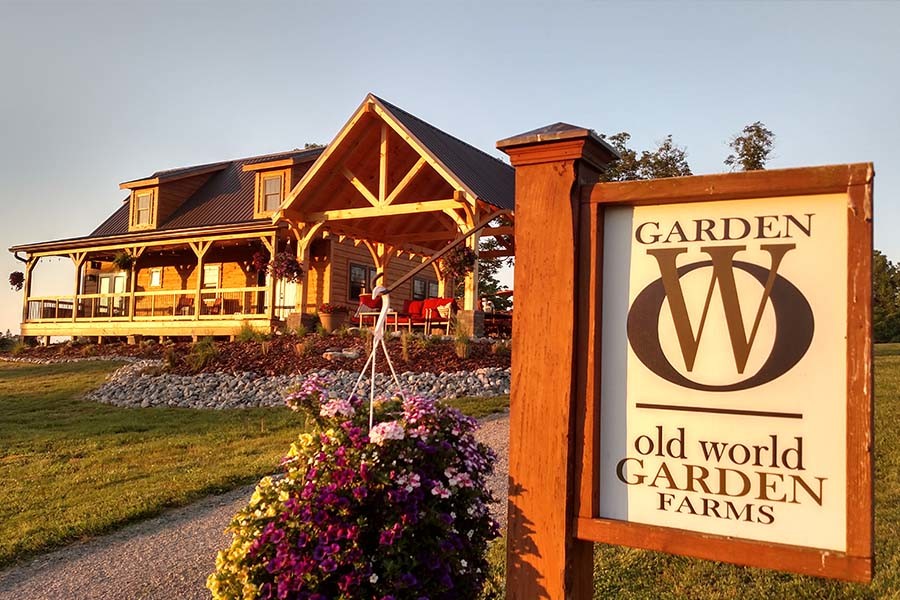
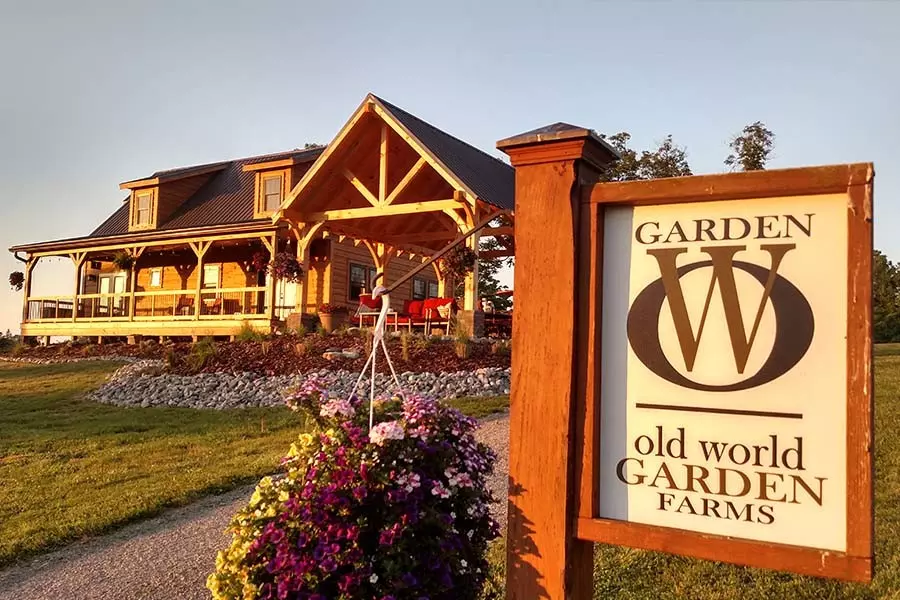
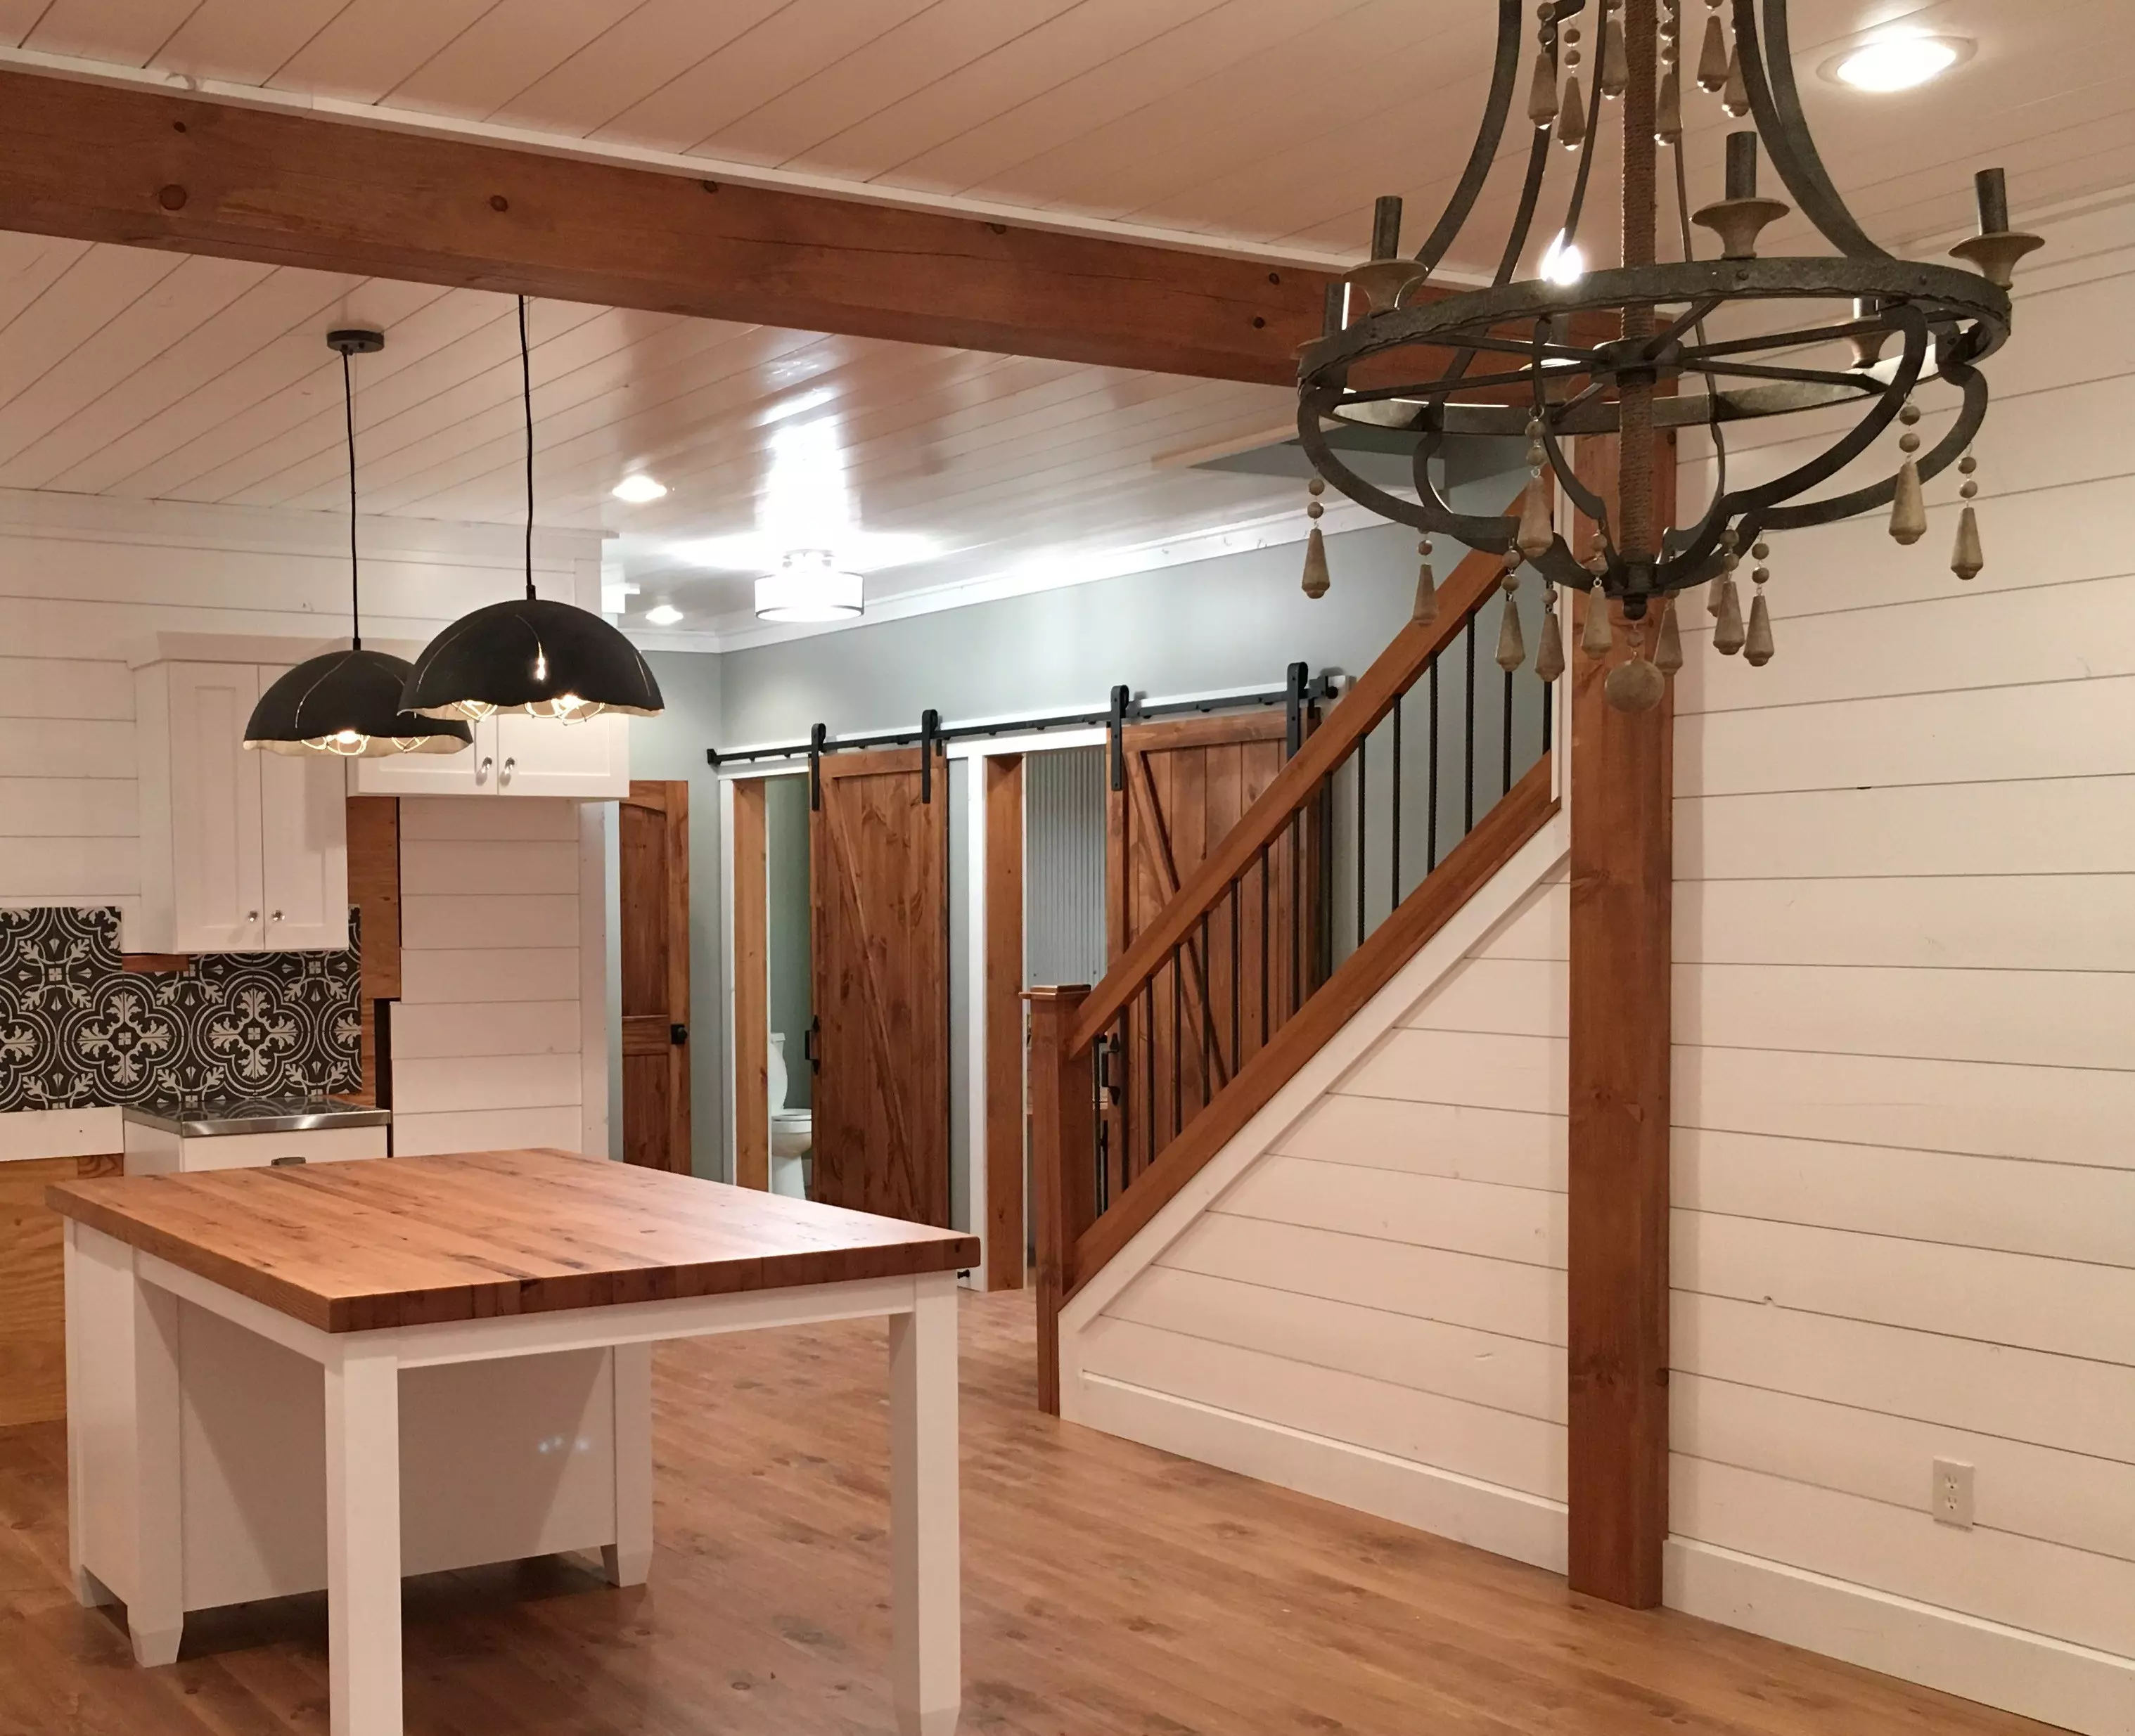
The Farm, House and Garden Photo Update – One Year After Breaking Ground!
The Farm, House and Garden Photo Update One Year Later. It’s hard to believe that it has been one year since we broke ground on building our Simple House at …
The Farm, House and Garden Photo Update One Year Later. It’s hard to believe that it has been one year since we broke ground on building our Simple House at …

For the next two weekends, we get to live out a dream in a modern urban farmhouse – complete with a backyard chicken coop, chickens, garden shed, raised beds, and an Any Age …

Sometimes you have to look back to find inspiration for the next project or phase of your dreams and goals. We get asked quite often to talk about what was …
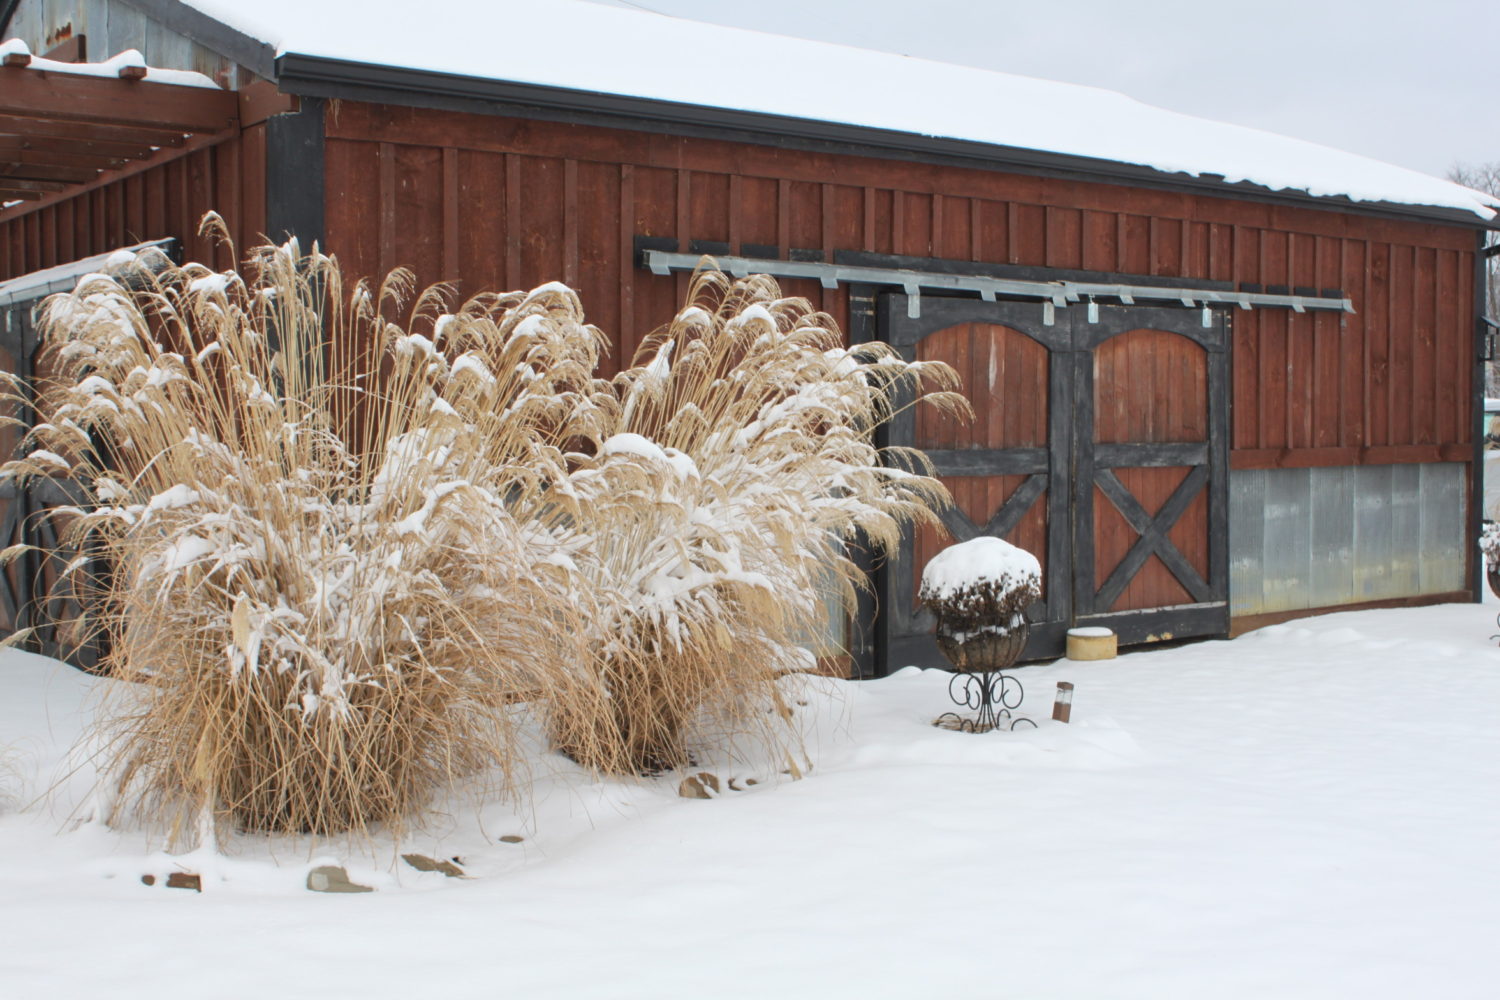
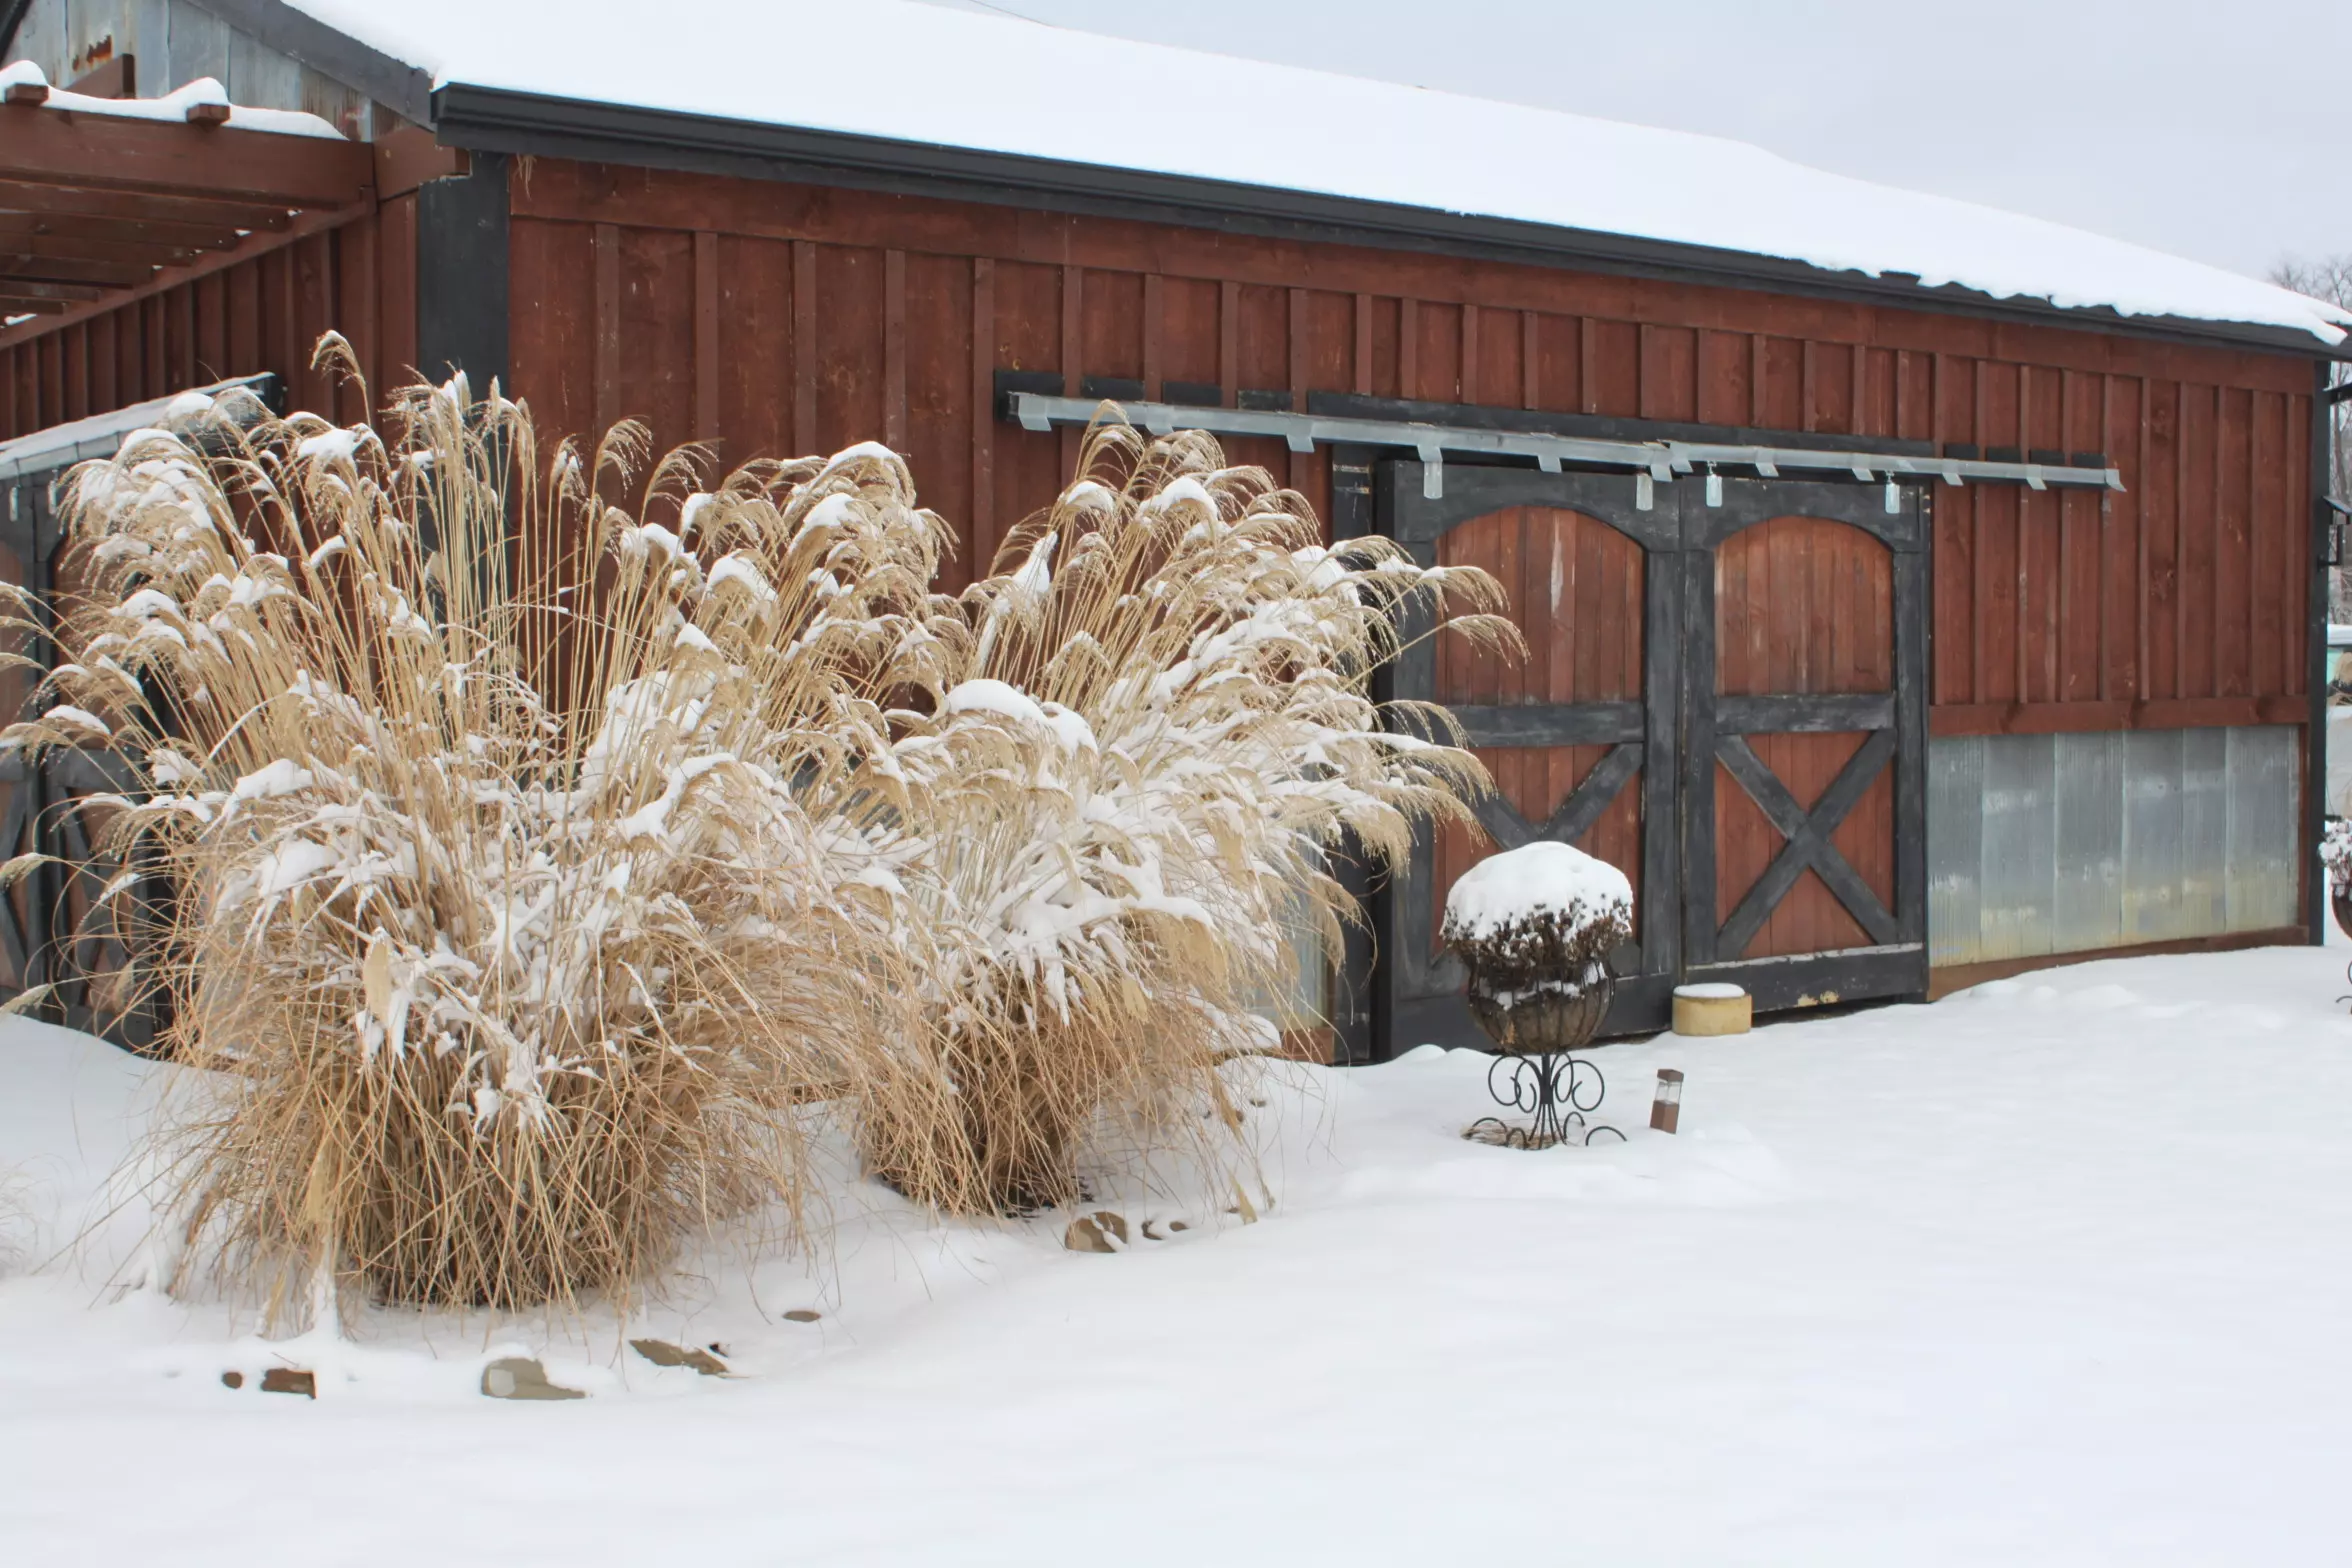
All in all – this has been somewhat of a mild winter season so far at our little farm in central Ohio – especially when compared to last years extreme …
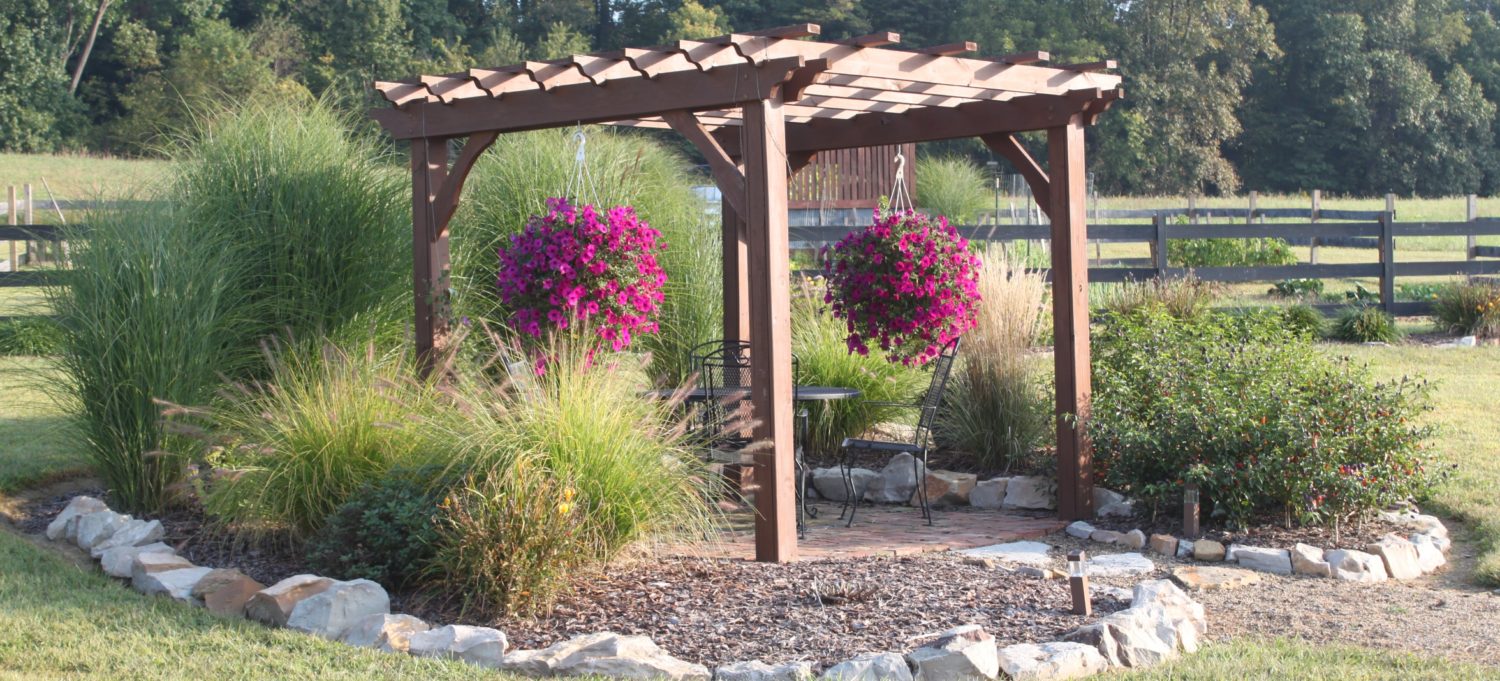

I really have no idea where the summer went! It seems like just a few weeks ago we were putting the tomato and pepper plants in the ground while watching the …
More and more people are consuming what they can grow and raise in their own backyards – all in an effort to provide their families with great tasting and safe food. Taking …
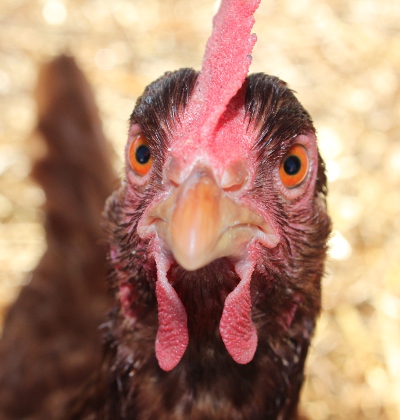
“I have always wanted to raise chickens!” – It’s a statement we hear at least once a week, and is usually followed quickly by: “is it difficult?”. The truth of the …
Before we get to the farm update – we want to take a quick second to thank everyone who follows along with us each week! Yesterday, we reached a milestone …
Today marks an anniversary for our little blog – our 100th post! Since starting the blog about 8 months back on a cold day in February – we never imagined …
Well – #25 finally got crossed off the list! Host a Barn Party. We had our first of what we hope will become an annual barn party event for our …