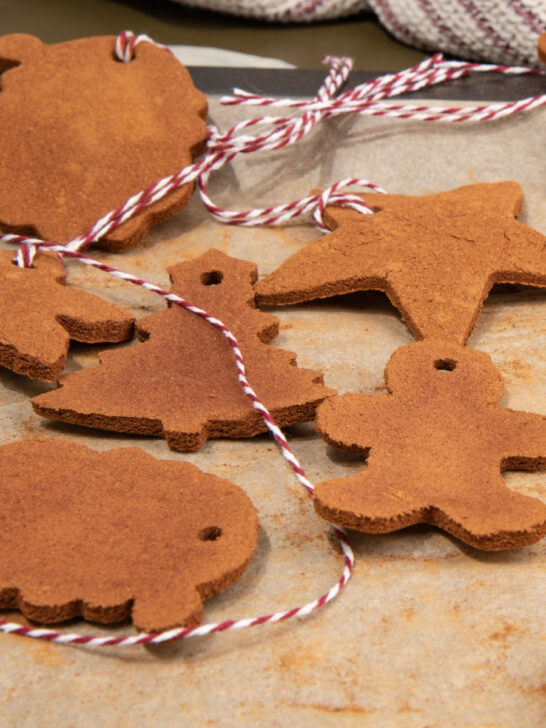

Homemade Cinnamon Applesauce Ornaments (Easy No Bake Recipe)
Cinnamon Applesauce Ornaments are the perfect homemade ornaments to hang on your Christmas tree or to use as decorations throughout the holiday season. They are easy to make and the …
Cinnamon Applesauce Ornaments are the perfect homemade ornaments to hang on your Christmas tree or to use as decorations throughout the holiday season. They are easy to make and the …

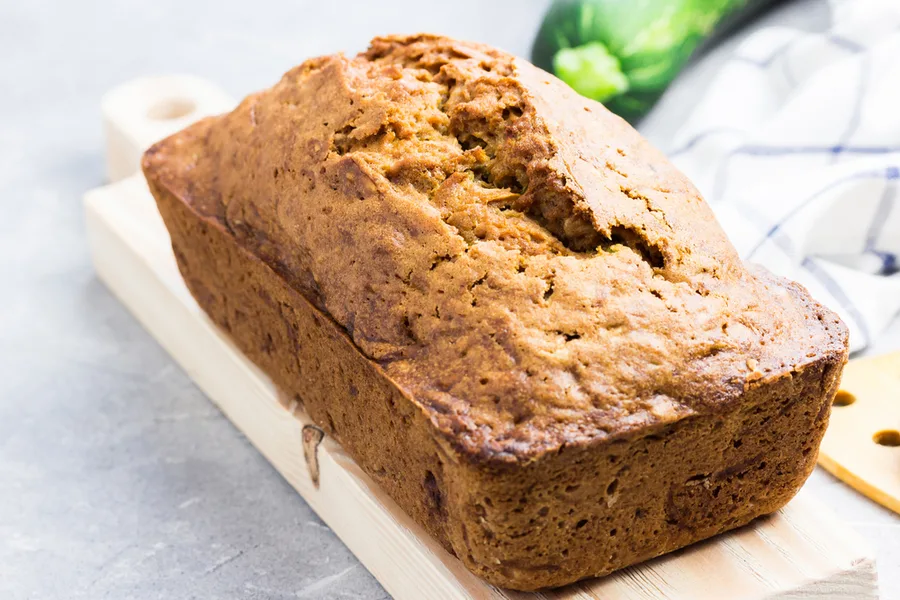
Every year, when we start to pick our zucchini out of the garden, one of the very first things that we make is Zucchini Bread. But not with just any …
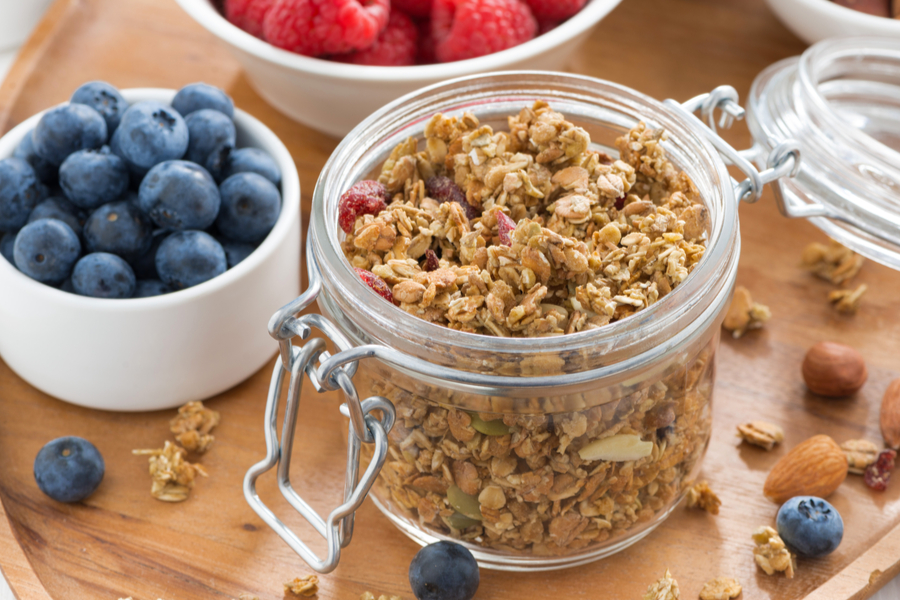

One of our favorite, healthy breakfast recipes is our Homemade Granola. Because it is made with just 7 natural ingredients you can feel good about what you are eating. Old-fashioned …

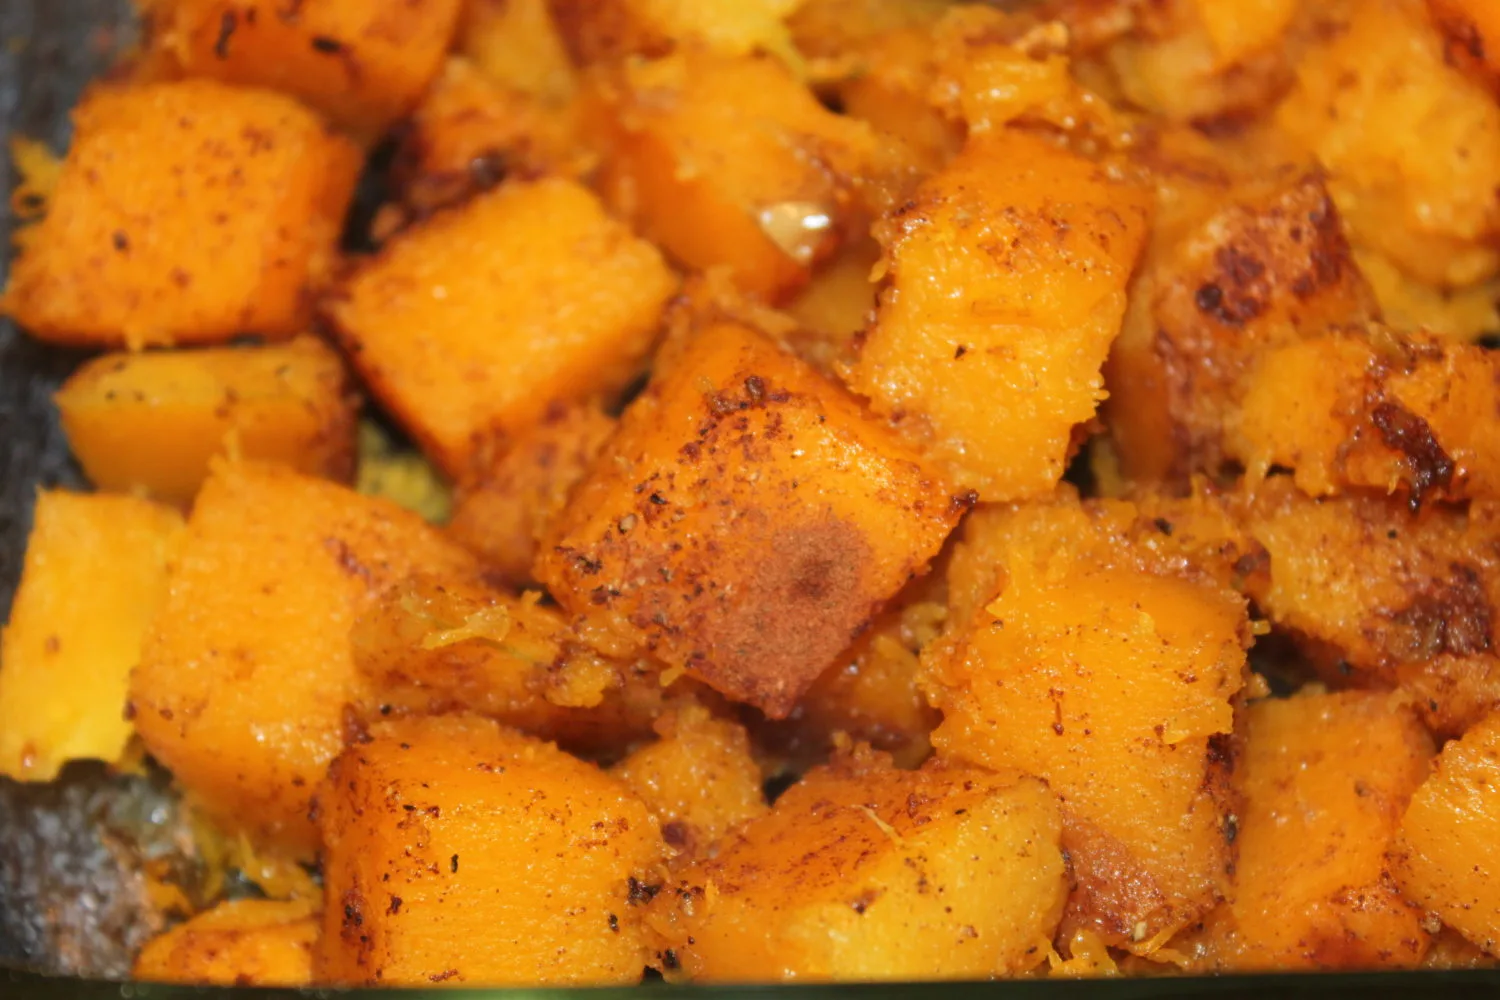
Halloween just passed and you know what that means…..Thanksgiving is right around the corner. Every year we spend the month of November preparing and planning for the largest feast of …