
Winter Composting – How To Keep Composting In The Winter!
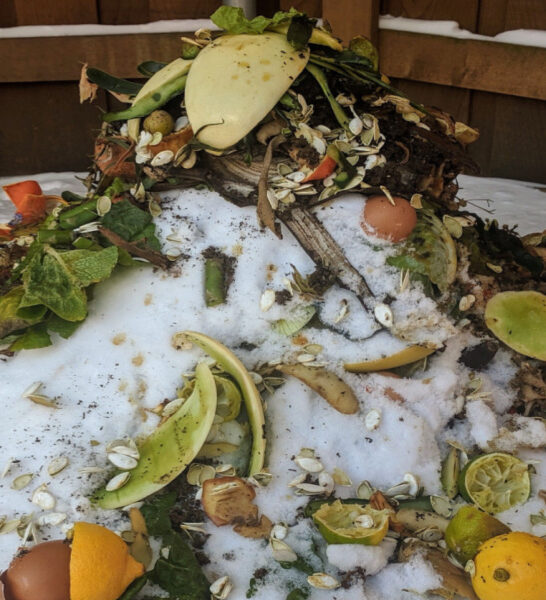
When it comes to winter composting and trying to keep composting efforts going through the frigid and often frozen months, many gardeners simply put a stop to everything and wait …
When it comes to winter composting and trying to keep composting efforts going through the frigid and often frozen months, many gardeners simply put a stop to everything and wait …

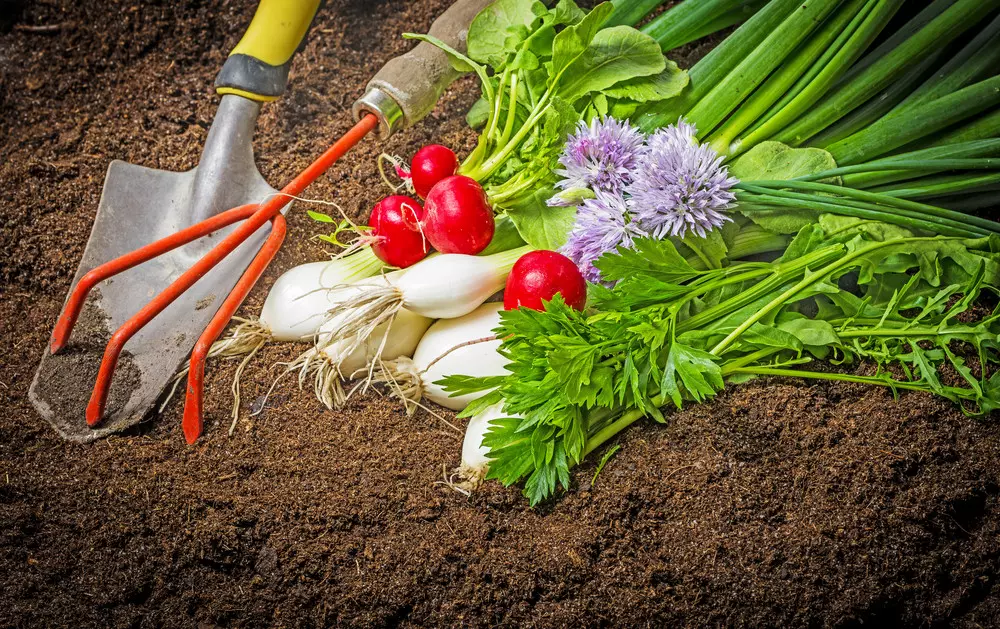
When it comes to fertilizing vegetable gardens, nothing can top good old, time-tested organic solutions! Not only are they safe to use on the plants that will feed your family, …
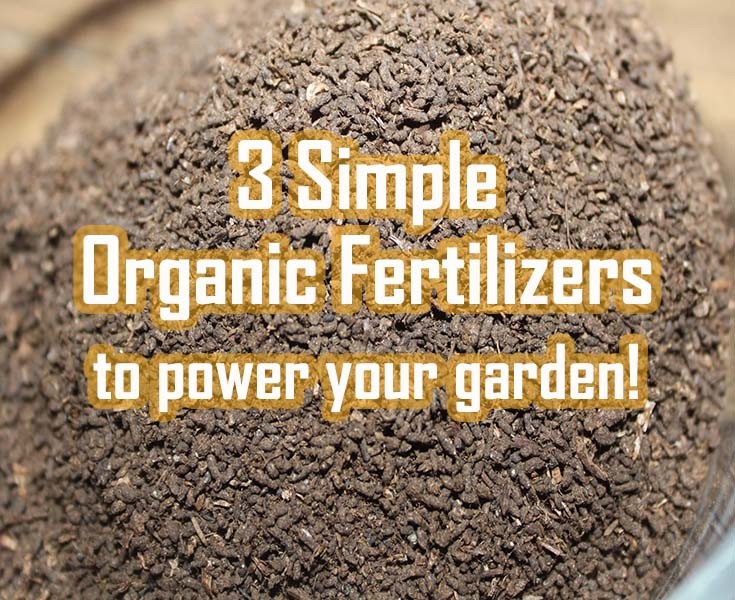
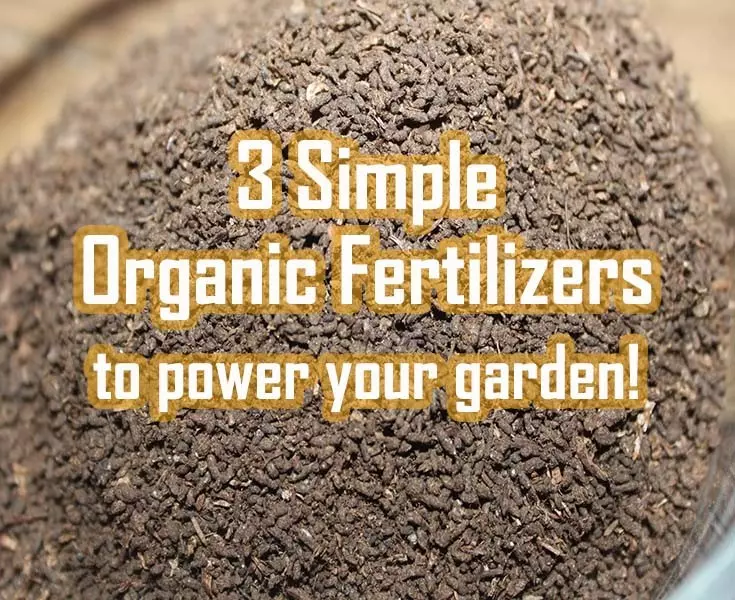
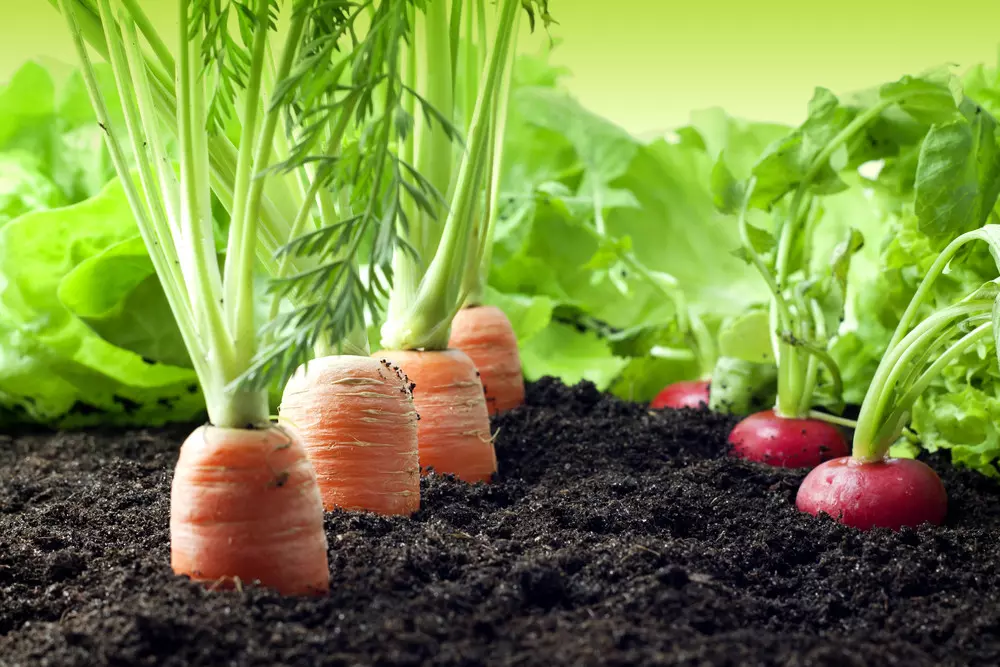
The Power of Organic Fertilizers! Let’s face it, sometimes your vegetable plants need a little boost. When it comes to the dirt in the garden, vegetable plants can consume a lot of the …
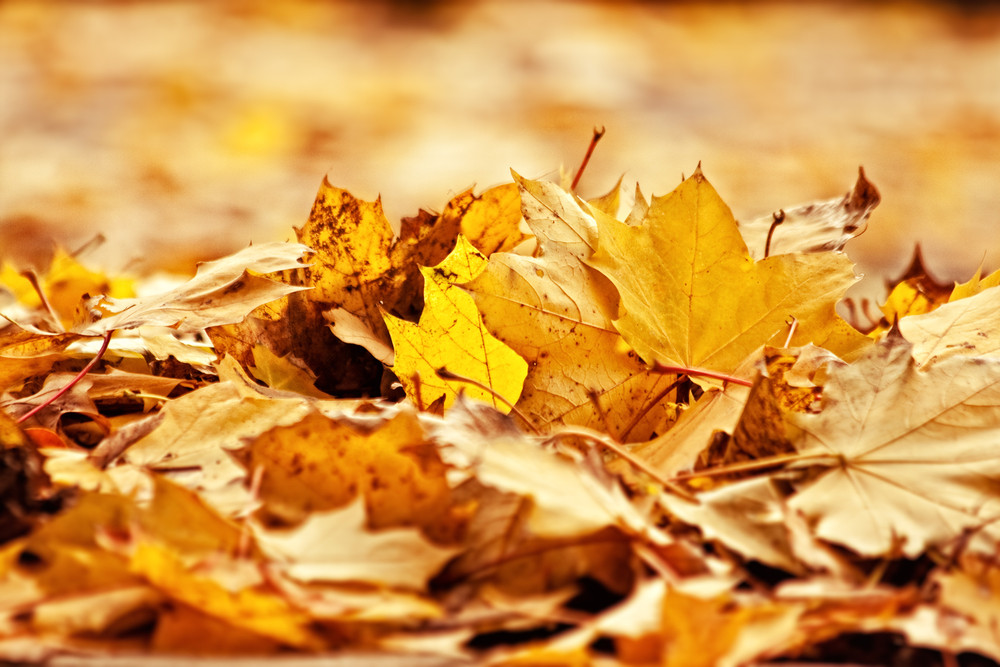

Fall has arrived, and that means it’s time to use those gorgeous falling leaves to help recharge your garden. Collecting leaves each fall has become a ritual for us. It is a simple, …

I have long been a believer that you don’t need to have a “green thumb” in order to have a great garden. In reality, what it takes is a combination of …


We have all been there. One day, its late Spring and the garden is growing beautifully – and in the blink of an eye – summer rolls in and it …


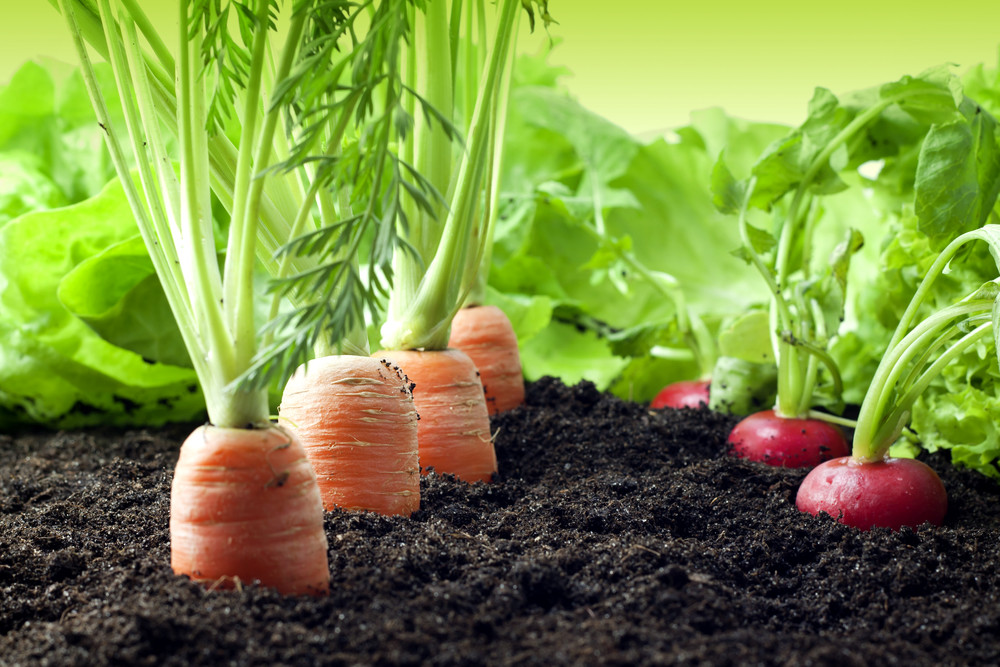
When you rely on your garden to provide a large portion of your family’s food – you want to make sure that the food coming out is as healthy and …

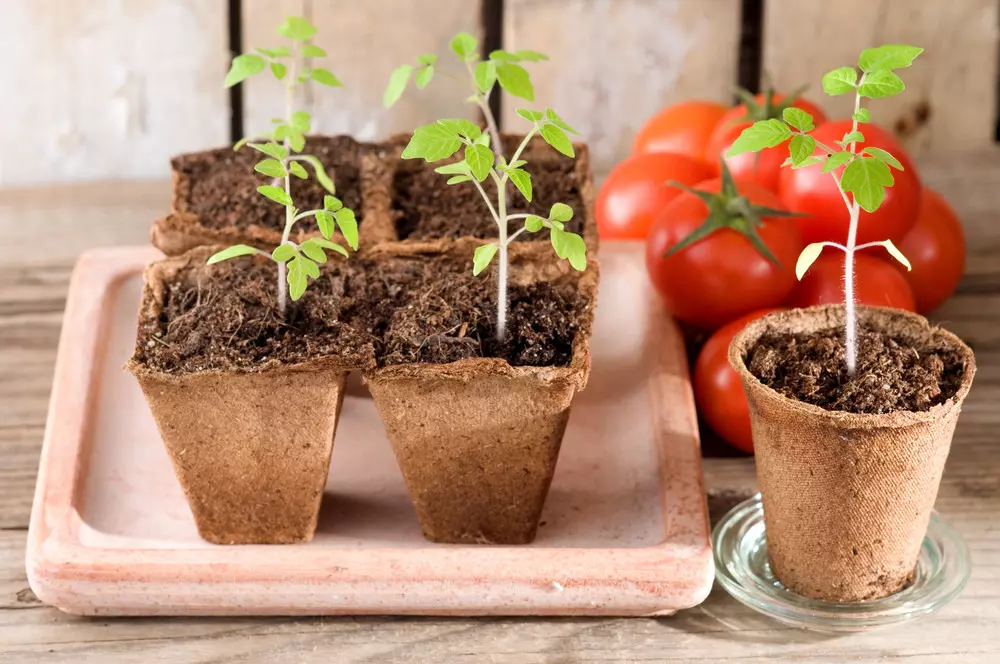
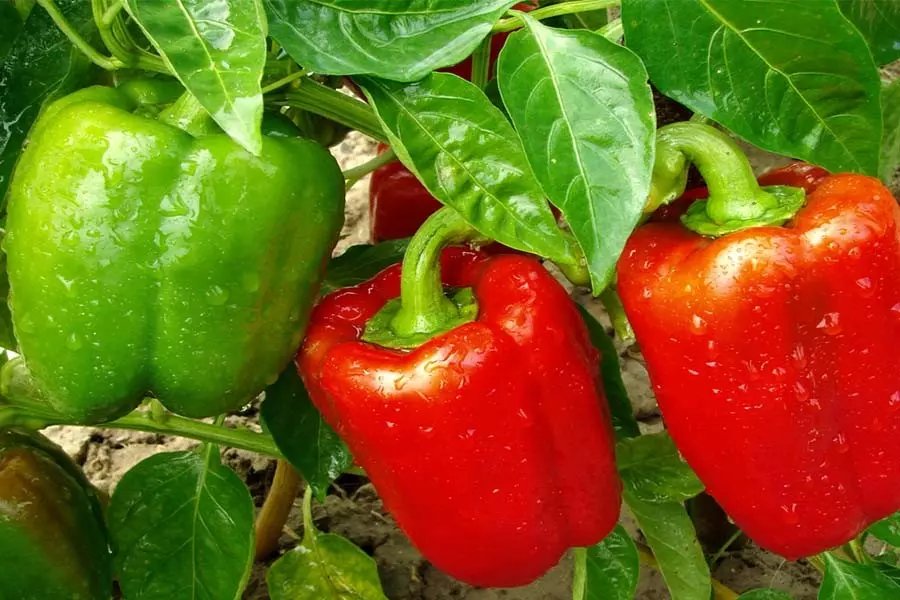
Garden season is here! Over the course of the next few weeks, millions upon millions of tomato, pepper, cucumber, zucchini and other vegetable plant varieties will make their way into gardens. …
It’s nearly impossible to believe that in just a few weeks, we will be heading into another planting season at the farm. That is of course if Mother Nature finally starts …

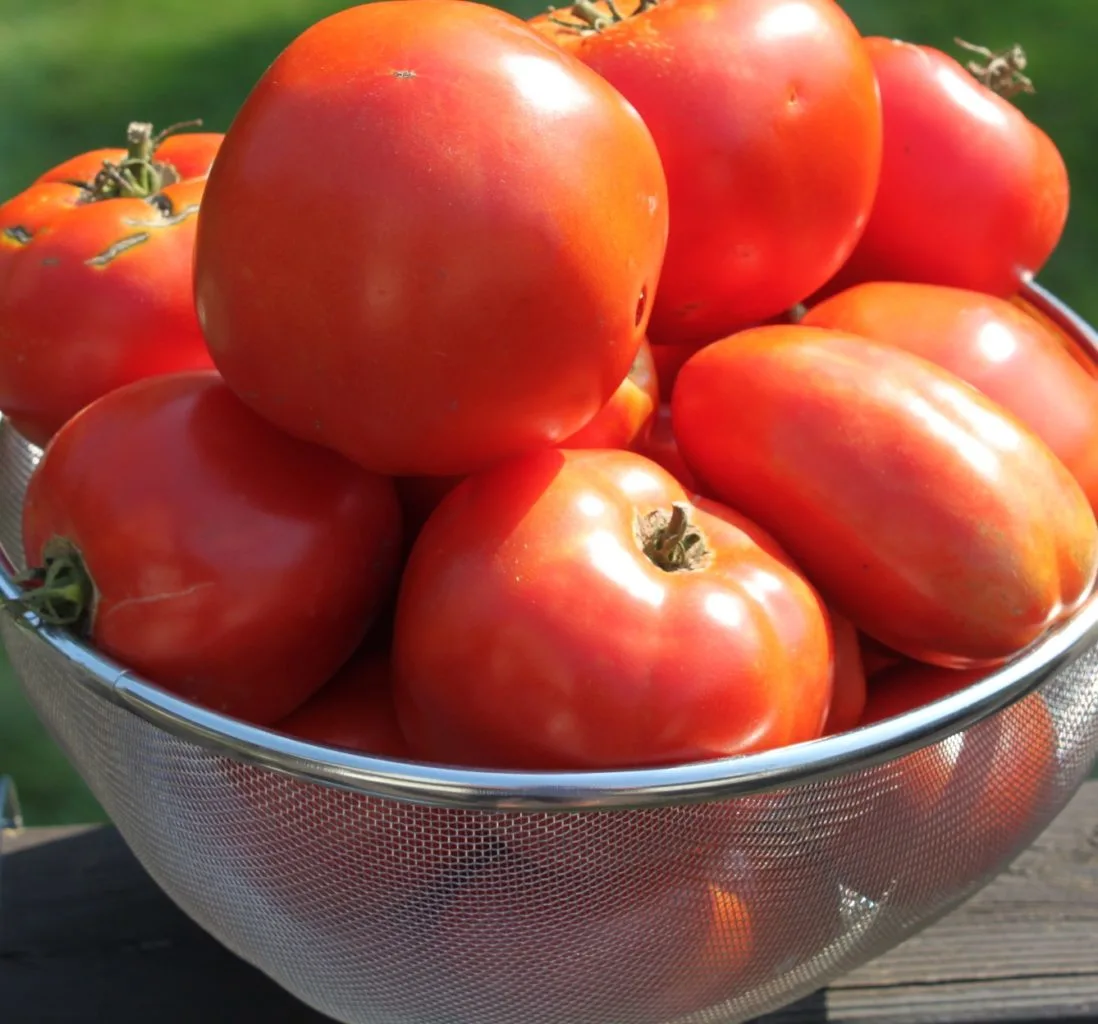
“How Can I Grow Healthy Tomato Plants?” That is by far the most frequently asked question to the blog each and every summer – and with good reason. Whether it be …