
Roasted Butternut Squash Soup Recipe
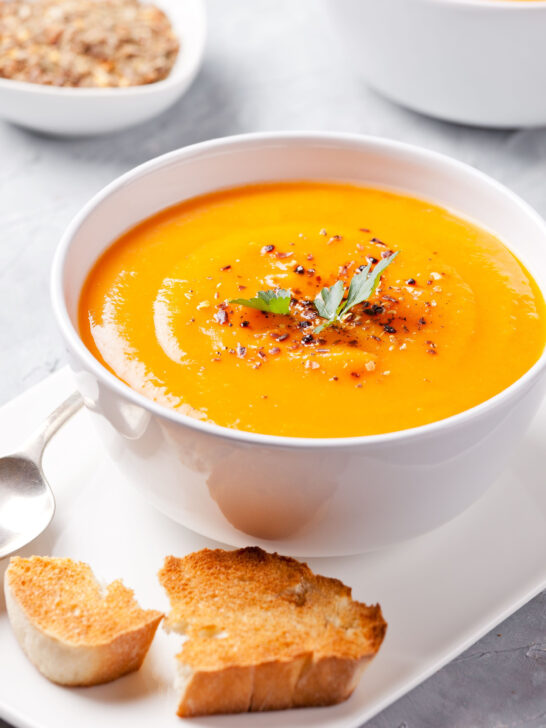
Roasted Butternut Squash Soup is one of my favorite soup recipes to make when the weather begins to turn cool and dreary. The thick and creamy bowl of soup is …
We didn't find any posts for your search term.
Roasted Butternut Squash Soup is one of my favorite soup recipes to make when the weather begins to turn cool and dreary. The thick and creamy bowl of soup is …
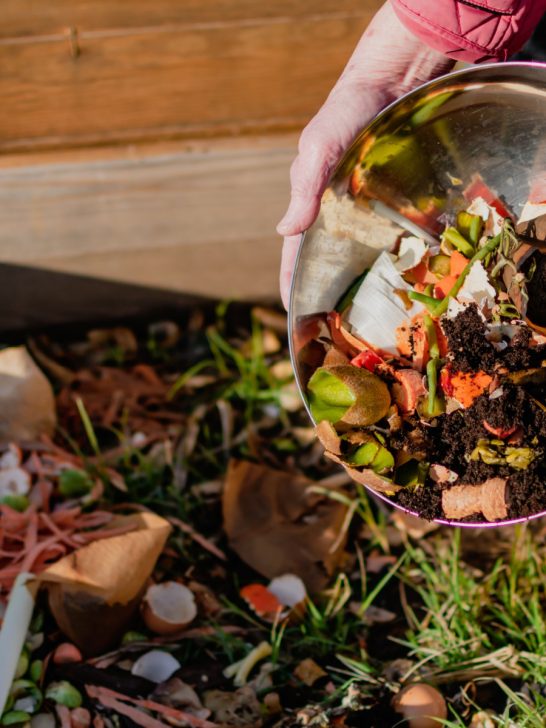
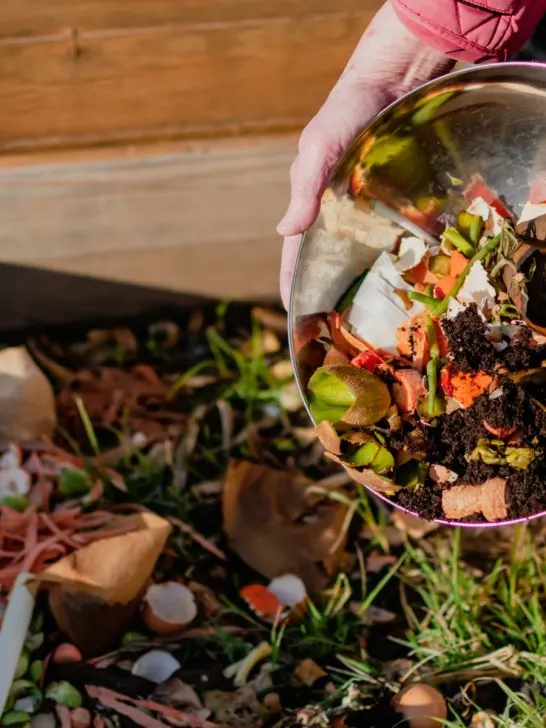
Want to know the biggest mistake gardeners often make when it comes to starting their fall compost pile? Starting a compost pile in the fall is one of the best …


Did you know that you can use oats as a cover crop this fall for your garden and raised beds – and never have to worry about tilling them in …
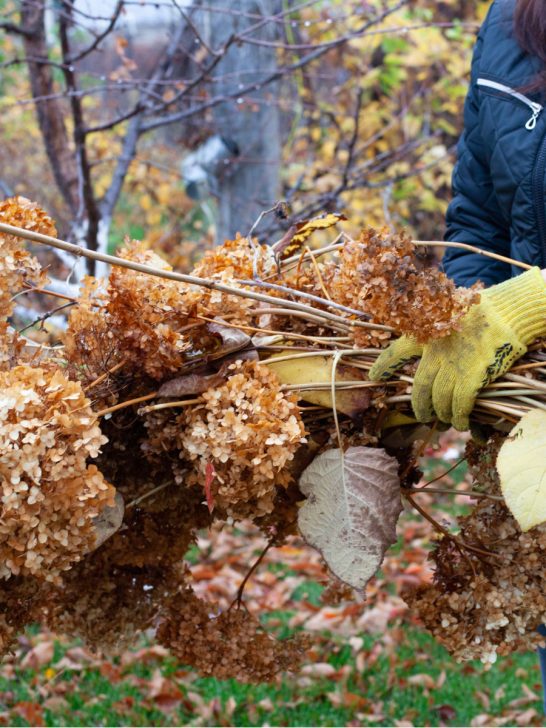

Want to avoid the three biggest mistakes gardeners often make with their hydrangeas in the fall? When it comes to taking care of hydrangeas in the fall, there are three …
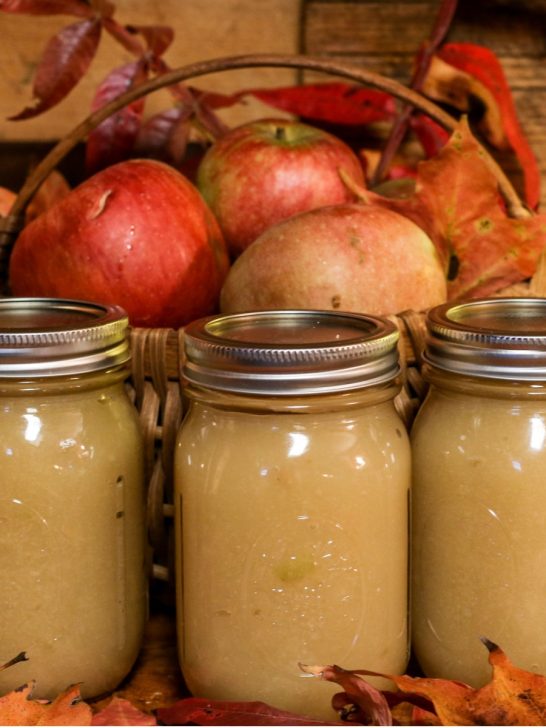
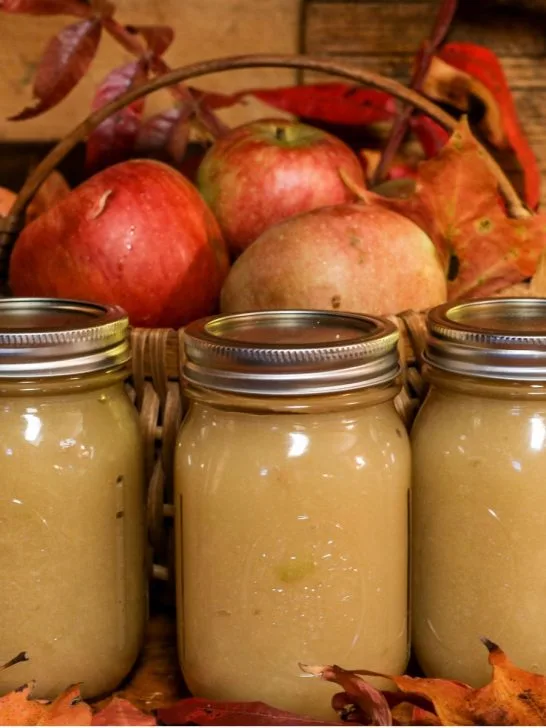
Once you learn how easy it is to can applesauce, you will never want to buy store bought again! It is a fantastic way to preserve all of those fresh …

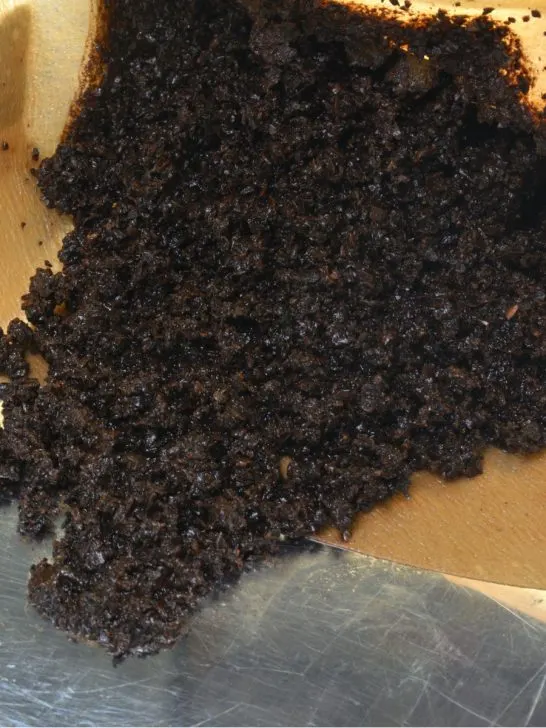
Did you know that one of the easiest ways to keep mosquitoes away from the outdoor spaces you love to enjoy is to simply use spent coffee grounds? Mosquitoes are …

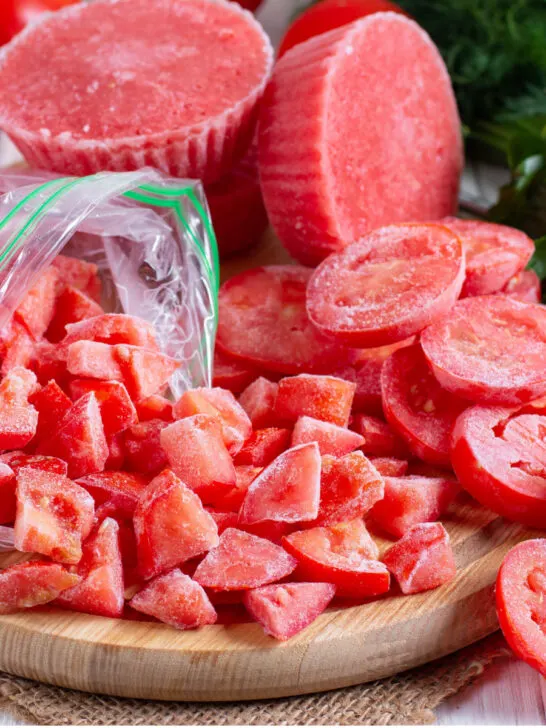
If you find yourself with a bunch of ripe tomatoes and don’t have the time to use them before they go bad, check out these 5 different options on how …
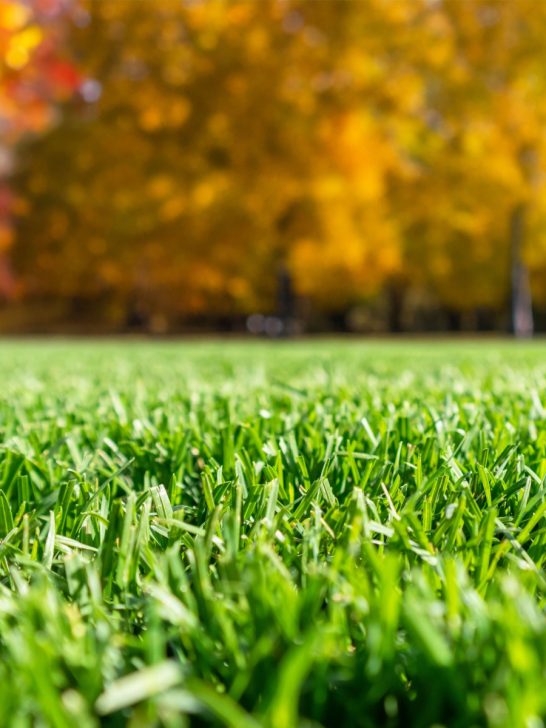

Looking for a few simple secrets to bring your lawn back to life this fall – and set the stage for an amazing yard next spring and summer? After a …


When all of our hot pepper plants begin to ripen in full force and I find my kitchen counter full of them, I know it is time to make my …

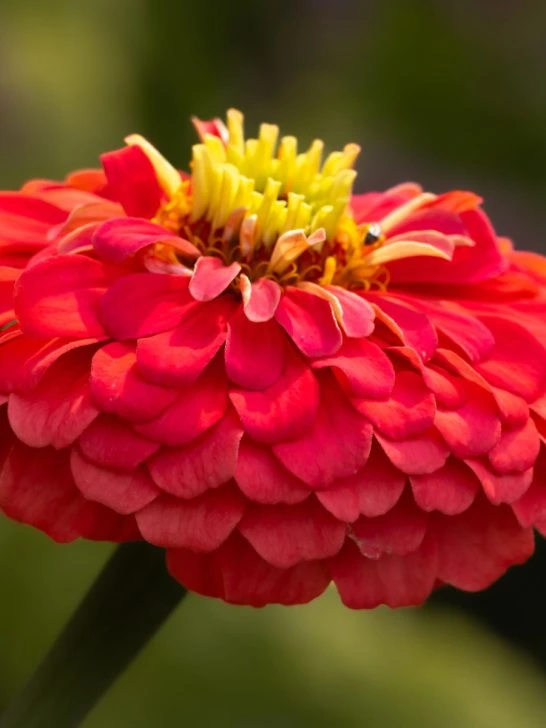
Want to know the easiest way to save zinnia seeds from all of those beautiful flowers growing in your garden and beds? Zinnias are one of those flowers that never …