
Recycling And Repurposing To Redecorate – On The Cheap!
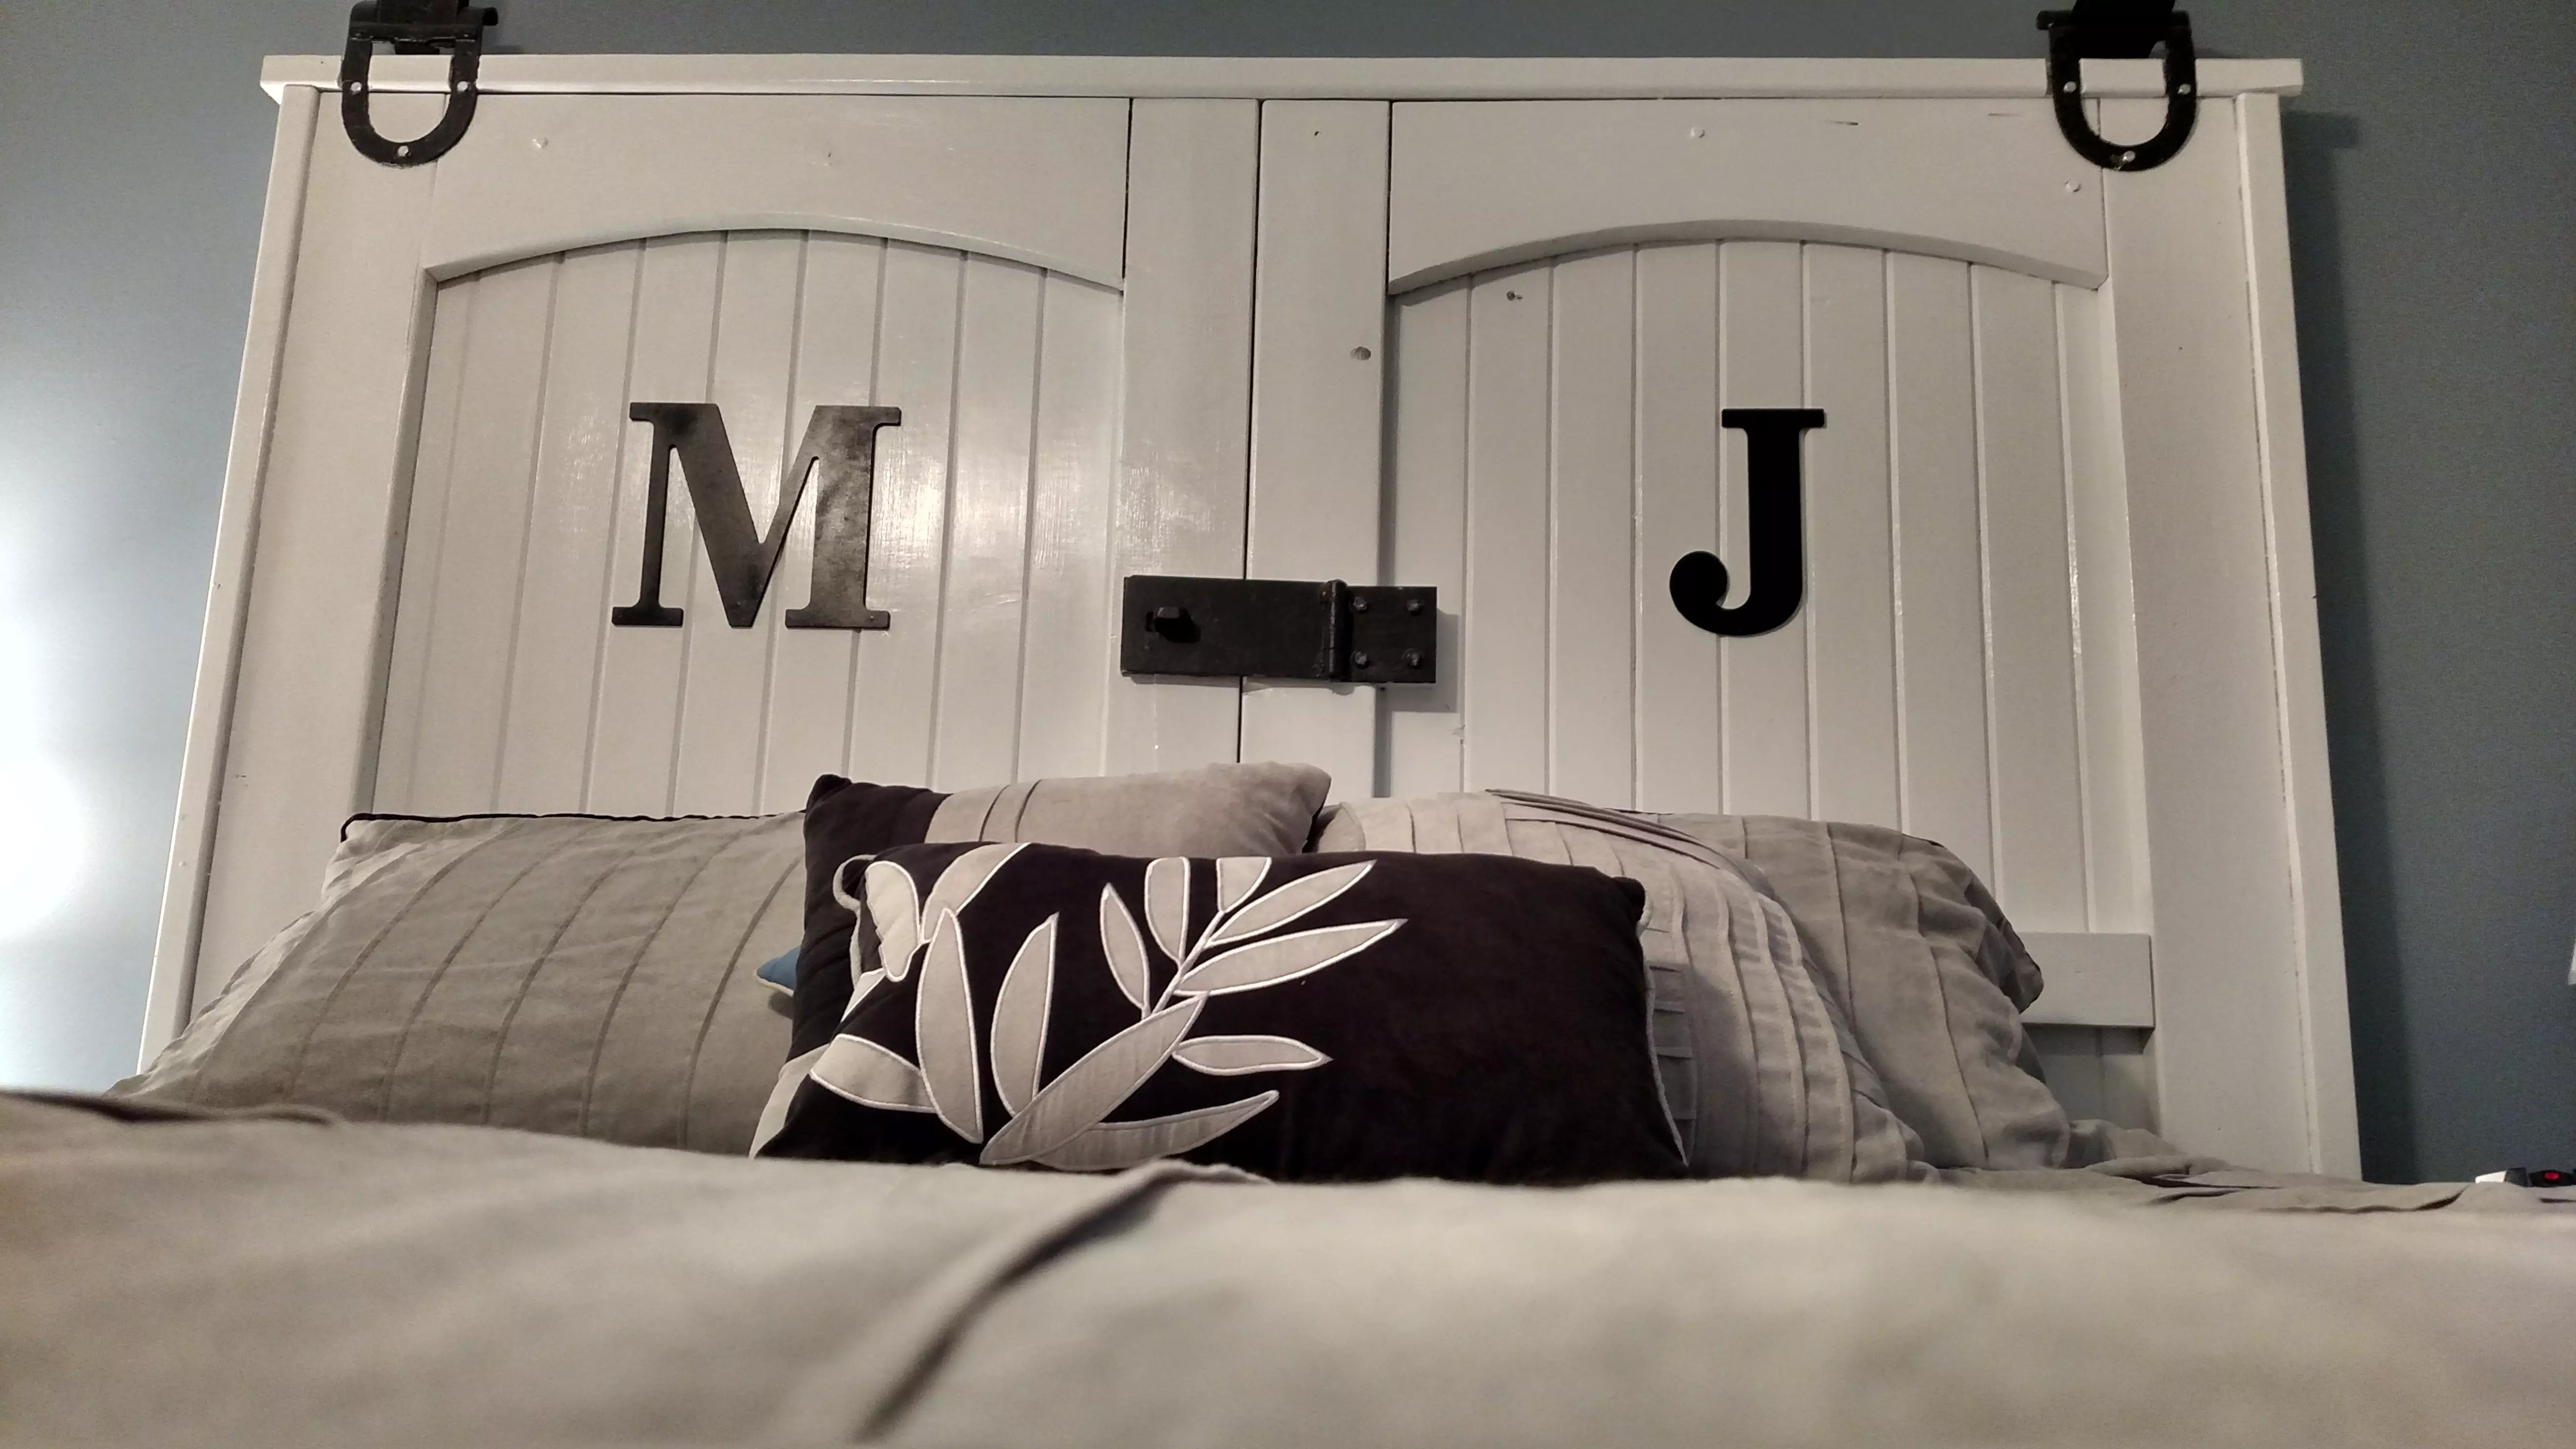
Whether you want to redecorate your room or your whole house – you don’t have to break the bank to do it. With a little leg work, you can salvage, recycle …
Whether you want to redecorate your room or your whole house – you don’t have to break the bank to do it. With a little leg work, you can salvage, recycle …
There is something magical about a cabin – especially one that is completely self sufficient – yet comfortable to stay in for a night or two. A peaceful place to …
What to do with a bunch of left over pallet wood and shipping crate panels? Well – for us – it became the materials to build our buffet hutch in …
Over the last 6 months or so – it seems that we always have a comment or two to the blog on our canning cabinet that we built out of …
***We have more updated pictures at the end of this post from installing the totes. It’s a beautiful sight to us! Two bright and shiny 275 gallon water totes that …
This isn’t exactly the best time of year to get major projects done! Between softball and baseball games, spring planting, mowing, and building the pergolas we sell – our own …
One of our last projects in the barn will be the laying of the reclaimed brick floors – but before that can happen – we had to somehow find a …
Over the past year, one of the most rewarding and yet physically challenging projects for us has been the ever so slow process of building our “new” barn on the …
If you really think about it – we all have a little repurpose in us. After all – didn’t we all learn the great art of repurposing from our youth? …