
Recycling And Repurposing To Redecorate – On The Cheap!
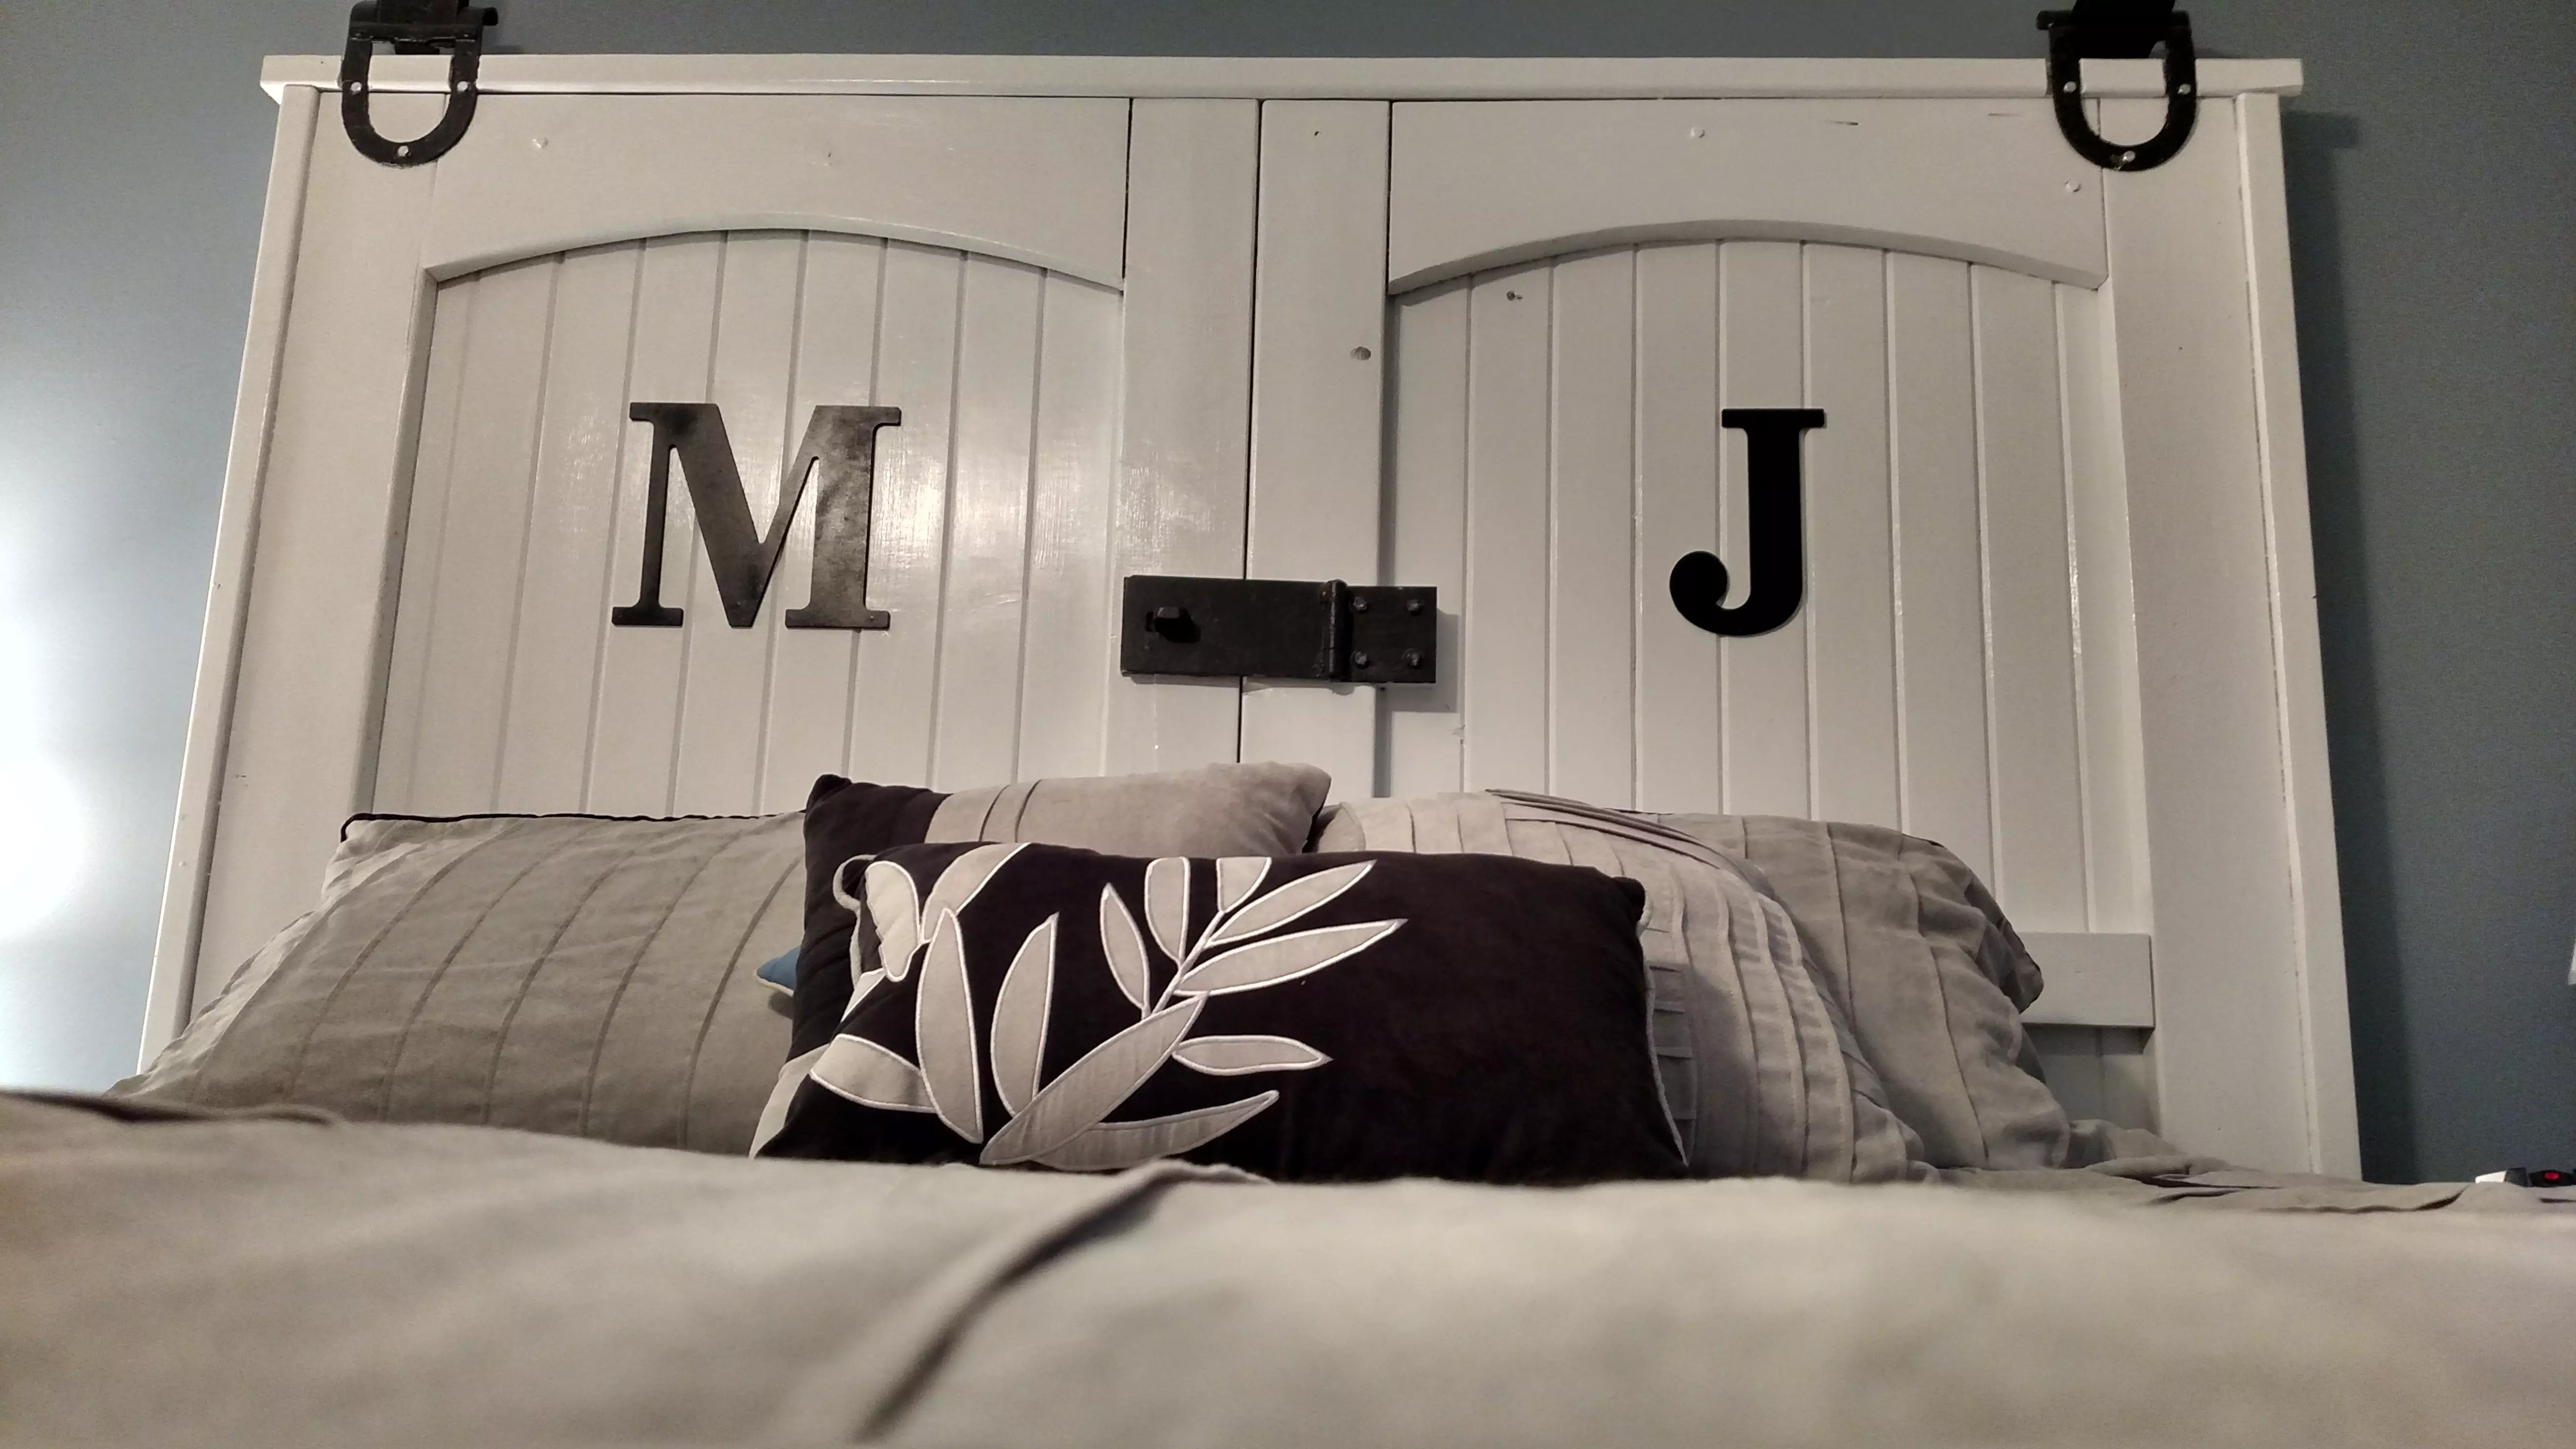
Whether you want to redecorate your room or your whole house – you don’t have to break the bank to do it. With a little leg work, you can salvage, recycle …
Whether you want to redecorate your room or your whole house – you don’t have to break the bank to do it. With a little leg work, you can salvage, recycle …
What to do with a bunch of left over pallet wood and shipping crate panels? Well – for us – it became the materials to build our buffet hutch in …
Over the last 6 months or so – it seems that we always have a comment or two to the blog on our canning cabinet that we built out of …
If you really think about it – we all have a little repurpose in us. After all – didn’t we all learn the great art of repurposing from our youth? …