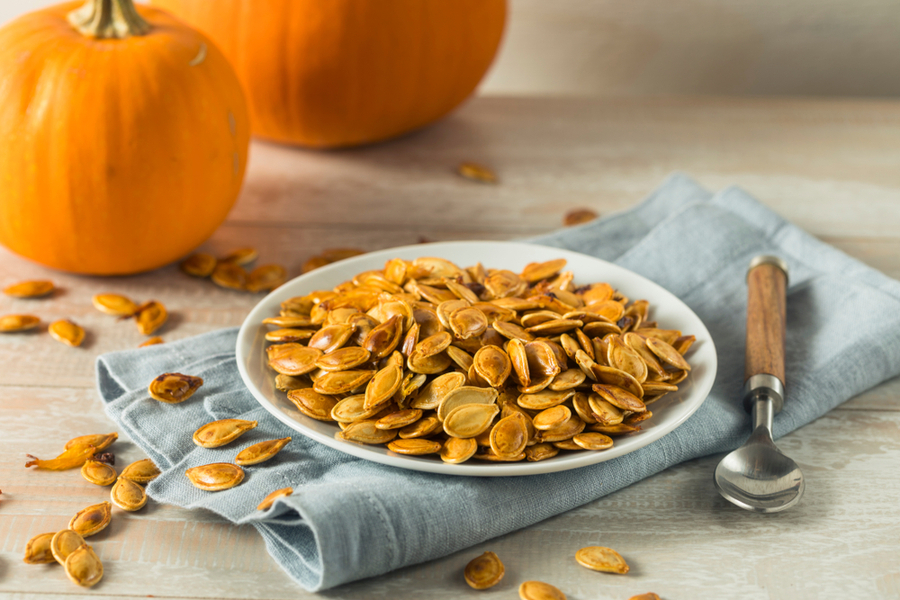
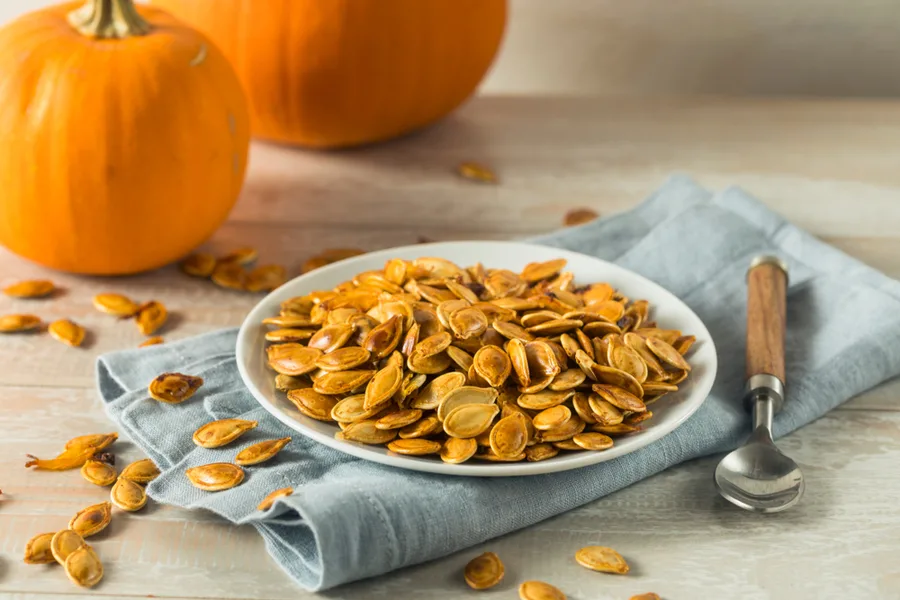
The BEST Way To Roast Pumpkin Seeds
Now that it is time to carve pumpkins, it is time to share our best method to roast pumpkin seeds. Every October, as we are cleaning out our pumpkins to …
Now that it is time to carve pumpkins, it is time to share our best method to roast pumpkin seeds. Every October, as we are cleaning out our pumpkins to …
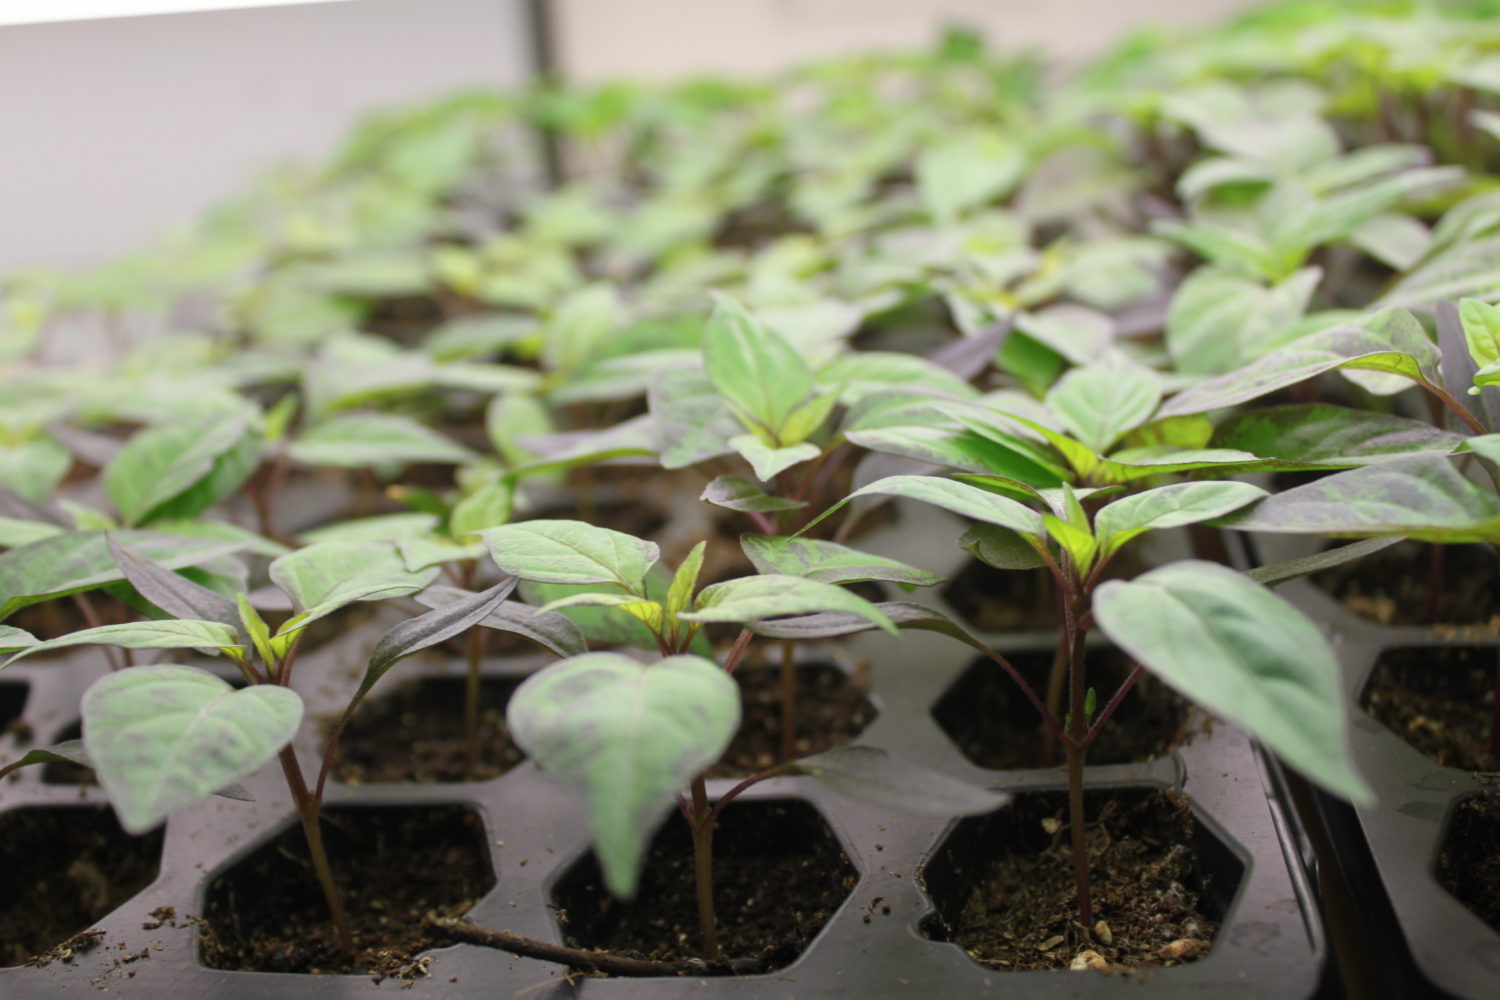
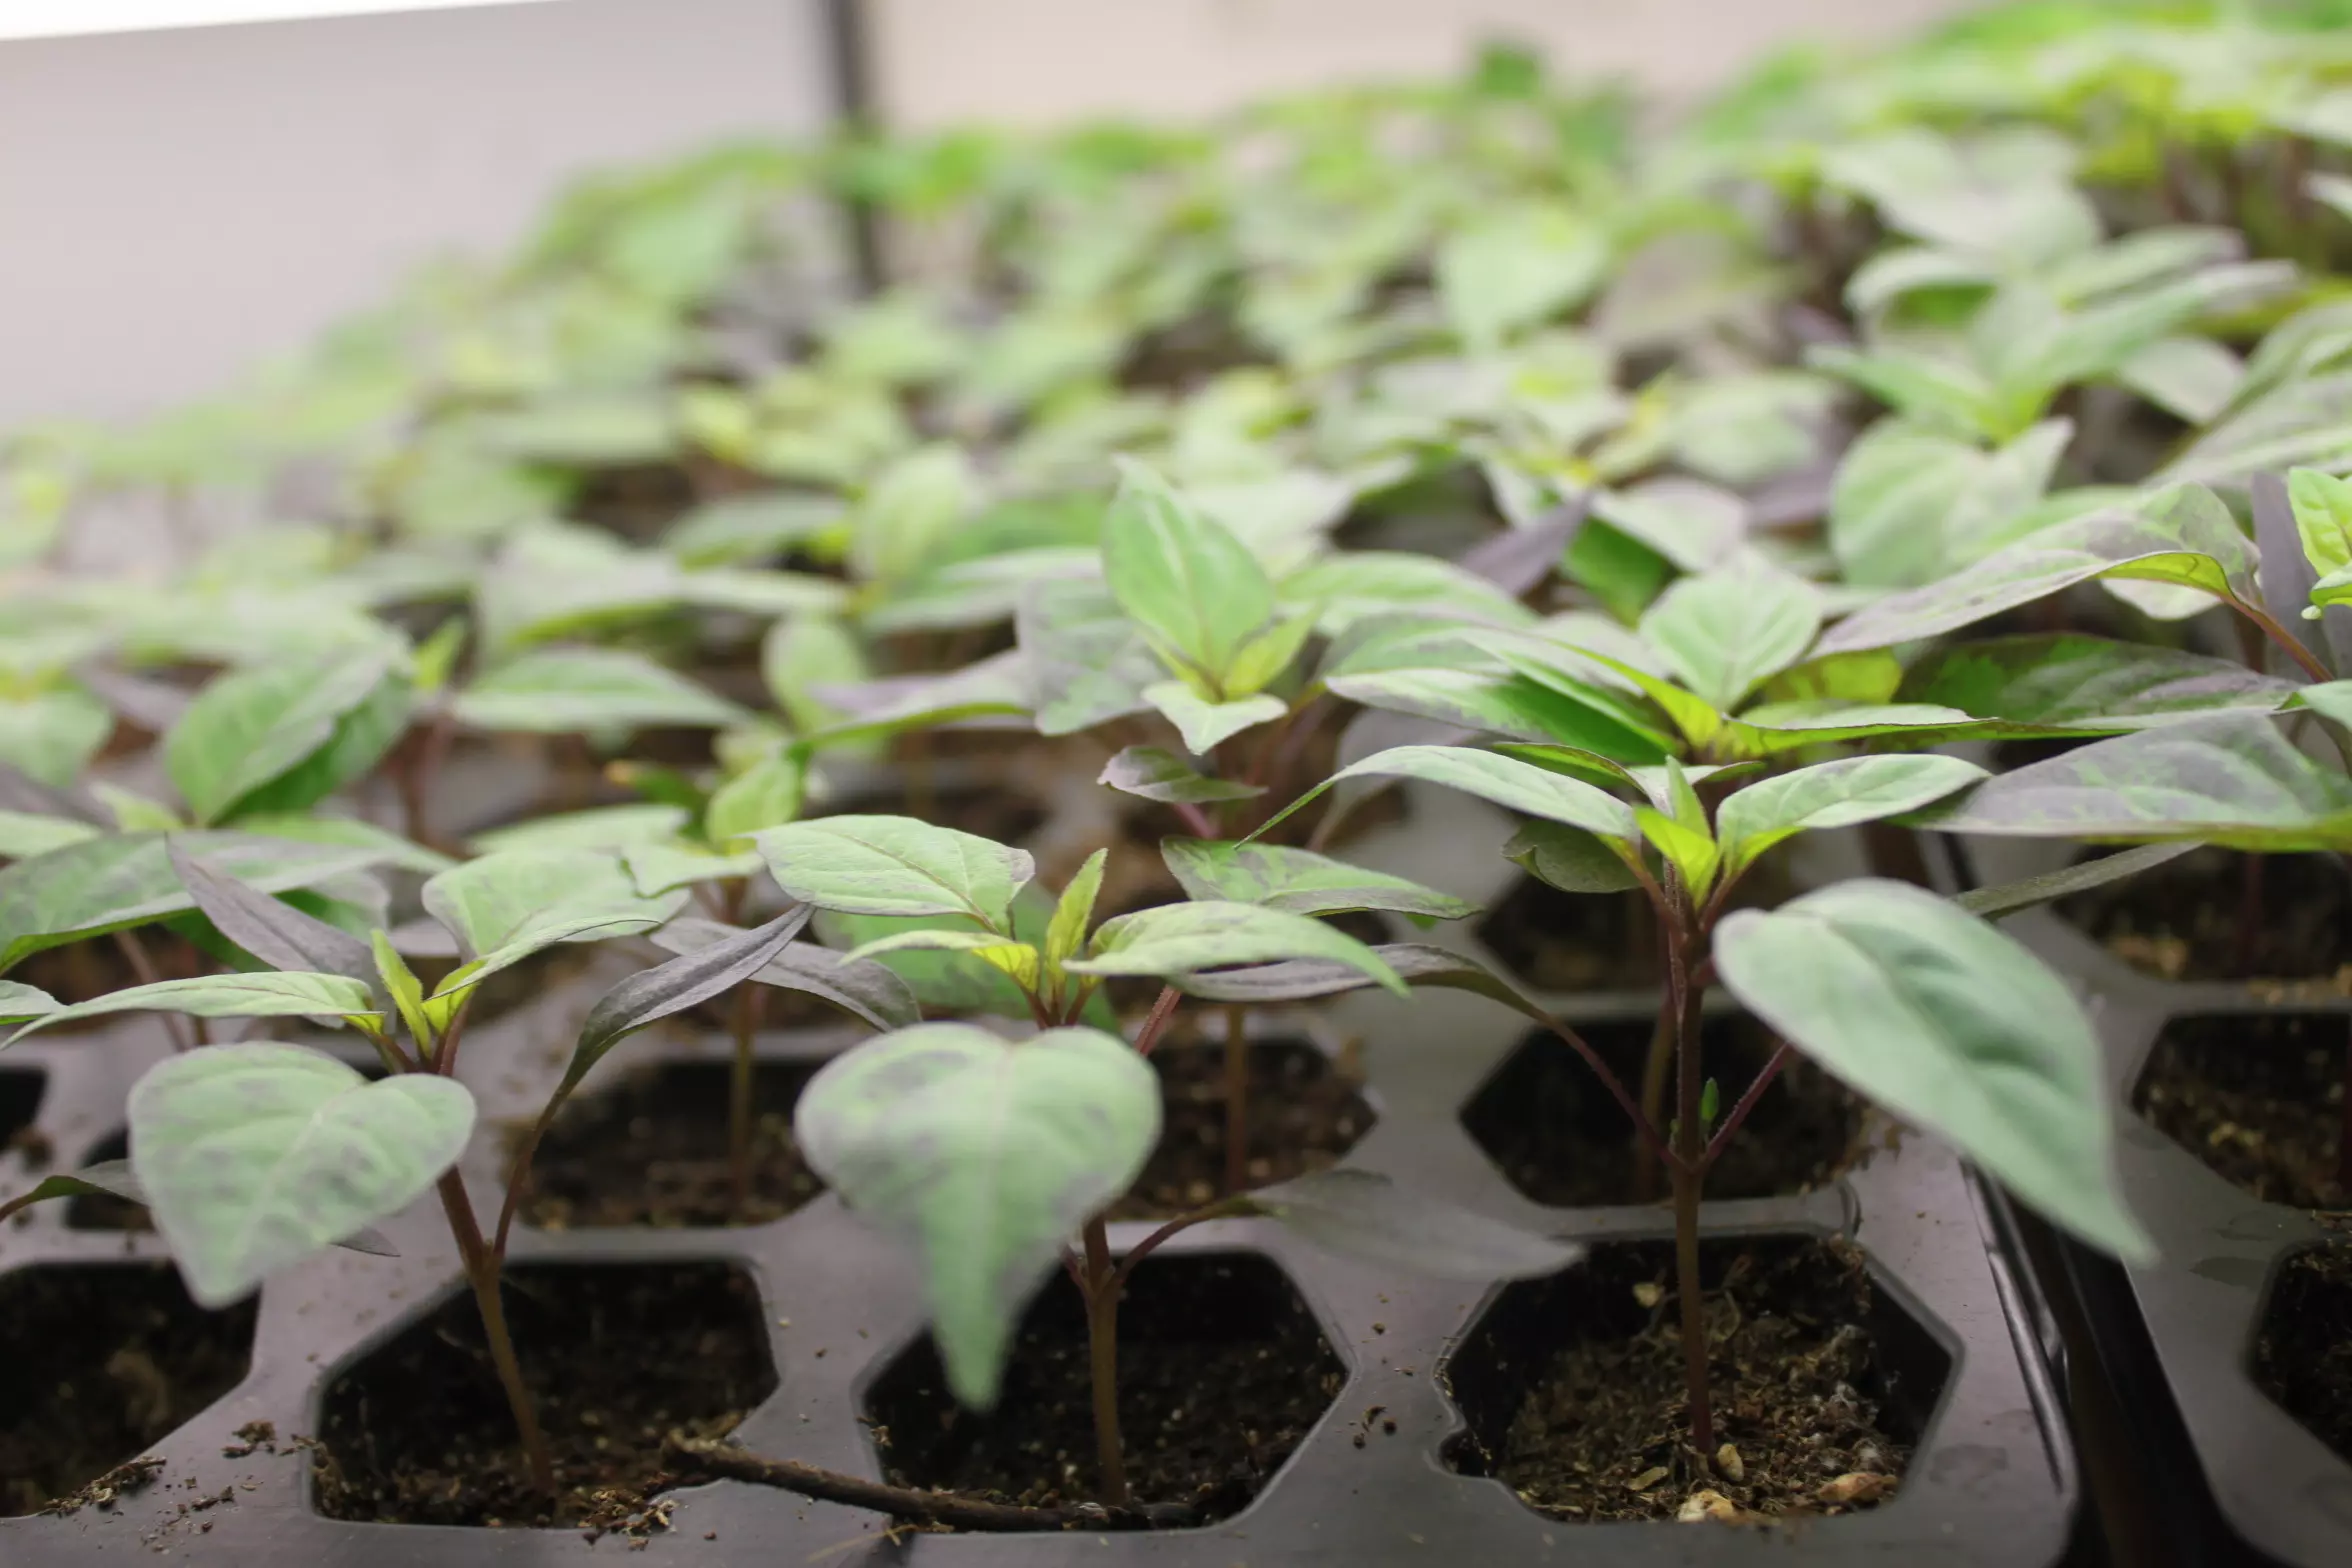
As planting day approaches – its time to start preparing all of our indoor seedlings for the rigors of the “real world” conditions they will face when they finally go …