
Preparing For Gardening Season – A Little Work Now Pays Off Later!
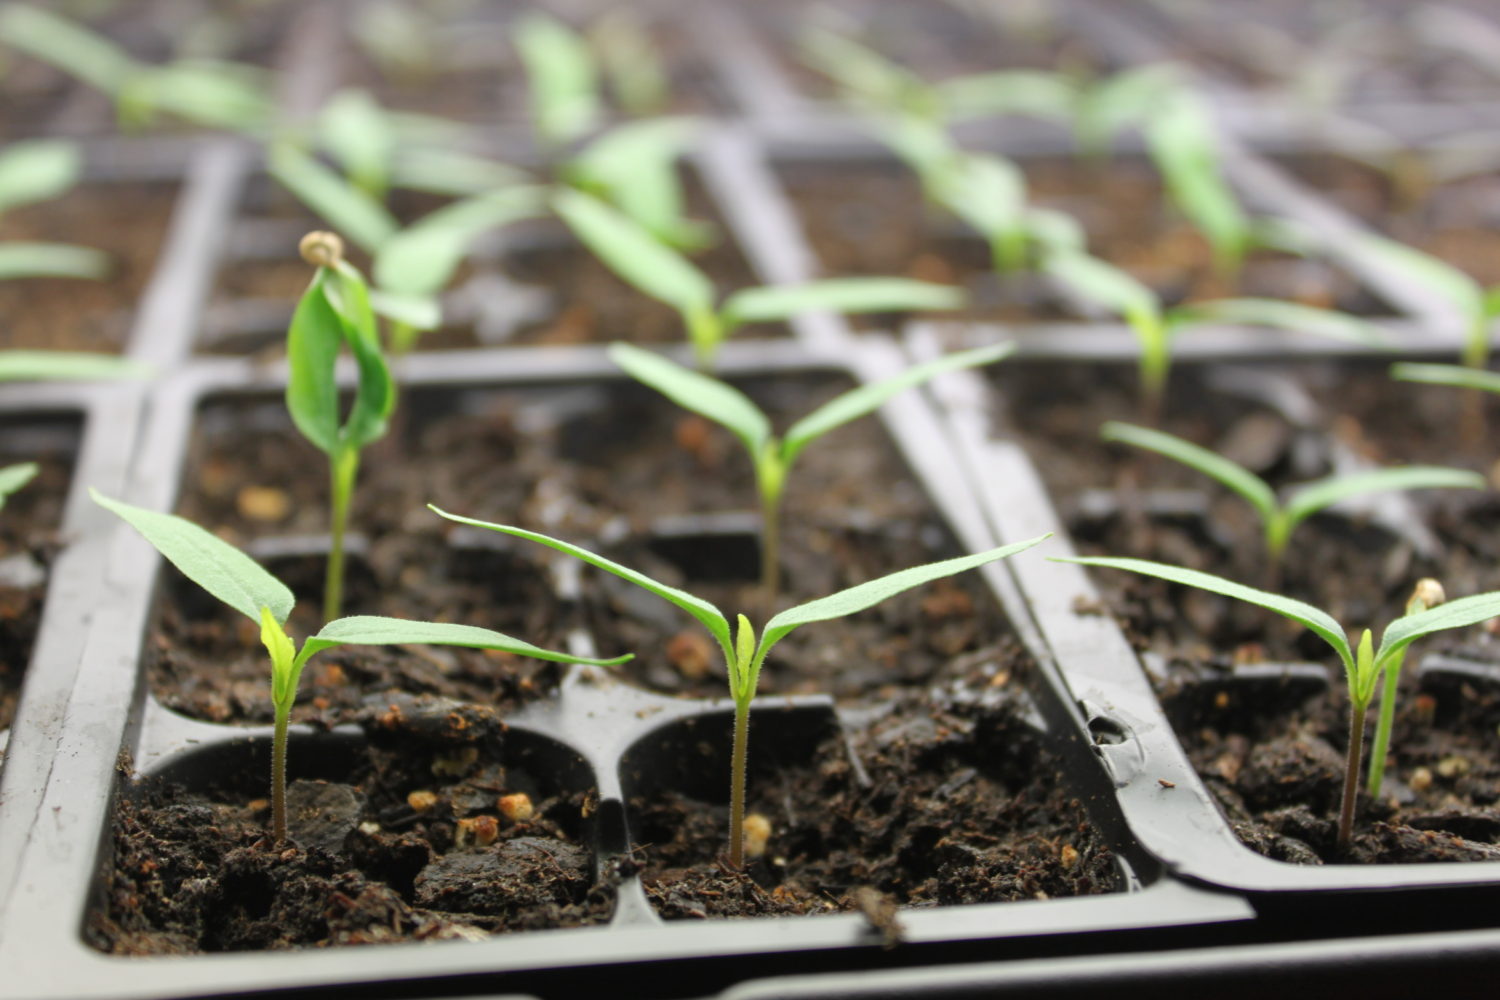
There is really no way to describe the incredible feeling that a new gardening season brings. Just the thought of those first seeds going into the ground – or the …
There is really no way to describe the incredible feeling that a new gardening season brings. Just the thought of those first seeds going into the ground – or the …
Over the years we have tried several methods of staking and tying up our tomatoes. As the tomatoes start growing by leaps and bounds, you don’t want to risk the …
It’s hard to believe all the changes in just one month – but what a difference a week makes. This is the 2nd part of our Spring, Summer and Fall …