If you have always wanted to garden – but think you can’t because you don’t have access to a rototiller, great soil, or endless hours of extra time or money – don’t despair – it’s still possible!

Nothing beats fresh produce from the garden – like these Mariachi peppers!
Gardening does not have to be expensive, nor take every waking minute of your time to plant and maintain. By utilizing some of the same techniques that we employ in our large raised-row garden beds at our farm (see: Growing Simple With Raised Rows) – anyone can enjoy a tiny, easy-care garden that can give you loads of fresh produce with minimal effort.
In fact – in a space as little as 10′ x 15′ and with a few bags of inexpensively purchased compost – you can have enough room to fit 28 traditional veggie plants – more than enough to keep you in fresh tomatoes, peppers, cucumbers, zucchini and more through the summer – with perhaps enough left over to preserve for winter.
Step 1 – Find the Right Space
Where you put your garden can have as much to do with its success as any other factor.

Be sure to pick the sunniest location possible for your garden
You want to locate your garden in the sunniest location possible. Full sun is best – but if your limited to spaces with a lot of morning or afternoon sun – choose the afternoon. Tomatoes, peppers and almost all vegetables like it sunny and warm – and that afternoon sun is the better choice of the two.
If you pick too shady of an area – your plants will struggle to develop – not to mention become much more susceptible to disease.
Step 2 – Preparing Only The Soil You Need!
So now that you have that 10 x 15′ space picked out – now comes all of that back-breaking work – right? Wrong!
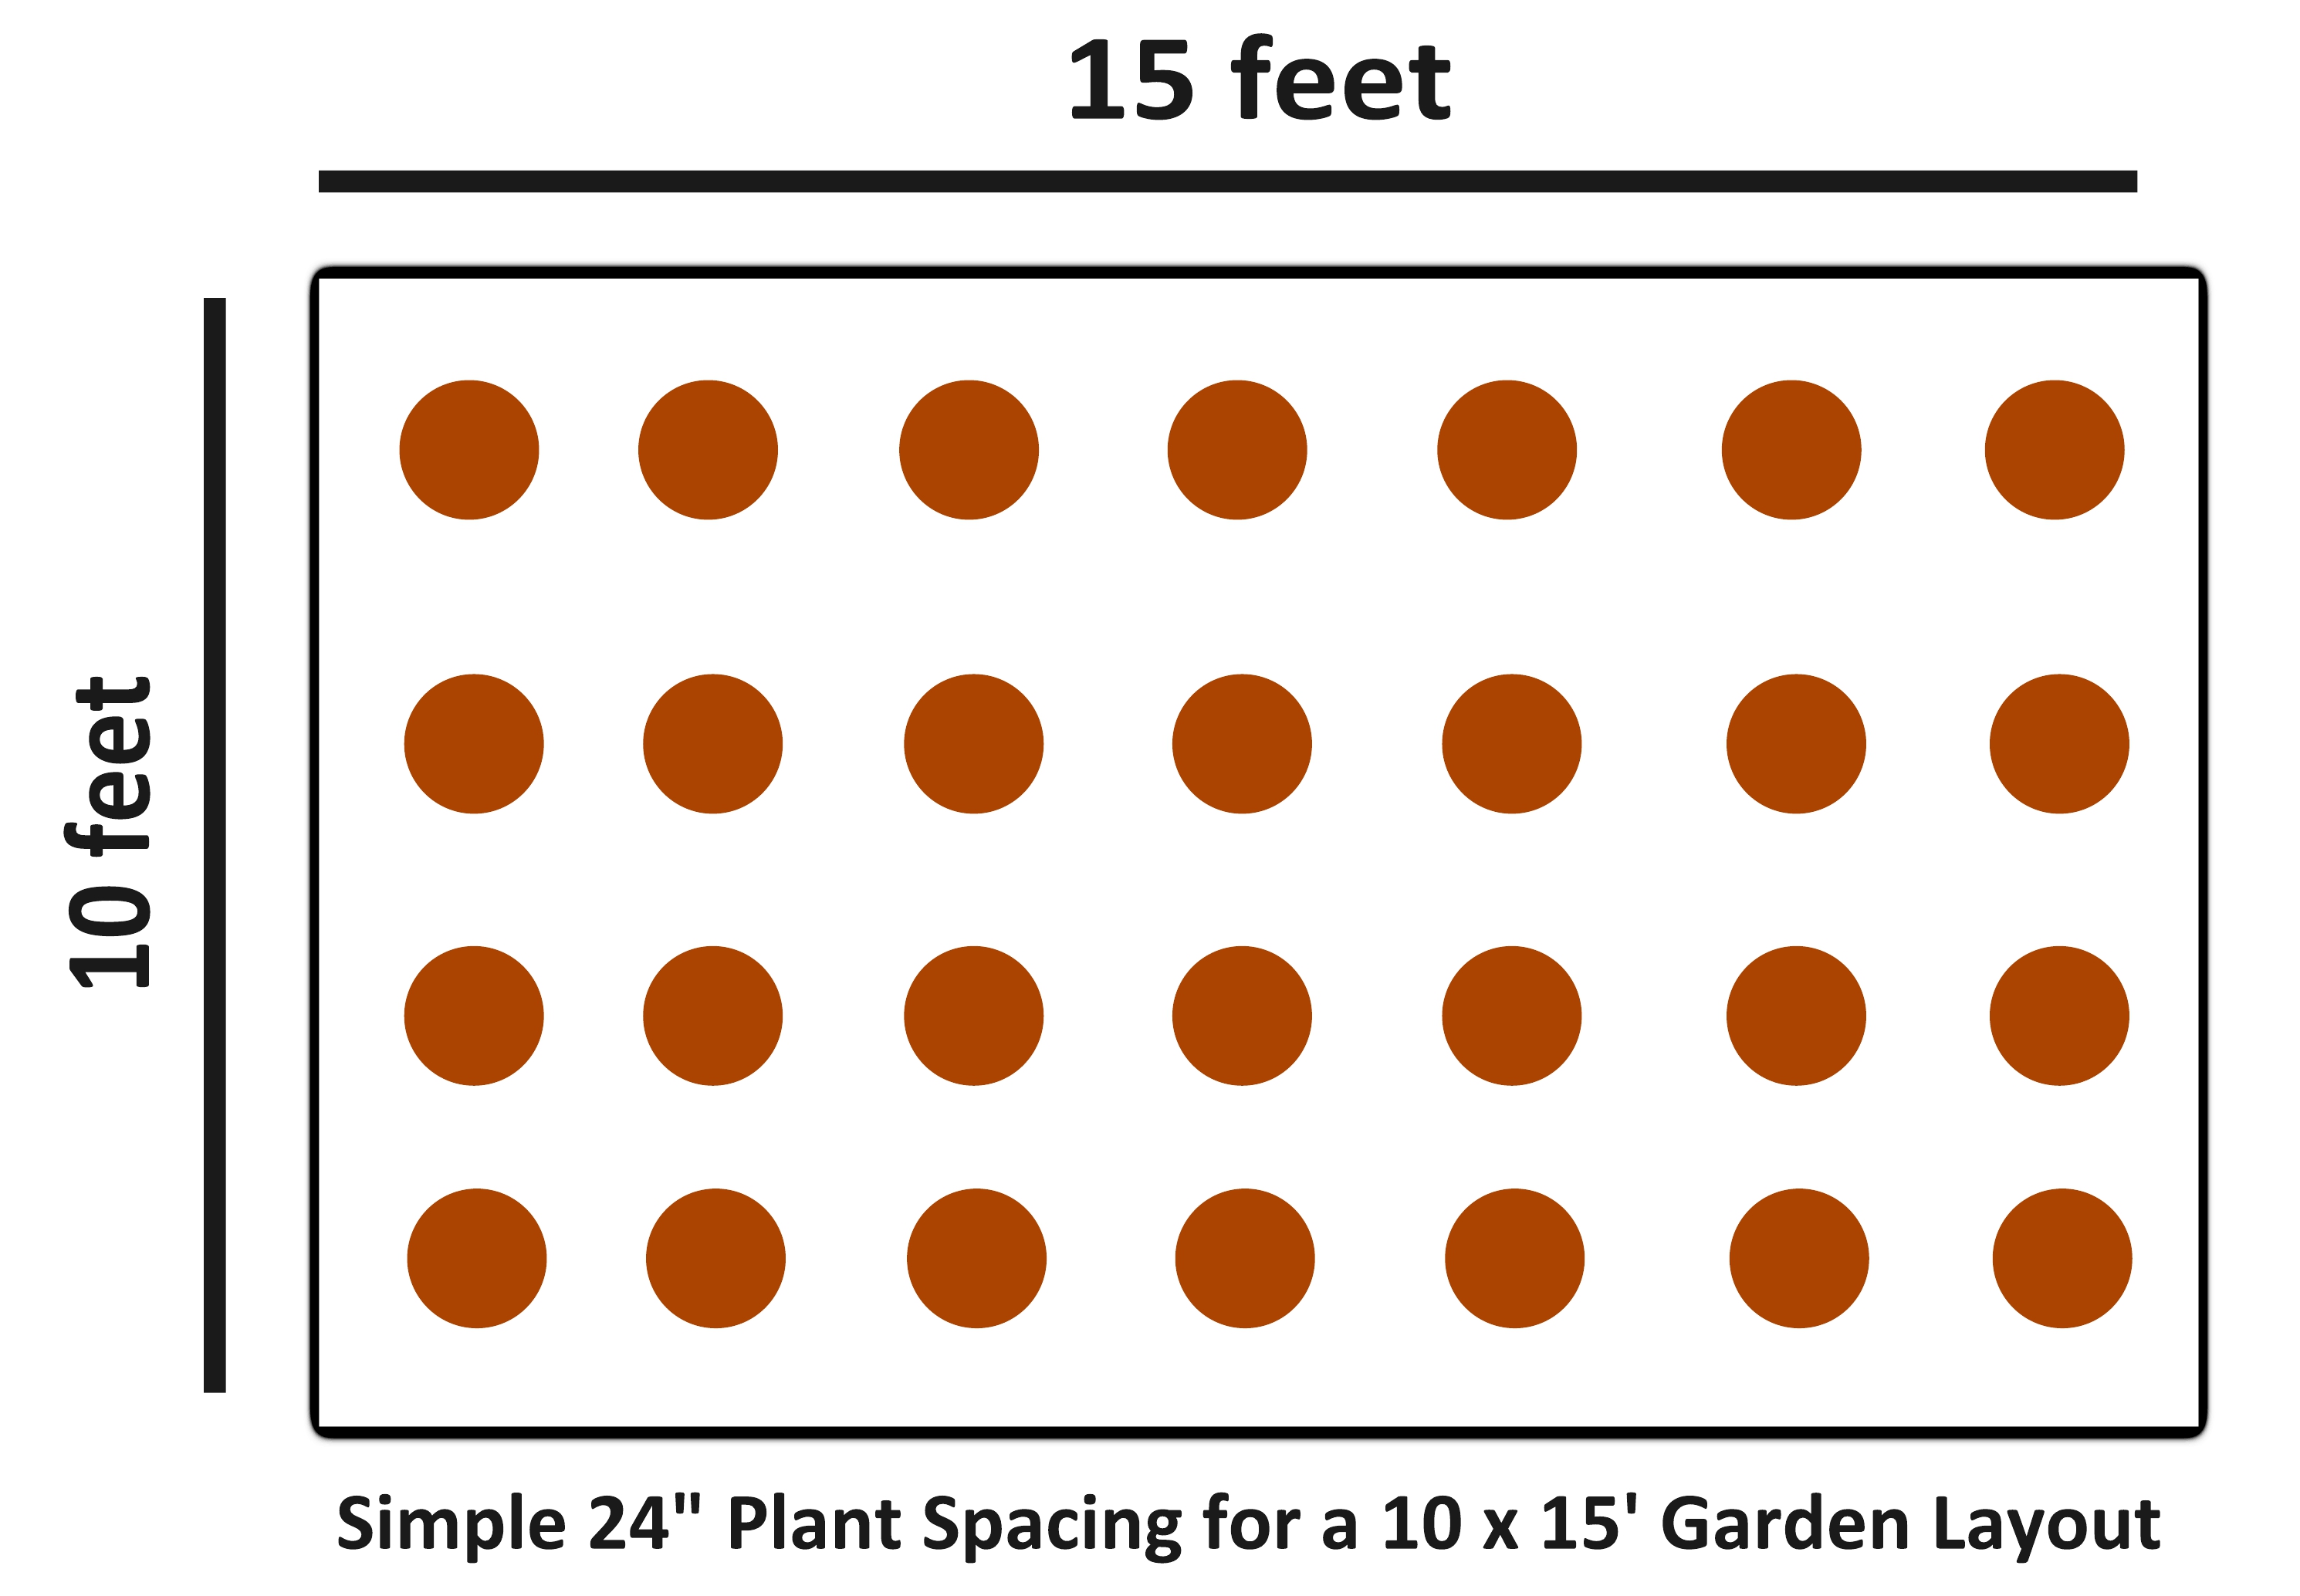
A simple 24″ on-center planting layout
There is no need for a rototiller, raking – or pulling up sod. In fact – you are actually going to concentrate all of your efforts simply where your plants are going to be – leaving the rest of all of that space to be taken care of by a thick covering of mulch to control weeds.
Begin by mapping out where you will place your plants. Plant spacing is critical for the overall success of whatever you plant. As a general rule of thumb – for a garden such as this – you can plant typical garden plants such as tomatoes, peppers and cucumbers about 24″ on center between each plant.
That’s enough room to easily work around the plants and to allow for good plant growth. Using a simple spacing system like the picture to the right – you can fit 28 plants into a small 10 x 15 area.
Once you have your future plant holes marked out – take a shovel and dig only the area where your planting holes will be. Dig out and loosen the soil for each planting hole to about 12″ in diameter and 8″ to 10″ deep.

Compost is one of the best all around mulches you can use in the garden
Concentrate all of your efforts to creating great soil in those planting holes – adding in either compost, shredded leaves, straw, potting soil – or even better – a little of all 4! After all – this is the soil where your plants are going to grow – not in the space in between!
When you complete each planting hole, make sure the soil in the hole remains about 3 to 4″ above the ground around it. This “raised” planting area helps keep more moisture to the plant – and sheds off the effect of too much rain as well – using the same concept as our raised-row garden employs.
For all of the space in between your planting holes – you can either lay down plastic or cardboard to block weeds – and then be sure to cover with a thick mulch of shredded leaves, straw, wood chips or grass clippings – or whatever is available for free!. The mulch not only keeps the plastic or cardboard in place – it helps to retain moisture to the area – and keeps the garden looking attractive!
Step 3 – Planting
When the temperatures in your area allow – you are now ready to plant you garden!
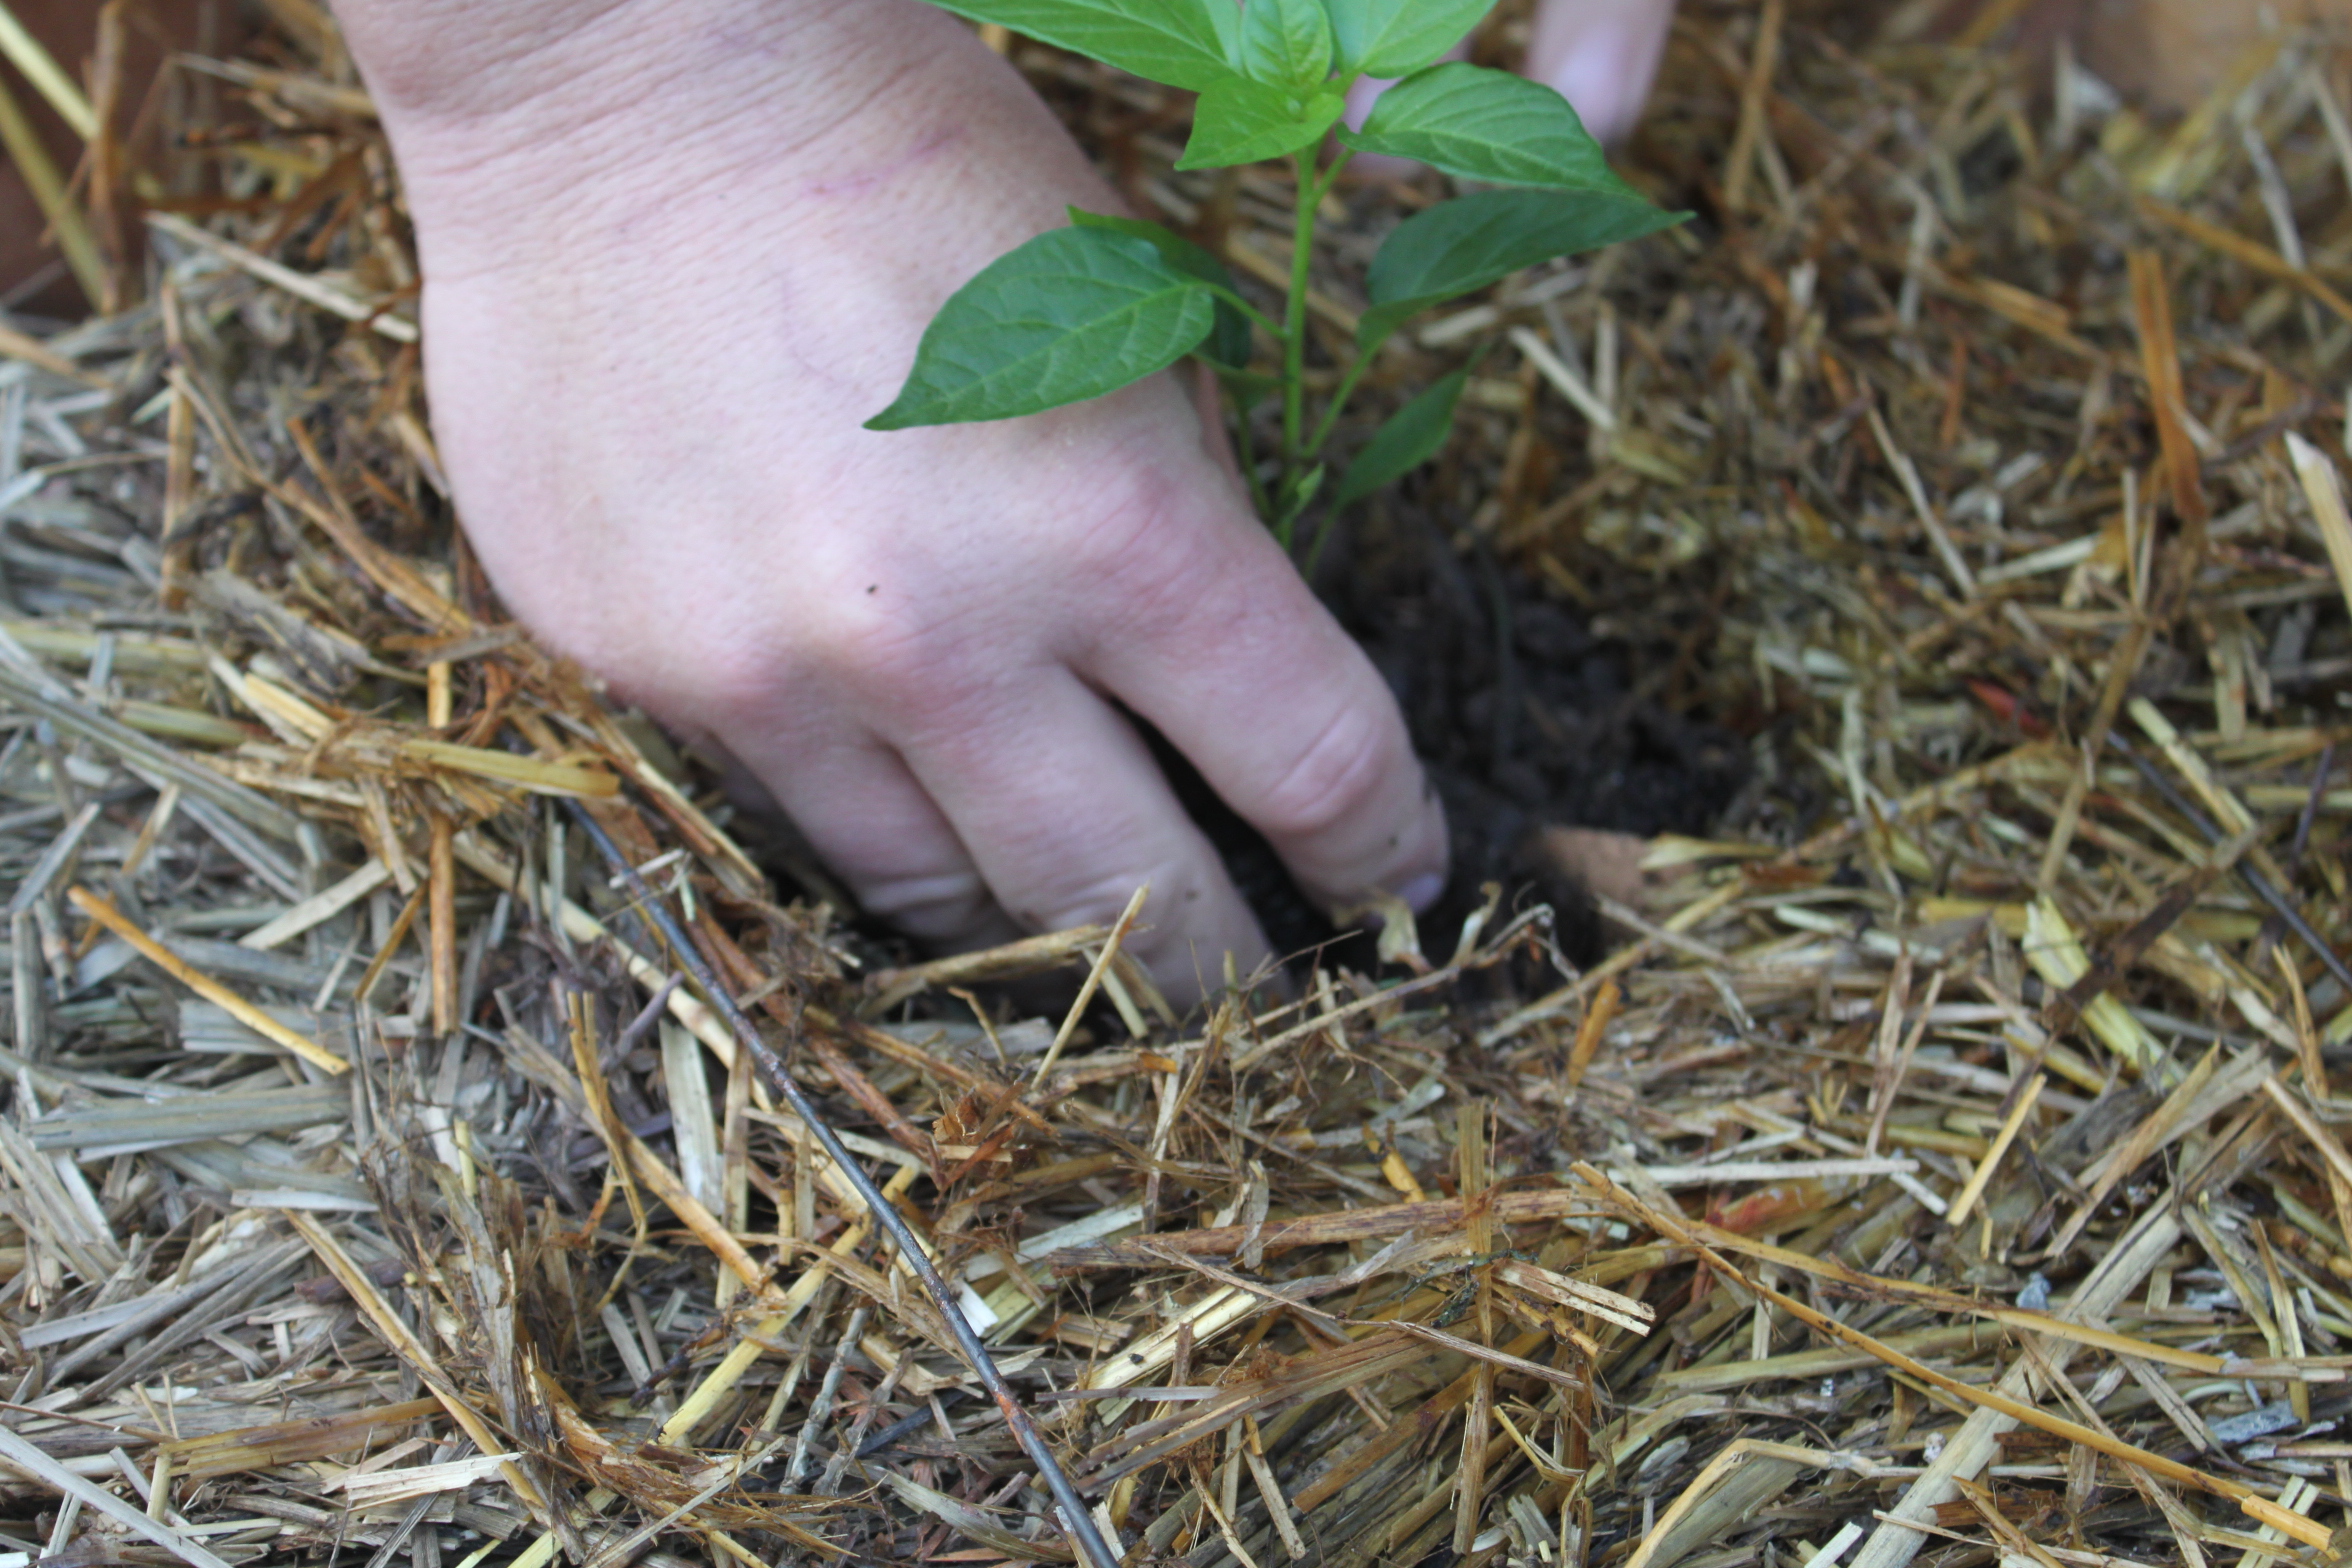
The soil around your plants is the most import
Planting is made simple with the ready-made planting holes.
Just dig out a little of the now-loose planting area soil – and drop in your plants. This is a great time to add a cup or so more of aged compost in the hole as an extra boost to your plants.
Once you have planted – mulch the bare soil around the base of each plant with another 1″ of compost. This added top coat gives the plants a little soaking boost of nutrients every time it rains or you water – and adds to the overall fertility of the soil. If you don’t have compost on hand – you can certainly use shredded leaves or straw – but use something to keep the soil covered around the plant to keep moisture in and weeds out.
Compost is full of all kinds of nutrients that will feed your plants throughout the year. And as you continue planting each year – all of those compost filled holes begin to add up to better soil! See: Composting 101 Tips and Tricks to learn how to make your own!
Step 4 – Maintaining The Garden
Now comes maintaining your garden. As for the areas in between – you can simply add more straw, leaves or mulch to keep any weeding to a minimum. You will also want to make sure your plants receive enough water to thrive. (See: The Ins and Outs of Watering Your Garden)

You can also preserve some of your garden’s bounty to enjoy in the winter months as well!
Too little water and they shrivel up. Too much water and they won’t develop the good and deep root structure needed for big plants. A good rule of thumb is that a garden plant typically needs to receive about 1 inch of water a week. If mother nature isn’t supplying that – then you need to supplement. What most don’t say is that the 1″ of water shouldn’t come all at once. If you are experiencing a prolonged dry spell – water every two to three days with about a 1/2″ of water to the plant at a time. This allows enough water to go deeper into the soil and build deeper roots – but gives the plants more consistent watering.
Watering in the early morning is best – before the sun has a chance to really get hot. Water at the base of the plants and let it soak in.
Last but not least – keep those heavy clomping feet off of the soil right around your plants! Try to keep foot traffic confined to the mulched areas between rows to keep roots from compacting and the soil around each plant loose. This allows for easy growth of a plant’s roots – and keeps the soil open to allow in water and nutrients.
And there you go – you have a garden of your own!
For more information on all things gardening – check out our Garden Resource page – chock full of all of our gardening self help articles!
Happy Gardening – Jim and Mary
If you would like to receive our DIY & Gardening Tips each week – be sure to sign up to follow the blog via email in the right hand column, “like” us on Facebook, or follow us on Twitter