Whether it be the construction of a new walkway or landscape bed, the addition of a garage or barn, or perhaps the realization that a shrub or tree was planted too close to an existing structure – most of us are usually faced at some point with having to move an existing shrub or tree to a new area in the landscape.
For us – it was our blueberry bushes – which needed to be relocated to a new location this week to make room for an expanded chicken coop run next year.

Fall is a great time to transplant shrubs and trees in the landscape
For most deciduous shrubs and trees, including our blueberry bushes – late fall is a great time for transplanting!
The crisp autumn air and a few hard freezes at night have allowed the plants to shut down their root systems and begin their dormant stage.
Meanwhile – the soil is still very workable and easy to lift before the “frozen” tundra of winter hits – making it perfect to find those trees and shrubs a new home!
The Keys to Transplanting:
Before you dig, make sure that the area around the transplant is well-watered. If the soil is dry, it may break off of the root ball as you lift it out of the hole, which can damage many of the tiny feeder roots that are so important to a plant’s vitality.
Once the ares has been soaked down – its time to dig out the root ball. Be as careful as possible to dig out far enough to not sever any of the main root ball.
As a good rule of thumb, most root balls will end up being about a third of the diameter of the plant above ground. Obviously, shrubs and trees that are on the smaller side are the easiest to transplant.
Once you have your root ball completely out of the soil – water it down again to help keep the soil in tact before moving.
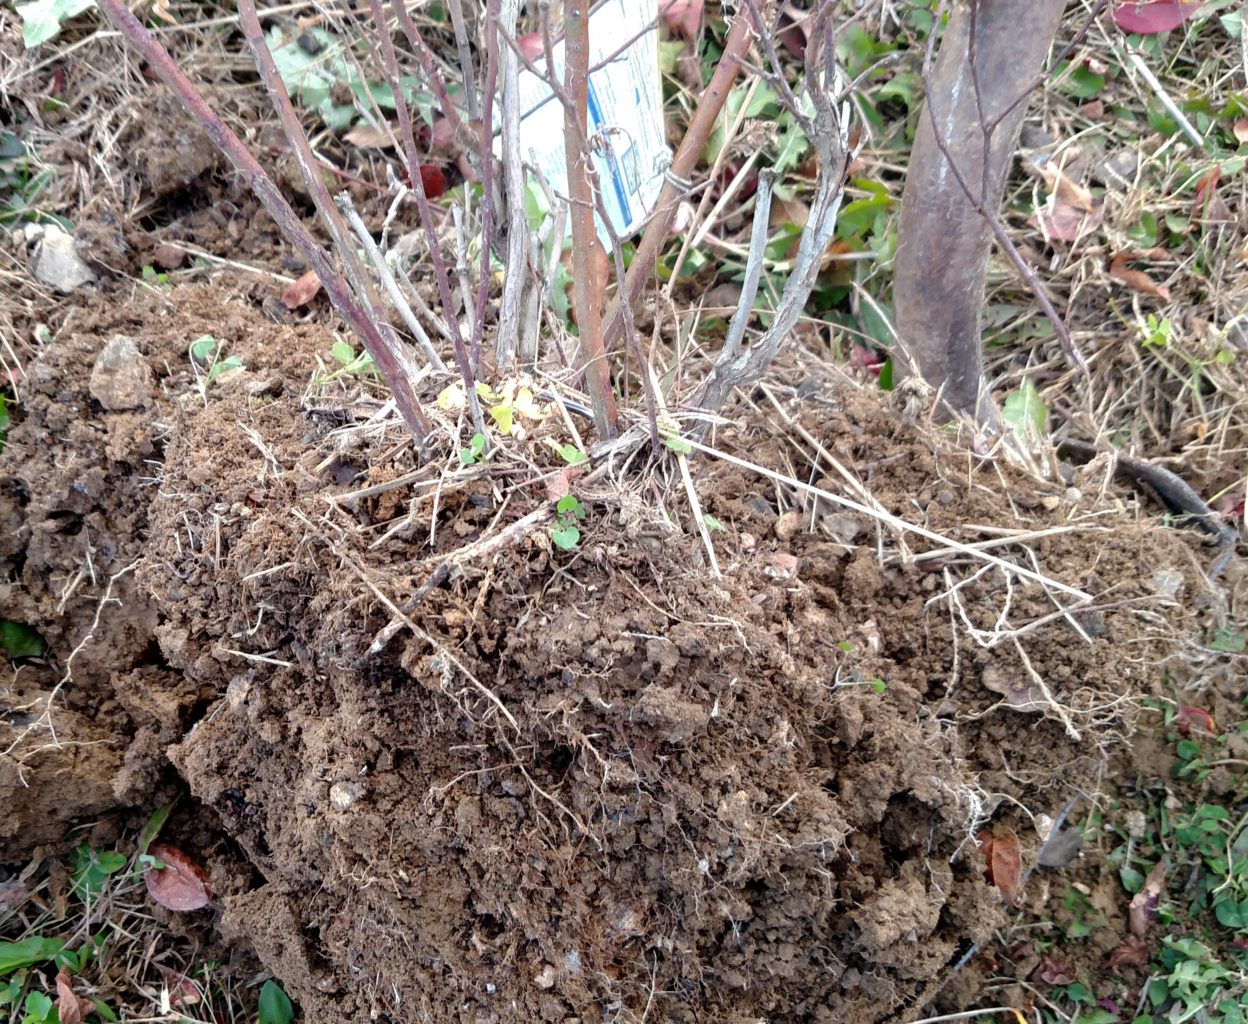
Keeping the root ball in tact is the key to a successful transplant
Dig the new hole about 4 to 6″ deeper than the root ball you will be transplanting. Mix back in equal amounts of compost and soil in the bottom of the hole, filling it up enough so that the top of the transplant ball (ground level) will sit at the same soil level it was prior to moving.
The mix of soil and compost to the bottom 4 to 6″ will allow for better drainage and let the roots more easily expand into the soil around root ball – and give a boost of nutrients from the compost.
Press down the soil firmly around the surface level to help “set” the ball – and water again. Finally – add a good 3 to 4″ layer of mulch (wood chips or leaves are excellent choices) around the shrub or tree to provide extra protection through the winter months.
Watering
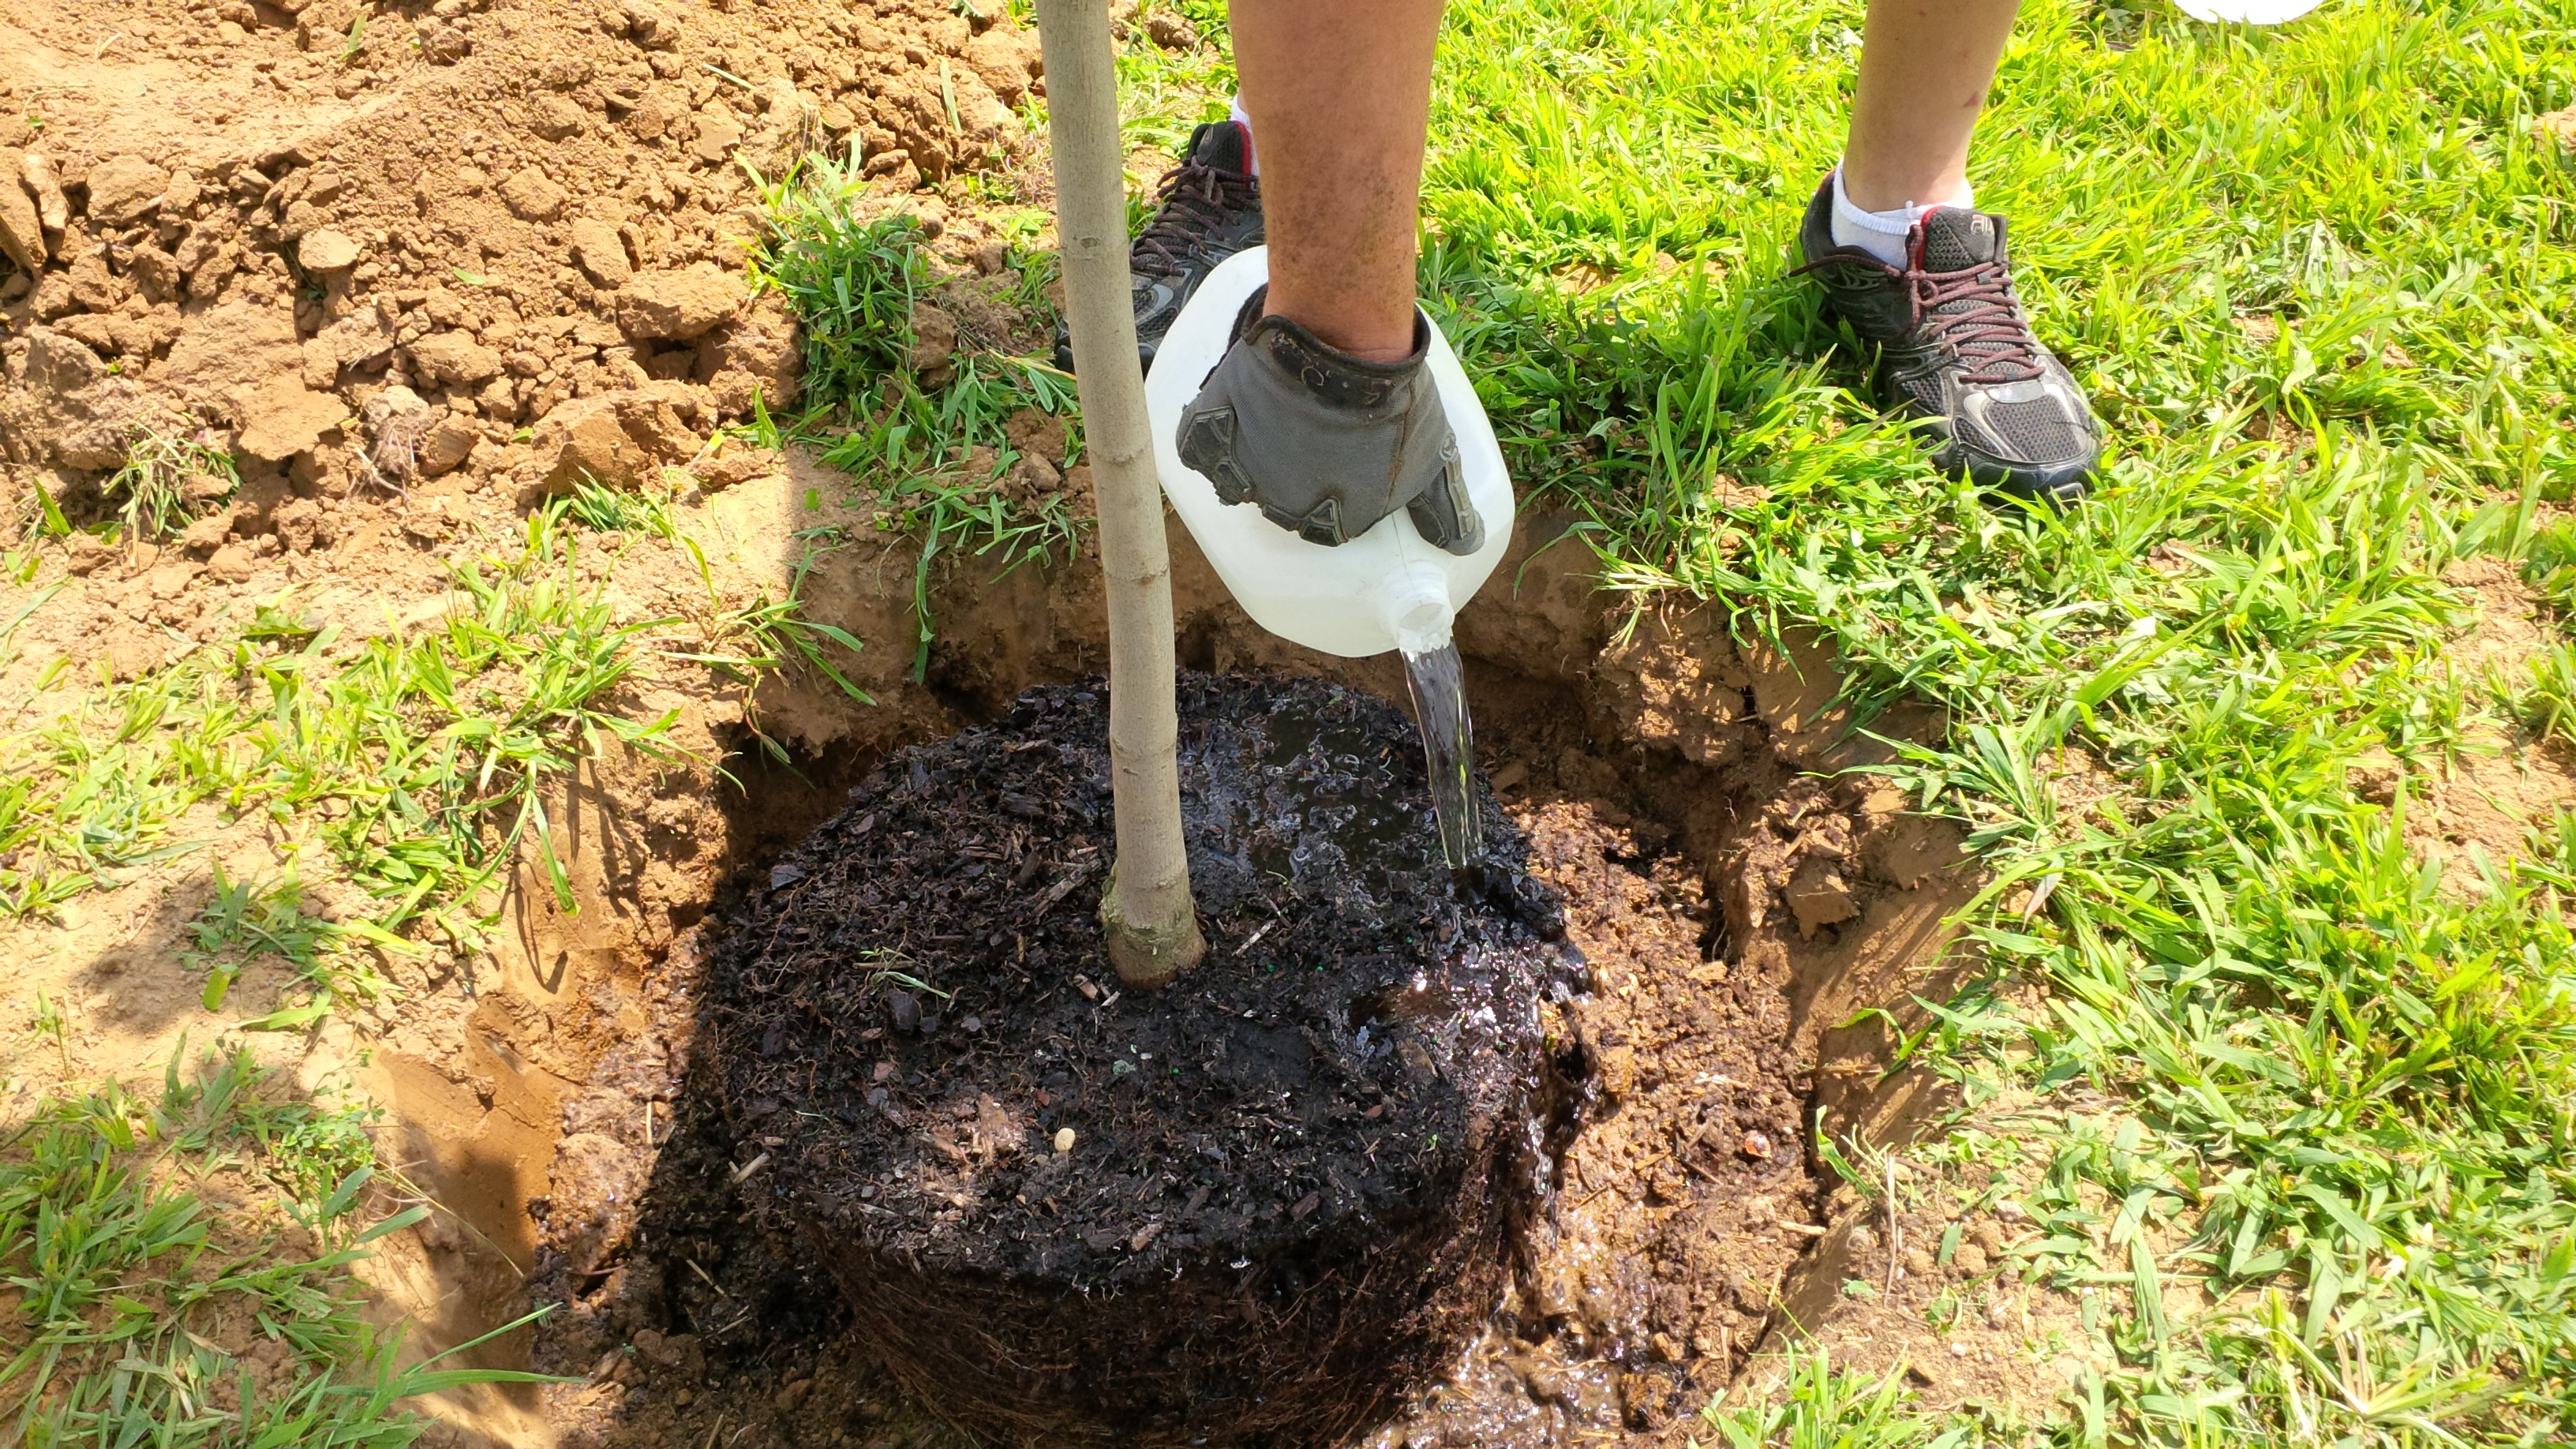
Much like planting a new tree or shrub – watering is the key!
Water every 3 to 4 days for the first few weeks after transplanting, and at least once a week until the full force of the winter months have frozen the ground.
Once the ground begins to thaw in the Spring – make sure to keep your transplants watered at least once a week throughout the first growing season to help them through the stress of finding a new “home” on your property!
Happy Gardening! – Jim and Mary
If you would like to receive our weekly garden and recipe articles – be sure to sign up to follow the blog via email in the right hand column, “like” us on Facebook, or follow us on Twitter.