Have you struggled in the past with trying to start your own vegetable plants from seeds indoors? Well, today’s article is going to change that for good!
Starting seeds indoors can be an intimidating process for a lot of gardeners. Especially for those new to gardening. But when it comes right down it, by following just a few simple tried and true tricks of the seed starting trade – anyone can have success starting their own vegetable plants indoors.
The best part of all, there is no need for fancy or expensive equipment. Nor does it require hours and hours of endless and tedious work. In fact, with just the most basic of seed starting supplies, you can grow strong, productive and healthy plants for your garden – all while saving big money in the process!
Save Big On Your Garden…
Let’s face it, like everything else, vegetable plants and transplants are getting more and more expensive to purchase every year. And when you consider that a few packets of heirloom seeds can be less than the purchase price of a single common vegetable plant in a nursery – growing your own just makes sense!
In addition, when you limit yourself to only purchasing plants, your selection is limited to what the nursery or big box store wants to sell. Last but not least – and this is important – growing your own plants from seed is so very rewarding!
So with all of those benefits in mind, here is a look at the 5 simple secrets that can turn you into a pro when it comes to starting your own plants indoors this year.
The 5 Simple Secrets To Starting Vegetable Seeds Indoors
#1) Your Seed Starting Soil Matters!
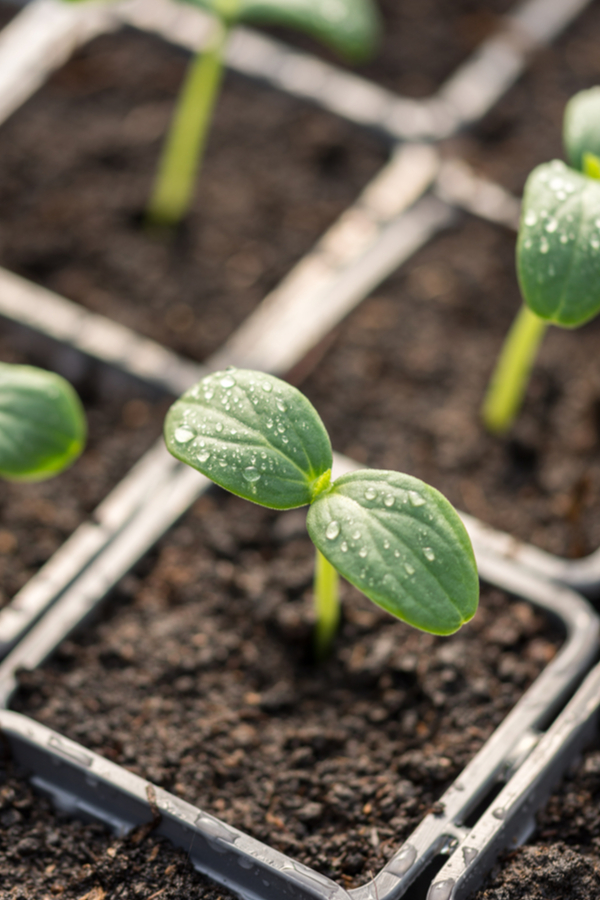
One of the biggest mistakes made when starting seeds indoors is not using the proper soil. Seeds germinate and grow better when they have nutrient-filled soil that is both loose and well draining.
Using garden soil, top soil or old, dried out potting soil are all big no-no’s when trying to start seeds. Instead, use a quality seed starting soil or enhanced potting soil that has plenty of nutrients for powering young seedlings.

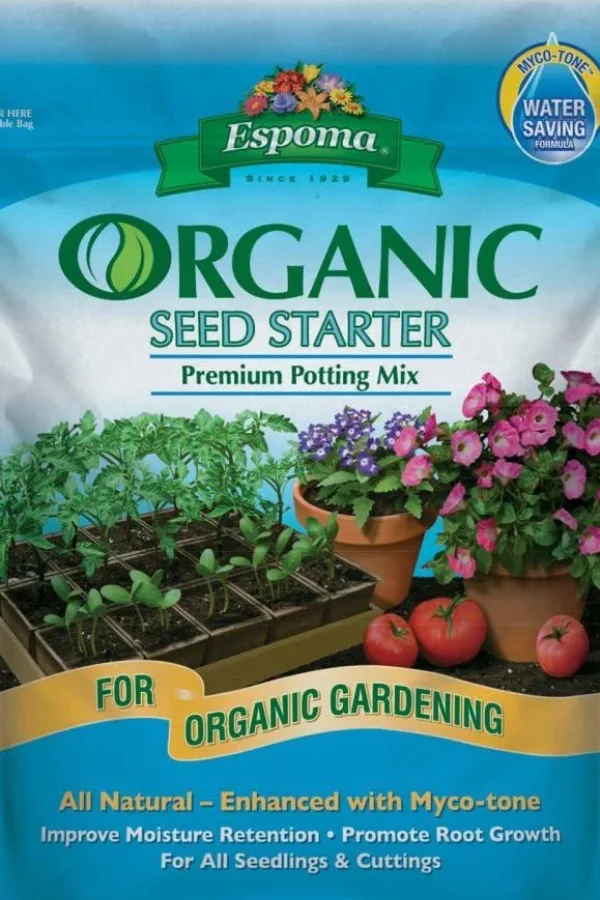
There are plenty of great options on the market, or you can make your own easily as well. Espoma and Purple Cow Organics both make organic seed starting soil that is loose, but still allows for great moisture retaining qualities around the seed. And when it comes to germinating and early growth, that is a huge key to success.
- Product Link : Espoma Seed Starting Soil
- Product Link : Purple Cow Organics Seed Starting Soil
Making Your Own Homemade Seed Starting Soil
You can also quite easily make your own amazing seed starting soil from ordinary potting soil and a few added ingredients.
For years, we have used a combination of potting soil, compost, worm castings and perlite to make an incredibly nutrient filled soil that is perfect for starting seeds. See : How To Create Your Own Amazing Seed Starting Soil
One word of caution, avoid using old potting soil or recycling soil from last year’s container plants. It may seem like a great way to save a few dollars, but the soil from old containers is weak and depleted of nutrients, which makes it a bad choice for seed starting soil.
#2 Use Grow Lights, Not The Windowsill – How To Start Vegetable Seeds Indoors
Plain and simple – sunny windows and windowsills are not a good option for growing vegetable plants from seed. Plants will germinate and grow, but the light source is too far away for proper growth.
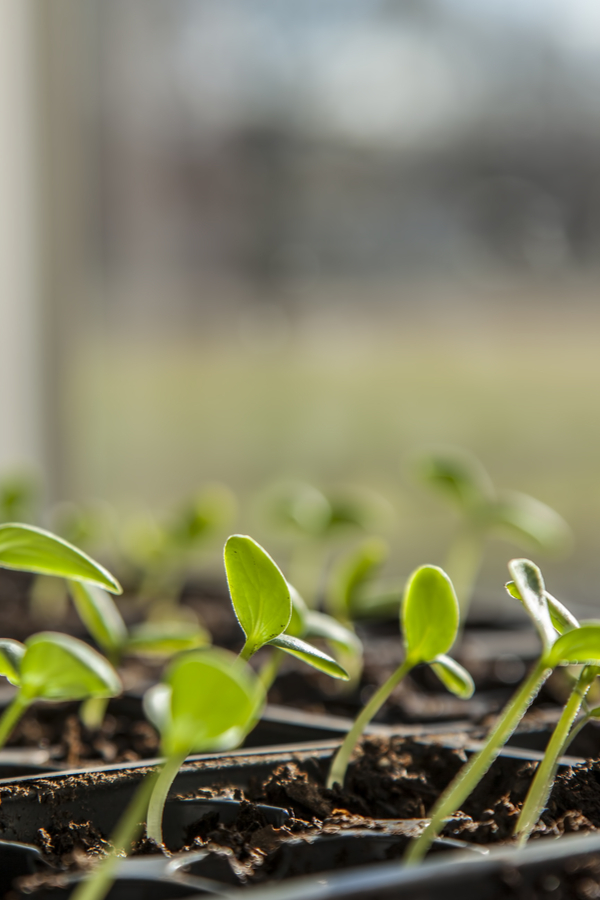
Plants growing in windowsills end up being extremely weak, thin and leggy. But don’t think just because you can’t grow in a window that you need fancy equipment. The light spectrum required for growing vegetables simply doesn’t require special lighting.
We have been growing our own seeds indoors from ordinary, inexpensive fluorescent and now LED shop lights for years. And with great success! Basic LED shop lights, or T8 or T25 fluorescent shop lights with cool white bulbs work wonders. We like the LED best because they are so inexpensive to operate.
By simply keeping the bulbs about an inch above the plants as they grow, it allows for the seedlings to grow slow and strong. As for heating mats, as long as the room you are growing in is a minimum of 65 degrees, they will grow fine without them.
But remember, the warmer the room, the better. Try to place your seedlings in the warmest room of the house. A room that stays near 68 to 70 degrees Fahrenheit is the most ideal for starting seeds. (See: DIY Seed Starting Stand)
#3 Use Quality Seeds – How To Start Vegetable Seeds Indoors
Great transplants start with great seed. If you are not saving your own seeds from year to year, purchase good, fresh seed stock from a reputable source. Be leery of those old dusty seed racks in the back of stores!
Listen In To Our Podcast On Starting Seeds Below…
Old seeds, or seeds that have been stored improperly can lose their strength and vitality quickly. For starters, it can lead to poor germination. But even more, those that do germinate from older seed can be weak and feeble.
Use seed that is no older than twelve to 18 months. We try to never use seeds that we have had more than one additional season. In other words, if we purchase a new packet of seeds this year, we will keep the unused seeds stored safely in our refrigerator until next year to use one more time.
After that, we discard the seeds and order new. For just a few dollars, it is far better to purchase seeds that are fresh and viable for planting.
#4 Water Properly – How To Start Vegetable Seeds Indoors
It can’t be said enough that proper watering is vital for good seedling growth. Water too little, and plants can’t absorb nutrients in the soil. Water too much, and the roots can quickly become water-logged, once again causing them to be unable to absorb nutrients.
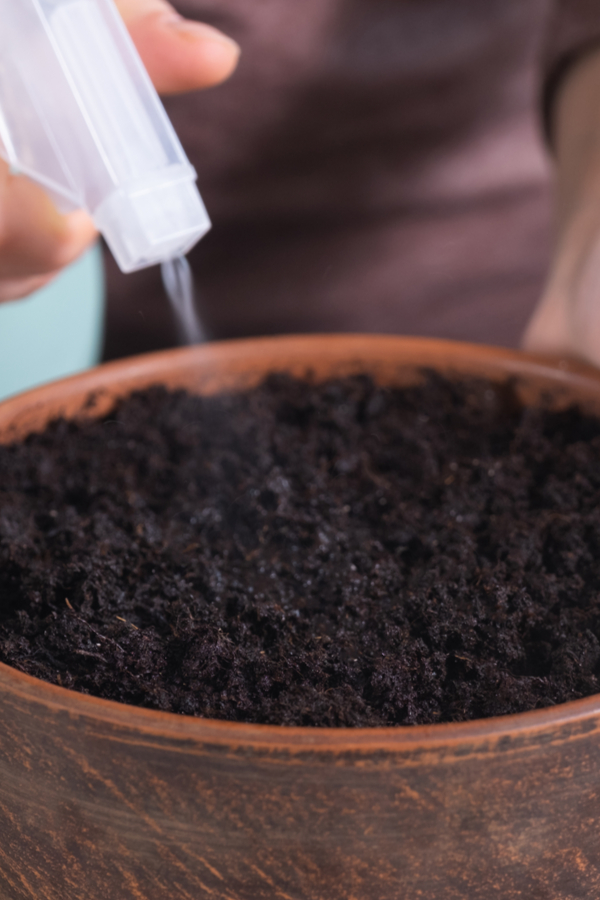
To get seeds to germinate, gently water the soil so that it is slightly damp. If the soil is too wet or water-logged, it will rot the seeds and/or drown the frail sprouts. Our favorite way to water newly planted seeds is with a spray bottle.
The mist is perfect for gently moistening the soil without over-saturating the surface. Once you have moistened the soil, cover the trays with a plastic dome or plastic wrap to keep the soil slightly damp and moist.
Once the first few seeds germinate, take the cover off and put the plants under the lights. Once seeds germinate, their water needs will continue to grow weekly. Check the soil with the touch of your fingertip each day. If its dry to the touch, gently water the soil to keep moist. Soil should be on the damp side, but not soggy.
That spray bottle is once again great for watering the first few days after seeds germinate. The mist can’t knock over the tender shoots when they are most vulnerable.
#5 Make Sure To Harden Plants Off – How To Start Vegetable Seeds Indoors
Finally, don’t forget to acclimate your plants to the great outdoors by hardening them off before planting day! In fact, one of the biggest mistakes made by indoor seed growers is to skip this step before planting, and it can have disastrous results for your plants.
Plants need to get used to the fluctuation of outdoor temperatures. After all, they have been in the comfy confines of the home their whole life up to this point.
A few weeks before planting day, start setting seedlings out on warmer days. Continue to give them more and more outside exposure unless the temperatures are expected to drop to near or below freezing. Hopefully, weather permitting, they can start staying outside around the clock a week or so before planting.
Once planting day comes, your plants are tough and ready to grow. Start getting ready now to grow your own seeds late this winter. Not only will you be rewarded with incredibly tasty vegetables – you can save big money! Happy Gardening – Jim and Mary.
Jim and Mary Competti have been writing gardening, DIY and recipe articles and books for over 15 years from their 46 acre Ohio farm. The two are frequent speakers on all things gardening and love to travel in their spare time.
As always, feel free to email us at thefarm@owgarden.com with comments, questions, or to simply say hello! You can sign up for our free email list in the subscribe now box in the middle of this article. Follow us on Facebook here : OWG Facebook. This article may contain affiliate links.