Wondering what to do with your daylilies in the fall?
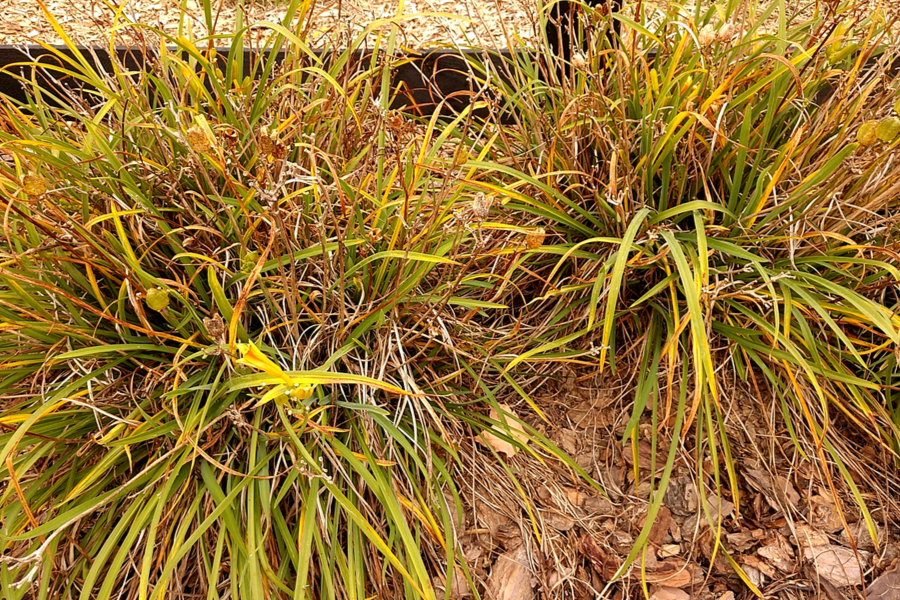
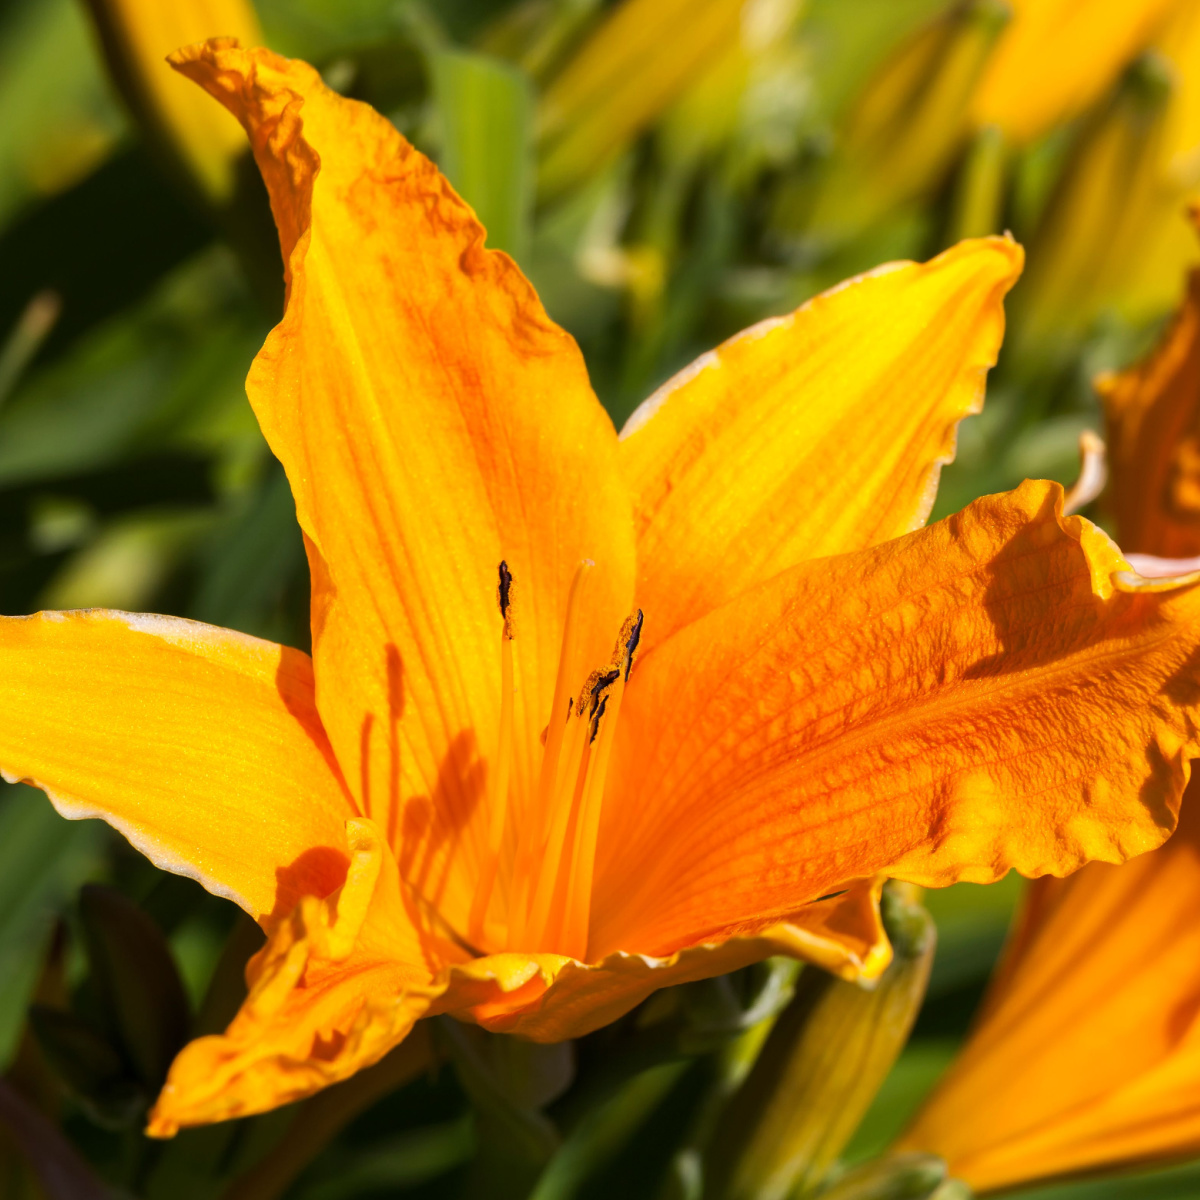
Although daylilies can bring incredible foliage and blooms from early spring to early fall, as autumn arrives in full force, the hardy perennial often begins to show some serious wear and tear from a full season of growth.
By mid-September, their once bright green blades begin to slowly brown off. In addition, most, if not all of their blooms have faded away as well, replaced by large seeds that dangle from dying stems. One thing is for sure, as they die back, they are anything but attractive in flowerbeds!

Should you cut them back or let the foliage die completely off? And what about the daylilies that have grown too large for their space? Can they be cut back and divided?
As it turns out, early fall is actually the best time to give your daylilies a little TLC – whether it be simply cutting them back, or dividing and transplanting daylilies that have grown too big. Not only can it spruce up your fall flowerbeds, it can also set the stage for your daylilies to bloom bigger and better than ever next year!
With that in mind, here is a look at how to care for your daylilies this fall before winter – including the best way to cut them back, and how to split over-sized plants to rejuvenate them and give you extra plants to use elsewhere – all for free!
What To Do With Your Daylilies In The Fall
Why Fall Is The Best Time For Daylily Care
Although daylilies don’t need to be cut back in the fall, doing so in the autumn months has several advantages. First and foremost, it keeps beds looking neat and tidy. Not just for the rest of fall, but for all of winter as well.
If allowed to remain, the decaying foliage certainly isn’t the most appealing of landscape features. Even more, we like to clean up our daylilies in the fall while we have time. Come spring, there is plenty more to do – and we like having that chore behind us!
But for us, there is another very important reason we like to remove it before winter sets in – and that reason is pests! Unfortunately, all of that dying foliage makes for a great place for insects and small animals to find a home. And one that they use to stick around to come back even stronger in the spring.
But perhaps best of all, cutting back your daylilies in the fall also gives you the opportunity to dig up, divide, and transplant oversized plants.
By doing this in the fall, you allow the new transplants to settle in and set their roots. That means that when spring rolls around – they are ready to grow! So much so that they can flower and grow bigger and better in their very first full season. Unfortunately, spring-planted transplants often don’t bloom until the following season.
Let’s first take a look at the ins and outs of cutting back – and then cover how to divide and split any of your overgrown plants.
Cutting Back Daylilies – What To Do With Your Daylilies In The Fall
Cutting back daylilies is as simple as cutting the foliage down to within a few inches of the ground. A sharp pair of hedge trimmers work best for this. Simply slide the blades down under the clump of foliage and cut.
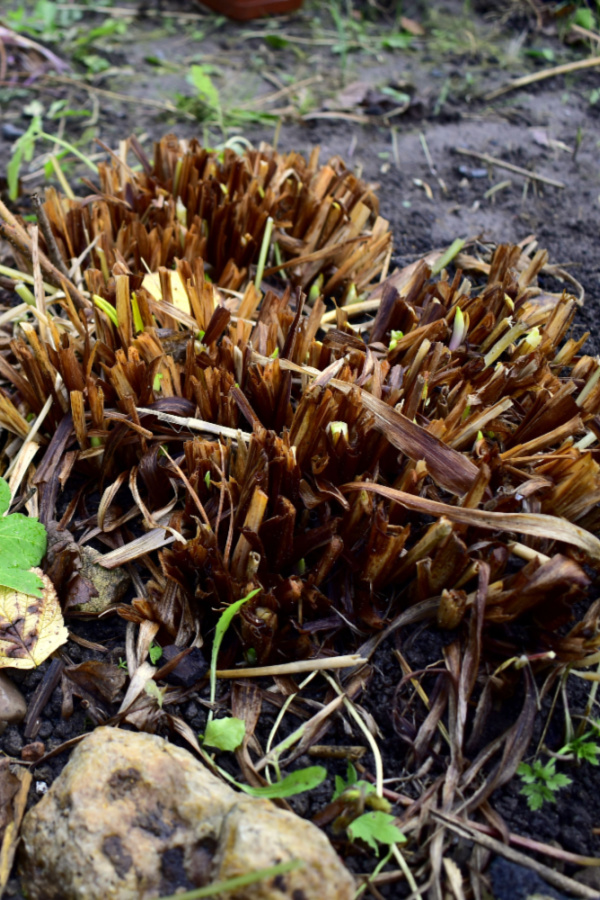
We like to leave about two inches of the base remaining. Not only does it provide a bit of interest in the flowerbeds in the fall, it more importantly lets you know where plants are. That can be important when you are adding new plants or working in the flowerbeds!
The spent foliage of daylilies are perfect for adding to a fall compost pile. Not only does it decompose fast, if you have many plants, it adds a lot of volume to your fall pile too. One note on daylily foliage – it’s best to chop it up a bit to speed decomposition in the pile.
If you do not need to divide any of your daylilies, you can finish by mulching the base of the plant with a few inches of mulch. This will help protect the perennial’s roots through winter. We take one extra step and add an inch or so of compost on top of the plant first, this helps to provide energy for the roots for the following spring.
If you do happen to need to divide overgrown plants, now that the foliage is off, it makes the process easier than ever!
Dividing & Transplanting – What To Do With Your Daylilies In The Fall
By dividing daylilies every three to five years, you can keep your plants performing at maximum strength. The larger daylilies grow, the less likely they are to be full of blooms. In addition, their foliage can struggle to be bright and green as well.


As roots begin to crowd together under the surface of the soil, they can weave together and become root bound. When this happens, the plant struggles to find enough nutrients to power full bloom cycles. Even more, the larger the roots, the more the soil might be depleted of energy.
The good news is that fall is the ideal time to dig up and transplant daylilies. And by dividing and transplanting in the cool autumn air, the new divisions have time to root a bit in the soil without harsh summer heat. This allows them to settle in and then hit the ground running and blooming next year.
How To Divide Daylilies – What To Do With Your Daylilies In The Fall
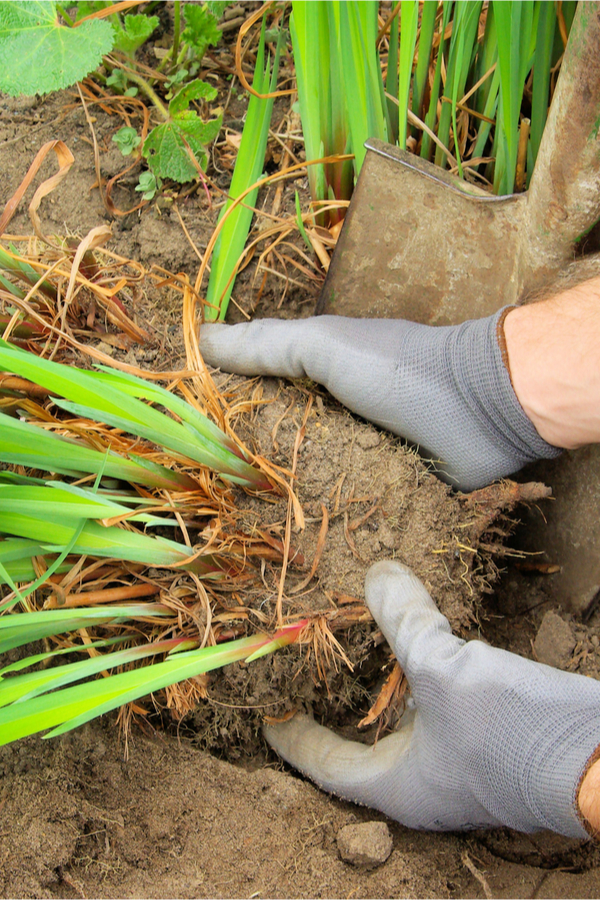
Much like with hostas, dividing daylilies is one of the easiest transplanting chores of all. After cutting back, use a shovel to dig out from around the edge of the root ball.
Daylily roots tend to be fairly shallow at around two to four inches in depth. Once the edges have been cut, the plants will usually pop from the soil fairly easy. Once the plant is out, simply turn it over and use your shovel to slice it into new divisions.
Keeping the divisions fairly even will result in similar sized plants next year. We like to keep our new transplants at about 3 to 4 inches in diameter. It produces a nice-sized plant that can go three to four years without being divided again.
Transplanting Daylilies In The Fall – What To Do With Your Daylilies In The Fall
To transplant, dig holes about 1.5 times the depth of the transplant. Fill the bottom of the hole with a few inches of compost and then set the roots in so that the crown of the daylily is even with the surface level of the soil.
Fill back in around the transplant with the existing soil. Next, pat the soil gently to firm up the roots. By adding the compost in the bottom of the hole, it allows the roots to set more quickly – and it provides a low dose of power.
Finish by mulching around your plants with a 2 to 4″ layer of mulch to help protect the roots through winter. That’s it! All that’s left is to wait until spring to see your new plants shoot up!
One note on new fall divisions and transplants – depending how warm your fall temperatures get, you may or may not see a bit of new growth coming from the transplants before a hard freeze puts them into full dormancy.
This new growth will not harm or injure the plant. It’s actually the roots underneath that need to set. And the fact that the plant is sending up new greenery means they are more than set!
Here is to a little fall daylily care now to set the stage for beautiful, full-flowering plants next spring! Happy Gardening – Jim & Mary.