What To Do With Hostas After They Bloom – How To Revive Hostas In The Summer!
If you're wondering what to do with hostas after they bloom, the good news is that a few simple maintenance tasks can keep your plants looking lush, healthy and beautiful for the rest of the growing season. Better yet, the same care will also help them return even stronger and fuller next spring!
Hostas are prized for their large, colorful foliage, but by mid to late summer they also send up tall flower stalks covered in delicate lavender, white or purple blooms. While the flowers can be a beautiful addition to the landscape, they don't last forever. And once those blooms begin to fade, it's time to give your plants a little attention.
Many gardeners simply leave spent flower stalks standing until fall. Unfortunately, doing so forces the plant to waste valuable energy producing seeds instead of strengthening its roots and foliage. Even worse, old flower stalks can make an otherwise beautiful hosta look tired and worn.

The good news? With a little deadheading, a light feeding, and, if needed, dividing overcrowded plants, your hostas can continue looking fantastic all the way until frost while building the strength they need for an even better display next year.
What To Do With Hostas After They Bloom
Why Deadheading Hostas Matters
The single most important thing you can do after your hostas bloom is to remove the spent flower stalks.
As flowers begin to fade, the plant naturally shifts its energy toward producing seeds. That process requires a surprising amount of resources. Instead of using nutrients and moisture to maintain thick, healthy foliage and build a stronger root system, the plant begins investing that energy into seed production.
For ornamental hostas, those seeds really serve no purpose. Unless you're intentionally trying to grow hostas from seed, allowing the flower stalks to remain only drains valuable energy from the plant. By removing the flower stalks, you redirect that energy where it belongs.
Instead of making seeds, the hosta can continue strengthening its leaves, expanding its root system, and storing nutrients for next year's growth. The result is healthier foliage that remains vibrant much longer into late summer and early fall.

How To Deadhead Hostas After They Bloom
Deadheading hostas couldn't be easier. As soon as the flowers begin fading or all of the blooms have finished opening, simply cut the flower stalk off at its base. Use a clean, sharp pair of hand pruners and make the cut as close to the crown of the plant as possible without damaging the surrounding leaves.
There's no need to remove the foliage. In fact, the leaves are still producing energy through photosynthesis and should remain in place until they naturally begin dying back after frost.
If a flower stalk still has a few unopened blooms but most of the flowers have faded, it's still perfectly fine to remove it. Once the blooming cycle is nearly complete, the plant has already received the benefit of flowering.
Removing the stalk early simply allows it to get back to focusing on what matters most - building strength for the future.
Remove Damaged Or Yellowing Leaves
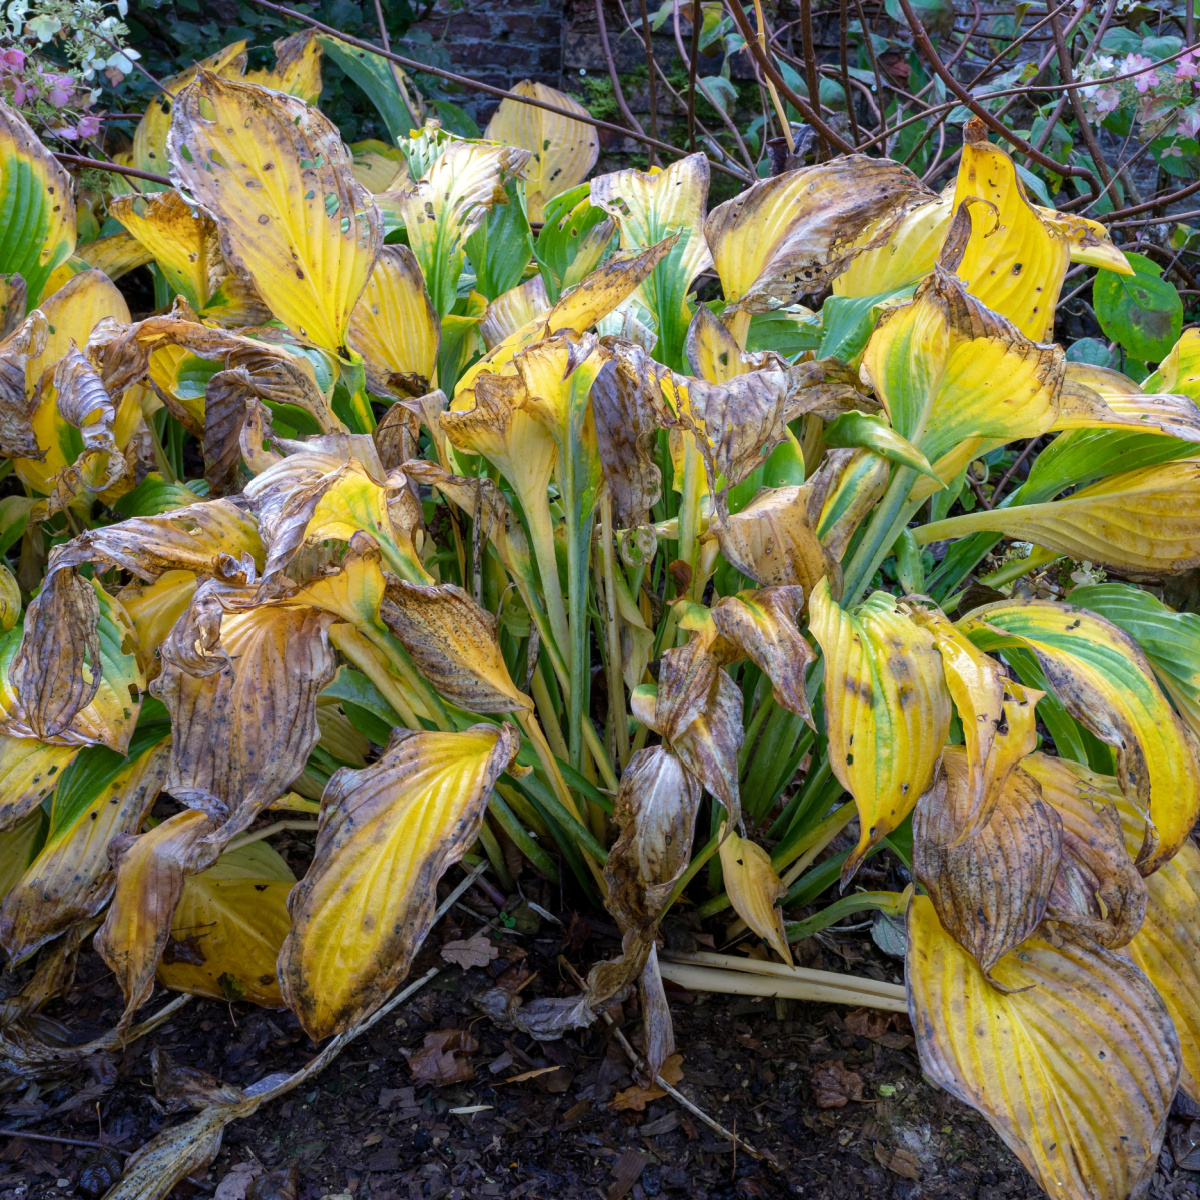
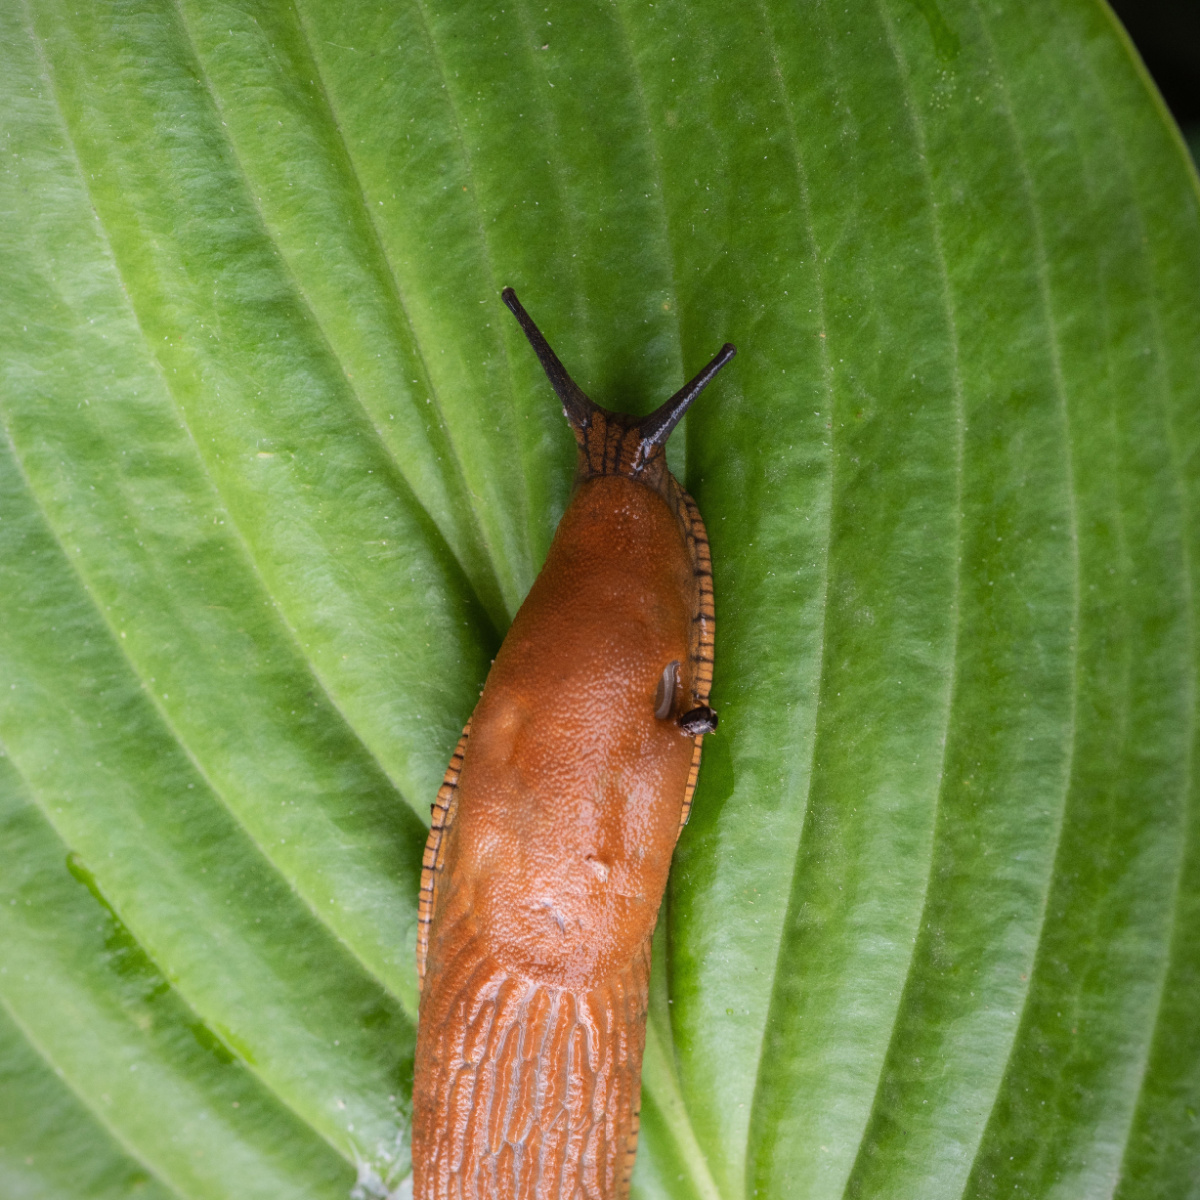
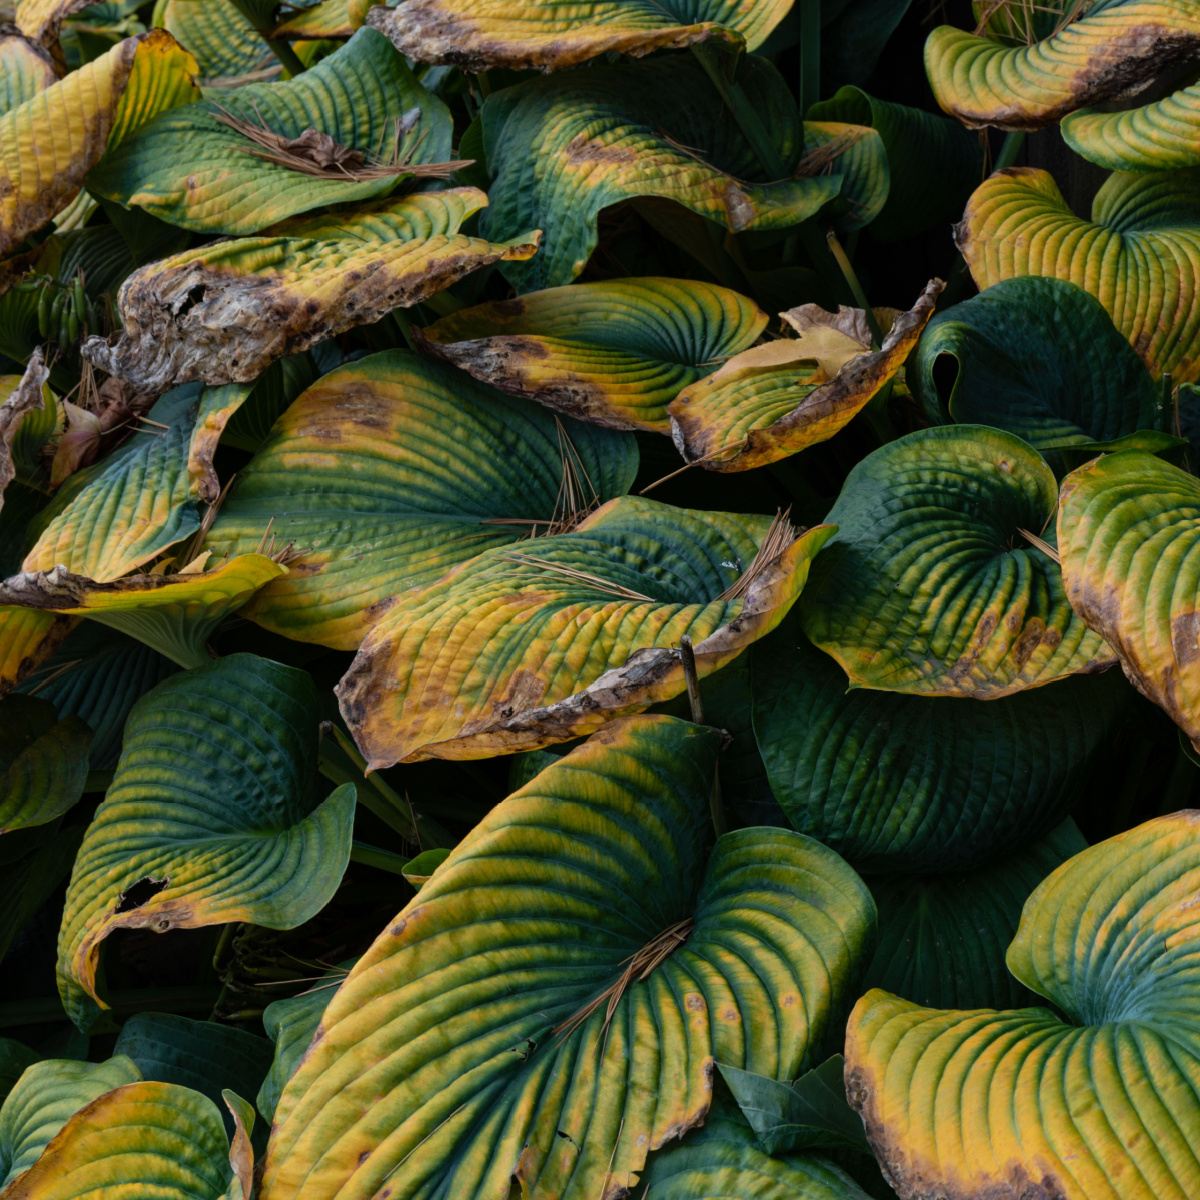
While you're deadheading, take a few extra minutes to inspect the foliage. Hosta leaves occasionally become torn by wind, damaged by slugs, scorched by excessive sun or simply begin yellowing from age. Those leaves won't recover, and leaving them attached only makes the plant look untidy.
Listen In Below To Our Latest Podcast!

Removing damaged foliage improves air circulation through the plant while giving healthy leaves more room to grow. It also reduces places where insects and disease can hide.
Fertilizing To Rejuvenate
Once your hostas finish blooming, they're excellent candidates for a light feeding. Although hostas don't require heavy fertilizing, they do benefit from a small boost after flowering. During the spring, much of the plant's stored energy goes into producing new foliage and flowers. By late summer, nutrient reserves can begin running low.
Applying a balanced granular fertilizer helps replenish those nutrients and encourages healthy root development heading into fall. For this feeding, use an all purpose granular 5-5-5 or 10-10-10 fertilizer. Affiliate Link: Southern Ag All Purpose 10-10-10 Granular Fertilizer
Both provide equal amounts of nitrogen, phosphorus and potassium, giving the plant everything it needs without encouraging excessive soft growth.
Spread the fertilizer evenly around the drip line of the plant, keeping it a few inches away from the crown. Lightly scratch it into the soil surface if possible and water thoroughly afterward to help activate the nutrients.

What To Do If Your Hostas Have Become Too Large
If your hostas have been growing in the same location for several years, you may notice they aren't producing as many leaves or have developed an open center. That's usually a sign the plant has become overcrowded.
Contrary to what many gardeners believe, you don't have to wait until spring or fall to divide hostas. Summer is actually an excellent time to divide overgrown plants, especially if they're beginning to outgrow their space.
Cut Back The Foliage First
Before dividing a large hosta during summer, cut the foliage back to a few inches above the ground.
Reducing the leaf surface greatly decreases moisture loss while reducing transplant stress. Since the roots won't have to support as much top growth immediately after transplanting, they can focus on establishing themselves in their new location.
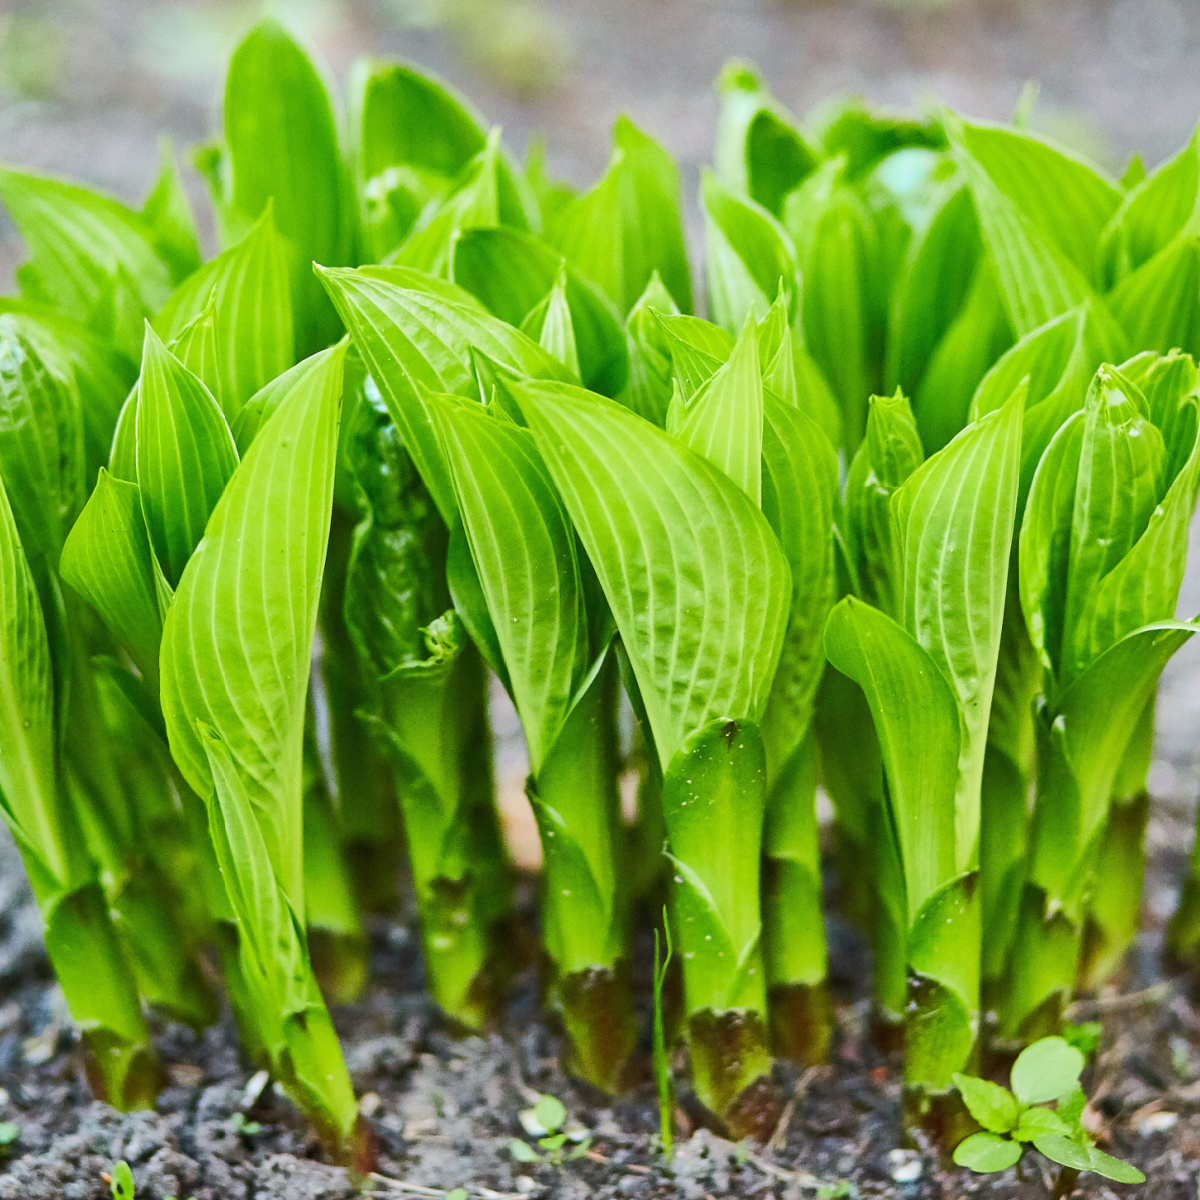
Don't worry about cutting the plant back. Hostas are incredibly resilient. In fact, fresh new foliage usually begins emerging surprisingly quickly after division, especially if the soil remains consistently moist.

How To Divide Overgrown Hostas After They Bloom
After trimming the foliage, dig several inches outside the edge of the clump to preserve as much of the root system as possible. Lift the entire plant from the ground and gently shake or wash away excess soil so you can clearly see the crown.
Using a sharp spade, garden knife or pruning saw, divide the root ball into smaller sections. Each division should contain several healthy buds or growing points along with a generous portion of roots. Large hostas can often be divided into four, six or even more separate plants.
Replant each section at the same depth it was originally growing. Water thoroughly after planting and keep the soil evenly moist for the next few weeks while the roots become established.
Within a short time, you'll notice fresh leaves emerging from each newly planted division.
The Benefits Of Dividing
Dividing older hostas offers several important advantages. First, it rejuvenates the original plant. Overcrowded crowns often compete with themselves for water and nutrients, reducing overall vigor. Dividing eliminates that competition and encourages fuller growth.
Second, you'll have plenty of new plants for other flowerbeds around your landscape. Hostas are one of the easiest perennials to multiply, allowing you to expand your garden without purchasing additional plants.
Here is to taking care of your hostas after they bloom this summer. And - to having healthy, lush plants all the way to late fall! Happy Gardening - Jim & Mary
The Farm @ Old World Garden
Jim and Mary Competti have been writing gardening, DIY and recipe articles and books for over 16 years from their 46 acre Ohio farm. The two are frequent speakers on all things gardening and love to travel in their spare time.
As always, feel free to email us at thefarm@owgarden.com with comments, questions, or to simply say hello! You can sign up for our free email list in the subscribe now box in the middle of this article. Follow us on Facebook here : OWG Facebook. This article may contain affiliate links.