How to disassemble a pallet with ease. Using recycled pallet wood is a great way to make some really rustic, unique and functional pieces on a shoestring budget – learn how to take pallets apart with ease.
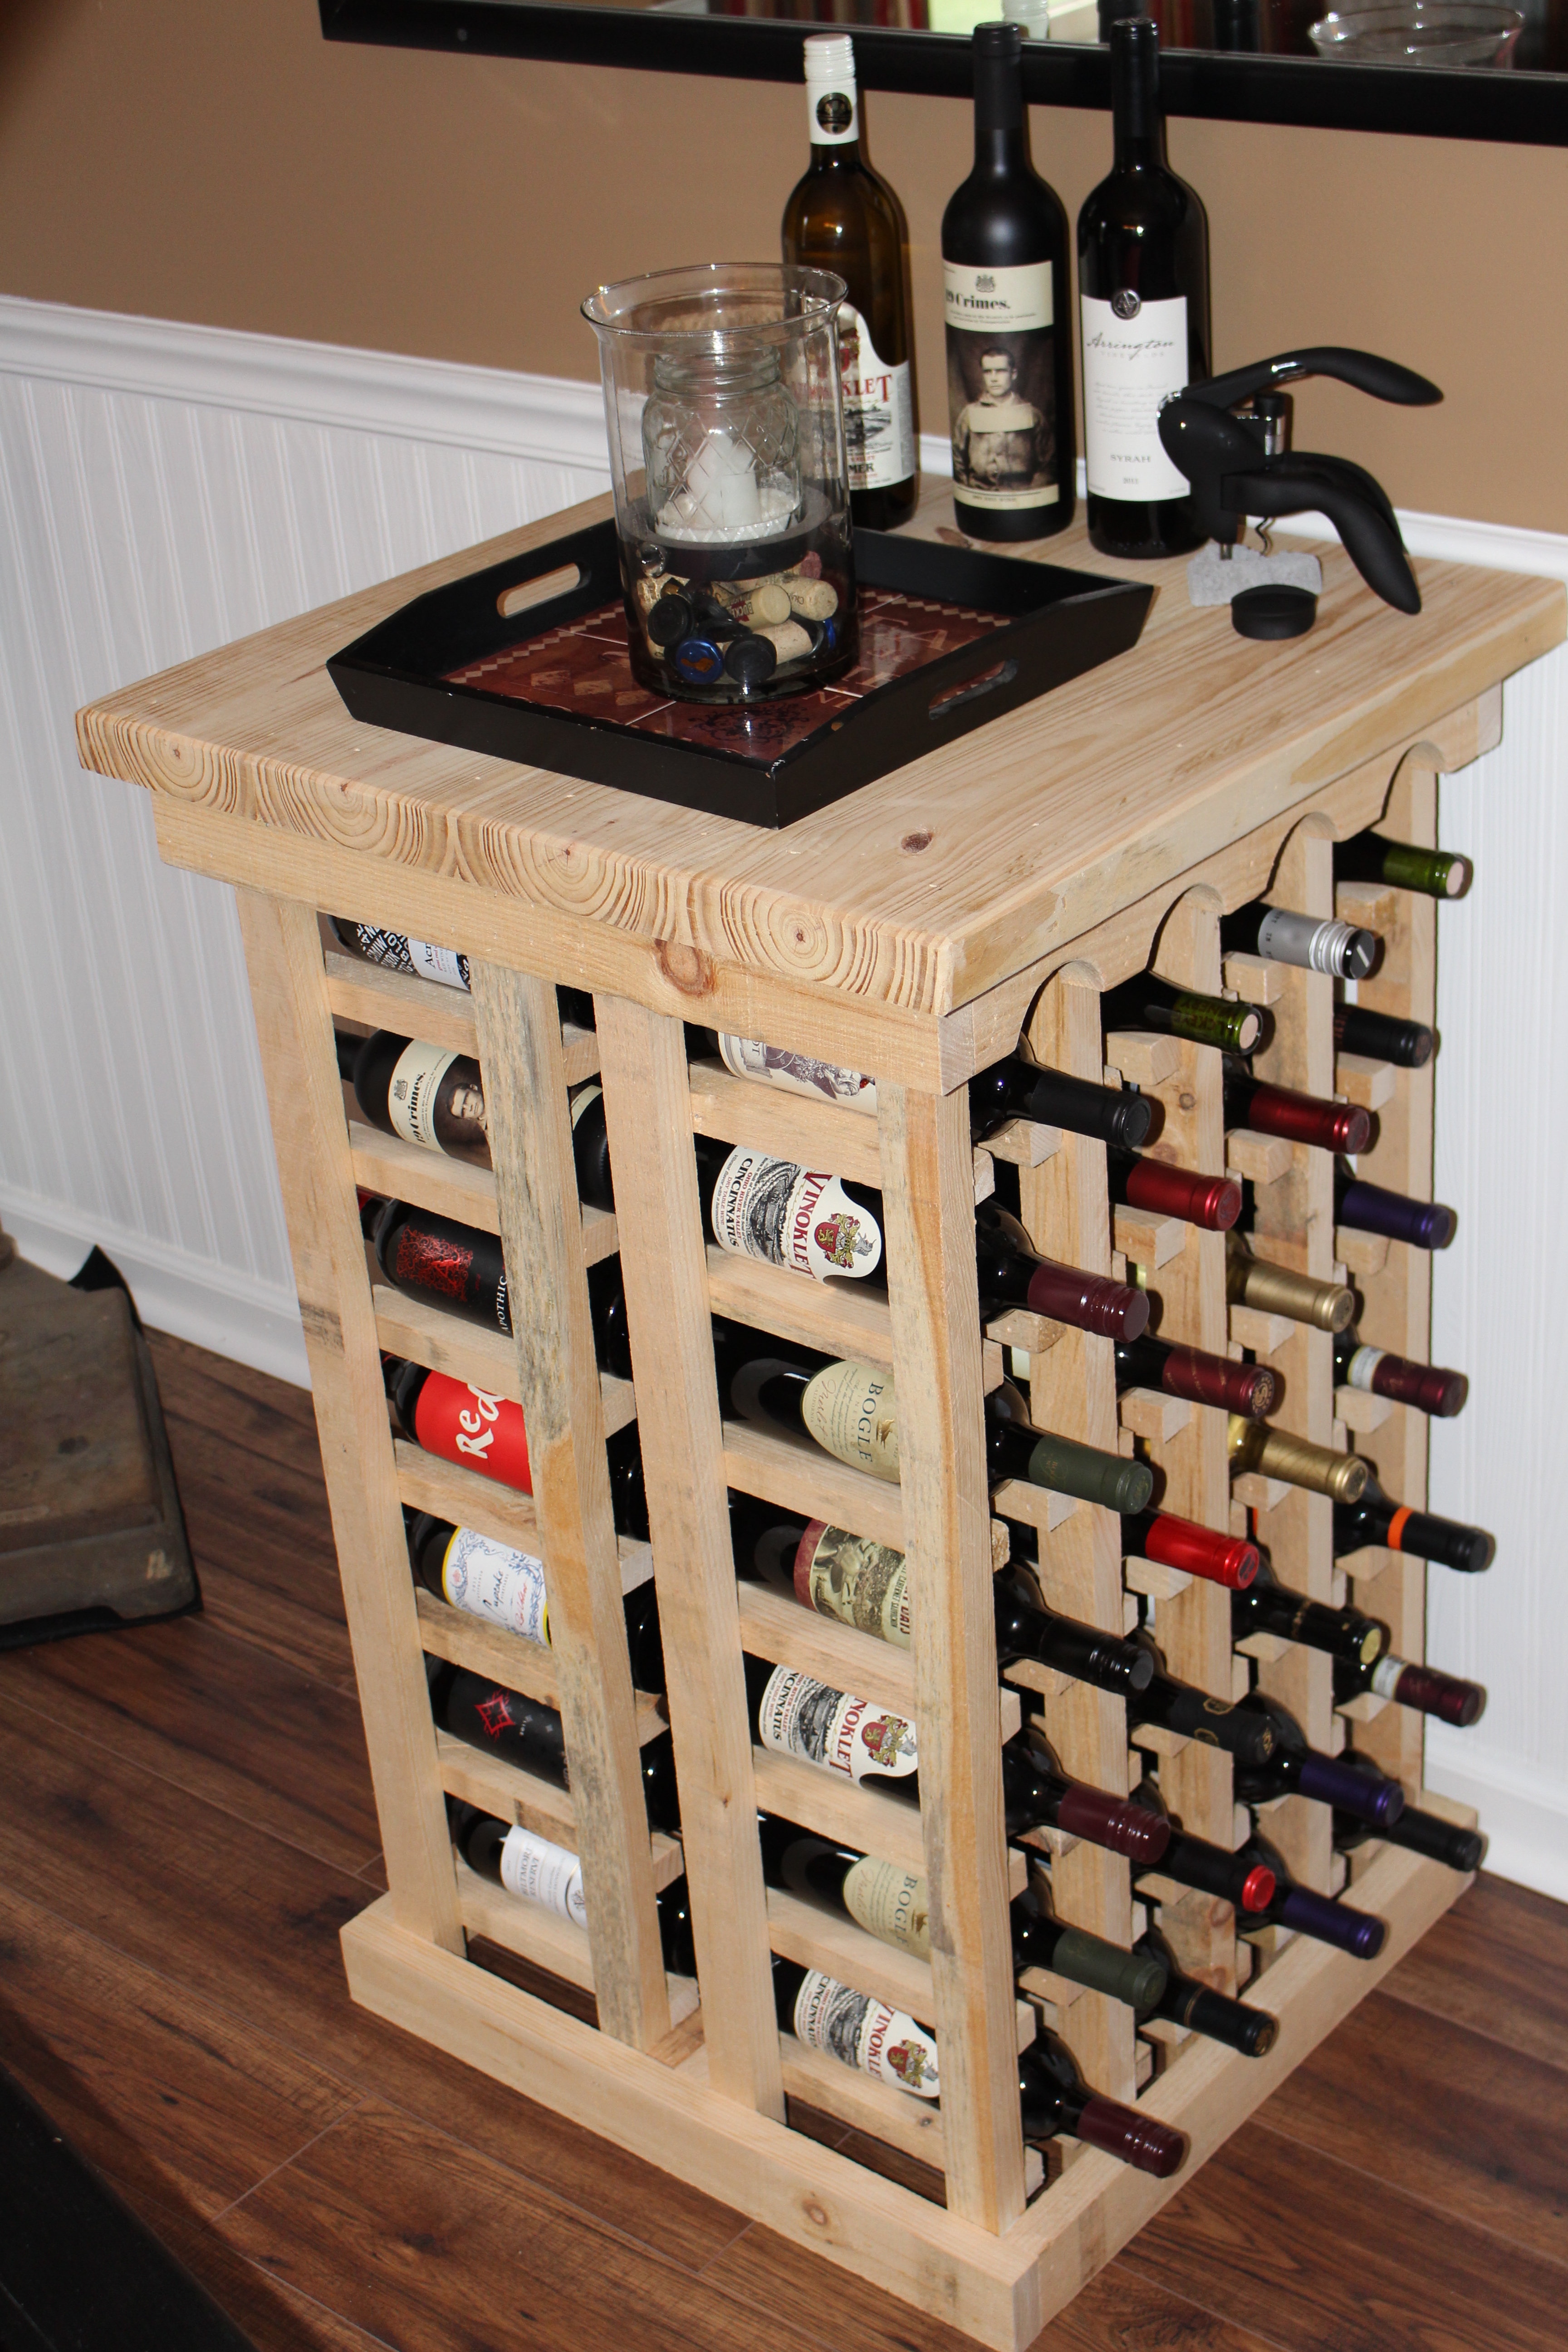
A wine table we made from pallets and recycled lumber
We have built everything from wine racks to canning cabinets, compost bins and our farm’s mailbox from pallets and recycled wood – all for less a few dollars each. (See: Using Pallets To Build A Dream)
The real key to building with pallets comes down to finding a way to get them apart! A few years back, we published an article on a quick way to take apart pallets. I don’t think either of us ever imagined that it would be viewed over 950,000 times – but I guess it proves that people love to build things with pallets – and want an easier way to take them apart!
So for this week’s post – we thought we would update our method – and include a quick video to show how it’s done.
Selecting Pallets
A word of caution before we get into the basics – avoid using stained or painted pallets – as the fumes and dust can be dangerous to work with when sawing and cutting.
In addition, be cautious when using pallets that have been used to ship food products – many times they are sprayed with fungicides that are hazardous to work with.
Some pallet companies treat their pallets with a process called Methyl Bromide fumigation, and although more and more companies are starting to make pallets free of chemical sprays for a one time use, you definitely want to avoid those using Methyl Bromide.
So how can you tell? Pallet manufacturers are now required to mark their pallets with a two letter code, and if you see a large MB stamp (Methyl Bromide), avoid using it for your projects.

Pallet wood disassembled and ready to go!
Instead, look for an HT symbol, which stands for Heat treating. Heat treating is a safe method that involves taking the wood to a high temperature prior to use in order to destroy bacteria and insects in the wood.
Of course it goes without saying that whenever working with any type of wood, it’s important to protect yourself with a good pair of safety glasses!
How To Disassemble A Pallet In Minutes…

1st step
First – throw away the crow bars, claw hammers and other prying tools. All you need is a reciprocating saw with a construction blade (12” is the best), and a rubber mallet and you are in business! Update: We prefer to use the battery operated Porter Cable Reciprocating Saw -no need to worry about cords!
Lay the pallet on one side, and placing the blade between the boards – cut down and slice off the nails. If the nails in the pallet are really tight – you can use a rubber mallet to hit a few of the boards to loosen.

2nd Step
Repeat on the other side. All that is left is the middle – usually from the cutting action on each side – the boards are loose enough to work the blade in – if not – a couple of easy hits with the mallet will release them enough to get the blade between. Cut down the middle – and that’s it!
We like the rustic look of the nail heads in the wood for our projects – but if you want them out – at this point – it is fairly simple to remove the loose pieces with a flat head screwdriver by popping them out.

Step 3
You can check out the video above to see how it’s done – and here are some of our other articles our pallet building and projects:
Building A Wine Rack From Pallets
Making Simple Garden Crates From Pallets
Building A Canning Cabinet From Pallets
So there you have it – how to quickly and easily disassemble a pallet for your pallet project!
If you would like to receive our DIY & Gardening Tips each week – be sure to sign up to follow the blog via email in the right hand column, “like” us on Facebook, or follow us on Twitter. This post may contain affiliate links.

