We would be hard pressed to find something that has saved more on our garden budget than our DIY seed starting stand.
Flowers and vegetable plants are extremely expensive to purchase.
Especially if you are growing a large garden. Or planting a lot of flowers.

And we certainly do both of those at the farm!
But with just 11 inexpensive 2 x 4 x 8’s, and a low-cost 3/4″ thick 4 x 8 sheet of plywood, we created a homemade seed stand grows up to 12 flats of vegetables and flowers.
And the total cost for the stand? Under $55!
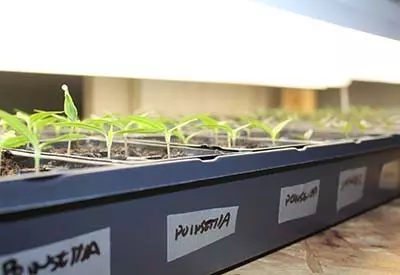
We use the stand to grow in large 36 plant cell flats. That way, we never need to transplant until the garden. See : 4 Big Tips To Starting Seeds Indoors
And even with the larger sized cells, it adds up to over 400 plants!
It has been quite the bargain for sure. And perhaps best of all, when it’s not in use, it doubles as a great storage shelf in the garage for garden supplies.
The Need For A DIY Seed Starting Stand
We have always grown our plants from seed. And, before we built our seed starting stand about 6 years back, it used to get a bit comical.
In the late winter months, our dining room table transformed into our seed starting area. Or as as we called it, our garden-dining room.
We would set growing trays that covered the table.
Next, we would set up books, bricks – or whatever we could find to hold a few fluorescent lights up over the plants.
The mini garden set-up was actually quite successful. Unfortunately, it rendered our dining area useless for 8 weeks.
And, it always received quite a few strange looks from visitors to the house.
I think they always wondered just exactly what we were “growing” under those glowing lights!
Rest assured, it was always our flower and vegetable seedlings for the farm.

We finally decided there had to be a better way to start our seedlings.
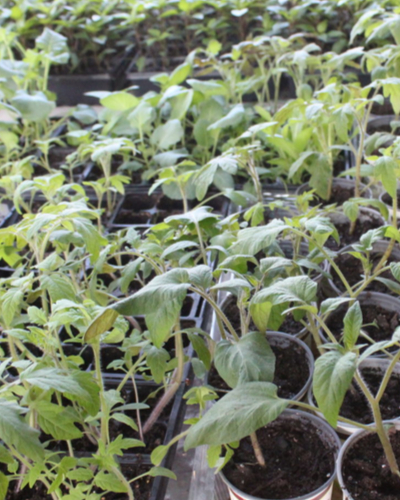
We knew we could grow all of our seedlings using ordinary fluorescent shop lights.
So we decided to create a stand from inexpensive 2 x 4’s. We wanted it to be able to hold the lights and plants on easy-to-access shelves.
And to boot, make it easy to adjust the lights up and down when needed. Without needing bricks or books!
Building The DIY Seed Starting Stand
Here is a quick overview below of how we built the stand. As with all of our DIY projects, we do have detailed step-by-step plans available in our DIY plans shop here : OWG DIY Seed Starting Stand Plans

The Building Process
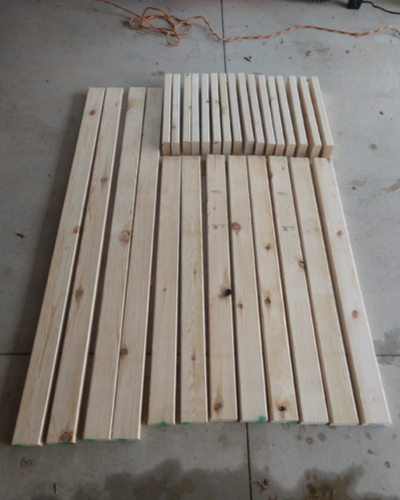
To build, we used just 11 non-treated 2 x 4 x 8 pieces of lumber and a single sheet of plywood.
You can easily use 3/4 strand board as well to save even more. Our entire stand cost around $55.
For lighting, we use inexpensive double-bulb T-25 shop lights.

There is simply no need for expensive grow lights. The fluorescent lights provide more than enough light for the plants.
The seed starting rack accommodates up to 12 full size seed trays. 4 trays will fit on each shelf.
It can grow over 800 seedlings if 72 pack cell inserts are used.
The entire project can be assembled with a few simple tools in a single afternoon.
To create the shelf, we built four rectangular frames from the 2 x 4’s. Next, we attached (4) 2 x 4’s as legs at each corner.
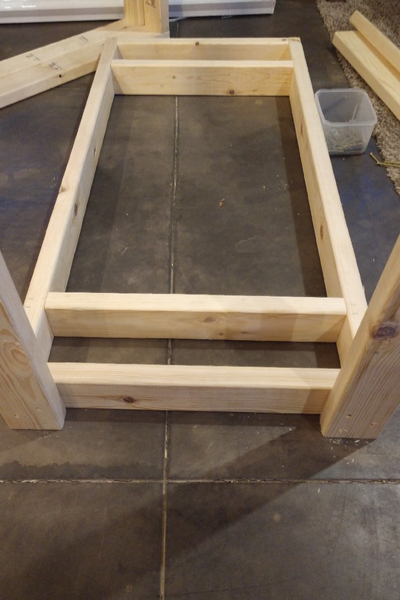
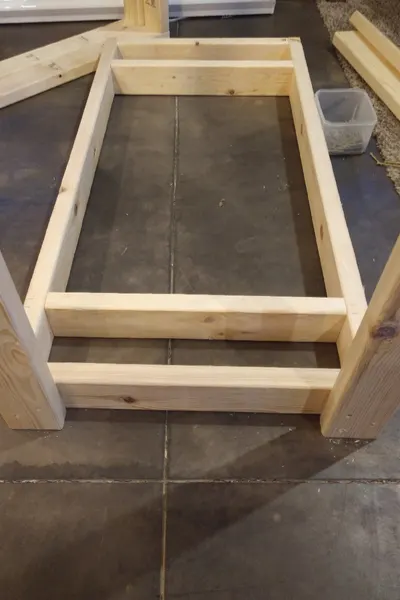
We added in a few extra 2 x 4 supports under each shelf, and then screwed in hooks to hold chain. The plywood then creates the shelves.
Here is to starting your own seeds this year indoors and saving big!
Happy Seed Starting – Jim and Mary.
If you would like to receive our DIY, Gardening and Recipe articles each week, sign up to follow the blog below.
You can also “Like” and follow us on Facebook, Pinterest or Twitter. This article may contain affiliate links.

