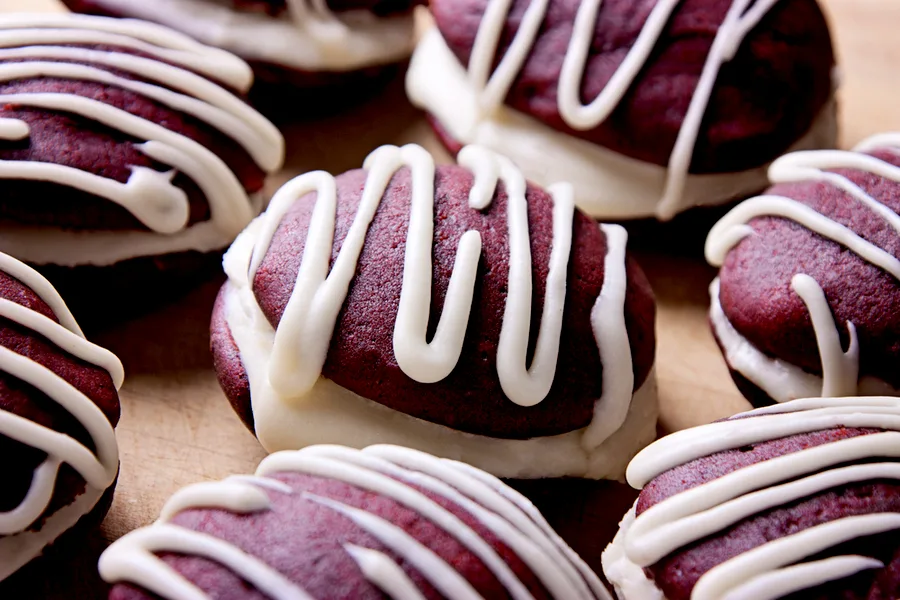
Valentine’s Day is upon us and that means that it is time to make a special treat like these Red Velvet Whoopie Pies.
Although we don’t make a big celebration of the ‘Hallmark’ holiday, I do use it as an excuse to make (and eat) something sweet.


And these Red Velvet Whoopie Pies are the perfect Valentine’s Day treat for the entire family.
The Truth Behind Red Velvet Cake
But before we get into the specific ingredients of these popular red velvet whoopie pies let’s clarify something.
Red food dye was never intended to be the ingredient that made these cakes red in color.
Back in the early 1900’s the cakes were first made with all natural cocoa powder. When mixed with buttermilk, the natural cocoa had an acid property that would make the chocolate cakes have a red tint to them.
But after the depression and during the war, red velvet cakes took on a different ingredient.
Because there was a need to use readily available ingredients, beets were often added to chocolate cake recipes.

They were both filling and added moisture to the cakes. And the red velvet cakes became more red.
There are some recipes today that still call for the use of beets, but the taste is definitely altered.
But it wasn’t until the Adams Extract company became popular that red dye was added to red velvet cakes and of course, red velvet whoopie pies.
So What’s The Answer?
The answer is simple. Make these delicious Red Velvet Whoopie Pies with whatever you feel comfortable using.
For instance, if you don’t feel comfortable using red food coloring, then simply leave it out.
Also, if you can only find Dutch cocoa instead of natural cocoa, then by all means, use what you have.
And for those that are okay with using pre-made cake batter mix, that is completely up to you.
Which ever way that you decide is best for you and your family, you are going to fall in love with these delicious, easy to make, red velvet whoopie pies!
However, I have to warn you. You might want to share them with friends and family.
Otherwise, you will end up eating more than you wanted to, they are that good!
Red Velvet Whoopie Pies
Ingredients:
2 1/4 cups all-purpose flour
1/4 cup natural cocoa powder
1/2 teaspoon baking powder
1/2 teaspoon baking soda
1/4 teaspoon salt
3/4 cup unsalted butter, room temperature
1 cup granulated white sugar
1 large egg, room temperature
1 teaspoon pure vanilla extract
3/4 cup buttermilk
1 ounce red food coloring (optional)
Cream Cheese Filling:
1/2 cup unsalted butter, room temperature
1 – 8 ounce cream cheese, room temperature
3 cups confectioners (powdered) sugar, sifted
1 teaspoon pure vanilla extract
Instructions:
1. Preheat oven to 375 degrees F.
2. In a large bowl sift together the flour, cocoa powder, baking powder, baking soda, and salt.
3. With your mixer (use your paddle attachment if you have one), beat the butter and sugar until light and fluffy. Add the egg beating until combined . Beat in the vanilla extract.
4. In a small mixing bowl, mix the buttermilk and red food coloring (optional) with a spoon. * Hint – place a paper towel under your bowl in case the food coloring splashes out – it will stain.
5. With the mixer on low speed, add 1/3rd of the flour mixture and then 1/2 of the buttermilk mixture. Repeat the process until well combined.
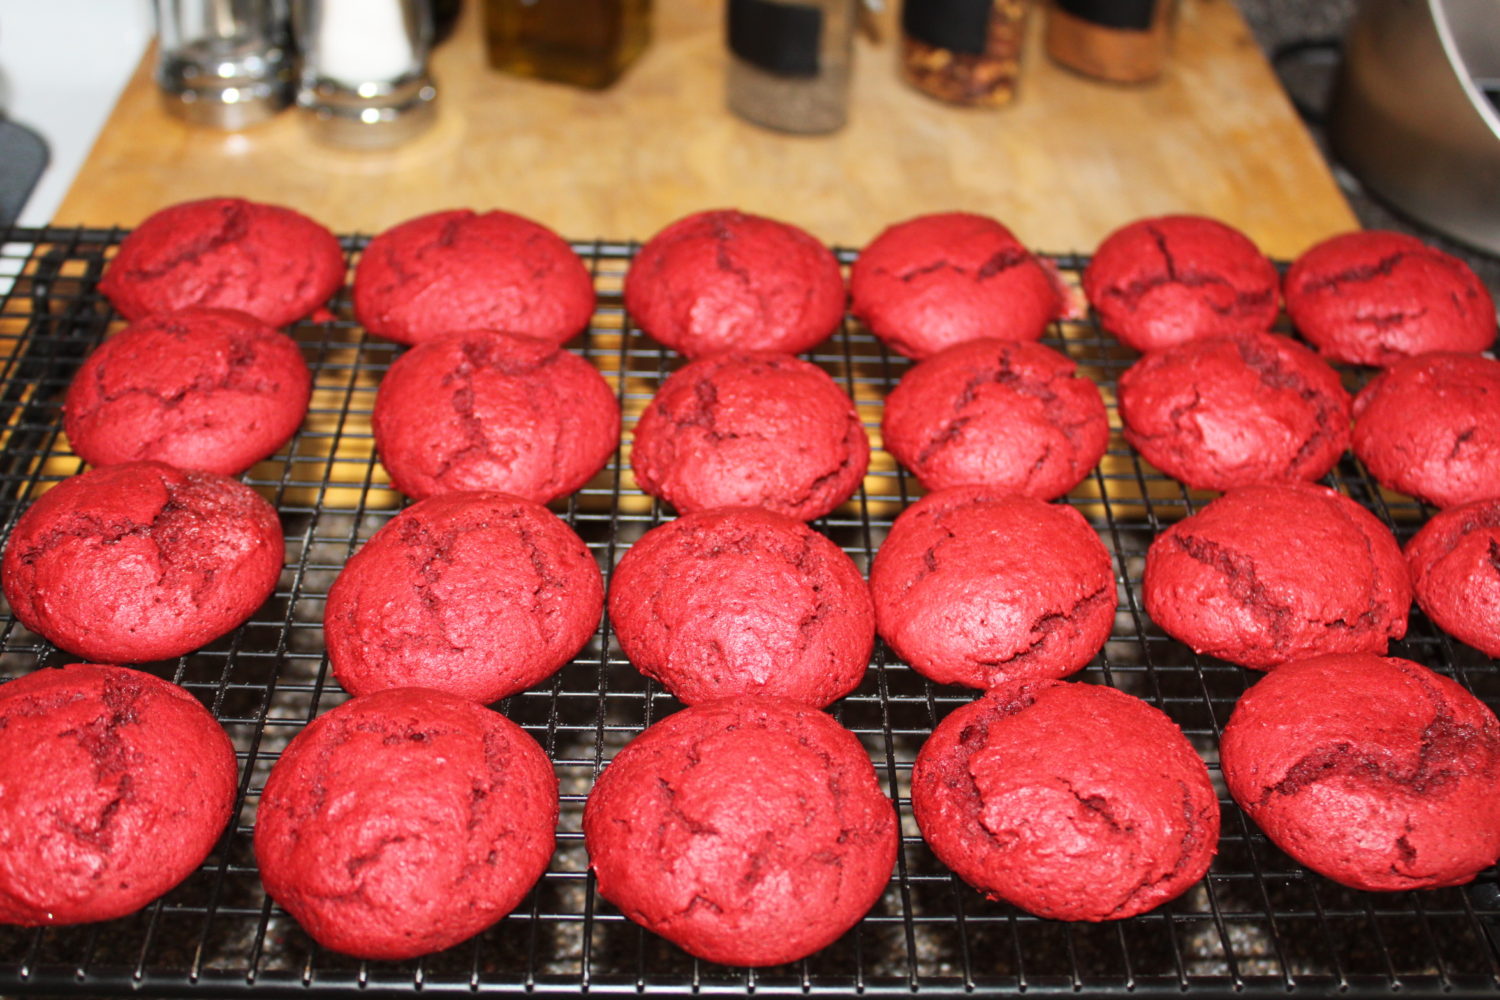
Baking The Whoopie Pies
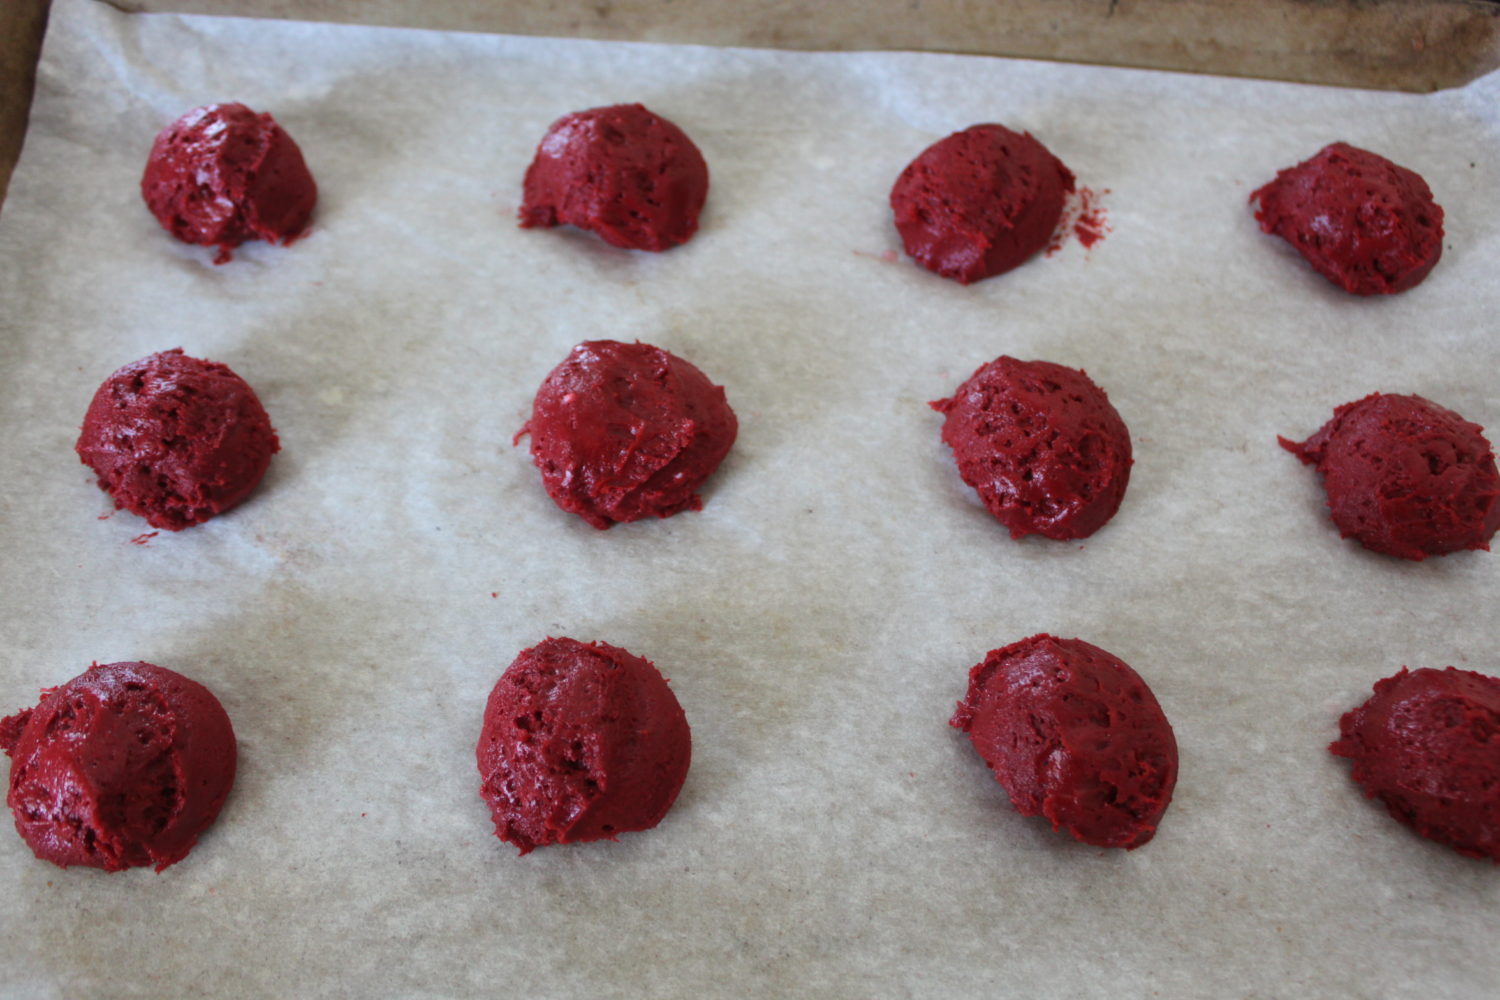
6. Using a small ice cream scoop (or a standard tablespoon), drop heaping tablespoons of the batter, approximately the same size, onto baking sheets lined with parchment paper. Space about 2 inches apart.
7. Smooth the tops of the cookies to prevent any peaks with your finger or spoon dipped lightly in water to prevent sticking.
8. Bake for 9-11 minutes.
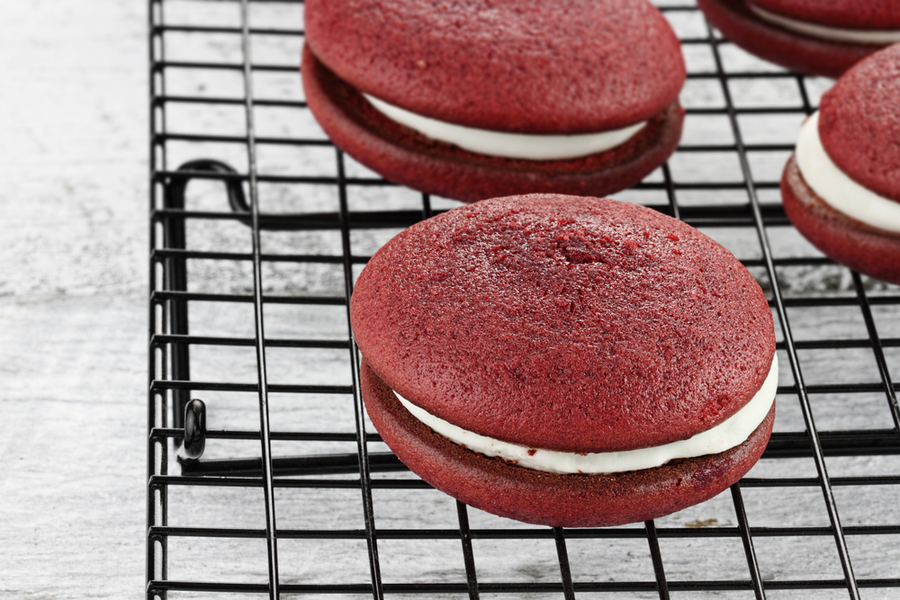
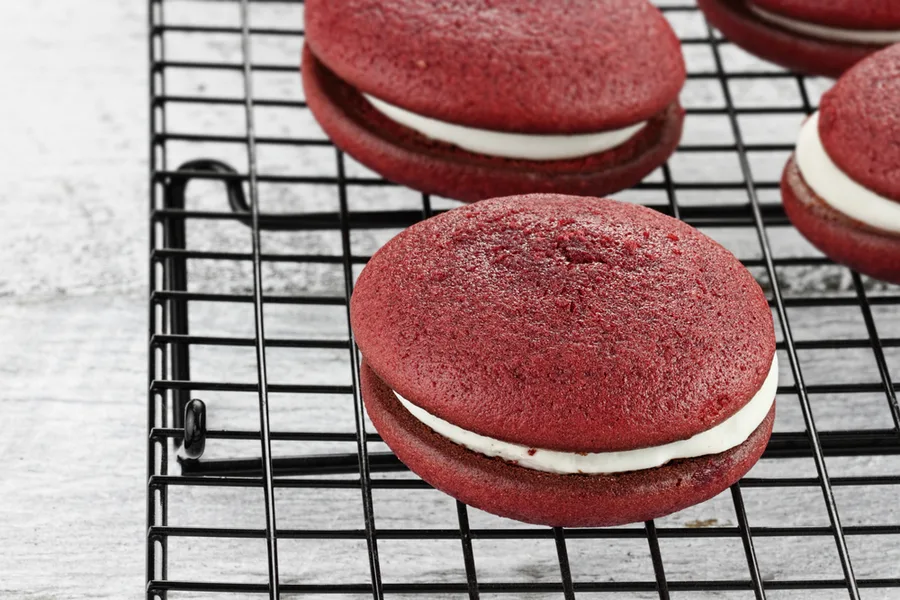
9. Remove from oven and transfer to a wire rack to cool completely.

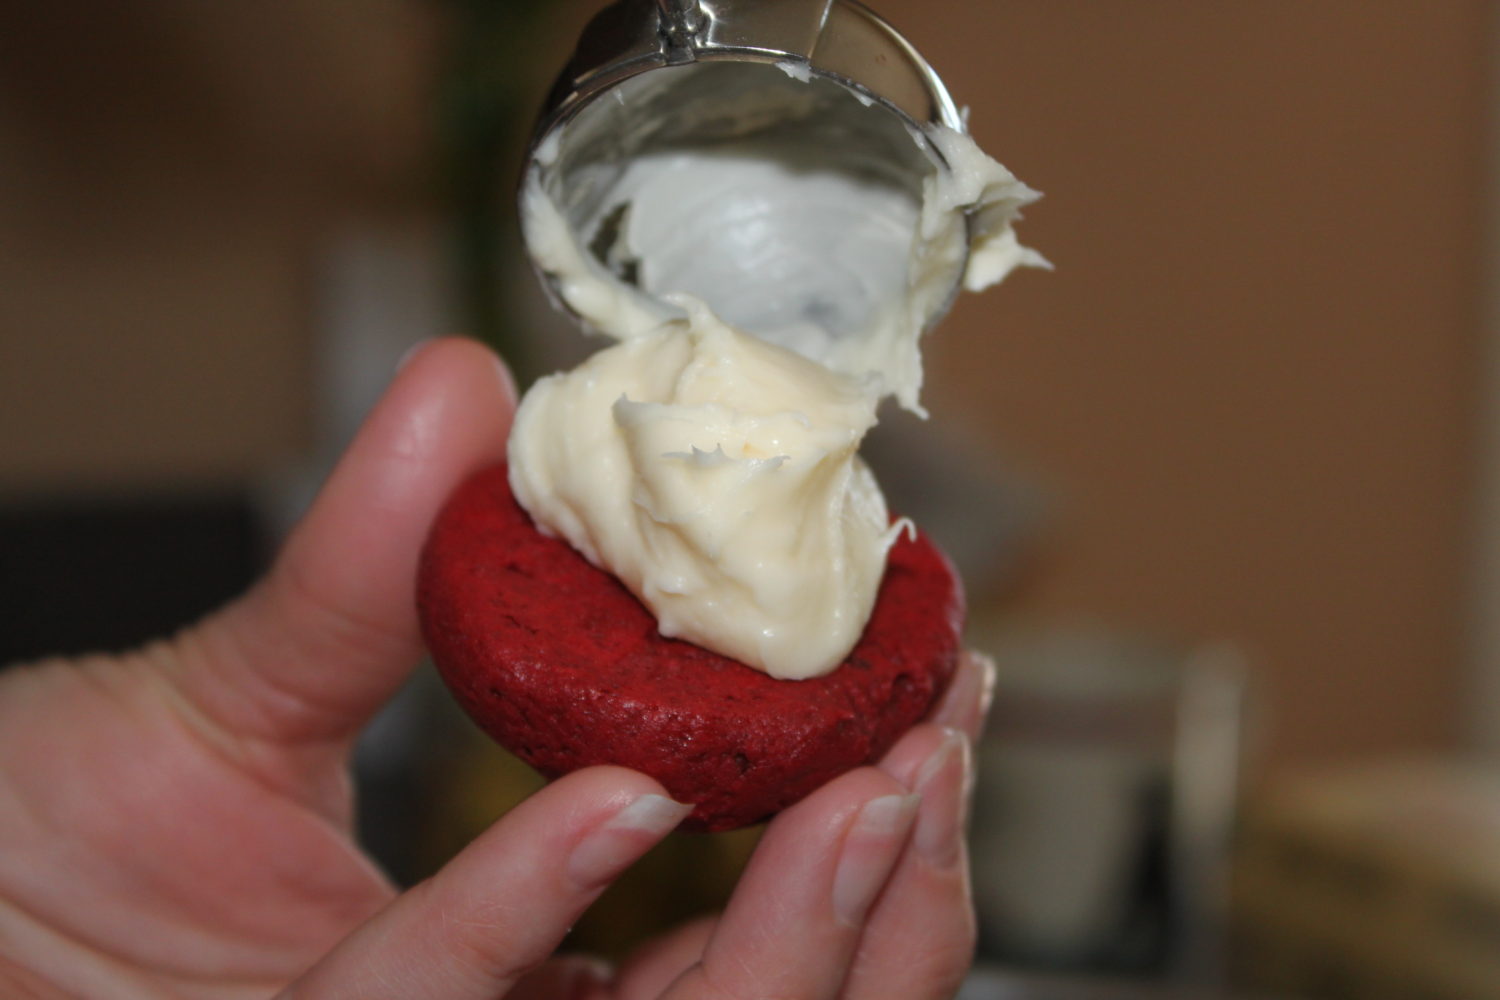
Cream Cheese Filling
10. Cream Cheese Filling: Beat the butter and cream cheese until smooth and creamy. Add in the vanilla extract and beat until incorporated.
Slowly beat in the confectioners sugar, and continue to beat until smooth and creamy
11. Match up similar sized cookies. For each pair, take one cookie and spread a heaping tablespoon of the filling on the flat (bottom) side.
Top with the other cookie. Repeat until all cookies have cream filling.
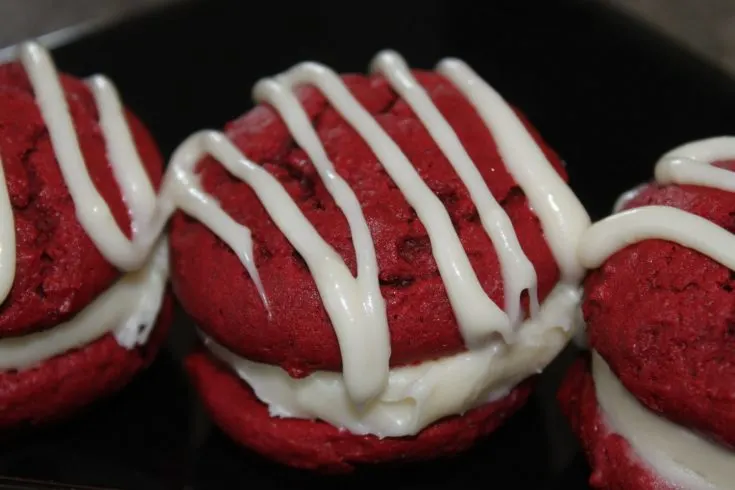
12. Optional: Take a few tablespoons of the filling and thin it out in a small bowl with milk until it is able to be drizzled from the tip of the spoon.
Place thinned icing in a small piping bag, plastic bag or over the edge of a spoon and drizzle lines back and forth over the tops of the Whoopie Pies.
13. If there are any left, the Whoopie Pies can be stored in the refrigerator, in an air tight container, for several days. Makes about 18 sandwich cookies.
For those who want the short cut version:
- 1box of Red Velvet Cake mix
- 3 eggs
- 1/2 cup oil
- 1/2 cup water
- 1/2 cup flour
Mix the above ingredients, bake as directed above. Ice with store-bought cream cheese icing.
Enjoy!
Mary and Jim


Jim and Mary Competti have been writing gardening, DIY and recipe articles and books for over 15 years from their 46 acre Ohio farm. The two are frequent speakers on all things gardening and love to travel in their spare time.
As always, feel free to email us at thefarm@owgarden.com with comments, questions, or to simply say hello! You can sign up for our free email list in the subscribe now box in the middle of this article. Follow us on Facebook here : OWG Facebook. This article may contain affiliate links.
Red Velvet Whoopie Pies

Ingredients
- 2 1/4 cups all-purpose flour
- 1/4 cup natural cocoa powder
- 1/2 teaspoon baking powder
- 1/2 teaspoon baking soda
- 1/4 teaspoon salt
- 3/4 cup unsalted butter, room temperature
- 1 cup granulated white sugar
- 1 large egg, room temperature
- 1 teaspoon pure vanilla extract
- 3/4 cup buttermilk
- 1 ounce red food coloring, optional
Cream Cheese Filling
- 1/2 cup unsalted butter, room temperature
- 1 8 ounce cream cheese, room temperature
- 3 cups confectioners powdered sugar , sifted
- 1 teaspoon pure vanilla extract
Instructions
- Preheat oven to 375 degrees F.
- In a large bowl sift together the flour, cocoa powder, baking powder, baking soda, and salt.
- With your mixer (use your paddle attachment if you have one), beat the butter and sugar until light and fluffy. Add the egg beating until combined . Beat in the vanilla extract.
- In a small mixing bowl, mix the buttermilk and red food coloring with a spoon. * Hint - place a paper towel under your bowl in case the food coloring splashes out - it will stain.
- With the mixer on low speed, add 1/3rd of the flour mixture and then 1/2 of the buttermilk mixture. Repeat the process until well combined.
- Using a small ice cream scoop (or a standard tablespoon), drop heaping tablespoons of the batter, approximately the same size, onto baking sheets lined with parchment paper. Space about 2 inches apart.
- Smooth the tops of the cookies to prevent any peaks with your finger or spoon dipped lightly in water to prevent sticking.
- Bake for 9-11 minutes.
- Remove from oven and transfer to a wire rack to cool completely.
- Cream Cheese Filling: Beat the butter and cream cheese until smooth and creamy. Add in the vanilla extract and beat until incorporated. Slowly beat in the confectioners sugar, and continue to beat until smooth and creamy
- Match up similar sized cookies. For each pair, take one cookie and spread a heaping tablespoon of the filling on the flat (bottom) side. Top with the other cookie. Repeat until all cookies have cream filling.
- Optional: Take a few tablespoons of the filling and thin it out in a small bowl with milk until it is able to be drizzled from the tip of the spoon. Place thinned icing in a small piping bag, plastic bag or over the edge of a spoon and drizzle lines back and forth over the tops of the Whoopie Pies.
- If there are any left, the Whoopie Pies can be stored in the refrigerator, in an air tight container, for several days.
Notes
Recipe courtesy of Old World Garden Farms
Nutrition Information:
Serving Size:
1 gramsAmount Per Serving: Unsaturated Fat: 0g