Growing a garden in straw bale garden crates is a perfect solution for those short on space, good soil, or time.
Not only are they a wonderfully simple way to grow, they are easy to make. And, best of all, they can be made easily from 2×4’s, or free from pallets!
There is no doubt we love our Raised Row Garden method.
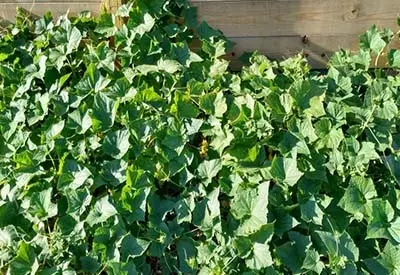
It truly is an easy, low-maintenance, and inexpensive way to grow nearly any vegetable.
But for many, finding the space, soil, or time to plant a sizable garden can be a challenge.
Whether living in an small urban home with limited outdoor space, or an apartment or condo with concrete as the primary outdoor flooring – for some, growing options can be extremely limited.
But with few bales of straw, and a couple of pallets, you can create a straw bale pallet garden that rocks!
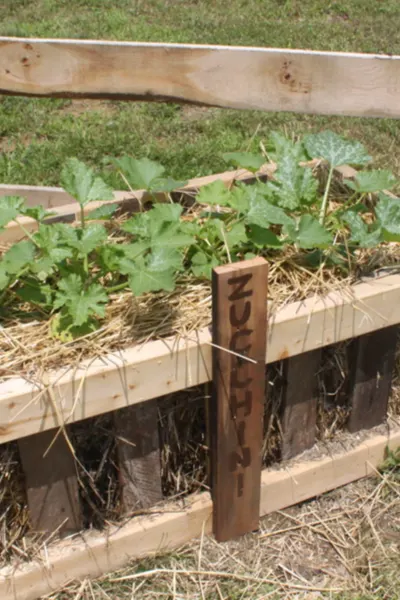
And best of all – it looks absolutely stunning!
Even with our Raised Row garden, we have been growing additional crops in straw bales for years. And with big success!
In fact, we have grown record crops of cucumbers in our straw bales the last two years! ( See : An Amazing Way To Grow Cucumbers)
They also work great for growing tomatoes, peppers, zucchini, or pumpkins. And – nearly any other crop you want to grow as well.
Here is a look at how to build and grow with straw bale garden crates.
How To Create A Simple Straw Bale Garden With Pallets and Straw
The art of growing vegetables and flowers in straw bales has been around for years. In fact, there are books and books on the subject. See : The Complete Book Of Straw Bale Gardening
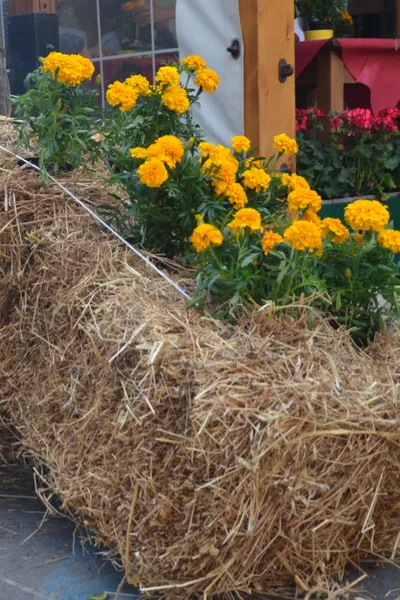
But one of the issues gardeners face is that bales can slump over and break apart as the growing season progresses.
Not only can it be unsightly, it also can damage the roots and stems of plants.
And that is where creating an attractive crate to hold the bales in place comes to the rescue.
In not only looks great, it keeps plants safe. It’s also easy to add support for crops that need it like tomatoes or peppers.
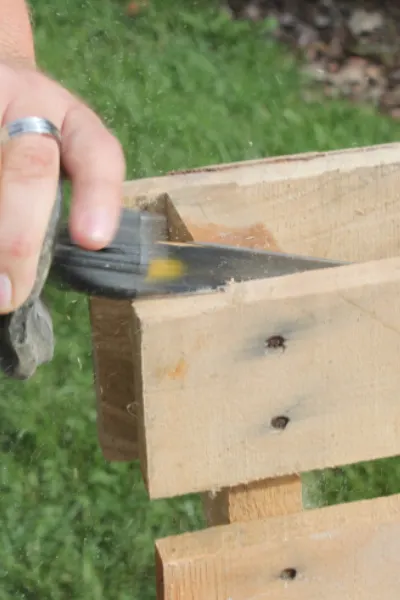
We make our straw bale garden crates from pallets
You can also easily and inexpensively make them from untreated 2 x 4’s.
If using pallets, always remember to only use untreated and safe pallets. See : How To Find Safe Pallets For Projects
You can usually find enough wood from one pallet to create one crate.
Building The Crates
(1) Straw Bale – DO NOT USE HAY
(4) 20” long boards
(4) 44” long boards
(10 to 12) 18″ long boards
(1) bag of compost – substitute your own for free material
(1) bag of topsoil – substitute your own for free material
The straw bales we use measure 20″ wide, 18″ high and just shy of 46″ long.
Be aware that bales can vary in length. Simply adjust the length and width of frame boards to accommodate.
Begin by assembling 2 rectangles from the 20″ and 44″ long boards.
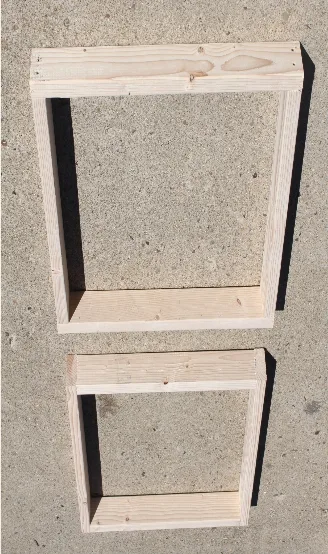
Although nails will work, screws will hold the crates together better long-term.
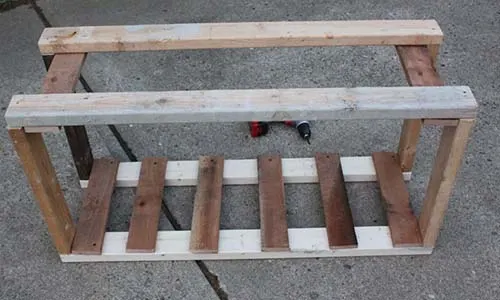
Once the rectangles are together, use the 18″ boards vertically to connect the two rectangles.
The spacing is up to you. We put an 18″ boards on each corner side, and then about 4” between each board.

It is more than enough to secure the straw bale.
And just like that, you have a straw bale garden crate!
Planting The Straw Bale Garden Crate
Now it’s planting time!
Place a bale down inside the frame.
Whatever you do, be sure to use straw, and not hay. Hay will give you a garden crate full of weeds!
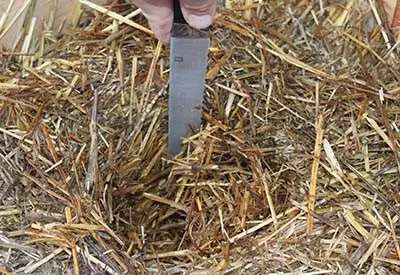
Use a sharp knife or blade to cut out planting holes. We go about 8” deep and 5” around in the bale for each planting hole.
Space plants according to what you will be growing. For our cucumbers, we plant 3 plants per bale spaced evenly in a triangle shape.
This works well for most mid-sized tomatoes and peppers too. If you are growing large heirlooms, you will want to plant two per bale.
Once you have the holes cut out, its time to fill them with a great soil mix.
We use our homemade potting soil mix. It is easy to make – and has a ton of built-in natural nutrients. See : How To Make Perfect Homemade Potting Soil
All that is left is to plant, water, and mulch with a bit of loose around the soil. And your straw bale garden crate is ready to go!
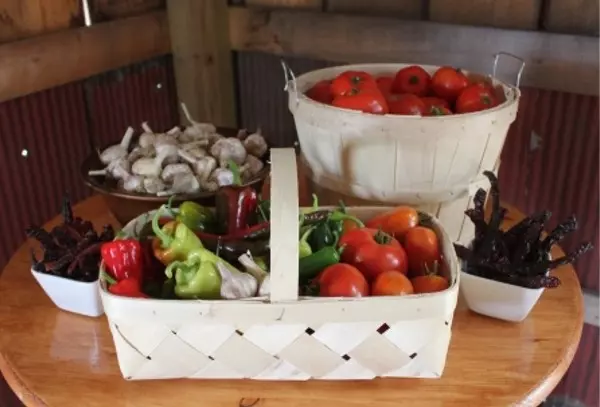
You will get some compression of the bale as the season progresses. But it will all stay in tact thanks to the attractive crate.
Plants and roots thrive in the soil, compost and straw mixture. And, because the garden is off the ground, there will be very little weeds.
The added height also makes it easy to pick and maintain.
If growing tomatoes or peppers, you can screw a stake or cage right to the back of the crate. Talk about easy!
End of the Season :
The decomposed straw and soil mix are great for the compost pile at season’s end.
And if you don’t have a compost bin – use the crate!
Just add shredded fall leaves, coffee grounds, vegetable scraps, lawn clippings and more and mix.
By next year, you will have ready made compost for all of your planting needs!
Happy Gardening – Jim and Mary!
Jim and Mary Competti have been writing gardening, DIY and recipe articles and books for over 15 years from their 46 acre Ohio farm. The two are frequent speakers on all things gardening and love to travel in their spare time.
As always, feel free to email us at thefarm@owgarden.com with comments, questions, or to simply say hello! You can sign up for our free email list in the subscribe now box in the middle of this article. Follow us on Facebook here : OWG Facebook. This article may contain affiliate links.
