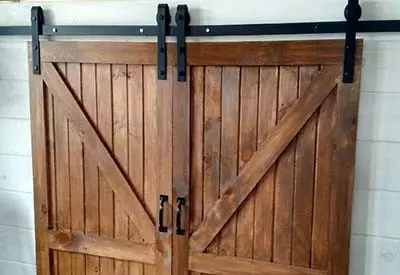
Barn doors have become all the rage when it comes to interior decorating – whether used as a sliding door, or purely as decorative focal point.
They not only add rustic charm, elegance and style to nearly any decor – they can also be an excellent way to save space vs. utilizing a traditional swinging door.
For that very reason, they have become the door of choice in our new “Simple House” that we are currently building at the farm.
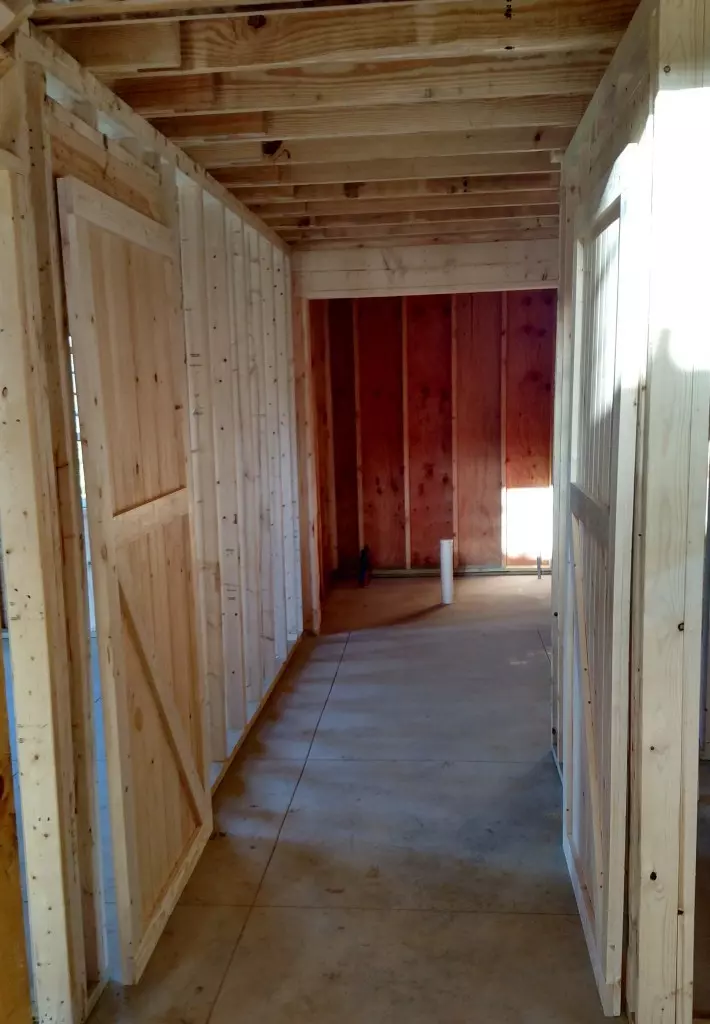
At just a little over 1000 total square feet in the floor plan, space is at a premium. With that in mind, we are using sliding barn doors on each side of the main hallway for doors to the main bathroom and bedroom.
The barn doors work perfectly with the overall theme of the house, and will make it easy to navigate the hallway without blocking the pathway with traditional hinged doors swinging out into the open space. (See: Simple House Project)
With all of those benefits, there was one huge drawback – the cost of purchasing the doors!
Most of the doors we found started out on the low end around $400.00 – with others ranging all the way up north of $1000.00 to $1500.00 per door.
Obviously, when you are trying to simplify and build a “Simple House” – that wasn’t a very good option for the budget!

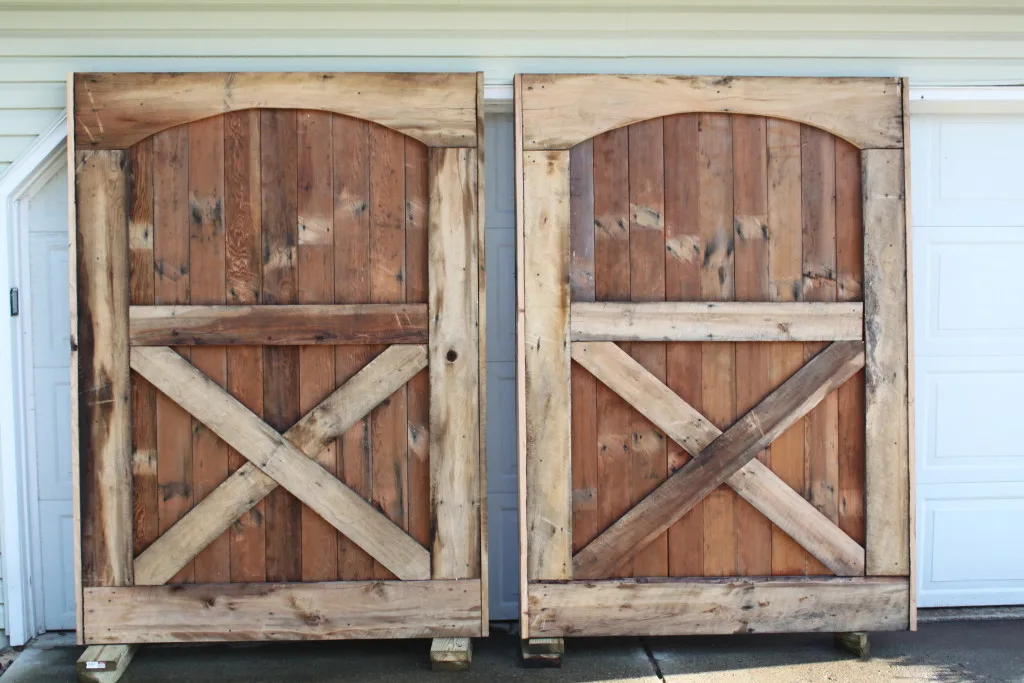
A few years back, we created our exterior barn doors from reclaimed lumber for our barn, so we decided to make this one of our new DIY projects and create the interior doors on our own as well – and we couldn’t be happier with the results!
In a single afternoon, and for a grand total of $125.00 – we built both doors needed for the hallway. I can’t tell you how happy we are with the finished product, and at a cost of around $50.00 each, the price tag as well!
DIY Barn Doors – The Process
Note: We do have complete step by step plans on our Etsy shop : DIY Barn Door Plans
The key in building your own barn doors is to keep them strong enough to handle the stress of opening and closing, without making them too heavy and cumbersome to operate.
If you want a little more rustic feel – choose rough sawn lumber.
Our door is made of two 3/4″ wood layers – the backboard layer, and a front face frame layer.
At 1.5″ thick, the finished door is perfect to fit nearly any rolling barn door hardware on the market. How you want your finished door to look will determine what you use for the backboard layer.
Step 1. Creating the Backboard
For the back board, the choice of material will depend if you want a smooth finish, or a more traditional grooved-board look.
For a smooth finish, you can use a 3/4″ thick cabinet-grade piece of plywood cut to the desired door length and width.
For our doors, we wanted a more traditional look – so we used 8″ wide tongue and groove boards purchased at a local lumber yard. The tongue and groove boards not only look great – but add a tremendous amount of strength to the overall piece.
We cut each 8″ wide piece to our desired length (84″), and then ran the end pieces through the table saw to remove the exposed tongue and the groove slots on each side of the door.
We ended up using 6 total boards per door, and cut the ends off so the final measurement came out to 35″ wide – enough to cover each side of our hallway door opening by a few inches.
Step 2 Creating the Face Frame / Front Bracing
Once the backboard was complete, we assembled together the tongue and groove boards on a flat surface – and began cutting our front frame pieces.
We used 3 1/2″ wide x 3/4″ thick pine boards for the face frame, and started by cutting two 36″ pieces for the top and bottom door strips.
This is an important step in the process, especially when you have tongue and groove boards – it creates a rigid cross piece that holds all of the tongue and grooves solid – and a solid space to eventually hang your door hardware.
Once the top and bottom face frame header boards are in place – you can get a little creative with the rest of the face framing.
We wanted a traditional cross brace look, but in reality – the sky is the limit if you want to create x bracing, z bracing, or no middle bracing at all.
We finished by cutting out the remaining face frame pieces, measuring out the all important cross brace by sitting it on the frame and tracing the angles for the cuts.
We then glued and nailed each piece in place. Once complete – we turned over and used 1 1/4″ screws to screw in the boards from behind – creating a solid 1 1/2″ door that is ready for paint, staining…and hanging!
For us, that chore will have to wait a week or two while the plumbing and electric are finished and the shiplap walls go up in the house.
When it comes to the track and hardware, there are a lot of options, and yes they can be expensive too.
We chose to go with a hanging door and bar roller – and were able to find a complete door set on-line for under $50. EWEI’S Homewares 6-Feet Country Steel Sliding Barn Door Hardware – Black
Hanging is pretty straightforward, with a simple attachment of the plates and wheel to the door, and then hanging the rail above.
Now – if only I could figure out how to forge my own iron for the hanging hardware we could really save… 🙂
For those interested – do have step by step plans available in our Etsy shop ; DIY BARN DOOR PLANS
Happy Building! Jim and Mary
To receive our Recipes, DIY and Gardening articles each week, sign up to follow the blog via email in the right hand column above, “Like” us on Facebook, or follow us on Twitter. You can also check out our new book, Growing Simple, now available on Amazon.com.


