When it came to creating a finished garage space, we knew for us, versatility would be the key!

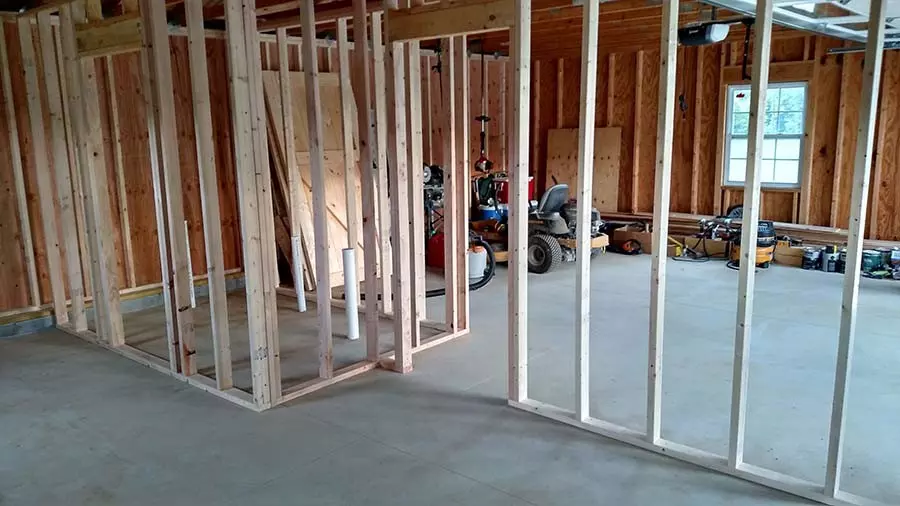
The garage started out as a blank canvas of stud walls.
Our garage has always been part storage space, part workshop and the some. At our old house, we used the space to build pergolas, raise baby chicks, and even host family events.
And oh yes, occasionally, when projects didn’t get in the way, park a car.
So for the new garage at the farm, we had to take all of those factors into consideration. We wanted a clean, finished area that could neatly organize and store tools, and still have open space to work on projects.
We also wanted it to look nice enough to host an event or two if extra space was needed. More than anything, we wanted to do it without breaking the bank!
So with a blank canvas of stud walls and a concrete floor, we went to work.
Creating A Finished Garage
We knew if we went the “traditional” route of drywall, the cost would quickly skyrocket. Not to mention the time and effort to install, tape, mud and then paint.
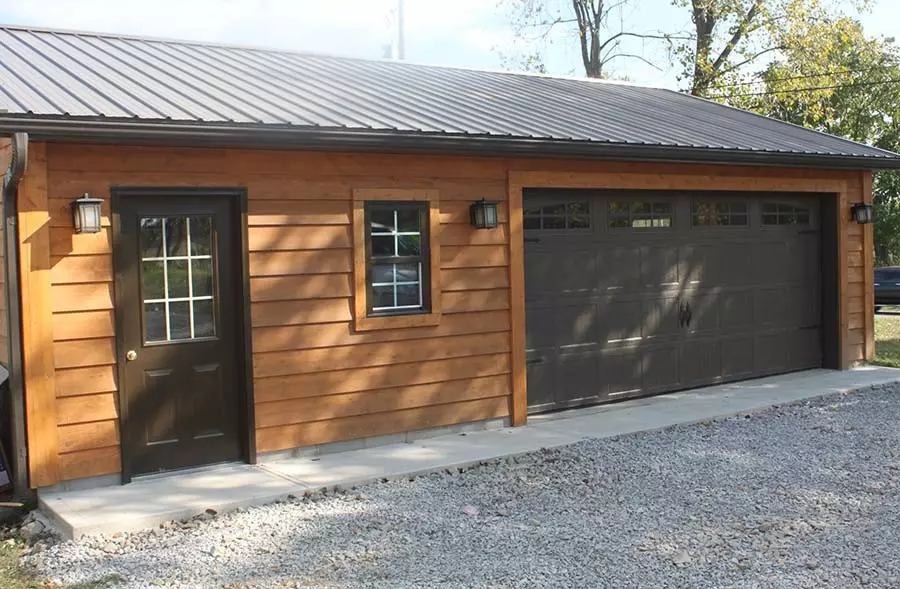
The other options of paneling or plywood were not only expensive, but just simply didn’t fit the look we wanted. We decided to finish ours to match the house – with metal and shiplap!
Metal Knee Walls – Low Cost Durability With A Cool Look
Whether its garden and hand tools banging against walls, or a mower, grill or other equipment being shoved in and out – it seems like the lower wall space in any garage always ends up withe most dings, dirt and abuse.
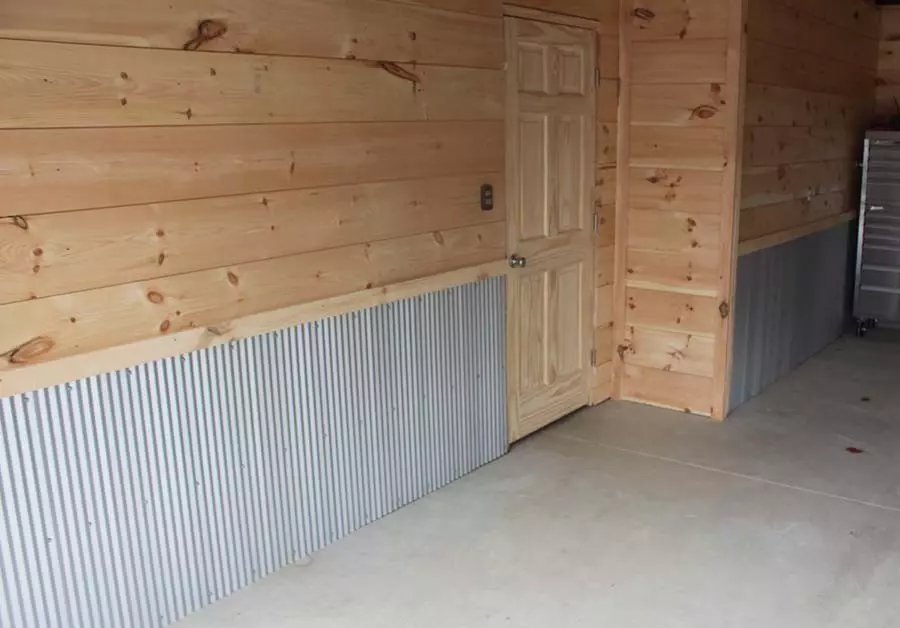
With that in mind, we turned to galvanized metal panels to create a durable, 36″ high low-wall around the entire garage.
Metal panels are not only strong and inexpensive, but a breeze to install. And with the galvanized finish, even tough stains like grease and oil will clean off easily.
In addition, if an errant project happens to crash into a portion of the wall – fixing is as easy as unscrewing the damaged panel and replacing.
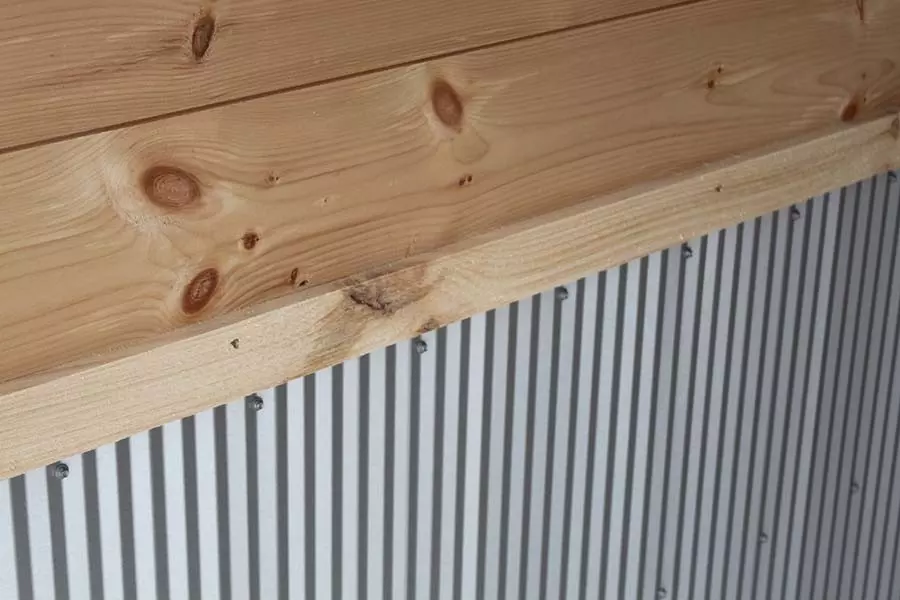
To install our metal wall, we nailed 3 bands of 3″ wide x 1/2″ thick furring strips to the studs. We then attached the panels with metal screws to complete. The process was quick, taking about 4 hours to complete.
Shiplap Walls – We Love This Stuff!
For the upper two-thirds of the garage walls and ceilings, we once again turned to shiplap siding. There is no doubt that the more we use it, the more we fall in love with it.
Shiplap is actually the perfect choice for garage walls. It’s durable, inexpensive, and easy to install.
Unlike drywall, the solid wood makes it perfect for securing anything, anywhere with hooks or nails. One of the best features of shiplap is the speed of the install.
We had the walls up and complete in a single day.
To finish of the look, we cut down a few of the shiplap boards into 3″ wide pieces of trim. We then installed the strips as a transition piece between the wood and metal.
See: How To Easily Install Shiplap
Keeping The Budget In Check
The best part of this project was it was extremely budget friendly! We were able to use Between the metal and shiplap walls and ceilings, we were able to complete the entire project for about $600.
Happy Building! – Jim and Mary.
To receive our Recipes, DIY and Gardening articles each week, sign up to follow the blog via email in the right hand column above, “Like” us on Facebook, or follow us on Twitter.
You can also check out our new book, Growing Simple, now available on Amazon.com.


