
How To Get Rid Of Ticks In Your Yard – With One Simple & Safe Secret!
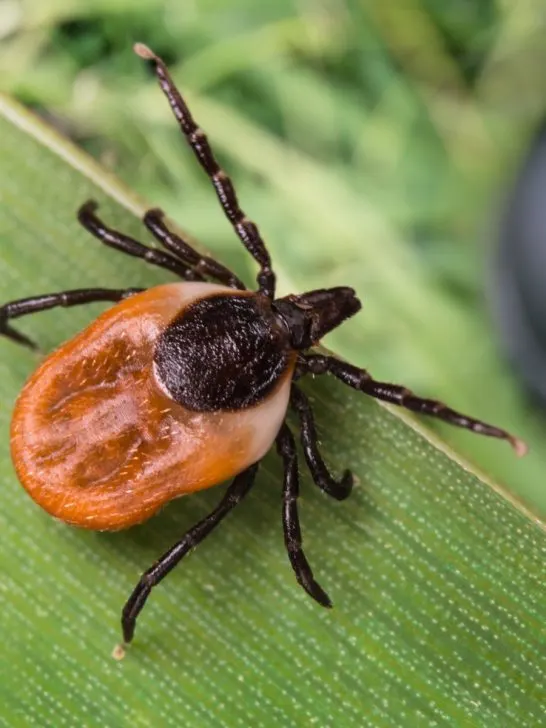
Looking for the perfect solution to get rid of ticks in your yard and eliminate them for good? Ticks are certainly becoming more of an issue with every passing year. …
Looking for the perfect solution to get rid of ticks in your yard and eliminate them for good? Ticks are certainly becoming more of an issue with every passing year. …

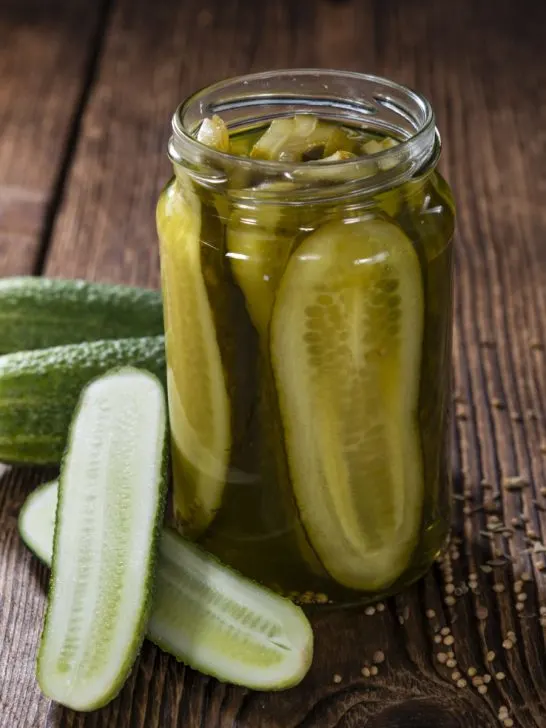
Although the process of making homemade dill pickles is rather straightforward and easy, getting them to maintain that crisp texture once they are canned can be tricky. There is nothing …
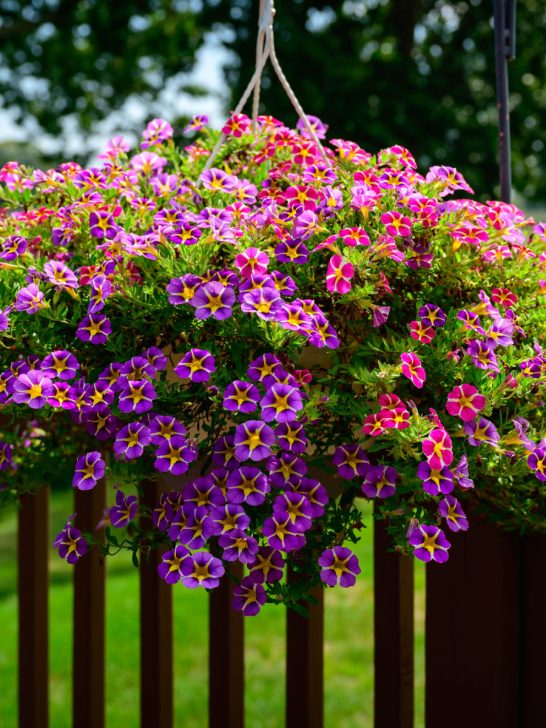

Are you looking to learn the 2 simple secrets gardening pros know and use when it comes to fertilizing hanging baskets and container plants to keep them healthy, lush and …

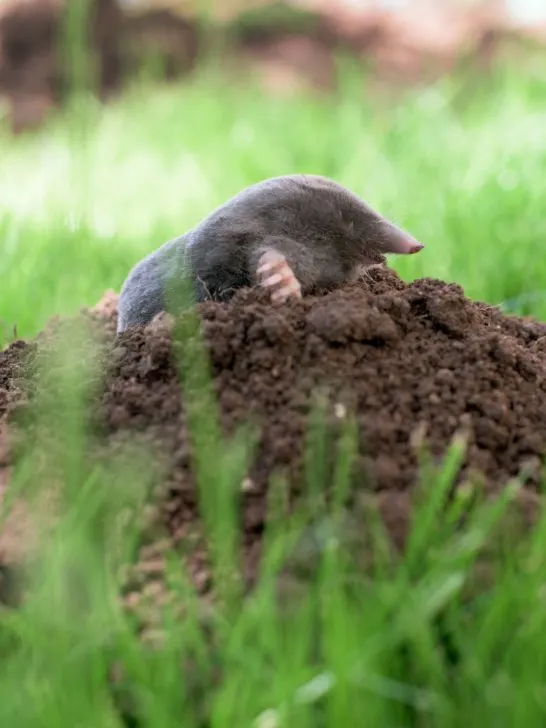
Looking for a few effective ways to finally get rid of ground moles from your yard and landscape? Ground moles can be so frustrating for gardeners. In a flash, they …
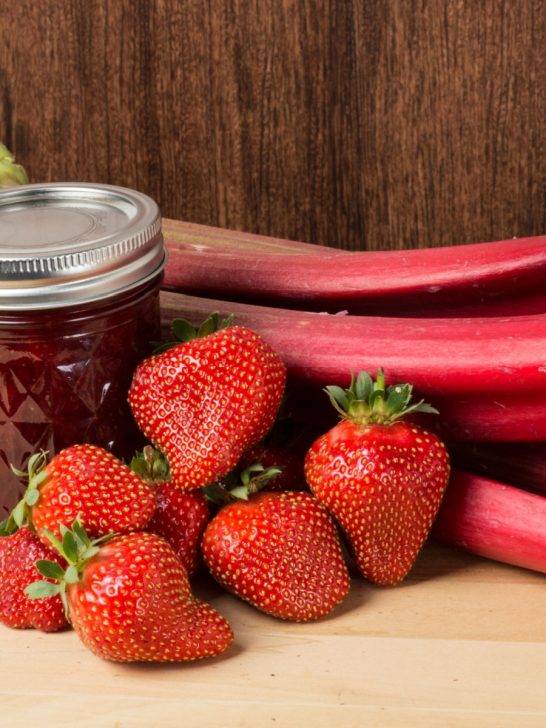

Every year one of the first recipes that I make from our spring garden is strawberry rhubarb jam. It is an easy and delicious preserve that pairs the sweetness of …
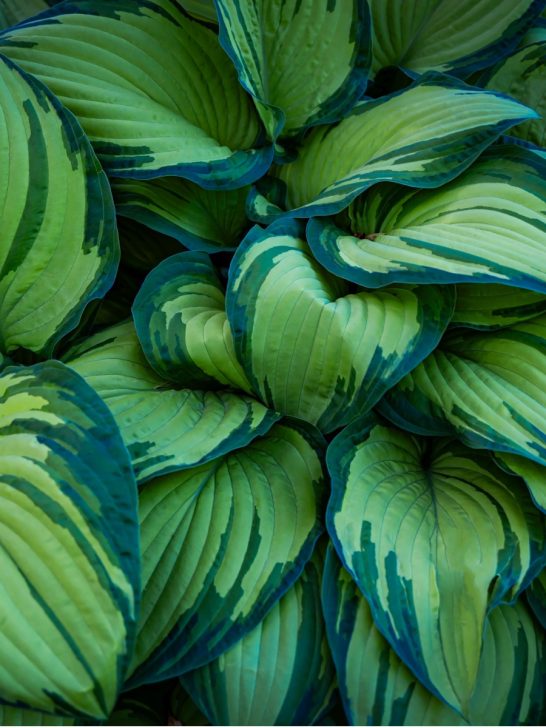

When it comes to getting your hostas and their leaves to stay strong, bright and vibrant all summer long, fertilizing your plants at just the right time throughout the growing …

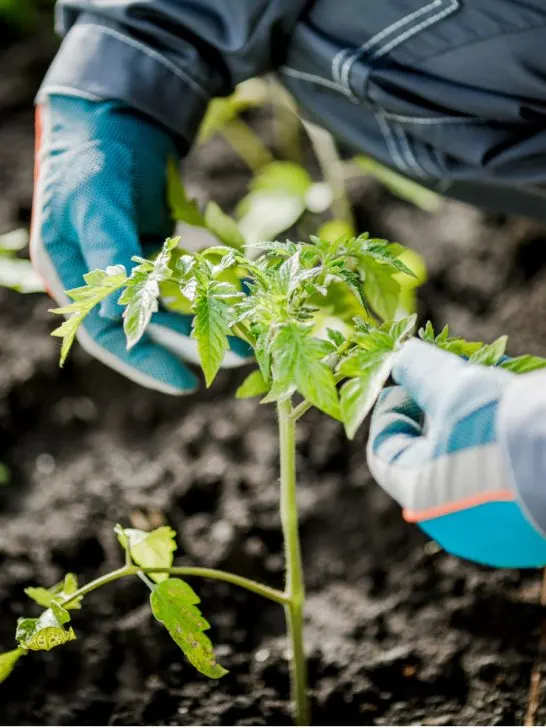
Want to know the 5 biggest mistakes made when planting tomatoes – and more importantly, how to avoid them to plant your tomato plants just right for a big, juicy …


Every time that I see rhubarb peeking through the ground or being sold at the local Farmer’s market I get so excited because I know that I will soon be …

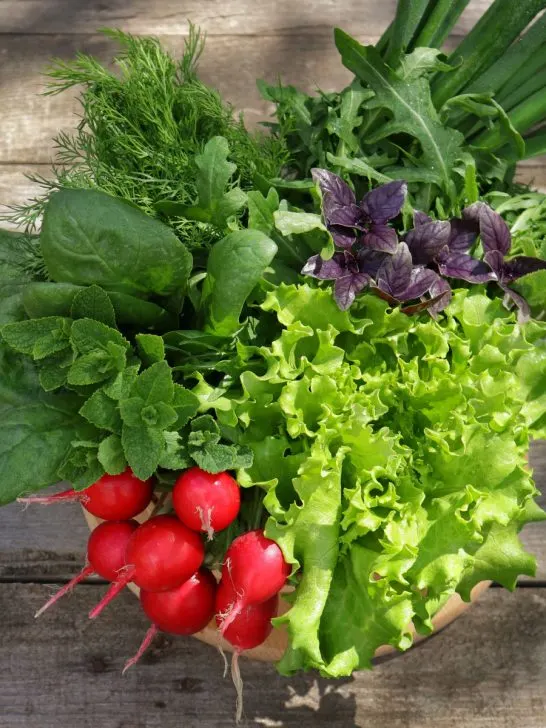
If you are anxious to get growing this year and start your garden season sooner rather than later – it’s time to plant a few vegetables crops from seed that …
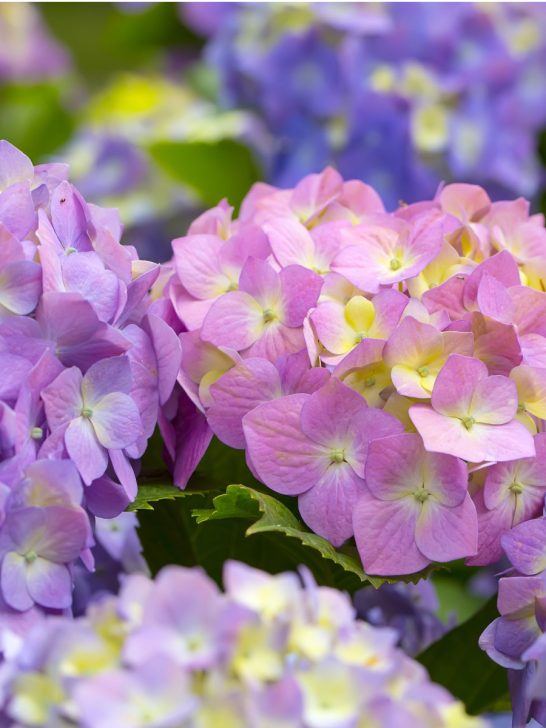

If you want to get your hydrangeas to bloom bigger and brighter than ever this year, then giving your bushes the perfect dose of nutrients is a must – as …
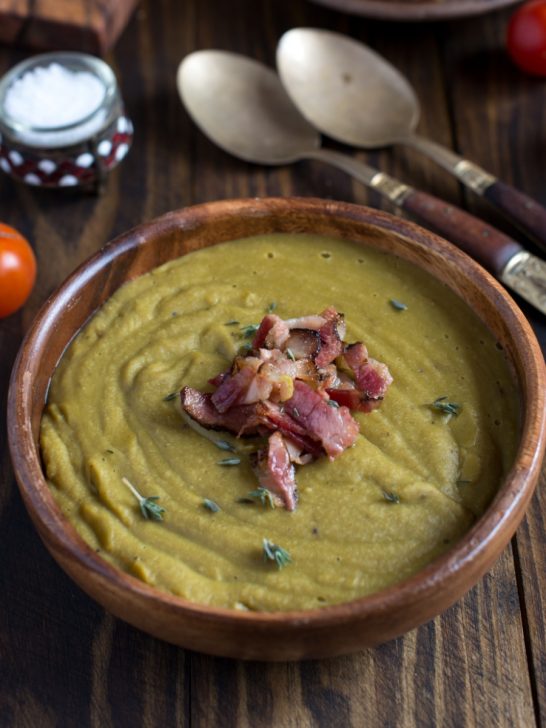
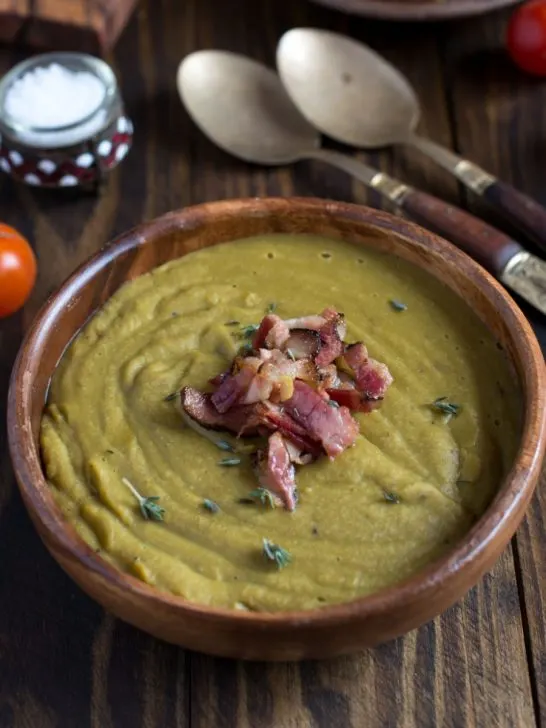
If you are looking for a delicious recipe to use leftover ham from your holiday celebration, do yourself a favor and make this healthy Split Pea and Ham Soup recipe. …