

The Farm At Old World Garden Is Open – Come Tour, Visit & Even Stay!
It’s hard to believe the words as we write them out for today’s article – but just nineteen short months after starting construction, the new farm at Old World Garden …
All about our garden
It’s hard to believe the words as we write them out for today’s article – but just nineteen short months after starting construction, the new farm at Old World Garden …
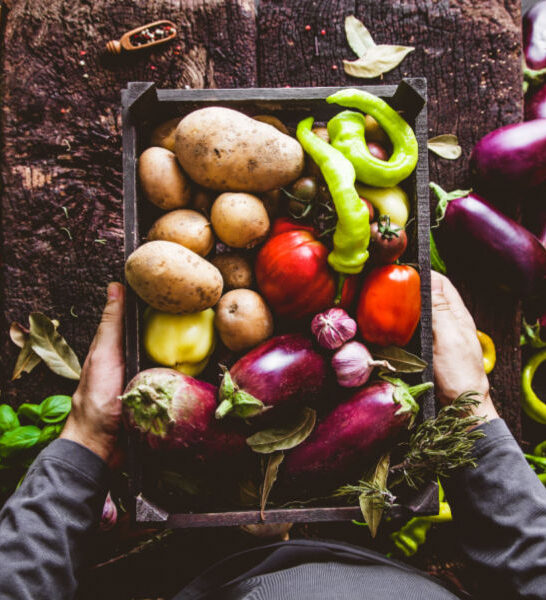

When it comes to growing a healthy, productive garden, nothing can help make you more successful than planning out your garden by creating a great plan – long before the …
Today’s article is all about avoiding some of the most common garden mistakes new gardeners (and veteran gardener’s too) often make as they embark on a new growing season. There …

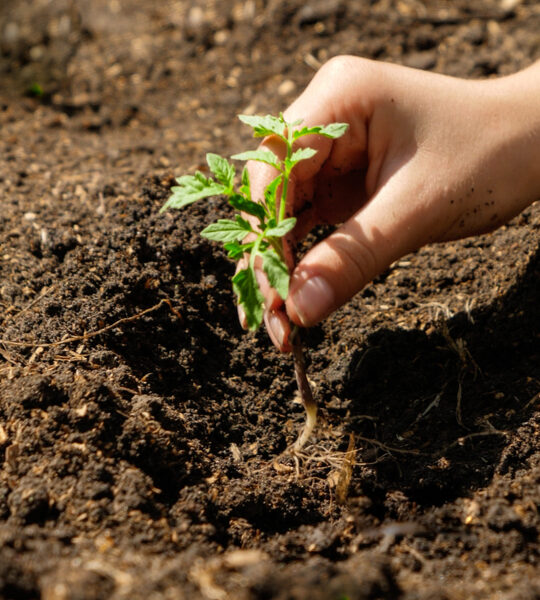
One of the most important things you can do this spring to get your vegetable and flower plants off to a great start is to harden your transplants off before …
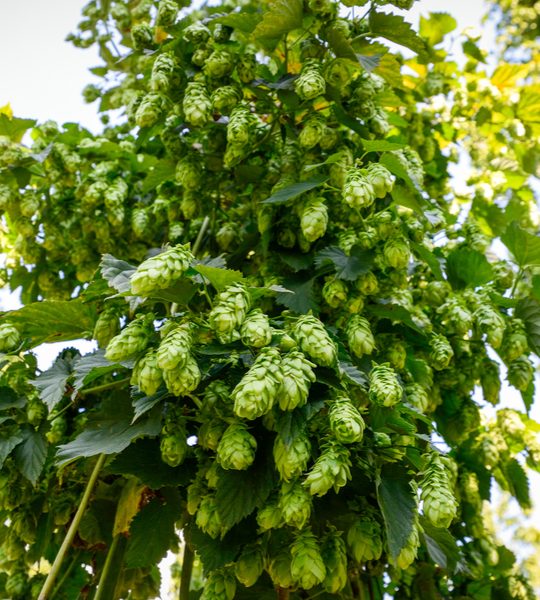

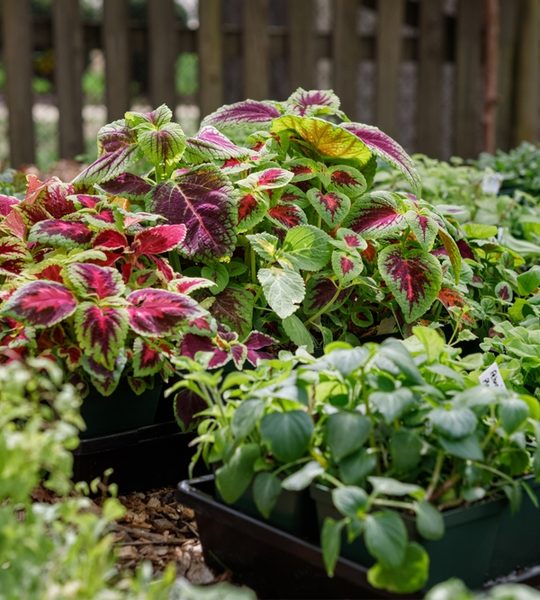
Looking for a few unique, interesting and out of the ordinary plants to grow in your garden or flowerbeds this year? Something that can bring a few oohs an ahhs …
It is hard to believe, but the new year is already here, and that means it is time to start create our 2022 Vegetable Garden plan for the farm. This …
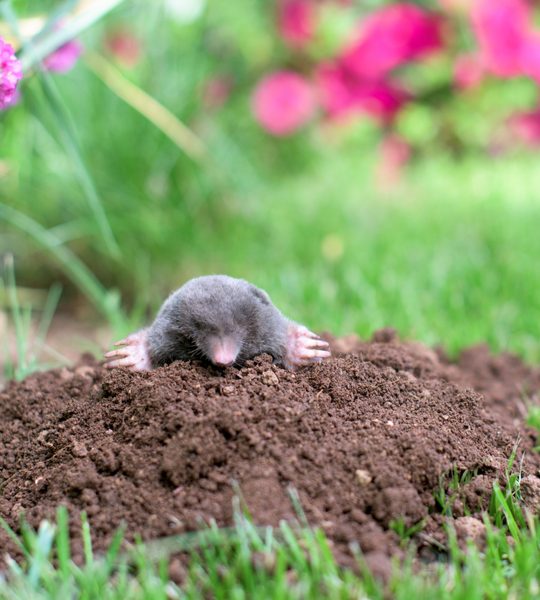
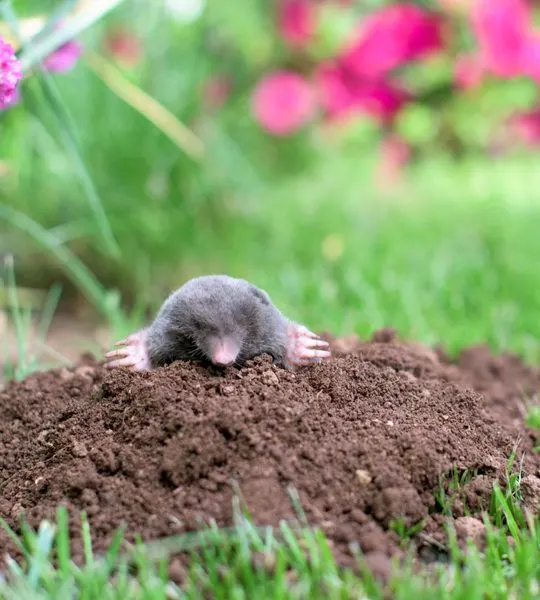
If you are looking for how to keep ground moles out of your yard without using harsh chemical treatments, today’s article is for you. And it can even help you …

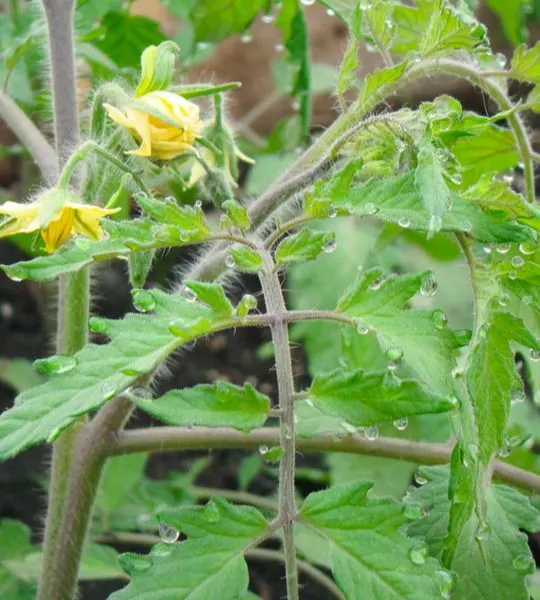
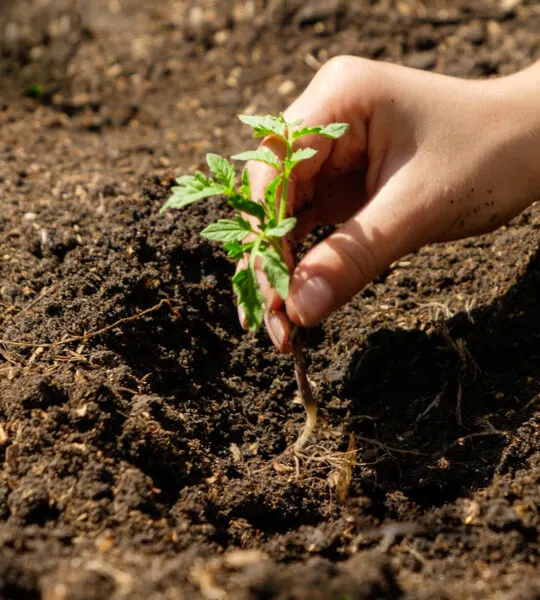
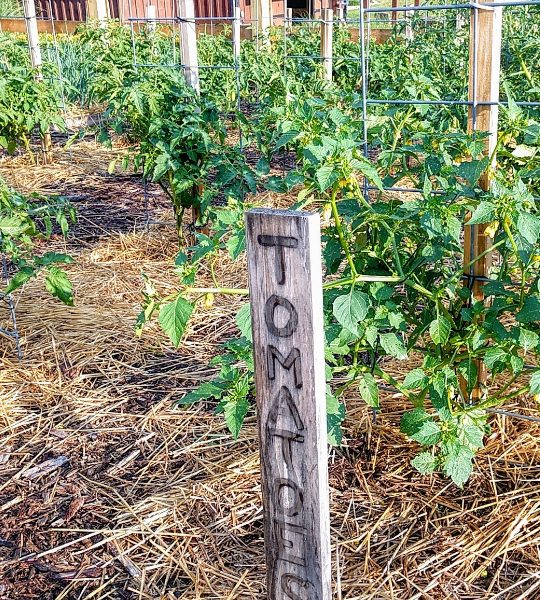
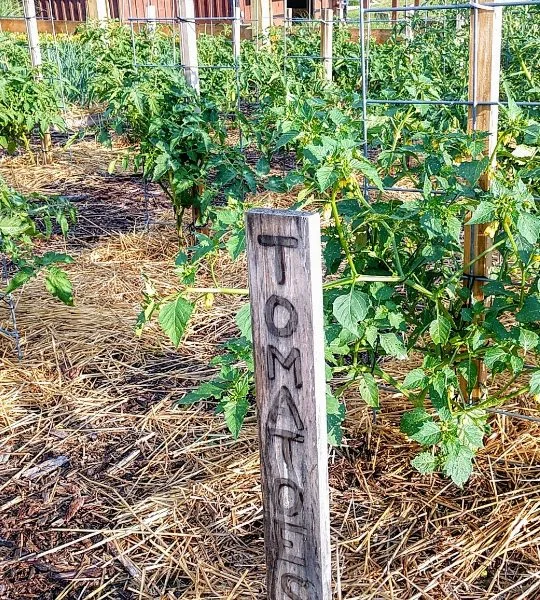
Are your tomato plants struggling a bit and in need of a little growing help? Do they seem weak, lethargic – or just plain sad sitting in the soil? In …
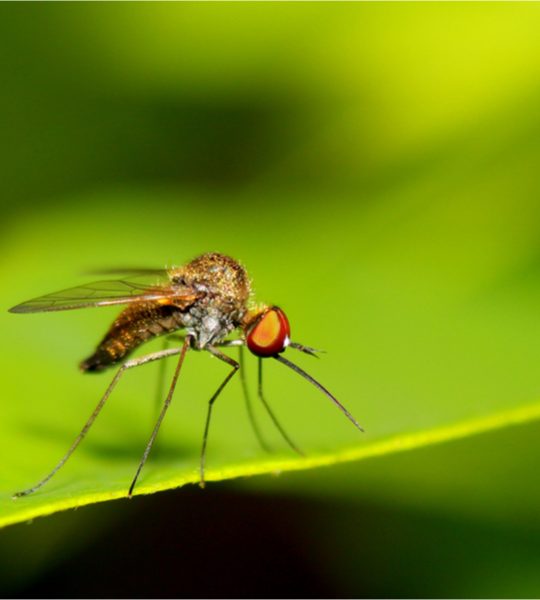
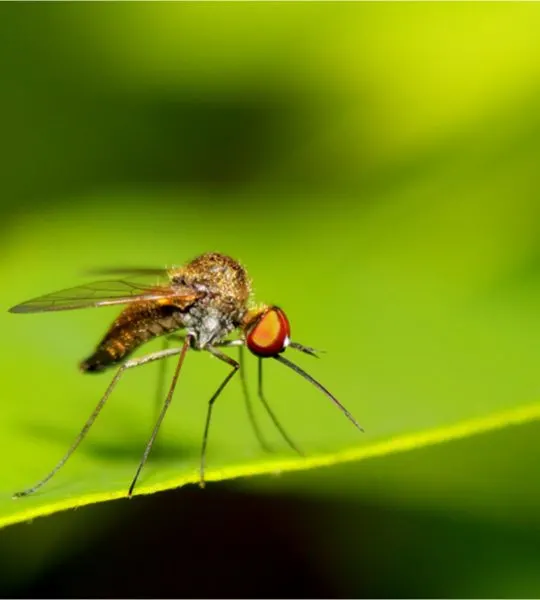
Summer is almost here, and the battle is already starting to keep mosquitoes away from all of the outdoors spaces and places you love most. Unfortunately, with warm weather comes …

So just what exactly is Misfits Market – and why are we talking about using this cool little service today on the blog? Every so often, in addition to our …