
What To Do With Cherry Tomatoes – 7 Easy Ways To Enjoy Your Harvest!
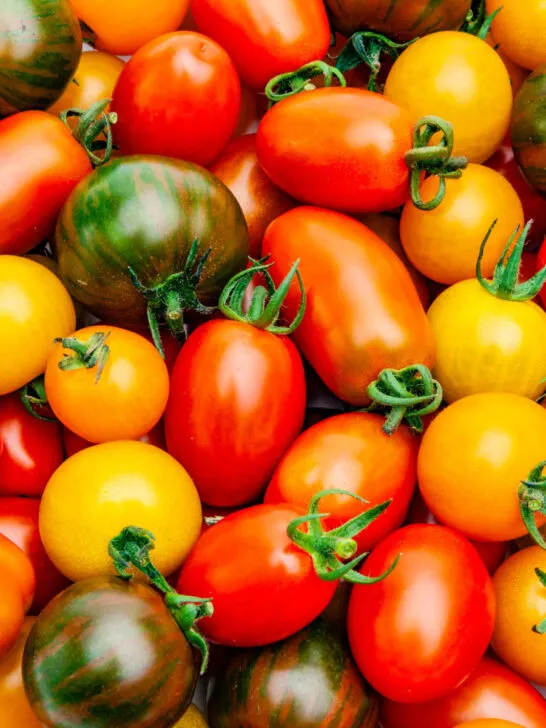
Wondering what to do with all of those cherry tomatoes piling up on your kitchen counter? Once summer arrives and the harvest kicks into high gear, it doesn’t take long …
Wondering what to do with all of those cherry tomatoes piling up on your kitchen counter? Once summer arrives and the harvest kicks into high gear, it doesn’t take long …
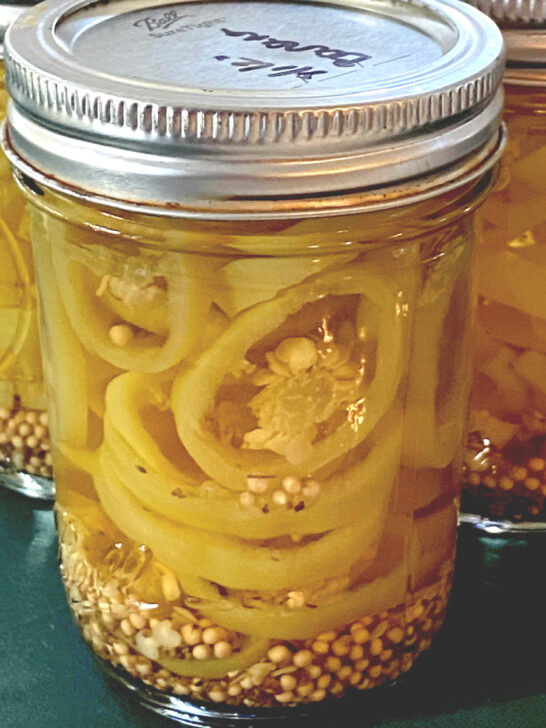

If your garden is overflowing with banana peppers and you’re wondering how to use them before they go bad, making homemade pickled banana pepper rings is one of the easiest …
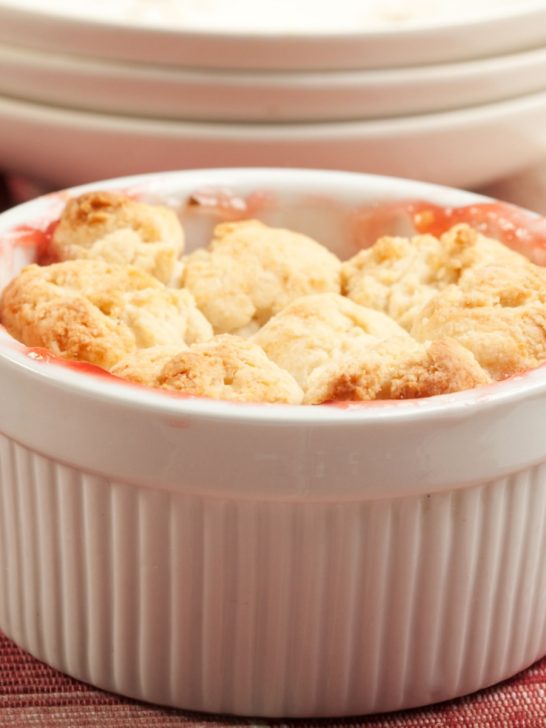
Take advantage of those fresh rhubarb stalks that are readily available in the spring and make this delicious Rhubarb Cobbler Recipe. This tart and tangy dessert topped with buttery cobbler …
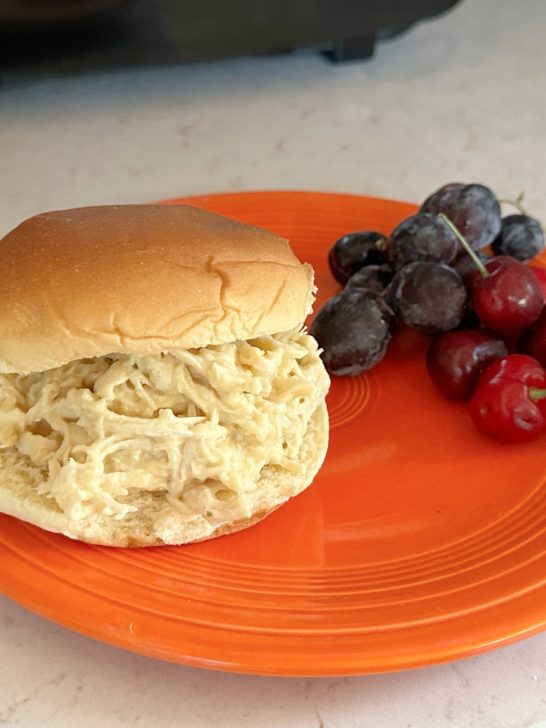
Growing up in Ohio, shredded chicken sandwiches are a summertime staple. They show up everywhere – church potlucks, VFW dinners, graduation parties, school fundraisers, family reunions, and backyard gatherings. If …
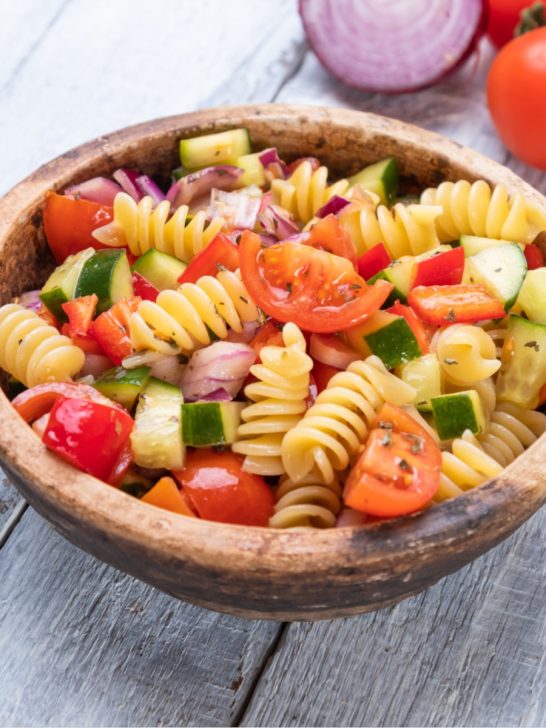
When it comes to making the best pasta salad to share at barbecues, picnics, and backyard gatherings, there are many things to consider. From what type of pasta to use, …

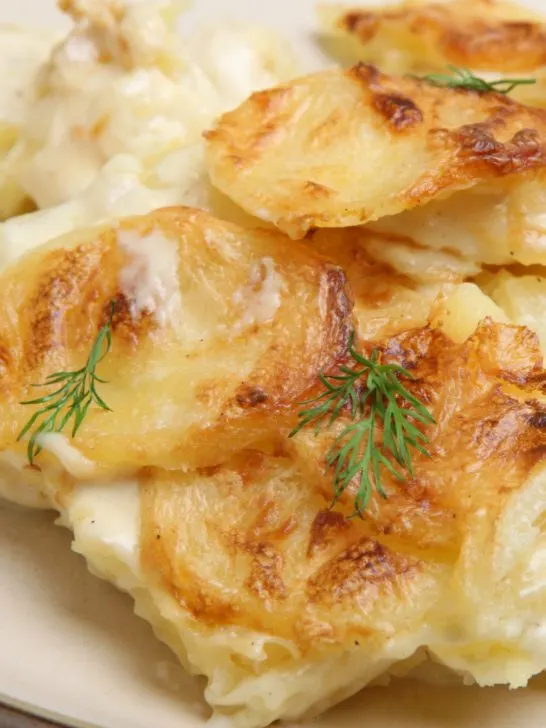
When it comes to making holiday side dishes to share with family and friends, it doesn’t get much better than this easy Scalloped Potatoes recipe. Thin slices of potatoes nestled …

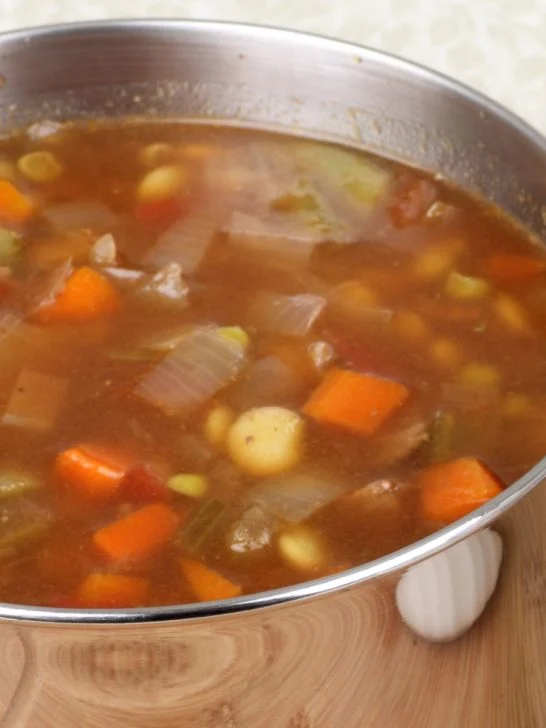
There is nothing quite like a bowl of beef vegetable soup simmering on the stove top when the weather is cold, gray, or downright dreary. This hearty soup recipe is …


New Orleans Gumbo is one of the most searched recipes during Mardi Gras season, and for good reason. This rich, hearty stew is packed with deep flavor, tender meat, and …

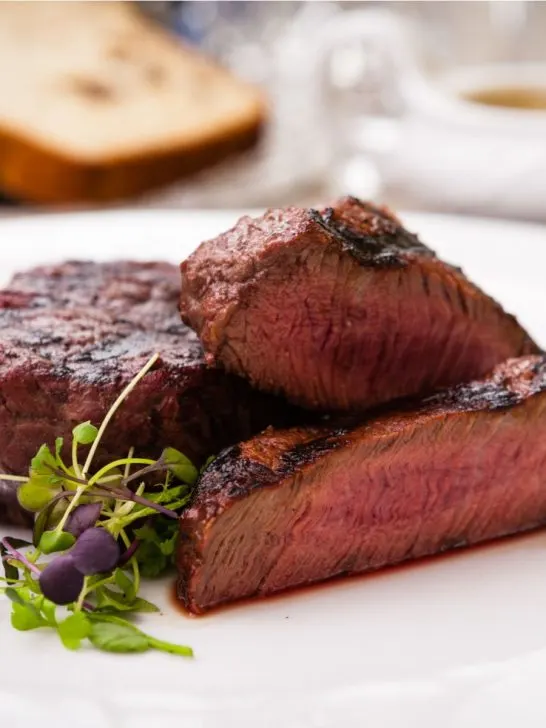
If you are splurging for a special occasion meal and purchased a couple of of filet mignon steaks you may be searching for the best way to cook them. After …

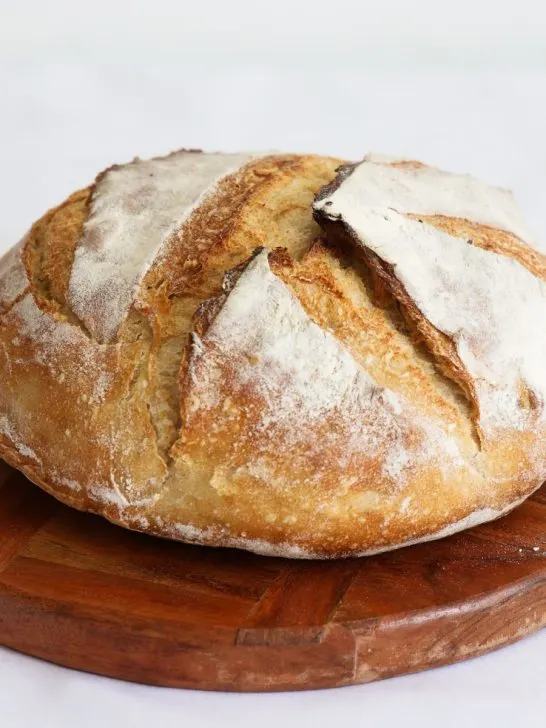
Sourdough bread is one of the most rewarding breads you can make at home. While sourdough has a reputation for being difficult, the truth is that it simply requires patience, …