
The DIY Garden House Structure, An Outdoor Space With Old Barn Appeal
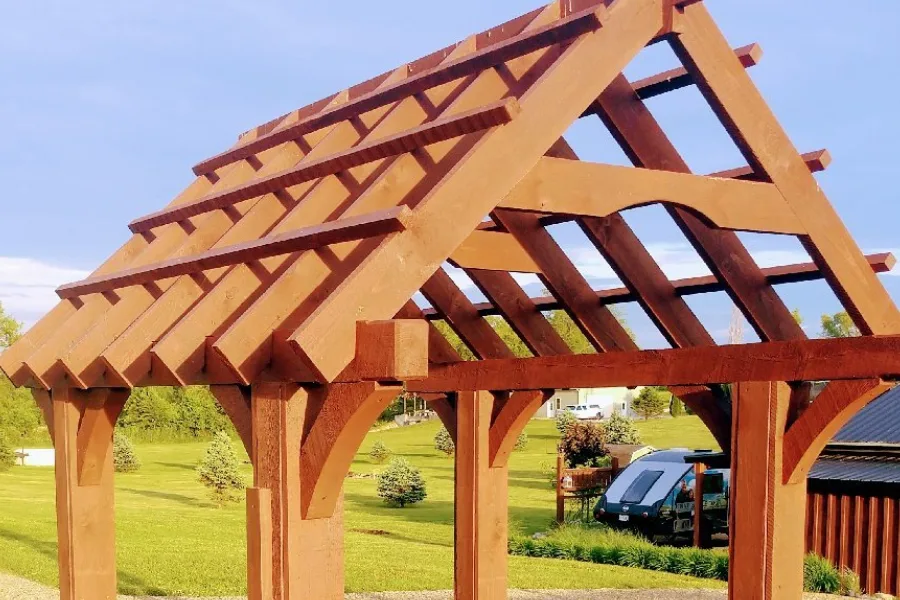
So you might be asking yourself, what exactly is a DIY Garden House Structure? Is it a pergola? A pavilion? An outdoor living room? Well, to be completely honest, it …
So you might be asking yourself, what exactly is a DIY Garden House Structure? Is it a pergola? A pavilion? An outdoor living room? Well, to be completely honest, it …
100% nuts! Looking back – that’s what we were! The idea came with a simple pencil drawing over the winter of 2010-2011. It was what we hoped would someday become …
We have used pallet wood and the left over barn wood from the two barns we tore down to do just about everything. This past week – Mary came up …
One of our last projects in the barn will be the laying of the reclaimed brick floors – but before that can happen – we had to somehow find a …