The DIY Scrabble Wall Project. Who knew the classic game of Scrabble could provide the answer to our decorating dilemma!
The first part of the big wall decorating is complete – the scrabble wall is up!
A few weeks back, we asked readers to help with decorating ideas for what we now call the “Big Wall” in our new home. See: A Decorating Dilemma
The wall spans 24′ across the main living area, and reaches to a height of 22′. It is covered with white shiplap siding, with a bank of 2 lower double window sets, and a triple window bank up top.
Most agreed that a rolling library ladder to reach the triple window bank above would be a great start. And we absolutely loved the ideas of putting family and farm pictures above each set of lower windows hanging from a metal rail.

The tiles would even make a great window top decoration.
But that still left the big section in the middle of the wall wide open. We had a lot of ideas from readers about adding some type of a”family tree” to the middle space. We loved the idea of using a family theme – but really wanted to make it totally unique for the space.
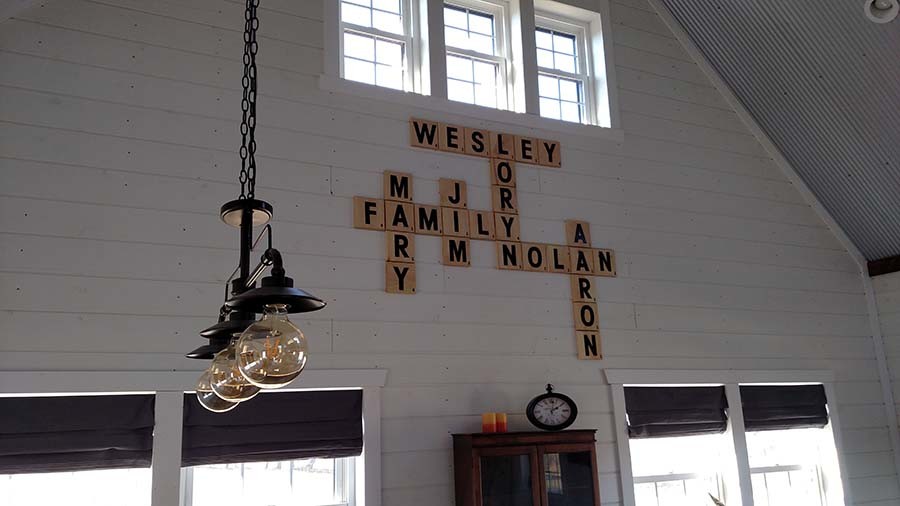
And then the idea came. Why not make our family tree from an over-sized version of all-time family favorite board game to bring it all to life. And the Family Scrabble Wall Project was born.
We decided to start with the main word of FAMILY and then connect all of our name Once we had the sketch – all that was left was to make the letters!
Creating The Scrabble Wall
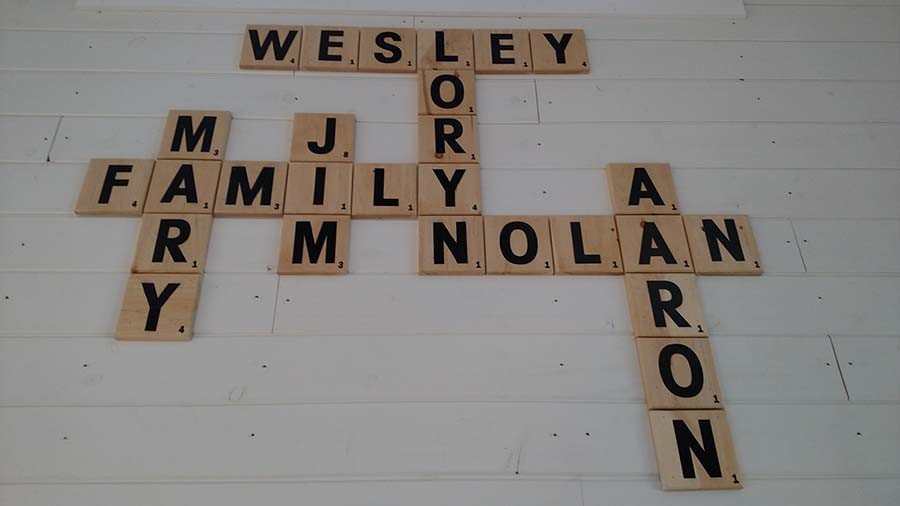
We wanted to make the alphabet tiles look as authentic as possible to the real game, right down to including the point values for each corresponding letter.
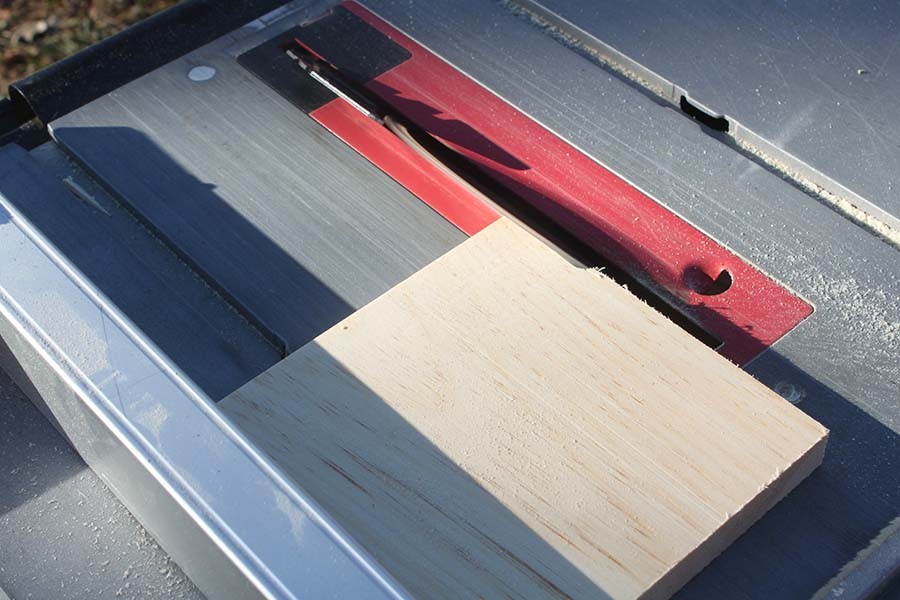
We used the table saw to create a bevel on the top of the tile pieces
To make the wood “tiles,” we cut 27 individual 7 x 7″ pieces from 3/4″ thick pine boards. Then,using the table saw, added a beveled edge to the top of each piece.
For under $10, we used inexpensive 4” black vinyl adhesive peel and stick letters for the individual letters. You can find online here : 4″ Vinyl Letters. For the corresponding point values in each corner, we used 3/4″ black adhesive vinyl numbers.
You could easily stencil in letters and numbers as well, but the vinyl really gave the pieces a crisp look.
To complete, we applied 2 coats of urethane to permanently seal the letters to the tiles.
The scrabble tiles up close
Installation was a breeze. We used 1 and 1/4″ brad nails and the nail gun to attach directly to the shiplap walls. One of the many benefits of having shiplap walls – it’s easy to attach anything, anywhere. The total cost of the entire project – $24!
With the scrabble wall centerpiece complete, we can now finish off the wall in the coming weeks with the rolling ladder and family picture bars. Slowly but surely, the Simple House is nearing completion – Scrabble Wall and all!
Happy Decorating! – Jim and Mary. To receive our Recipes, DIY and Gardening articles each week, sign up to follow the blog via email in the right hand column above, “Like” us on Facebook, or follow us on Twitter. You can also check out our new book, Growing Simple, now available on Amazon.com. This post may contain affiliate links.