If you are looking for a great way to save on your budget and have incredibly clean, fresh and wondrous smelling clothes – installing your very own backyard pulley clothesline is the perfect answer!
There is truly something sensational about the smell and feel of clothes hung outdoors in the air to dry. You know it the instant you put on a fresh t-shirt hung from the line. Or, even more, when you first climb into bed and take in the incredible feel and aroma of air-dried sheets!
We installed our first “old-fashioned” pulley clothesline at our original farmhouse way back in 2016. It was certainly love at “first use”. Not only was it great for saving on energy costs, it also saved tremendously on the wear and tear of our dryer.
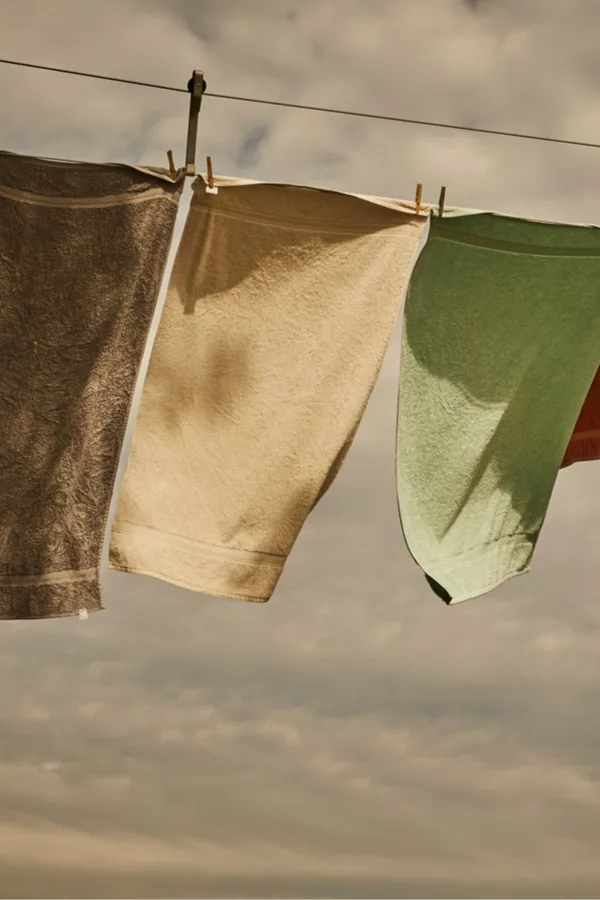
Perhaps even better, drying your clothes outside leaves them with an amazingly fresh outdoor scent that is pure heaven! For both of us, our clothesline brought back fond memories of our childhood where most all of our clothes were dried outdoors whenever the weather allowed.
Childhood Memories – How To Build A Pulley Clothesline
Growing up, my mom had two outdoor clotheslines. One on our screened-in back porch, and another that stretched across the width of our backyard.
Both lines were used multiple times every week if not every day. Not only did the outside line air-dry all of our sheets, shirts and pants, it also served as our home-run wall for our backyard baseball games. And the screened in porch line was perfect for rainy days or when it was just too hot to hang them outside!
What’s even more amazing is that even at 97, my mom’s screened-in back porch clothesline still occasionally has a few sheets or a shirt hanging from its line.
For Mary, the memories come flooding back as well. She can remember having an old-fashioned T-post line that was eventually replaced with a backyard clothesline tree. Their clothesline served a dual purpose too, doubling as a great hide-and-seek spot between the hanging sheets!
The Advantage of a Pulley – How To Install A Pulley Clothesline
For all of those reasons and more, we decided back in 2016 to install our own clothesline. We ended up loving and using it so much that we found ourselves installing a nearly identical system at our new farm this past week – and have already put it to use!
Instead of using a plain old post and line set-up, both of our clotheslines have been pulley systems. It is a set-up the Amish community around us love and have perfected – and one that we certainly have fallen in love with as well!
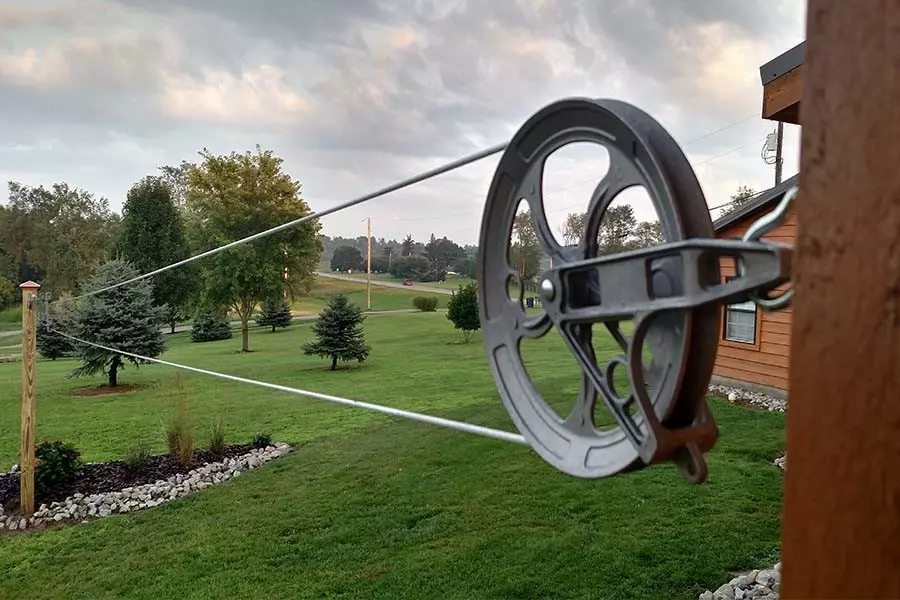
A pulley system allows you to hang clothes from a single point. You just simply pin your clothes to the wire, send the wire out, and keep on pinning. With each new item, you just roll the line out more. And when it is time to bring them in, you just roll in the line and take each one down – without the need for taking a single step!
It is an incredibly strong and efficient, system to say the least. But it also happens to be relatively inexpensive. Even better – as you will see below, it is simple and easy to install too!
Purchasing A Pulley Kit – How To Install A Pulley Clothesline
At a few of the Amish houses around us, there are some pretty elaborate pulley clothesline systems. Some are hung from big wooden posts. Others connect from porches to metal posts, barns or other outbuildings. There are even a fair number of pulley clotheslines attached to large, mature trees.
Some of the larger pulley lines in Amish country stretch a hundred feet or more – and can be 50′ or or more off the ground on one end! Our system uses the same method – but certainly doesn’t have that kind of elaborate span or set-up!
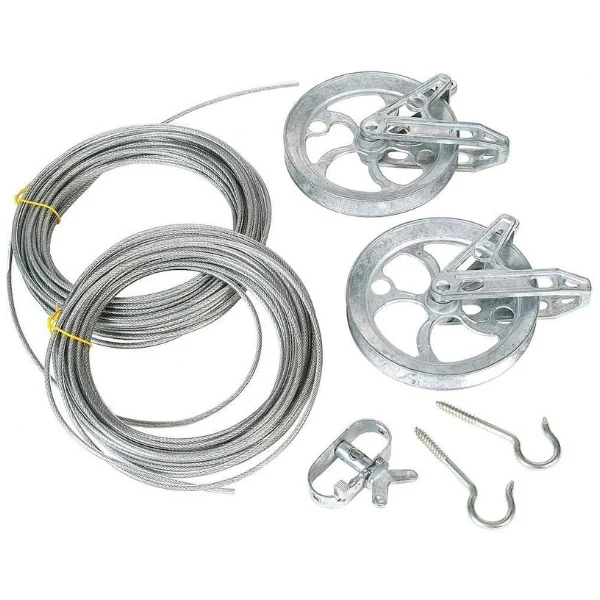
For our clothesline system, we used a basic kit that came with two hooks, two pulley wheels, a line tightening ratchet and a 150′ of line. It gives us a total of 75′ of hanging space when doubled up on the line.
We have purchased both of our kits from Lehman’s Hardware. They have an amazing on-line store in addition to their brick and mortar building. Their pulley clothesline kits are strong, simple to install – and actually quite economical. In fact, a 25′ kit (50′ of line) which includes all of the above is just under $40. Product Link: Lehman’s Pulley Clothesline Kits
How To Install A Pulley Clothesline
A strong, good-working pulley clothesline system all starts with a sturdy base. If you are attaching to a structure such as a house, garage or barn or sturdy mature trees – you should have little trouble with support.
If you will be attaching to posts in the ground however, they need to be strong and sturdy. For wood posts, stay away from 3’x3′, 4’x4′ or even 4’x6′ posts.
Posts of this thickness are simply not strong enough to hold up to the weight of wet clothes. It won’t take long until your posts are bowed or even snap off. For us, we use 6 x 6 posts, and bury them in concrete 30 inches deep. This goes below the frost line and is deep enough to secure the posts.
Heavy metal posts are another good option, but again, be sure to secure them into the ground. If burying in the ground, the deeper you can bury your posts the better! If attaching to a structure, just be sure you can screw the support hook into a solid wood surface.
Attaching The Pulleys – How To Install A Pulley Clothesline
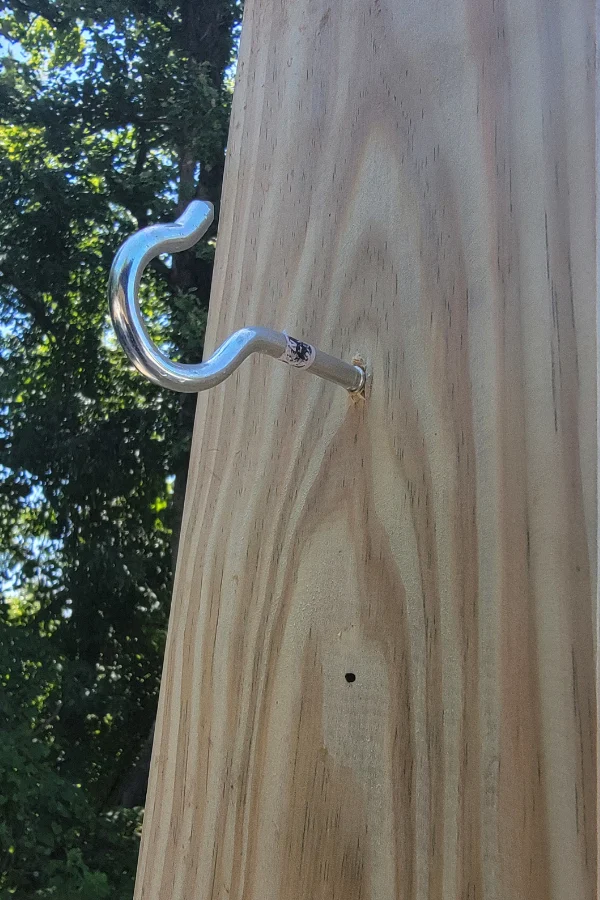
Once your posts are in place, installation is simple and straightforward. Begin by installing the eye hook screws into your posts. These will hold the pulleys, and should be fastened secure and deep into the wood.
As for height, you want the bottom of the pulley line to be high enough that clothes won’t touch the ground, but not too tall that you can’t reach to hang clothes.
Once you determine the best height for your line, install the eye hooks four (4) inches above the point where you want to hang clothes. Once installed with line, the pulleys will hang down about 4 inches making it just the right height.
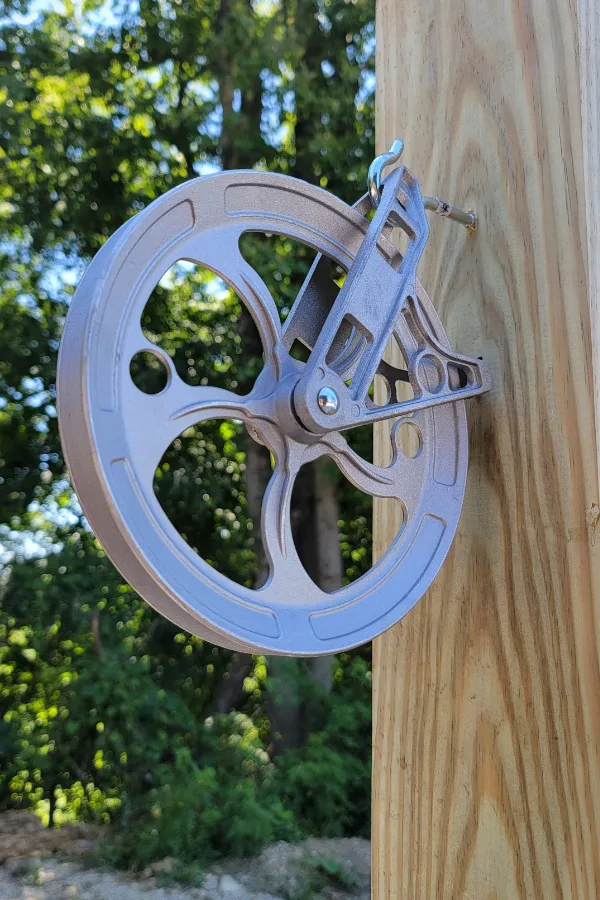
Once you have your eye hooks installed, place a pulley over an eye hook, keeping the thicker side of the pulley on top, and the thinner side facing down. Repeat the same process for the other hook.
Installing The Line – How To Install A Pulley Clothesline
Now it is time to install the clothesline and the tension ratchet to hold the line together. You want the tension ratchet to be on the top of the pulley at the end of the opposite side of where you will be hanging your clothes.
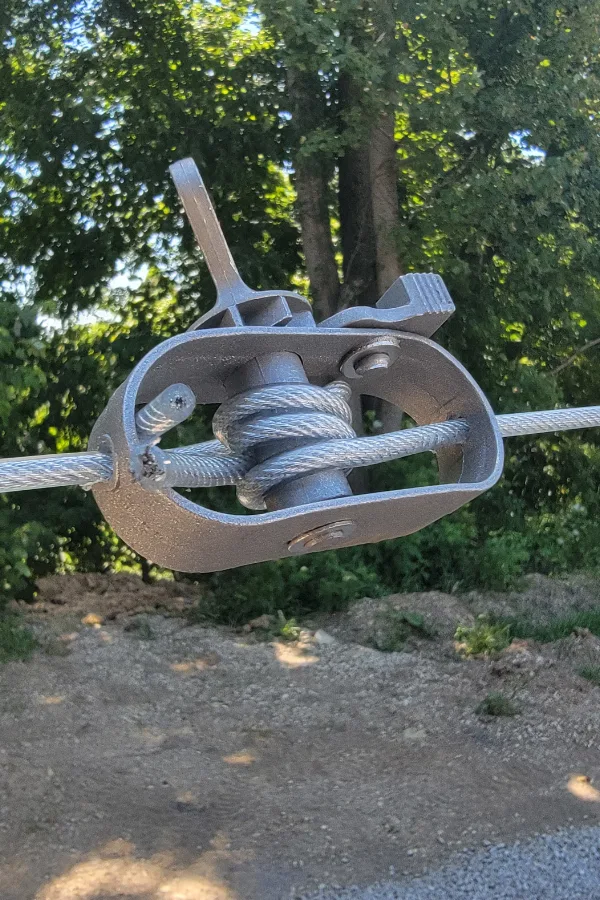
Begin by threading your clothesline up through the bottom of each side of your pulley. Pull the two connecting ends to the side opposite where you will hang clothes. Take each wire and put it through the outside hole of the tension ratchet and through the middle hole. The two wires will pass in the middle hole of the tension ratchet and fit tightly together.
Pull the lines as tight as you can, and then turn the ratchet to tighten together the line and secure the two ends. A pair of pliers can be great at this point to turn the ratchet. You can cut off any excess line once you have turned the ratchet tight.
Once you have it tight, you are ready for hanging clothes! Your line should easily move back and forth with just a tug on the line. If they ever loosen a bit, a turn or two of the ratchet will tighten it right back up.
Here is to installing your very own pulley clothesline, and to enjoying fresh sheets, shirts and clothes all summer long! Happy Living – Jim and Mary.
Jim and Mary Competti have been writing gardening, DIY and recipe articles and books for over 15 years from their 46 acre Ohio farm. The two are frequent speakers on all things gardening and love to travel in their spare time.
As always, feel free to email us at thefarm@owgarden.com with comments, questions, or to simply say hello! You can sign up for our free email list in the subscribe now box in the middle of this article. Follow us on Facebook here : OWG Facebook. This article may contain affiliate links.


