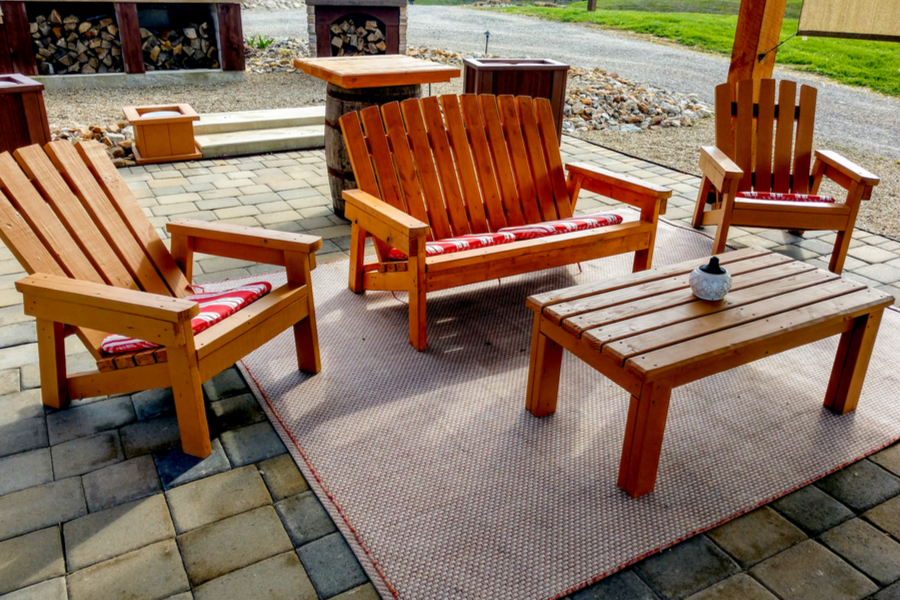
There is little denying our DIY Adirondack 2×4 outdoor chair plans have been one of the most popular projects we have ever featured on the blog. In fact, they have actually been the #1 project now for going on four years!
From first time woodworkers, to experienced weekend warriors, anyone and everyone can build this chair with the step by step directions.
Quite simply, they are fun & easy to build with the most basic of tools. Even more, they are comfortable, attractive, and extremely durable too.
In fact, ever since introducing these easy-to-make, ultra durable & comfortable chairs, a little over 20,000 fellow project makers have enjoyed building them around the world. And as we celebrate the 4th anniversary of our releasing the project, we thought it was a great time to give these chairs their due!
The Ultimate Outdoor Chair – 2×4 Adirondack Outdoor Chair Plans
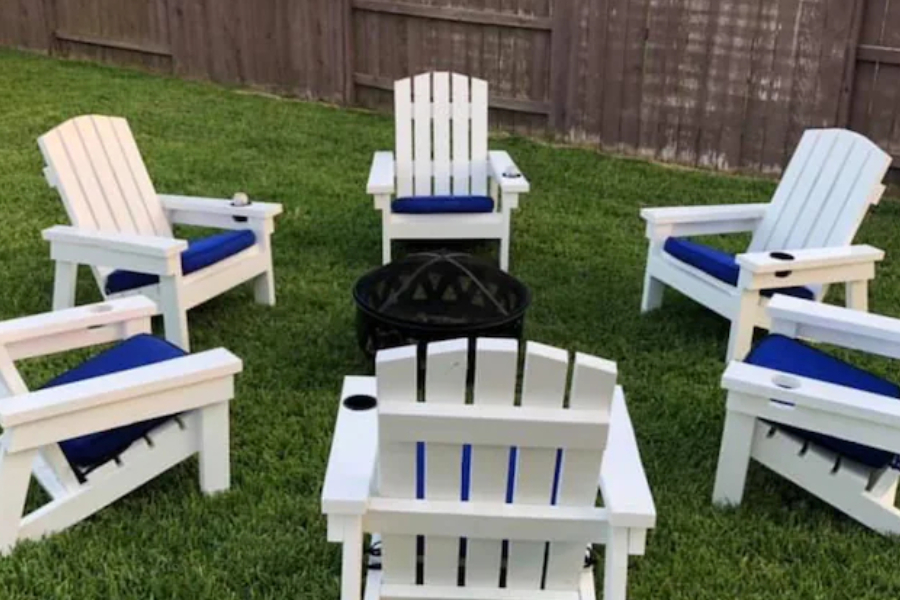
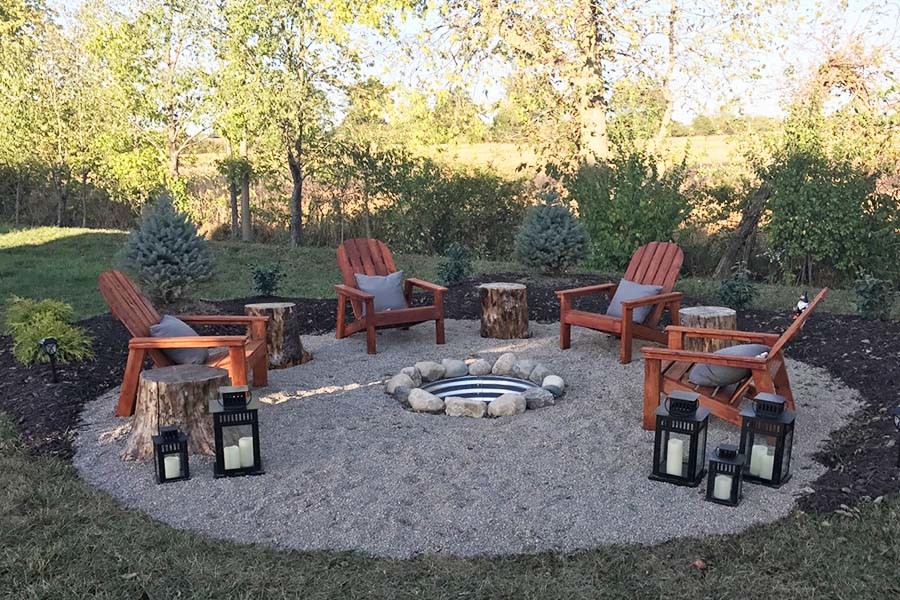
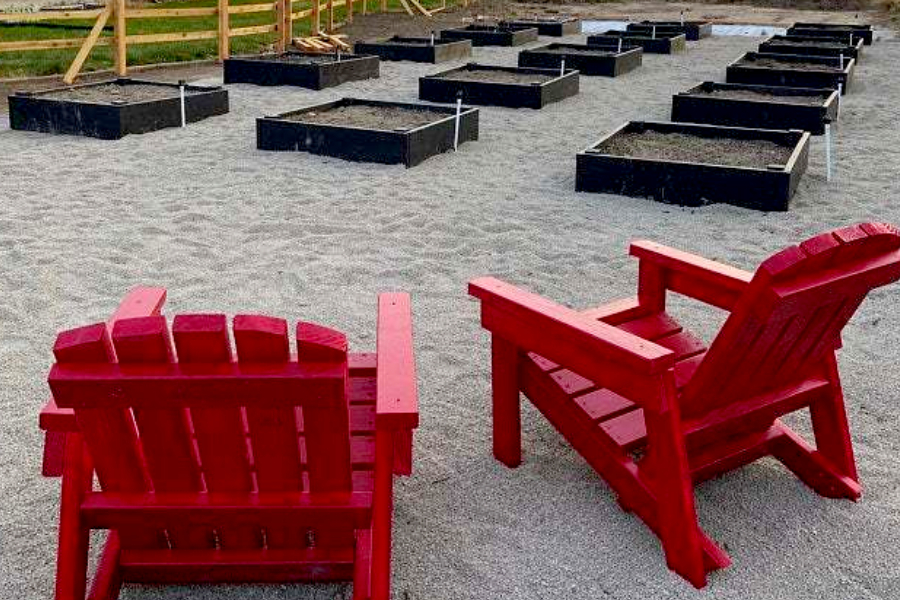
It is so neat to see how folks have made these chairs their own. Some with paint, others with stain – and even one that made the back with old snow ski’s!
If you have a chance, you can check out all of the photos and reviews on our Etsy shop here : OWG Etsy Shop. Just scroll to the bottom of the page there and you can see all of the incredible photos sent in from fellow project makers.
What makes the chair so neat is that it can be made in just a few hours. Using just (8) 2 x 4 x 8′ long pieces of regular framing lumber, they go together with basic outdoor deck screws to create one tough but beautiful chair.
But perhaps best of all – they are incredibly affordable to build. Especially when you consider they can be made from just simple 2 x 4’s. And this chair is for keeps. No flimsy parts to fall off or break. And no blowing away or tearing apart from strong winds!
The History Of The 2×4 Adirondack Outdoor Chair Plans
The chairs and chair plans all came about after we couldn’t find affordable and durable chairs for our fire pit area at the farm.
Cloth chairs either fell apart or blew away in wind storms. And that was if they survived sparks from the fire! Even heavy duty plastic and resin chairs faded fast out in the elements.
And if we did find a heavy duty wood or metal chair – the price was simply astronomical! In fact, every single sturdy chair we did come across seemed to have a price tag of $250 or more. It was at that point,we began thinking about creating our own from 2×4’s!
Creating The 2×4 Adirondack Chair Plans
Using a traditional Adirondack chair as a guide, we designed it be made from thicker, stronger 2×4’s in place of three-quarter inch thick wood. After all, 3/4″ wood just isn’t strong enough to hold up to the outdoors year after year. Nor is it heavy enough to stay in place in strong winds.
Back then, when 2×4’s were a bit cheaper, we could create a chair for around $32. But even at today’s 2×4 prices (which seem to finally be coming back down!), you can build the chair for $45 to $50.
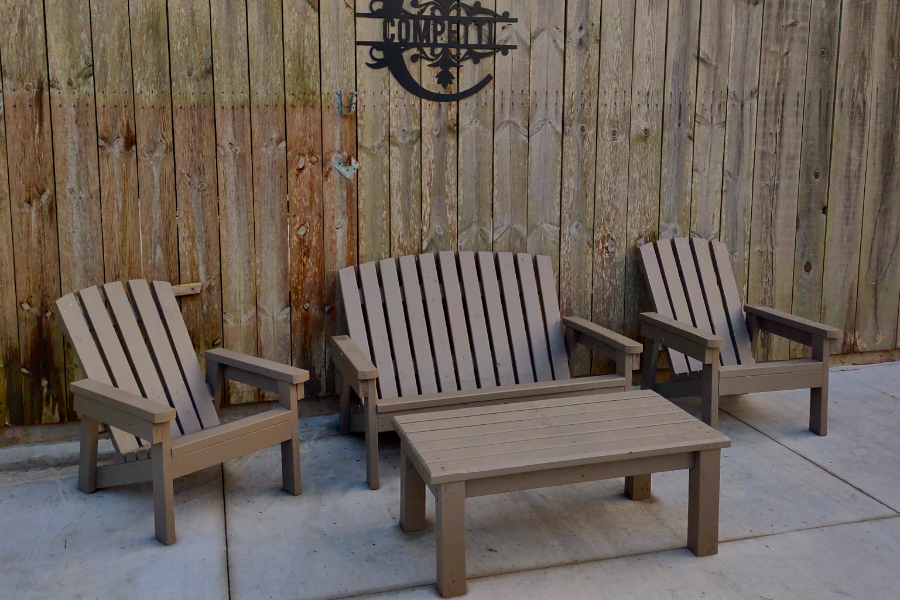
Not bad for an outdoor chair that can last 5 to 10 years, and look great doing it! In fact, we loved it so much, we created a set of plans for a matching bench as well. See our article : Creating A 2×4 Adirondack Bench


Building The Chair – The 2×4 Outdoor Adirondack Chair Plans
Below, you can check out the simple steps of the project. For those that would like to check out the complete, step by step plans, you can find them here in our shop : Adirondack Chair Plans)
For our project, we used treated lumber to give a little extra protection and durability. If you are planning to paint or stain, you could use untreated framing lumber to save even more.
When using treated lumber, always allow it to weather first before painting or staining. If not, the moisture in the wood can make the paint or stain peel easily. If using traditional framing lumber, you can paint or stain right away.
We built our chairs using just a few simple tools – a jig saw, compound miter saw, tape measure and an impact screw driver. You can easily build the 2 x 4 DIY Adirondack chair with only a jig saw and an inexpensive miter square. Having said that, the compound miter made quick work of cutting the angles.
We have said it before, but there is simply no better tool to own than an impact driver. It makes driving any screw or bolt effortless. One thing is for sure, it is simply a must-have tool for me!
Cutting & Assembly – The 2×4 Adirondack Outdoor Chair Plans
We started with the (8) 2 x 4’s, and cut them down to the 24 individual pieces needed. Only 6 of the 24 boards require an angle cut, with the rest all remaining straight.
It takes about (60) 2 and 1/2″ exterior screws to assemble the wood pieces. There really is no need to glue together. The screws and no glue also make it easy to replace a single board later if ever needed.
You will begin by building the two legs and base frame. Next, the rest of the seat boards can be attached. The chair back is then created as one long separate piece. The front board will have a bit of a raise from the angle – but the feel of the seat is perfect. Some like to sand that edge down, others leave it – either way, the seat is ultra comfortable!
Once the base and back are ready to go, you can slide the back inside the chair frame before screwing into the frame. This allows you to choose the angle you like most before putting it all together.
We finished our chairs by rounding off the top and the hand rest rails with the jig saw. It really is that easy! And if you are building multiple chairs, you will be amazed at how quick you get at assembling them!
Here is to building your own 2×4 outdoor chairs- and to making the most of your outdoor time this summer and fall! And if you have built a chair or two, fee free to share your photos with us by email. Happy building! Jim and Mary.
Jim and Mary Competti have been writing gardening, DIY and recipe articles and books for over 15 years from their 46 acre Ohio farm. The two are frequent speakers on all things gardening and love to travel in their spare time.
As always, feel free to email us at thefarm@owgarden.com with comments, questions, or to simply say hello! You can sign up for our free email list in the subscribe now box in the middle of this article. Follow us on Facebook here : OWG Facebook. This article may contain affiliate links.