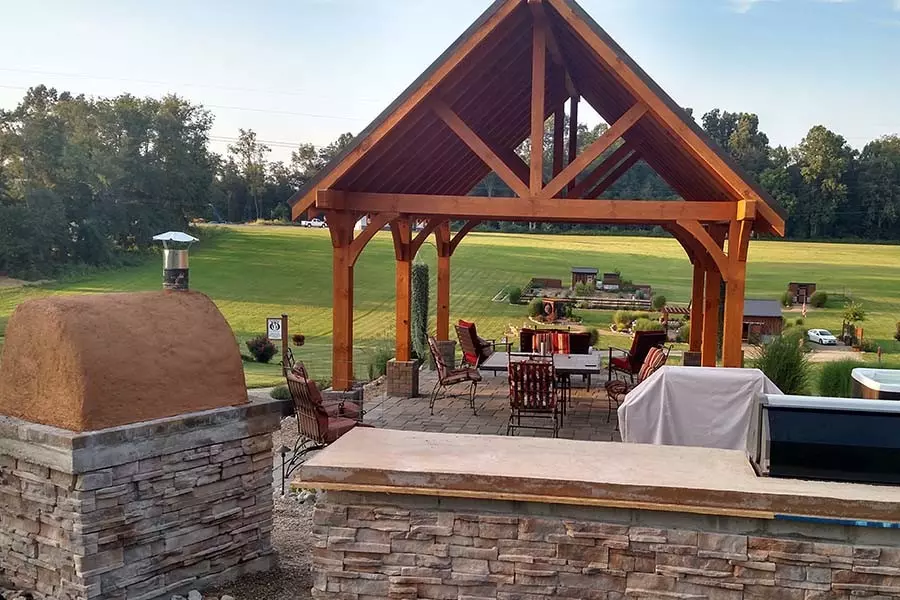
For us, it was the ultimate DIY outdoor living project. It was also a project that took nearly the whole spring and summer to finish.
We wanted to create a space to enjoy the great outdoors
But with a little work every chance we could get – our DIY outdoor living room and kitchen space is finally complete. And that includes the pizza oven, which we fired up for it’s first test last weekend.
If there was one thing more than anything else we wanted to create at the farm, it was an outdoor space to enjoy life. We love to cook, eat, talk and simply be outdoors every chance we get.
So with that in mind, we decided to put our DIY gloves on and try to build a space that gives us a place to enjoy the great outdoors. From pouring concrete footers and installing concrete block and concrete countertops, to laying patio pavers, building shiplap cupboards, and learning to install masonry brick – we did every single step we could ourselves to save everywhere possible. It was a lot of work, but in all honestly, a lot of fun!
It started way back in April when we began to move enough dirt beside the house to build a base for the pavilion. ( See : Creating an Outdoor Living Space From Scratch)
Its hard to believe that now as Fall sets in – we can now look out and see that big dirt pile from April has now turned into a place we can hopefully enjoy outdoor living for many years to come!
Here is a look at final photos, along with a few from throughout the building process.
DIY Outdoor Living – The Completed Pavilion & Outdoor Kitchen Photos
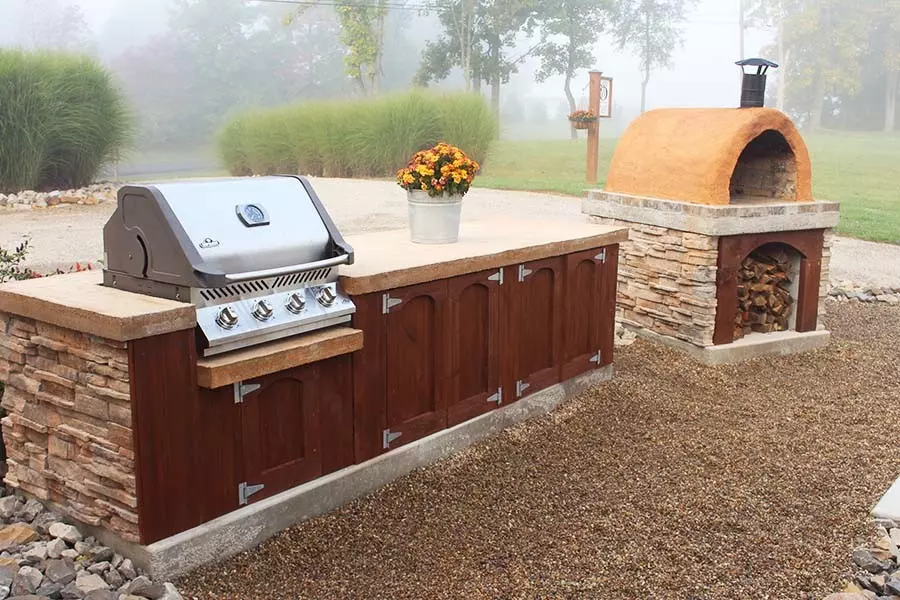
The Outdoor Kitchen and Pizza Oven. Constructed from concrete block, concrete, shiplap and dry stack synthetic stone. It took us about 8 weeks from pouring the concrete footer to installing the last homemade shiplap door, but it’s complete!
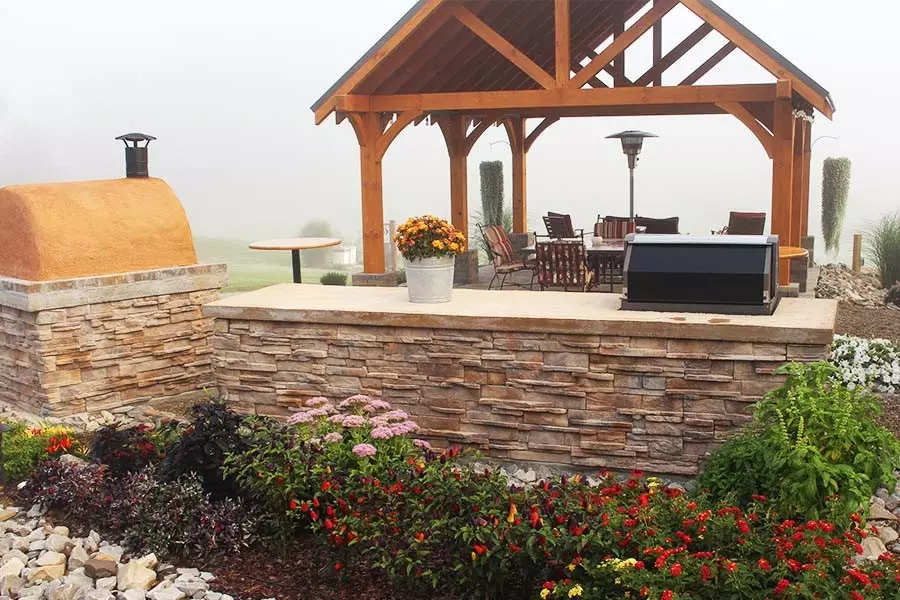
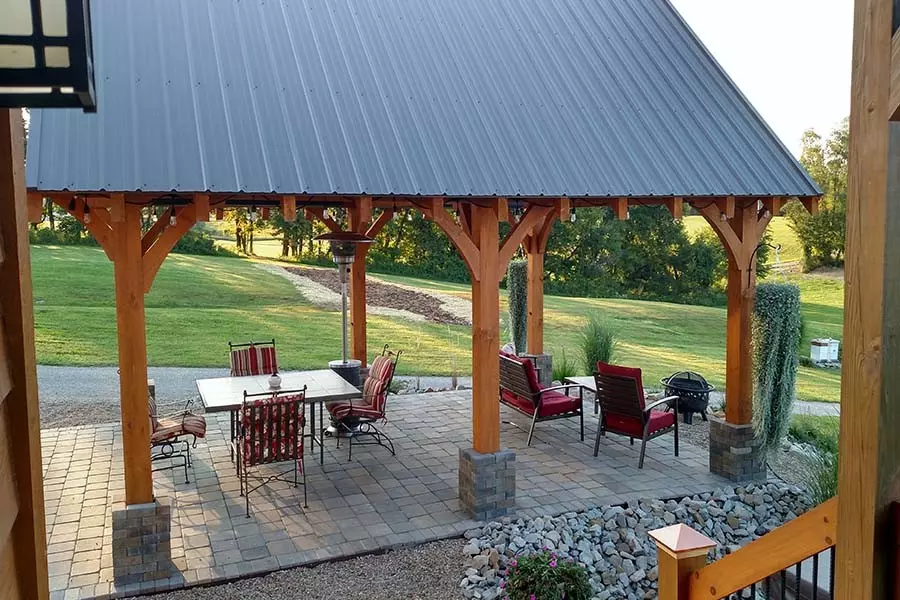
A view of the back of the outdoor kitchen and pizza oven, with the pavilion in the background. We wanted something to match the cedar look of the house, and the Weaver Barn’s rough-sawn pavilion was the perfect match.
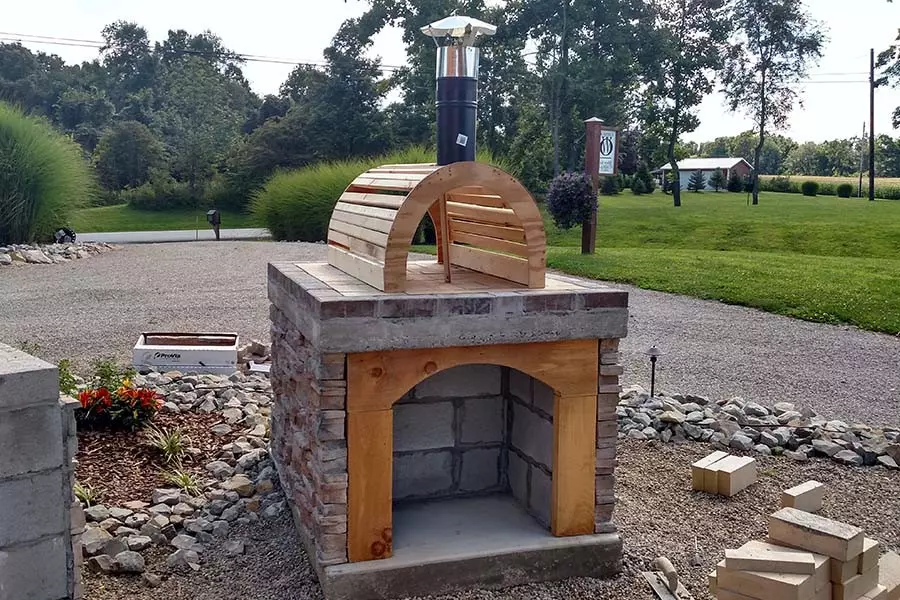
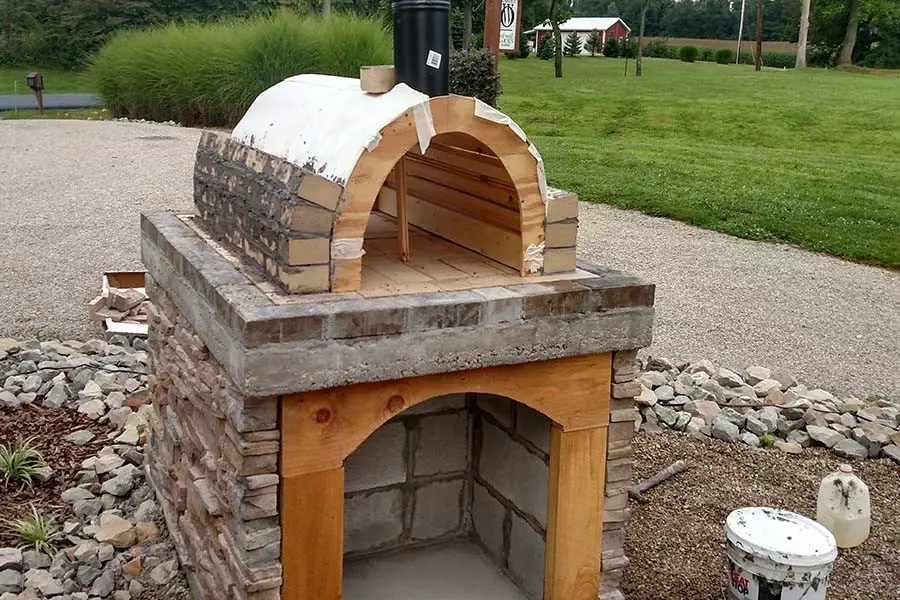
The Building of the Pizza Oven. The pizza oven by far was the most labor intensive diy project! We built a wooden form to hold the firebrick as we mortared each brick in to create the arch. It took some time, but was a lot of fun to see as it began to take shape.
A view of the Pavilion and outdoor area from the back porch.
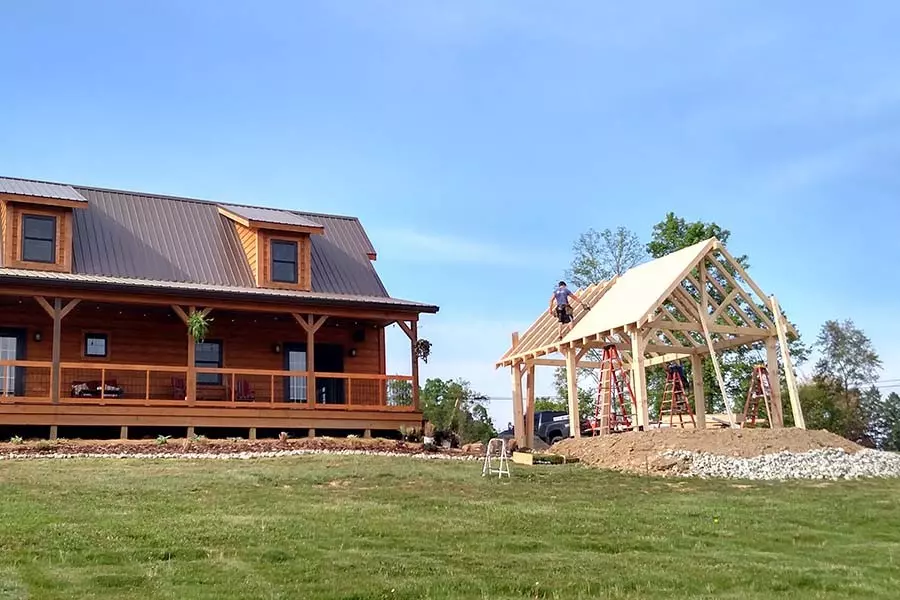
The Building of the Pavilion. The Weaver Barns Pavilion was the only project we couldn’t tackle ourselves. We created the footers and they built it from there. Amazingly, it took them only 4 hours to build this entire structure with just two people and a ladder!
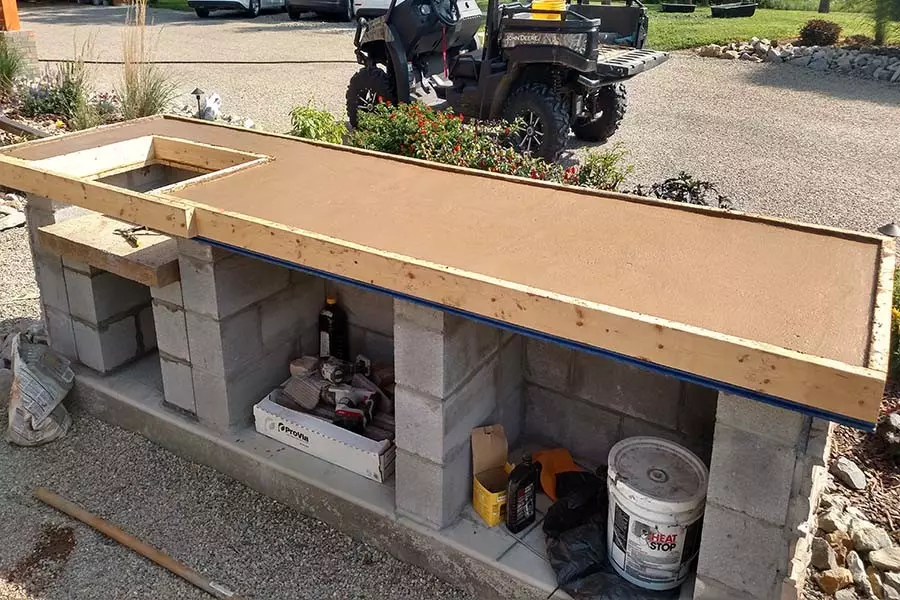
Homemade Concrete Countertops. For our countertops, we mixed up high strength 80 lb. bags of inexpensive concrete mix and poured. We made our forms from scrap wood to create the top and the grill cutouts. Then, with a family day of mixing with our kids helping out, we poured all of the top for about a total of $55. Not a bad investment for a countertop that will last a long time!
Firebrick Installation. Mortaring around the dome was all about patience. We would put a few rows in and wait, And then a few more…and wait.
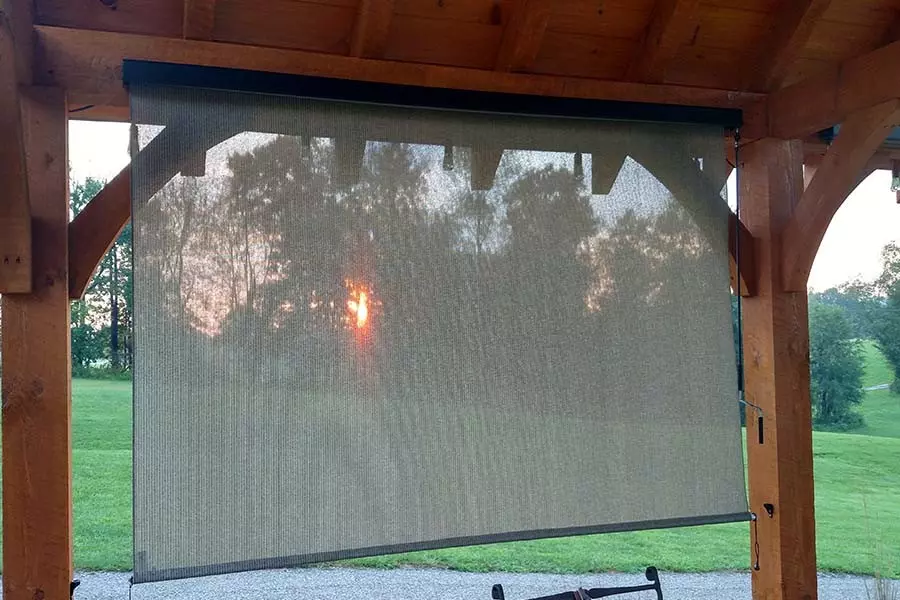
Mary found these drop down sun screens for the pavilion, which make eating outdoors in the evening perfect. They do a great job of keeping out the sun during dinner.
The view of the farm below with the finished pavilion.
