You might be surprised just how easy it is to install metal panels – and how incredible they can look anywhere in your home!
Long gone are the days of using metal for covering only the roof or exterior sides of barns. Now, the clean look of metal can be used all over the home. And you will be amazed at all of the incredible finishes and colors available
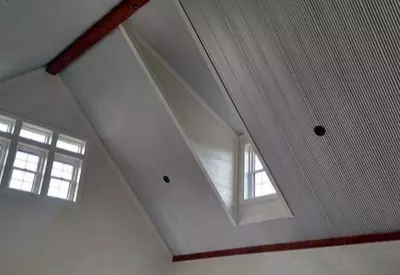
Whether installed as a bold look for an interior or accent wall, or used to beautifully cover ceilings, porches, garages and more, metal panels have come a long way.

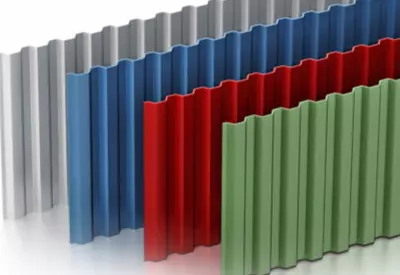
Metal panels can be found in all types of styles and colors
Perhaps best of all, they can be a HUGE savings on the budget! When compared to the cost of installing and finishing drywall, or paneled wood ceilings and walls, the choice to install metal panels can bring savings of 50% or more. Especially when you do-it yourself!
We have utilized metal panels in nearly every structure at the farm. From the steel roof panels that cover our home, barn, garage and outbuildings – to metal panels for walls and ceilings.
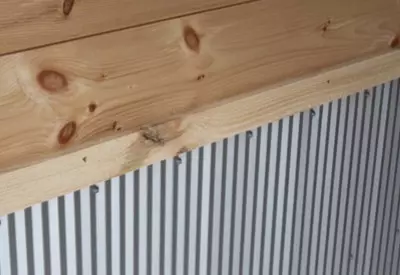
We even used corrugated panels in the garage as wainscoting for the interior walls. Not only did it add an attractive touch, it has proved extremely durable and easy to clean. And that is a must when it comes to the punishment our garage takes from projects! See : Finishing A Garage On A Shoe String Budget
How To Install Metal Panels – The Keys To Success
How simple and easy it is to install metal panels make them all the more attractive. There are really only a few tools needed for nearly any application:

The galvanized metal ceiling saved us a fortune in the house vs. drywall.
An impact driver or drill for installing metal screws.
A few small metal drill bits for drilling pilot holes.
A jigsaw with a metal cutting blade for making cuts.
Good quality, self-tapping metal screws.
The impact driver is a must when working with metal. It drives in self-tapping metal screws easily with little effort. In fact, when it comes to any DIY project that involves installing screws or bolts around the house – I would be lost without it. It runs circles around a common drill. Product Link : Porter Cable Impact Driver
If you are working in any application where the metal will get wet, use metal screws that come with an attached rubber gasket. They will self-seal the hole as you install the screw. In addition to sealing the hole, they add a great finished look.
Install Metal Panels With Ease
Whether installing metal panels on walls, ceilings or as a roof, the process is the same. Panels can be installed directly to studs, or on top of an existing sub-surface such as plywood or drywall.
If you are installing over an existing surface, mark the studs with a pencil before installing panels. This lets you easily see where to line up the screws.
If there is one single aspect of metal walls or ceilings that can make a big difference in the final “look” – it is the screw pattern. Keeping the fasteners lined up as you install the metal panels makes for an attractive finished look.
For all of our installs, we created a template of holes with a single panel. We then stacked panels on top of one another and drilled pilot holes through all of the panels at once. The keeps it easy to line up the screw perfectly when installing. It also helps you stay on center when trying to hit the studs as you screw.
Squaring Up Your Project

Lining up the screws makes for a great finished look.
When installing metal panels, it is vital to get your first panel squared. Start at the end of one wall and use square up. This will keep the wall straight as you place additional panels. Metal panels are made to overlap a few inches in the grooves. By installing the first panel square, the rest will follow suit.
When it comes to installing the metal screws, be careful not to drive screws too deep. You want them to be tight enough to hold, but not so tight that you dimple the metal. How many fasteners to use will vary by the type of panel used, but a good rule of thumb is to use a screw approximately every 16 inches to hit a stud.
Here’s to using a little metal in your next home DIY project! Jim and Mary. To receive our 3 Home, Garden, Recipe and Simple Life articles each week, sign up below for our free email list. You can also follow us on Facebook, Twitter, Pinterest, or Instagram. This article may contain affiliate links.

