Let’s face it, installing an off-grid solar power system to a small cabin, shed or barn can be a bit of a challenge for anyone unfamiliar with solar power.
For starters, there is the task of figuring out how and where to attach the solar panels. And then of course, figuring out everything else – from batteries, to wiring, controlling the charge and more.
One thing is for sure, we certainly qualified as rookies when it came to installing solar power to our tiny cabin at the farm. ( See : Tiny Off-Grid Cabin Project)
Other than a few small solar lighting projects, we had never tackled installing “real” solar power.

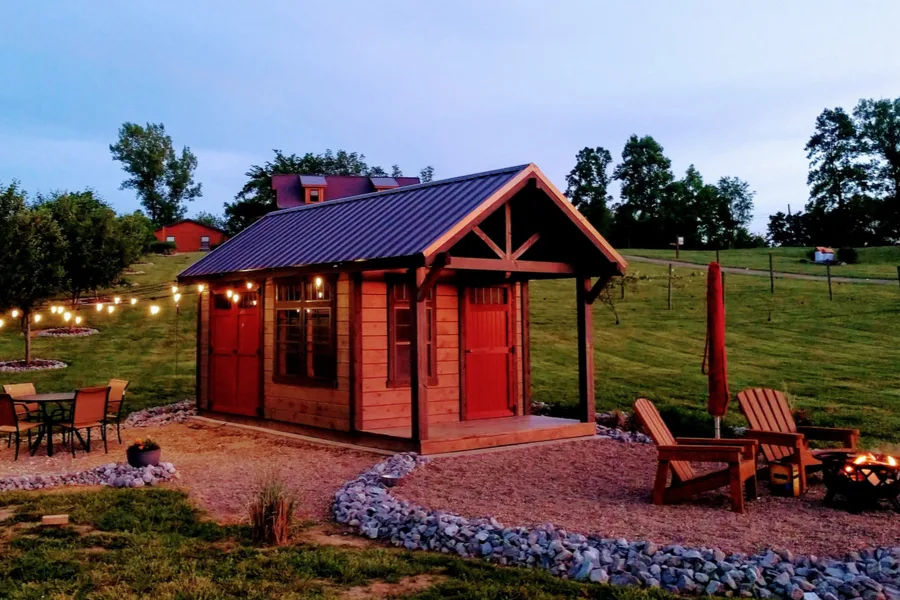
And by real power, we mean enough energy to run indoor and outdoor lighting, a coffee maker, laptops, TV, and a few other small appliances when needed.
We knew although our system wouldn’t need to be huge, it had to contain the basics:
- Solar panels for charging
- A battery or battery bank for storage
- A charge controller to control the battery charge
- Wiring / electrical panel / outlets
And we also knew it would have to be easy enough for two “solar rookies” to figure out.

As you will see below, the project actually turned out to be quite simple to install. And that includes an easy and economical way to install solar panels to a roof as well.
The Answer To Installing Off-Grid Solar Power With Ease
Assembling and wiring all of the various components of a solar system can be a complicated process for a novice. Not to mention, it can get quite expensive. Especially if you make any mistakes along the way.
For us, the ultimate answer was to use a component Kodiak/Apex solar panel & generator system from a company called Inergy.
The panels and wiring all fit and plug together with ease. And in place of using a separate controller and battery system, a single small battery/generator unit placed in the cabin handles storing and dispersing the electric.

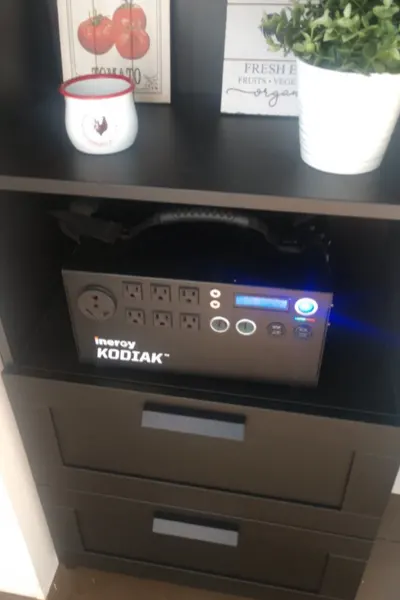
More importantly, it eliminated the need for us to install an electrical panel and outlets in such a small space. For us, it was a huge savings in time and money.
Making it even better, the battery power pack and outlet unit is portable. Meaning, when we need to, we can easily just lift it up and take it anywhere on the farm where we might need instant remote power. Having said that, there are numerous other solar options on the market – even Tesla has started making them! This article by EcoWatch gives further details.
Here is a quick look at how we installed our system, including a simple and inexpensive way to install solar panels to any roof.
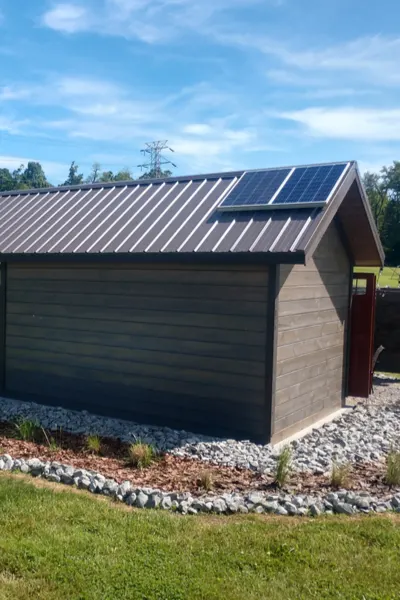
Installing The Solar Panels To The Roof – Without Spending A Fortune!
Any solar power application starts of course with solar panels. Without them, nothing can ever be charged or used.
We chose to use (2) 150 watt solar panels to power our system. The two panels are enough to charge our battery/generator system completely in about 8 hours of decent sunlight.

We did a lot of research before installing our panels. And honestly, the more research we did, the more confused we became.
There are so many methods and products to install panels. You can use brackets, special clamps, or even complete rail systems to install multiple panels.
One thing is for sure, most of them are incredibly expensive!
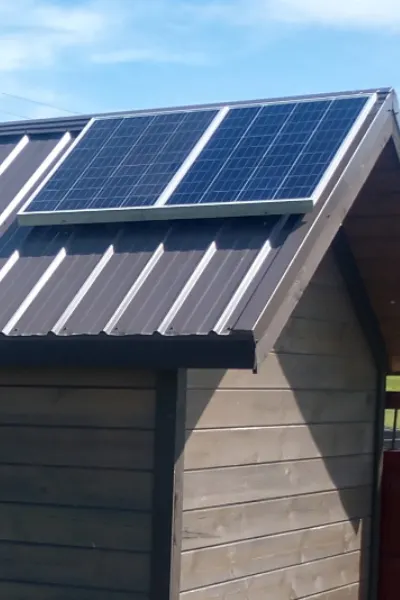
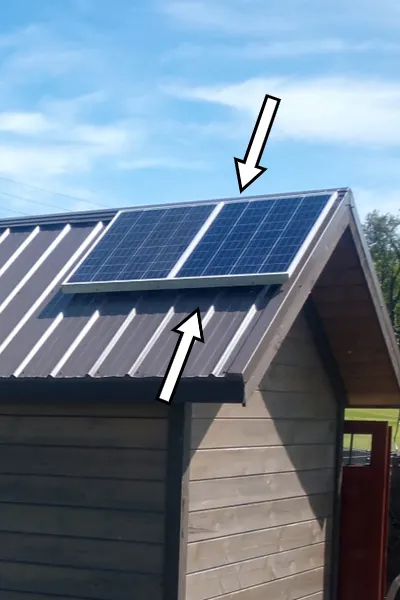
So we decided to install our panels using 2 x 4’s and a little DIY ingenuity. Although our roof is metal, this method would work for a shingled roof as well.
The Install
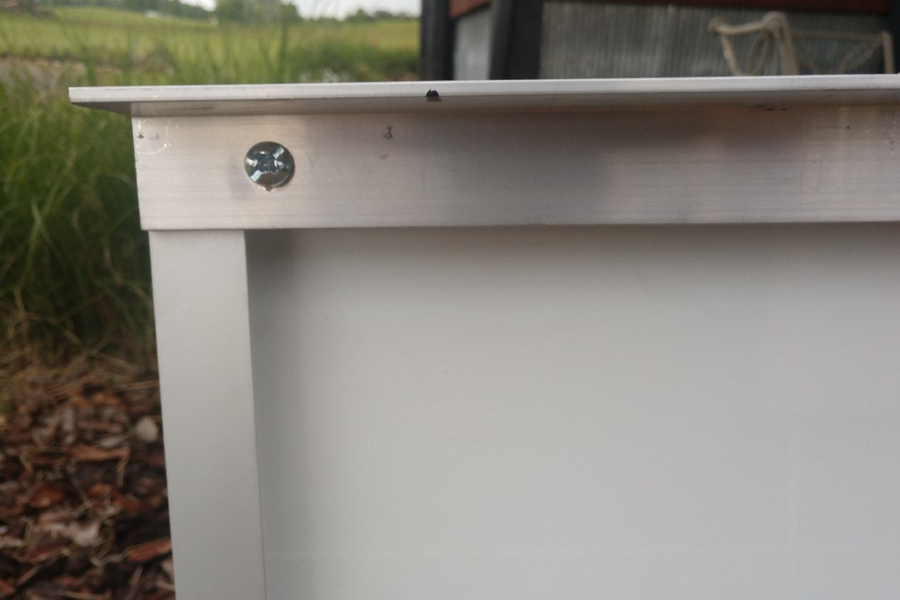
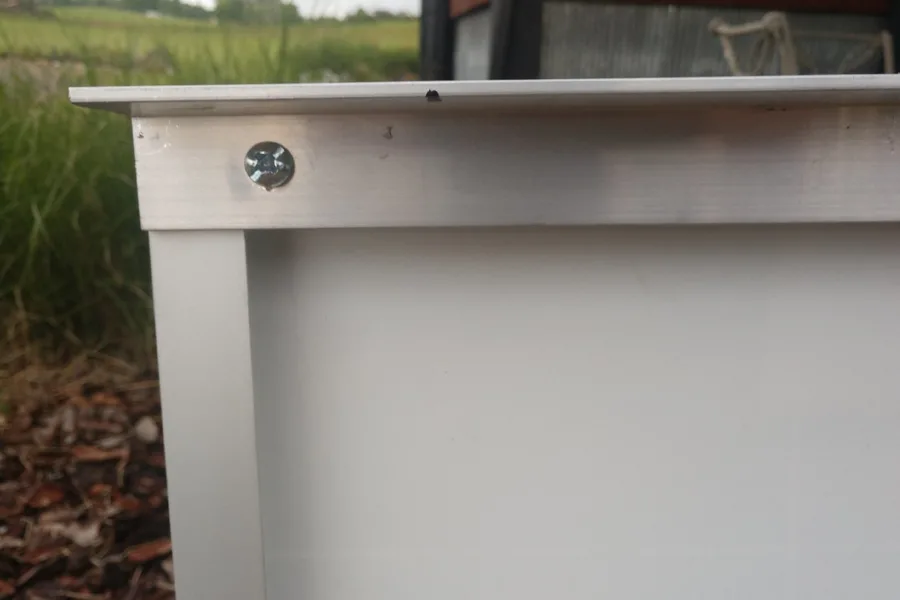
We first installed an aluminum “L” channel on the back of the two panels to connect them together. Each panel had an electrical connector as well that pig-tailed them together.
Using small bolts and screws, we attached it to the panel, leaving the other portion of the “L” as a cleat.
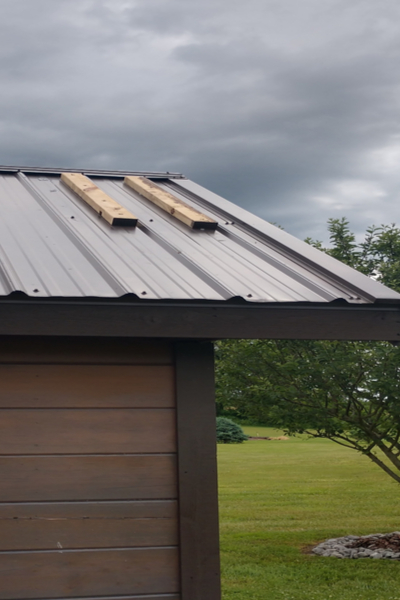
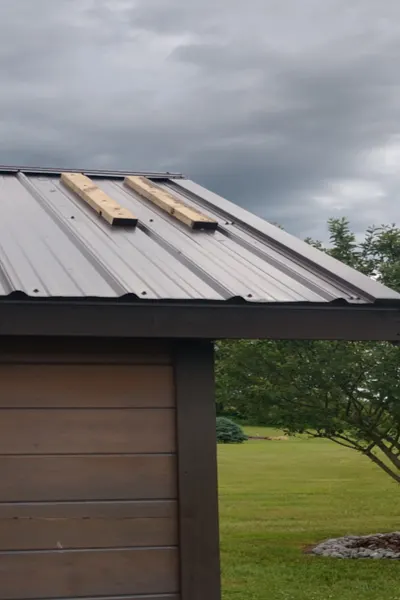
We then installed (4) 2 x 4’s onto the roof with 3″ long galvanized roofing screws. Each 2 x 4 measured 36″ in length, just slightly shorter than the panels and the “L” cleat.
As an added precaution, we used a silicone sealer on the back of the wood to help keep any water out as the screw went into the metal roof and the studs below.
From there, we simply slipped the outside of the “L” cleat over the edge of the wood.
To complete the panel install, we ran screws through the aluminum channel into the edge of the 2 x 4’s. And just like that, our 2 solar panels were in place for a grand total of about $5 in wood!
Getting Power Inside The Cabin
From there, the rest of the solar install was a cinch!
Since the Inergy units are plug and use, we simply ran the heavy duty charging cord from the panels into the cabin.

All that was left was to plug it into the solar generator / battery pack, and we had full power!
The generator pack has 6 standard outlets, 2 USB charging ports and even a 30 amp outlet. And it has worked beautifully in the cabin.
We use it nightly to power our outside lights, and we have used it inside for everything from lights to making coffee. It has even helped to create an instant pot dinner in the cabin with ease!
Here is to a little off-grid cabin living! Jim and Mary
Jim and Mary Competti have been writing gardening, DIY and recipe articles and books for over 15 years from their 46 acre Ohio farm. The two are frequent speakers on all things gardening and love to travel in their spare time.
As always, feel free to email us at thefarm@owgarden.com with comments, questions, or to simply say hello! You can sign up for our free email list in the subscribe now box in the middle of this article. Follow us on Facebook here : OWG Facebook. This article may contain affiliate links.

