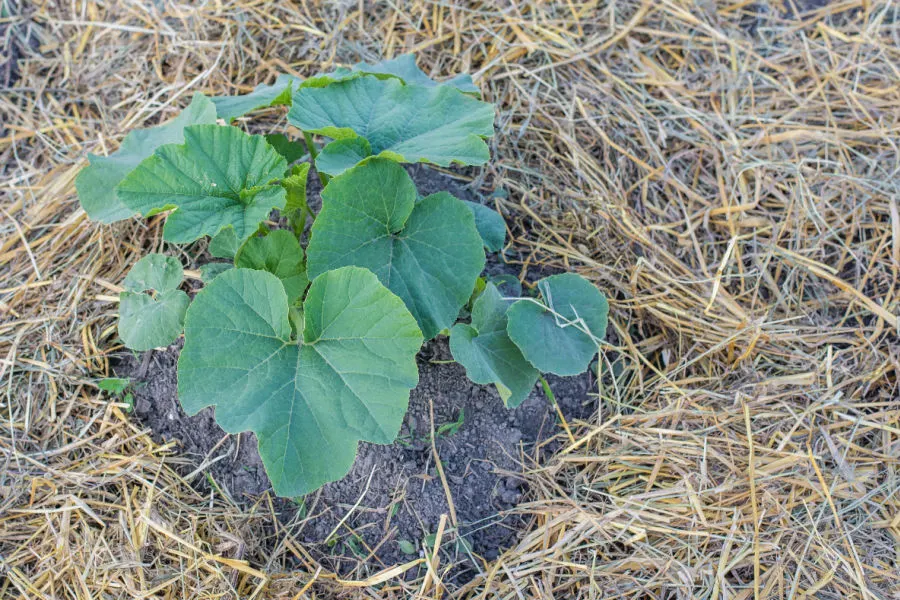
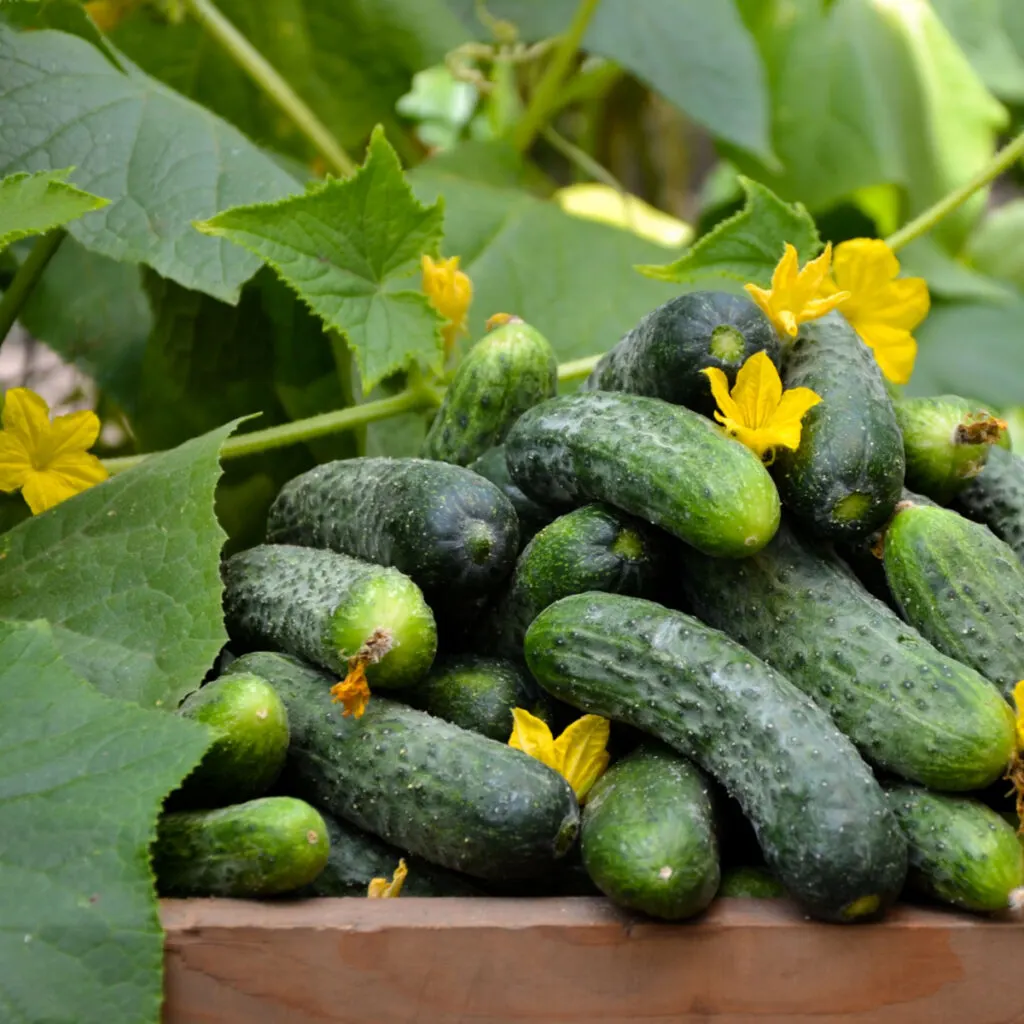
We get so many questions and emails about growing cucumbers in straw bales that we finally decided it was time to dedicate an entire article to this incredibly simple and easy method to grow an amazing amount of delicious cucumbers.
We first began growing cucumbers in bales way back in 2014. That first crop was an experiment in our garden – and let’s just say as far as trials and experiments go, to this day it is still our favorite and most successful of all.
For us, growing cucumbers in straw bales is just too easy not to do. Not only is planting them a quick and simple process, maintaining and harvesting the crop are just as easy as well!
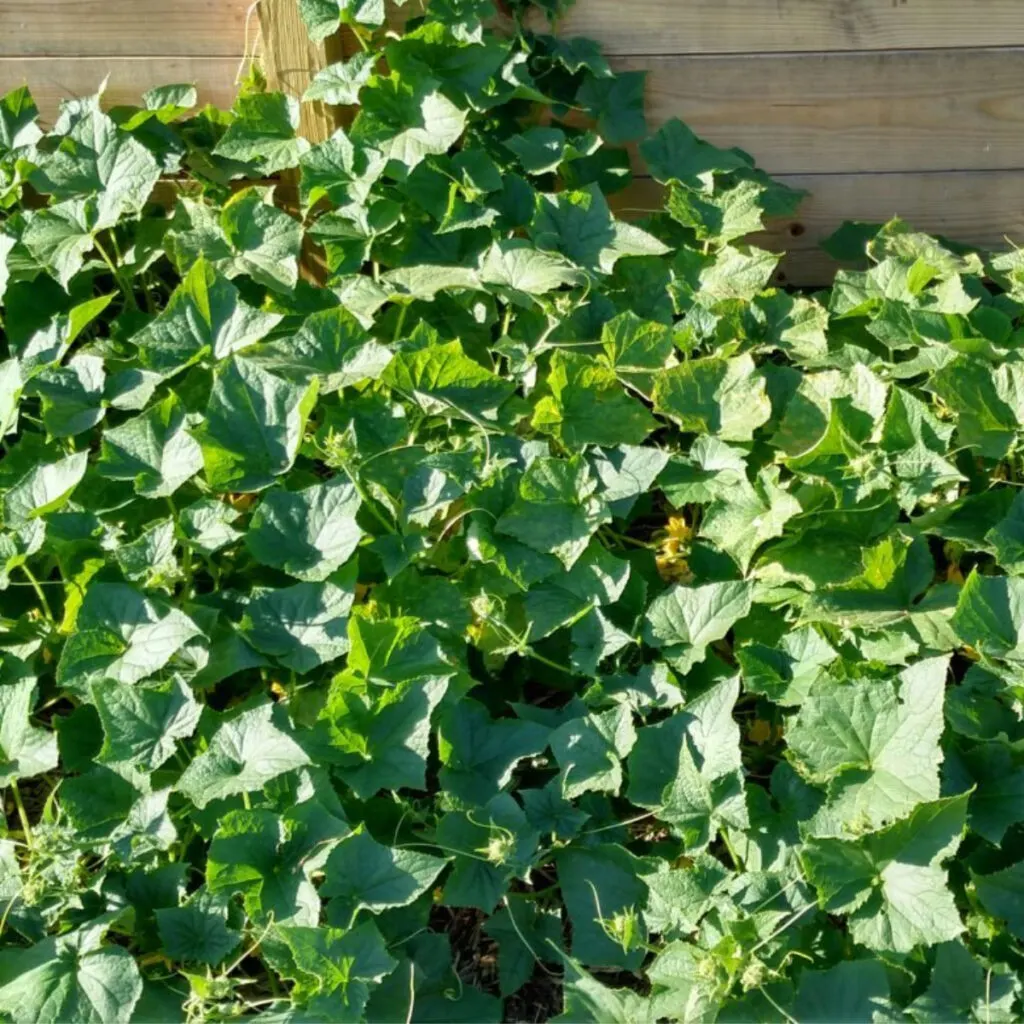
Growing Cucumbers The Easy Way – In Straw Bales
There are so many advantages to growing cucumbers in bales. For starters, by elevating your plants in a straw bale, weeds are of little concern. That, of course, eliminates the endless chore of weeding. But even more, you never have to worry about competing weeds stealing nutrients from your plants either.
But that is just the start of why growing cucumbers in straw bales makes so much sense. By being off the ground and raised, pest issues are reduced as well. And those chores of watering, fertilizing and harvesting? Again, with the elevated crop, they couldn’t be easier.
Finally, as you will see below, the straw and soil combination we use works perfectly together to give cucumber plants everything they need – from great nutrients to perfect moisture and drainage.
But one thing is for sure – we get a lot of questions about the process! Do you need to condition the bales first? How do you keep the straw bale from disintegrating? And where do you use the soil at? All are great questions – and today’s article will answer them all, and walk you through how to plant your own this year.
We do plant our straw bales a lot differently than many other methods you will find on the internet. And for us, our method seems far easier and far less complicated.
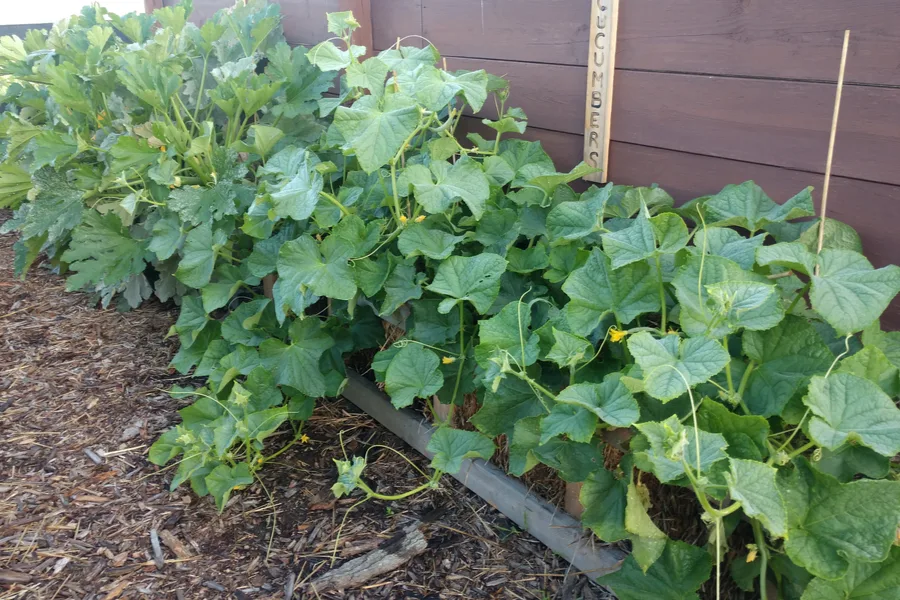
But perhaps best of all, it has always been highly productive. And we speak from experience – with now almost 10 years of growing with this method under our belt. With that in mind – let’s take a look at how to grow cucumbers like crazy in straw bales!
Growing Cucumbers In Straw Bales – How It Works & How To Do It!
Why Straw Bales Work Great For Cucumbers
Straw bales are the perfect medium for growing cucumbers. The height of the bale allows the plants to be off of the ground and out of harm’s way. As the plants grow, it also allows them a large surface to spread and tumble down over the bale.
This is especially helpful for vining cucumber plants, giving them the space they need to sprawl and thrive. The advantages don’t end there. Straw bales also hold and retain moisture incredibly well. And if there is one thing that helps to grow cucumbers successfully – it’s adequate water.
When it rains or you water, the straw soaks the moisture in quickly to the roots. The same occurs when you apply liquid fertilizer to your plants in a straw bale. It is absorbed fast and efficiently, taking the nutrients right where they are needed most, to the roots of the plant.
Listen Below To Our Podcast On Growing Vegetables In Straw Bales!
Planting In A Straw Bale – The Simple Steps To Success
Let’s start by covering the straw bale and how we plant. We like planting in traditional rectangular wheat straw bales. On average, they are about 24 inches wide, 16 inches high and 48 inches long. Typically, they will have 3 strings around them, which we leave in place.
Unlike many others, we do not condition our bales prior to planting. In a nutshell, conditioning is the process of allowing the bale to break down and decompose a bit. If you were not going to use any soil when planting, conditioning is a good idea. But we use a bit of soil, and find it way more effective – and much easier and faster too!
We plant three (3) plants per straw bale. Before planting, we cut three holes into the top of the bale. We space the planting holes evenly apart, usually off-setting the middle plant a bit toward the back or front of the bale to make a triangle like planting pattern.
To cut out the holes quickly, we either use a sharp serrated garden knife or a reciprocating saw with a 12″ construction blade. We make each hole about ten inches deep, and six to eight inches wide in diameter. Affiliate Link: Hori Hori Garden Knife With Serrated Edge
Fill Your Planting Holes With Power!
Next, we fill the holes with our homemade potting soil mix. Our homemade mix is made from a blend of soil, compost, worm castings, perlite, and a bit of coffee grounds and pulverized egg shells. Using a good soil mix that is full of nutrients is vital for success. See our article: The Perfect Homemade Potting Soil Recipe!
Whatever you use, make sure it’s not just ordinary garden soil or top soil. The more nutrients your soil has, the better. You can plant seeds or transplants at this point, although we find seeds easier. Once our plants are in, we finish by mulching the plants with a bit of the straw we removed from the bales.
By planting in this method, we never have to worry about conditioning the bale. Even more, the combination of soil surrounded by straw is ideal for the roots of cucumber plants. The soil gives structure to the roots, while the surrounding straw helps hold moisture in extremely well.
Giving Our Straw Bales Support – Growing Cucumbers In Straw Bales
We will get to how to fertilize and water your cucumber crop in a moment, but first, let’s cover one additional step we take with our straw bales to give them extra support.
Although you can plant cucumbers right into a straw bale without any additional support needed, we add a homemade “fence” around our bales. We call these simple supports straw bale crates and they serve a couple of very important purposes.
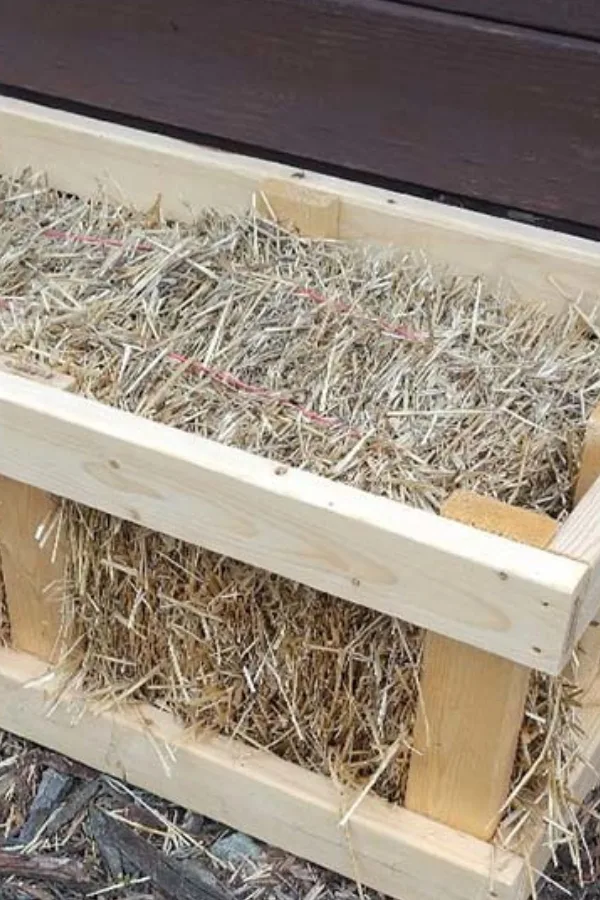
Created from 2×4s, pallet wood, or even scrap lumber, the crates not only make the bales more attractive, but they also offer two big growing advantages.
First and foremost, they help to keep the bales intact all season long. Without it, the bales tend to decompose and crumple down over time. As they do, the roots become loose and exposed, causing the plants to dry out way too quickly.
In fact, by using the crates, we can usually get two years of growing out of each straw bale. That alone makes them more than worth the effort of making. Especially because you can use them year after year.
The crates also make an excellent medium for attaching a trellis or fence panel. That can be a huge advantage when growing vining cucumbers. Not only does it provide excellent support, it also makes harvesting a breeze with the fruit growing at eye level.
The crates are easy to make by simply screwing together a few 2x4s around a bale. Even better, they last for years. In fact, we have been using the same crates for the last six years and they are still going strong.
Maintaining Your Plants – Growing Cucumbers In Straw Bales
Just as with cucumbers that grow in gardens or raised beds, watering and fertilizing your cucumbers in straw bales is critical to their overall success.
Because they are elevated in the bales, cucumber plants in straw bales will dry out a little quicker than those planted in soil. Especially when the plants are young and there isn’t a lot of foliage to help block the sun from drying the soil out.
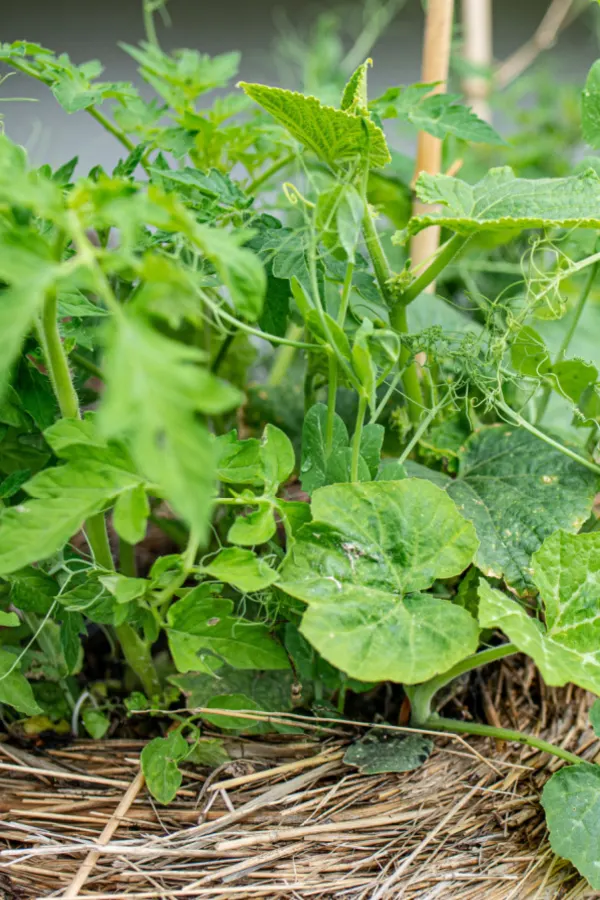
We water our straw bale plants every day for the first few weeks. In effect, treating them like a hanging basket or container plant. After that, once the foliage starts to get thick, they can often go a couple of days between watering.
One little note to help with watering – as your cucumber plants grow and spread, it can start to be difficult to see where the actual base of the plant is located. To help, we stick a small wooden stake right by the roots when we plant. As they grow dense and thick, the stake points the way for where to water!
Fertilizing – Growing Cucumbers In Straw Bales
In addition to good watering habits, it’s vital to provide your cucumber plants with additional nutrients as the season progresses. Although the nutrient filled soil will help to get plants off to a great start, your crop will need more energy as it grows.
After planting, we give our plants a weekly dose of compost or worm casting tea for the first 6 to 8 weeks. After that, we usually apply a dose every other week. You can also use a good all purpose commercial liquid fertilizer, but mix at half strength to use every two weeks.
In addition, we add a quarter cup of worm castings around the base of each plant every few weeks. This one-two combination for a steady supply of nutrients is a huge key to a big harvest. The plant’s roots take in the nutrients easily through the loose straw-soil mix and go to work quickly.
As always, with cucumbers, pick often. The more you pick the more flowers the plant will produce. If fruit becomes too numerous on the vines, it can slow the plant’s ability to produce new blooms.
Here is to growing cucumbers in your garden this year – or wherever you want to – and to your best harvest ever! If you are looking for more information on growing cucumbers in a “traditional” garden, be sure to check out The Big Secret To Planting Cucumbers – The Best Way To Plant Cucumbers For A Big Harvest! Happy Gardening – Jim and Mary.
Old World Garden Farms
Jim and Mary Competti have been writing gardening, DIY and recipe articles and books for over 15 years from their 46 acre Ohio farm. The two are frequent speakers on all things gardening and love to travel in their spare time.
As always, feel free to email us at thefarm@owgarden.com with comments, questions, or to simply say hello! You can sign up for our free email list in the subscribe now box in the middle of this article. Follow us on Facebook here : OWG Facebook. This article may contain affiliate links.

