So you might be asking yourself, what exactly is a DIY Garden House Structure?
Is it a pergola? A pavilion? An outdoor living room?
Well, to be completely honest, it is a little bit of all those. And, a whole lot more!
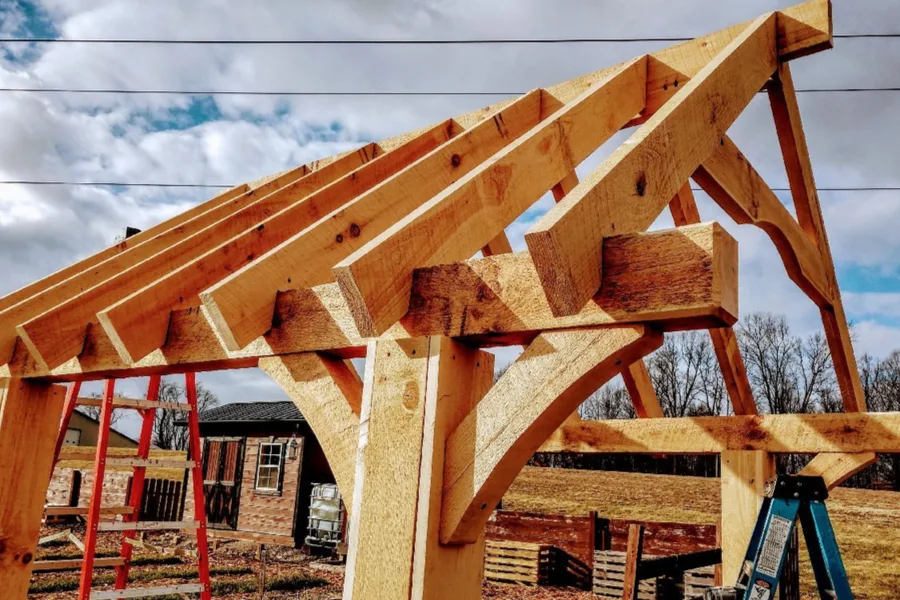
At least that is what we envisioned it would be way back in 2011, when the concept for an outdoor garden house structure first popped into our heads. And it all was inspired from the beauty of old barns.
The DIY Garden House Structure
In early 2011, we began the process of tearing down two turn-of-the-century barns. It was all in hopes to build our own barn at the farm as frugally as possible.
Both barns were free for the taking, as long as we supplied the labor to take them apart.
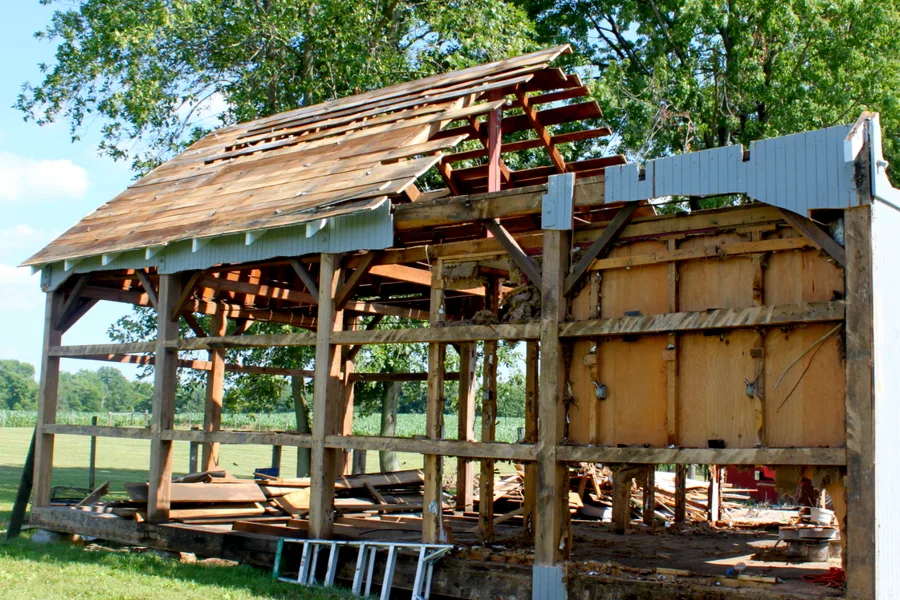
First up was a 100+ year old barn in Cardington, Ohio. To be honest, at the time, we were two rookies that didn’t have the first clue about dismantling a barn. But, as always, we figured we could learn along the way!
We started by removing all of the wood siding from the exterior walls. And followed that by removing the metal roofing.
All that remained was the frame. And to both of us, it was nothing short of an absolute piece of art.
I remember telling Mary at the time it was such a shame that all of this incredible workmanship had to be covered up by walls, siding and roofing.
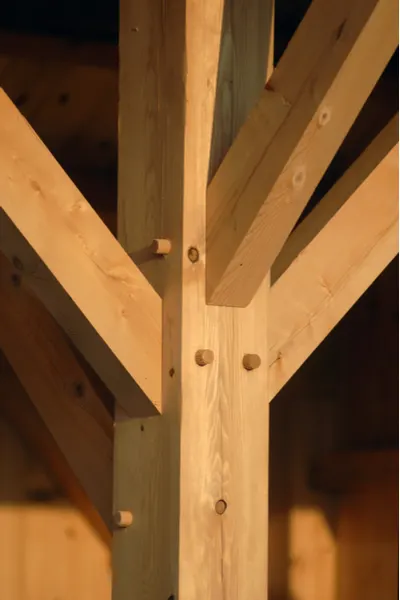
The thick, rough-sawn timbers. The post and beam construction. And with it, all of the angled cuts and braces mixed in to add both strength and beauty.
Even the roof trusses and purlins were amazing to look at in their exposed state.
Another Barn – And More Ideas…
A few weeks later, it happened again. This time we were tearing down my dad’s old barn. And once more, as we stripped off the siding and roofing, the workmanship and beauty underneath was simply unbelievable. See : The Barn Project
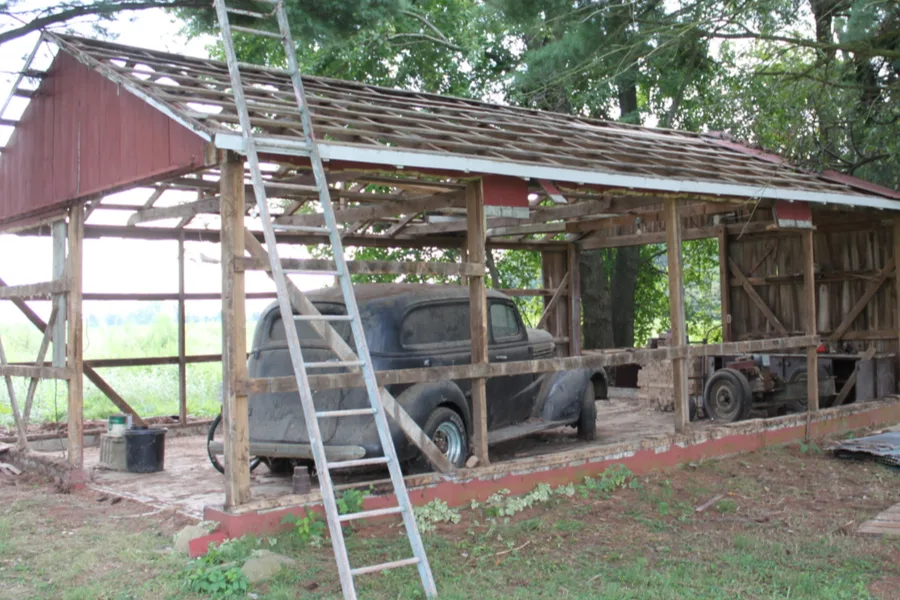
It was then and there that I remember thinking how incredible it would be to build an outdoor structure that could showcase all of the beauty of the bones of old barns.
One that would keep the walls, sides and roofing materials off – and let the simple framework be the focal point.
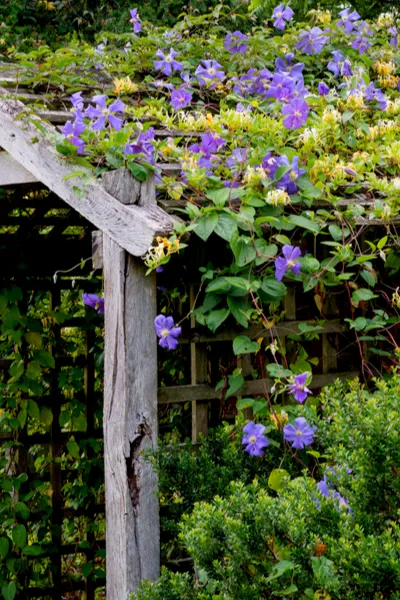
Our thought was that it might just make for the perfect outdoor space to sit and enjoy an evening, or perhaps even a quiet dinner.
Maybe hang a few lights, and grow a wisteria, clematis, or some type of vine to create a living roof. And, in the end, it might just make the perfect outdoor space!
Our First Attempt At A DIY Garden Structure
That idea has stuck with us year after year. Until finally, this past spring we had our first opportunity to actually try our hand at creating our first DIY Garden House Structure.
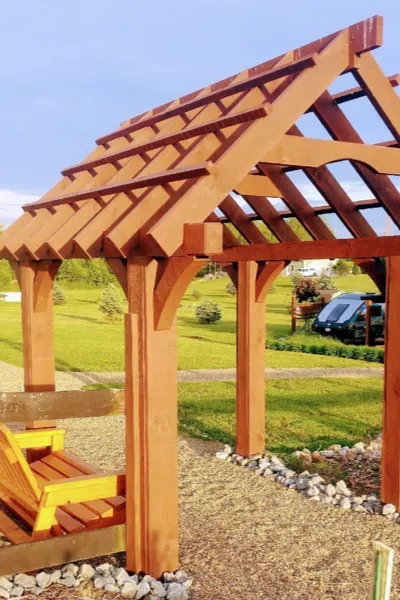
We had wanted to put in an entrance to our garden for years, and it was the perfect opportunity to try out the concept and the construction process. We hoped if it all worked out, we could build a larger one in the coming years as an outdoor sitting and dining area.
The Process
We built the entire structure from rough-sawn pine. There is something so rustic and yet elegant about rough-sawn wood.
It could just as easily be built from cedar or even treated lumber. But for us, rough-sawn pine is readily available locally. And to boot, at a surprisingly affordable cost.
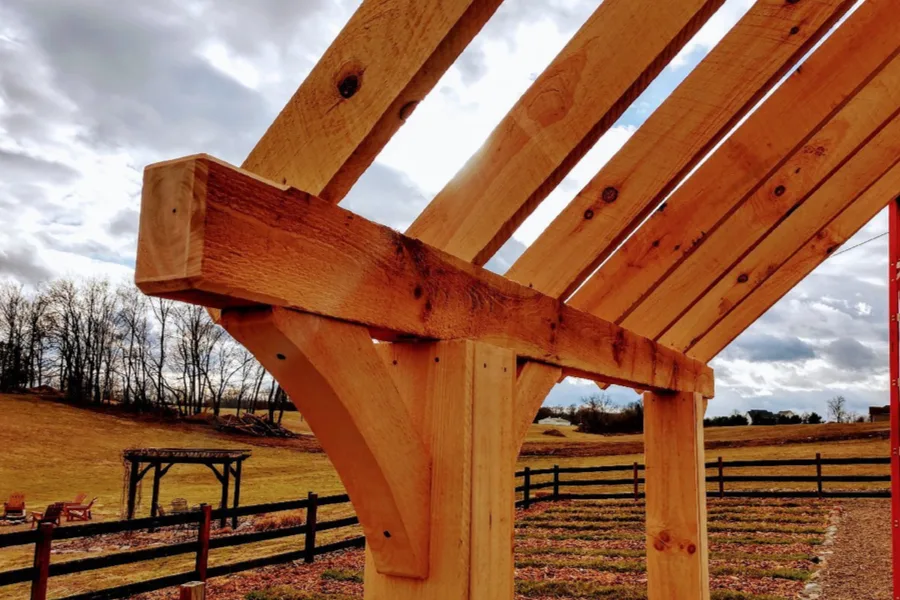
For the base, we used (4) 6 x 6 treated pine beams and placed them in concrete 3′ down in the ground. Next, we clad them in rough sawn boards to give a thicker beam look to the structure.
Then it was time for the beams and top!
We used 6″ x 8″ beam on end to set on top of the 4 posts. Using 10″ timber screws, we drove three into each beam to connect them down into the post.
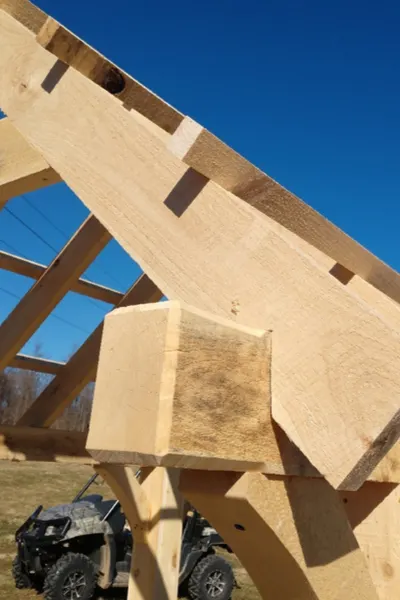
We then added (4) curved 4″ x 4″ beam braces on each end to give a little more strength, and a bit more character as well. We secured those with 6″ timber screws into the frame. Affiliate Product Link : 6″ Timber Screws
In fact, the entire structure is built with screws. There isn’t a nail to be found.
Finishing the Assembly
From there, we added 7 angled truss boards on each size. We notched a simple birds-eye cut to have the trusses extend over the edges by a foot.
The roof trusses are all made from true 2″ x 6″ rough sawn boards that are angle cut on the top rafter side, with a birds-eye cut on the bottom to allow them to fit into the side beams
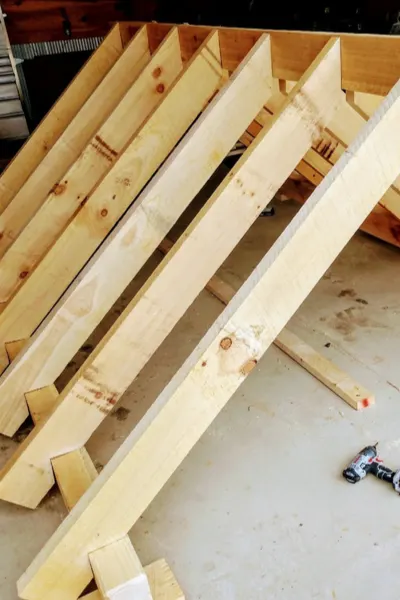
To tie the trusses in, we then ran 2 x 2″ rough-sawn furring strips along the roof line. They add strength, and give the frame a finished grid look.
They will also be perfect to give an area for clematis or wisteria to take hold and grow into a living roof.
The Future Of The DIY Garden House Structure
Although this DIY Garden Structure is for our garden entrance, we can’t wait to create one a bit larger one now that we have the process figured out.
Here is to old barns, and recreating the beauty of their bones into a DIY garden house structure! Happy Building – Jim and Mary.
Jim and Mary Competti have been writing gardening, DIY and recipe articles and books for over 15 years from their 46 acre Ohio farm. The two are frequent speakers on all things gardening and love to travel in their spare time.
As always, feel free to email us at thefarm@owgarden.com with comments, questions, or to simply say hello! You can sign up for our free email list in the subscribe now box in the middle of this article. Follow us on Facebook here : OWG Facebook. This article may contain affiliate links.
