It is the question asked by so many each and every October: How can I make my pumpkins last longer without rotting away? Well today, we’ll share a few tips and tricks that can help keep Autumn’s globed treasures around longer than you ever thought possible!
The pumpkin is without a doubt the official “fruit” of Autumn. And yes, technically, it is a fruit and not a vegetable since the plants grow via seeds born from within the fruit.
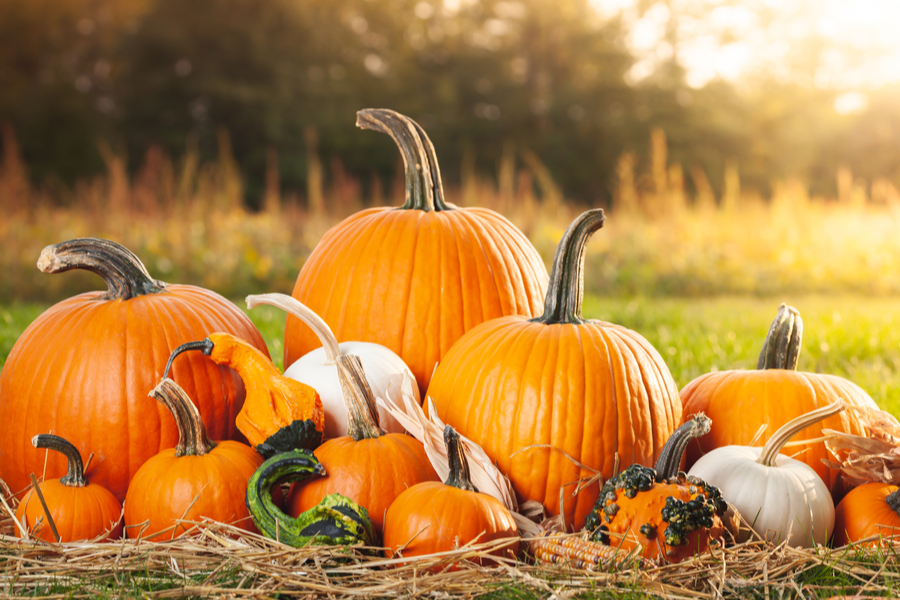

But whether it be carved into a jack-o-lantern, painted up, or simply left natural, one thing is for sure, they are certainly one of the most recognizable autumn decorations of all.
Unfortunately, because they are a fruit, it can be difficult to get them to last through the entire Autumn season without rotting away. But it’s not impossible. In fact, using the few simple tips below – you can keep them around all fall long!
How To Make Pumpkins Last – 3 Simple Secrets To Success!
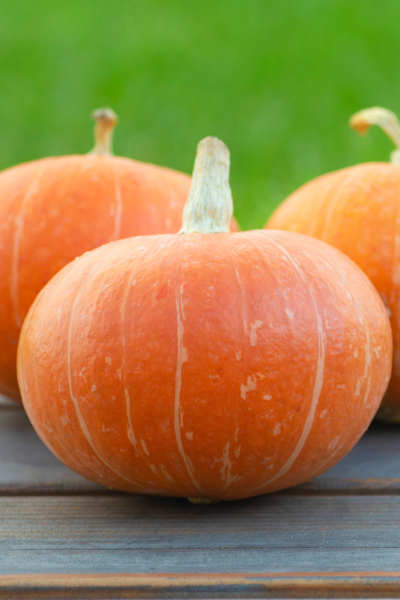
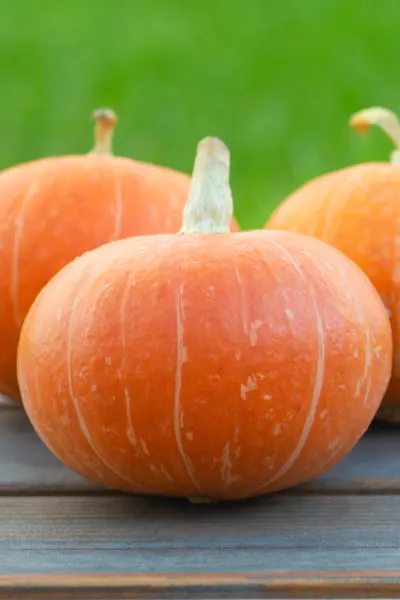
#1 Choose The Right Pumpkin
Getting a pumpkin to keep for an entire fall decorating season starts with selecting a healthy fruit. And to do that, you need to look for two big clues to its overall health when picking one out.
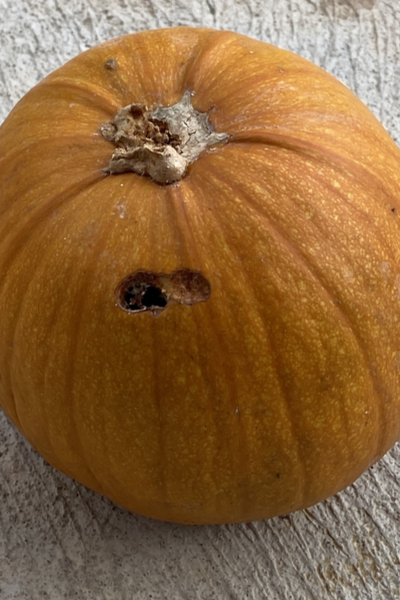
For starters, avoid any pumpkins that have noticeable cuts, bruises or blemishes. Much like with any vegetable, bruises and cuts on the skin will the first places to rot.
But in addition to surface blemishes, pay close attention to the stem. Stems that are loose or broken are a sign of trouble ahead for the fall fruit. Select only pumpkins with firm stems that are at least two to three inches long.

Strong, secure stems are a sign that it has cured properly, and that means a long and lasting shelf life. And what if there is no stem at all? Don’t bring it home! Pumpkins whose stems are missing are the most likely of all to decay quickly.
#2 Clean & Disinfect
Next, that you selected the perfect fruit, it’s time to clean it! All fruit has active bacteria on its outer surface that will eventually decay the skin. Although water will remove some, a light bleach solution works better.
Bleach kills any bacteria living on the surface of the pumpkin, and helps oxidize the skin as well. Wipe your selection down with a solution of 2 tablespoons of bleach to 1 gallon of water.
Of course, as always, when using bleach, wear protective gloves. Put the pumpkin out in the sun for a few hours to allow it to dry thoroughly. Now it’s time to head to the final step!
#3 Protect Your Pumpkin With Vegetable Oil
For the final step, it’s time to place a protective coating around your pumpkin. And to do this, we use a light coating of vegetable oil.
Although many choose to use WD-40 or petroleum jelly to coat their pumpkins, vegetable oil is the better choice. Not only does it protect as well as the other oils, it is also completely safe to place in your compost pile later! (See: How To Make An Incredible Compost Pile From Fall’s Decorations)
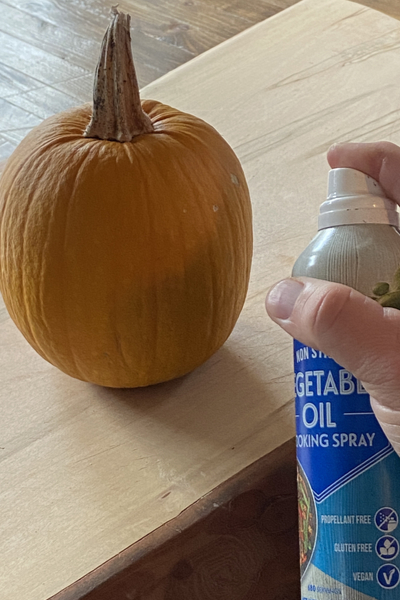

If you will be painting your pumpkin, paint first and then apply the vegetable oil. The paint actually helps seal the skin as well, but unless you paint the entire globe, you will need to protect the rest of the flesh.
Believe it or not, a clean, bleached and oiled pumpkin can actually last 45 to 60 days!
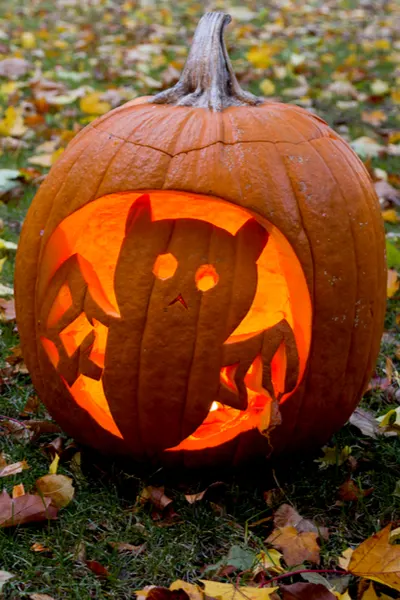
Protecting Carved Pumpkins
So what about preserving pumpkin that are carved? Obviously, once carved, the orange globed days are numbered. But that doesn’t mean you can’t extend its life a few extra days with a bit of care.
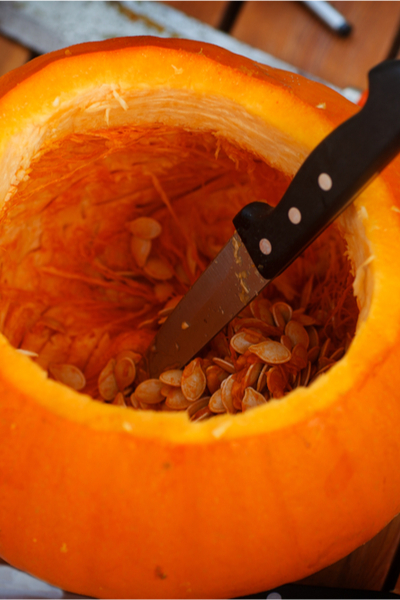

Start by always carving with a sharp knife. The sharper the better! A dull knife will bruise the flesh and speed decomposition. However, a clean, sharp knife leaves smooth cuts that are easier to protect to extend the life.
Once carved, clean out the pumpkin thoroughly. Be sure to remove all of the seeds and pulp. If left behind, it will decay quickly and spread to the rest of the flesh.
Once carved and cleaned, it’s time for a bath. But this time you will submerge the whole pumpkin. Use the same ratio of 2 tablespoons of bleach per gallon, and place enough water in a container to completely cover the pumpkin.

Allow it to soak for 5 minutes, and then remove and let dry completely in the sun. Finish by rubbing a coat of vegetable or mineral oil over the entire surface of the pumpkin. This simple procedure can extend the life an extra 5 to 7 days.
Here’s to keeping your fall decorations longer than ever this year! Happy Gardening and decorating – Jim and Mary.
Jim and Mary Competti have been writing gardening, DIY and recipe articles and books for over 15 years from their 46 acre Ohio farm. The two are frequent speakers on all things gardening and love to travel in their spare time.
As always, feel free to email us at thefarm@owgarden.com with comments, questions, or to simply say hello! You can sign up for our free email list in the subscribe now box in the middle of this article. Follow us on Facebook here : OWG Facebook. This article may contain affiliate links.