Looking to cut back, fertilize and even divide some of your daylilies that may have grown a little too big for their space this spring? Well now is the time to take action – and can it ever help get your daylilies ready for big blooms this year!
One of the best ways to make sure your daylilies flower with gusto is to give them a little early spring care. Daylilies are one of the most popular perennials in the home landscape – and it’s certainly easy to see why. Not only are they highly drought and pest resistant, daylilies also happen to be extremely low maintenance.
But even though these easy-care plants can survive without a lot of constant effort, it doesn’t mean they don’t need help now and them. Especially in the early spring to help prepare and power them up for big blooms in the summer!

Spring Daylily Care – How To Cut Back, Divide & Fertilize Daylilies
Daylilies are one of the hardiest perennial plants around – and that makes them an ideal candidate for early season maintenance. In fact, as long as the soil around the plant’s roots has thawed, you can easily and safely work them.
For starters, that means clearing away spent foliage and fertilizing your plants to energize them for the upcoming season. But early spring is also the time for digging up and dividing overgrown clumps. It helps to keep them healthy, and gives you even more plants for your flowerbeds. All for free!
By taking care of your daylilies in the early spring, not only does it allow you to get a jump on spring landscaping chores, it also gives your daylilies enough time to re-establish in the soil. And that means even new transplants can still bloom strong in the coming season.
How To Cut Back, Divide & Fertilize Daylilies In Early Spring
Clear Away Spent Foliage
The first task with daylilies in early spring is to clear away any and all spent foliage from the clumps. Daylilies die back completely to the soil line. Usually by late winter / early spring, the foliage will pull from the plant with ease. If not, it can simply be sheared off with hedge shears to the soil line.
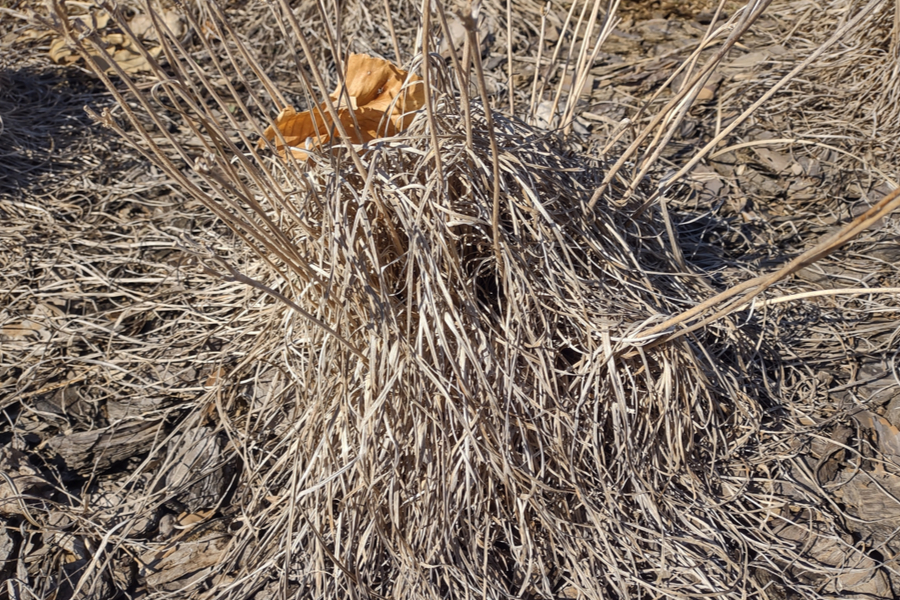
Removing old foliage and blooms stems should actually be done in the fall, but if it still remains, now is the time to take it off. Leaving the decaying mass in place can significantly stunt and delay new growth emerging from below. All of that old foliage can also harbor pests and disease that will lie in wait to attack flowerbeds and plants.
There are also two more very important reasons to cut back last year’s growth. The first is that it makes fertilizing your plants a breeze. Once the foliage is gone, seeing where to fertilize is far easier!
But perhaps best of all, cutting back all of that mass of old foliage allows you a good look at the clump size. And that can easily let you see if splitting and dividing are necessary – which is very important if your plants have been growing for too long in the same space!
Dividing Overgrown Daylilies – How To Cut Back, Divide & Fertilize Daylilies In Spring
For optimum plant health and blooms, you should divide daylilies every 4 to 5 years. Although dividing can occur at any size, plants with bases that are larger that 18 inches in circumference will greatly benefit from division.
When daylilies become too thick and overgrown, they struggle from cramped roots. The foliage tends to grow too dense and thick as well. As the roots become cramped, they struggle to absorb the nutrients they need to feed the plant. The result? A less healthy stock of foliage and far fewer blooms.


By digging up and dividing overgrown clumps, the roots can once again have space. And that means they can easily absorb more nutrients from the soil and have more room to spread out and grow.
If you do have any plants that are overcrowded, early spring is a great time to remedy the situation. And it’s important to do this task first – and then fertilize all of your plants at once afterwards to get them powered up for big growth.
The good news – splitting and dividing is easy. And even better, it will leave you with a lot more plants to fill your flowerbeds with for free. If you don’t need to divide, you can skip straight to fertilizing.
With that in mind, here’s a quick look at how to fertilize your daylilies – along with how to divide and transplant any clumps that have grown too big for their space.
Fertilizing Daylilies
Once all of your daylilies are cleaned up and any clumps have been divided (see more on that in next section) – it’s time to fertilize. Daylilies need a simple, balanced granular fertilizer to power great growth and blooms.
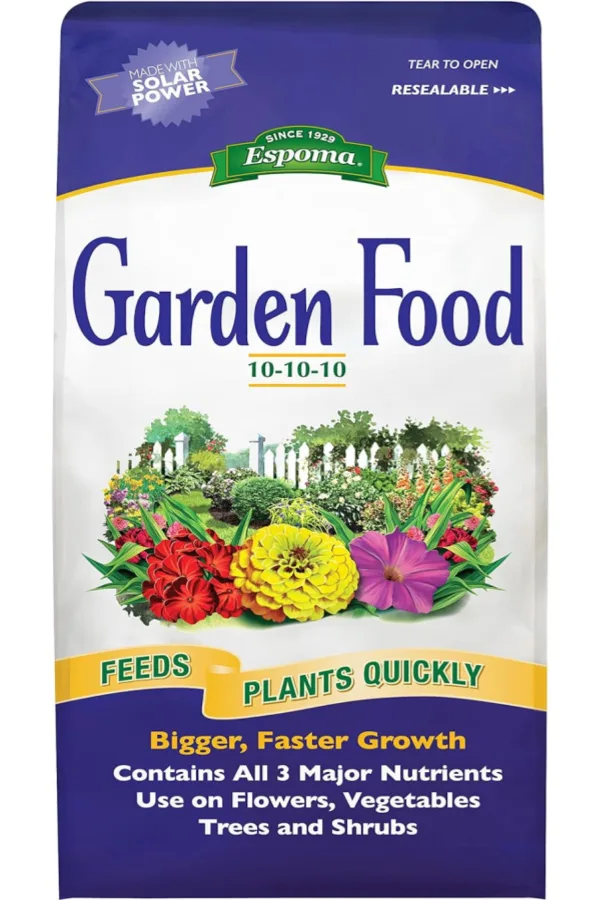
A fertilizer with a 5-5-5 or 10-10-10 ratio of nitrogen, phosphorous and potassium is perfect for this. It will provide your plants with slow energy to store for a strong bloom set. Affiliate Link: Espoma 10-10-10 Granular Fertilizer

The earlier you can get the fertilizer down the better. This will allow the daylilies to use the fertilizer’s power to store energy for blooming. If you apply late in the spring after they are completely out, they will instead use most of the nutrients to simply green up and grow larger – and not for blooms.
As for how much fertilizer to apply, a good rule of thumb is to use about 1/8th of a cup per plant. It’s always best to water your daylilies after planting. This helps the granules to start breaking down and begin to soak into the soil. For even more fertilizing tips for your daylilies, be sure to check out: How To Fertilize Daylilies Early – And Get Bigger Blooms Than Ever This Year!
Dividing Daylilies – How To Cut Back, Divide & Fertilize Daylilies In Spring
To dig out and divide overgrown clumps, begin by loosening the soil a few inches behind the outer edge of the base of the daylily. Next, dig down under the roots around the base and lift up. This will usually pop the plant right out of the soil.
For extremely large plants, remove in sections. You can do this by slicing the plant in half or quarters to remove it from the ground. No need to worry here, slicing off a few roots at this point will not harm the plant. As long as daylilies have a section of roots in-tact, they will easily regrow and establish into new starts.
Once the plant is out of the ground, flip it over so that the base of the roots are facing up. This will make it far easier to see where to split and divide your new plant sections. Next, use a sharp spade or garden knife to cut the clump into sections. Affiliate Link: Hori Hori Garden Knife
Creating New Plants – How To Cut Back, Divide & Fertilize Daylilies In Spring
Each new section will then become a new daylily start. The size of the cuttings will determine the size of the new plant. Larger sections produce larger initial plants. Likewise, smaller create smaller plants.
A good rule of thumb is to keep root sections to about 3 to 4 inches in diameter. This will create new starts that can stay in the ground 4 to 5 years without any additional care.
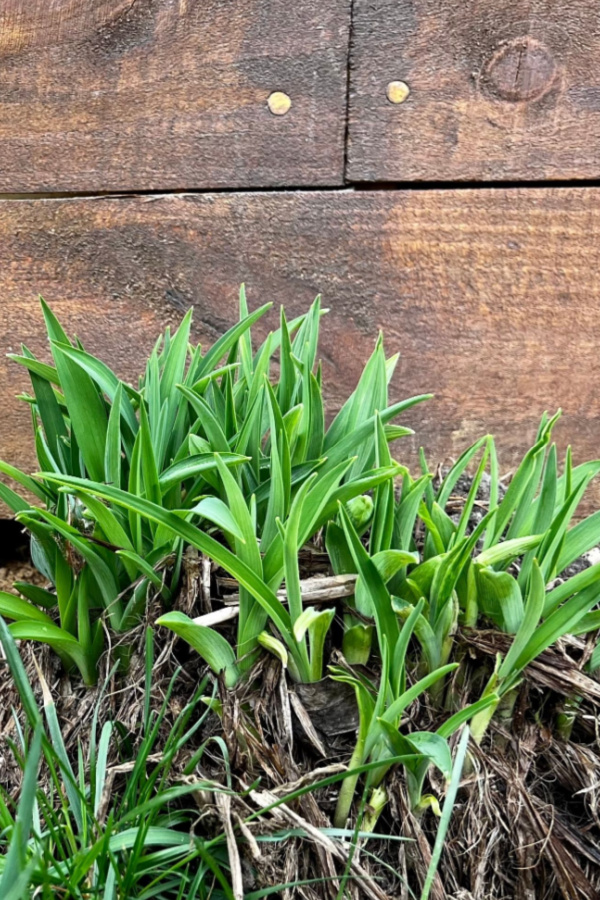
One final note on dividing – depending how close you are to spring when dividing your daylilies, you may already see new green growth at the base of the plant. Don’ be alarmed or concerned about the growth so early in the year.
The small starts will die back again if you happen to have a subsequent frost or freeze. But it will not harm or injure the plant. Daylilies are nearly kill-proof, and new growth will soon reappear from the base. Here is to getting your daylilies ready for big blooms this year! Happy Gardening – Jim and Mary.
Old World Garden Farms
Jim and Mary Competti have been writing gardening, DIY and recipe articles and books for over 15 years from their 46 acre Ohio farm. The two are frequent speakers on all things gardening and love to travel in their spare time.
As always, feel free to email us at thefarm@owgarden.com with comments, questions, or to simply say hello! You can sign up for our free email list in the subscribe now box in the middle of this article. Follow us on Facebook here : OWG Facebook. This article may contain affiliate links.