If you have followed our website over the years, you have most likely read or heard us talk about making soup bricks. It is something we do with our harvest towards the end of every garden season.
Without a doubt, soup bricks are one of the easiest and most efficient ways to preserve a bountiful harvest. Especially late in the season, when it seems like everything in the garden is coming on all at once. And do we ever enjoy using our soup bricks throughout the cold months!
Whether it’s vegetable soup, tomato soup, zesty pepper soup or our all time favorite, campfire chili soup – we love making homemade soup. Let’s face it, soup is amazingly delicious. And when made with garden fresh ingredients, incredibly nutritious too!
But as good as homemade and homegrown soup is in the fall, it is even better when you can enjoy it in the middle of winter. Especially since there isn’t a single thing to be found growing fresh in the garden.
And that is exactly where soup bricks come to the rescue. There is just something so incredible about pulling out a block of frozen soup and heating it up for lunch, dinner – or for a great warm up snack!
What Is A Soup Brick?
So, just exactly what are soup bricks? And how do you make them? It seems that every year, we get a flood of emails asking for more specifics on those two questions. So we thought with fall just around the corner, today was the perfect time to cover the topic.
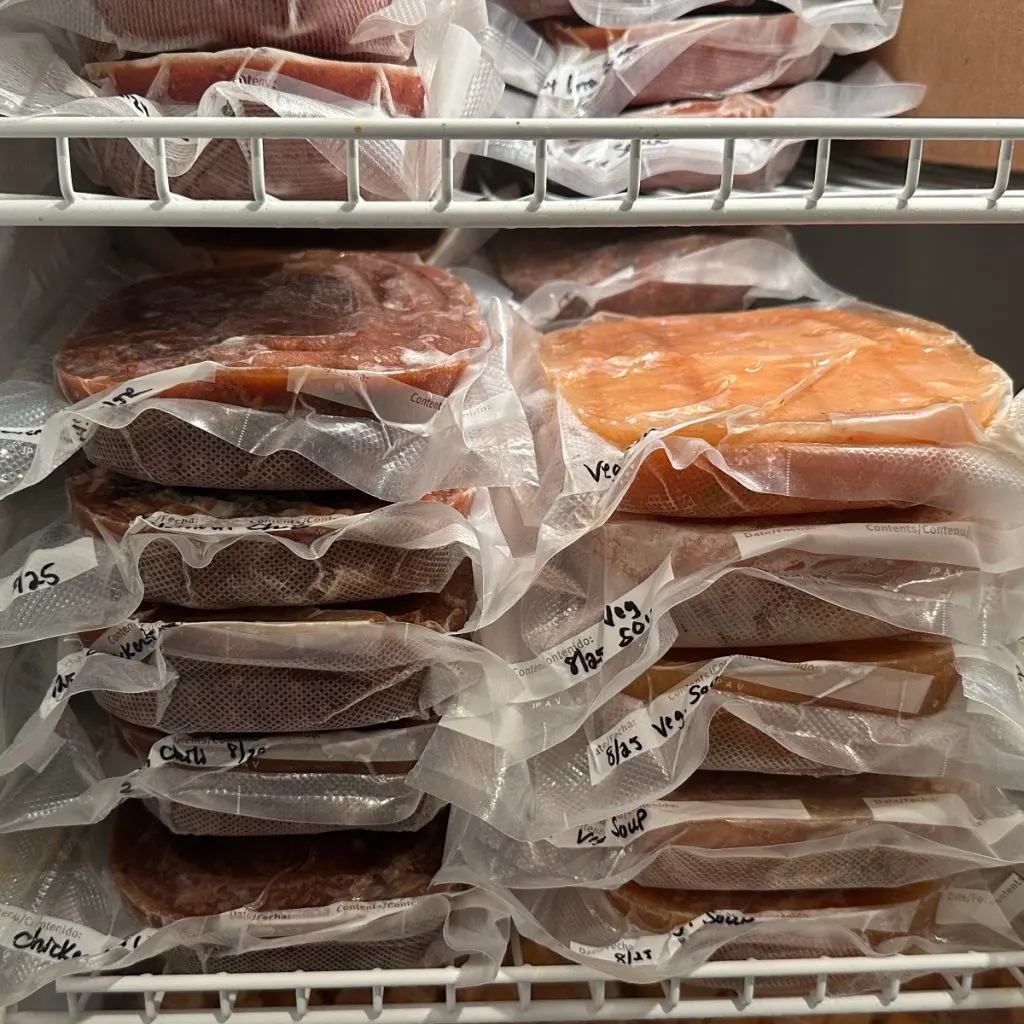
Soup bricks are nothing more than a frozen block of soup. But instead of storing the soup in bulky plastic containers that can take up large amounts of freezer space, we create uniform soup “bricks” for easy use and storing.
Start With The Soup
The process for making soup bricks couldn’t be simpler. Simply start by making your favorite soups from the garden. This is one time where having large kettles and stock pots can come in handy. In fact, the bigger the better!
Soups are an easy way to use up loads of late-season produce coming from the garden. Late season vegetables sometimes can be tough, but are they ever packed with nutrients. And by throwing them all together in a pot, they soften and meld together for delicious flavors.
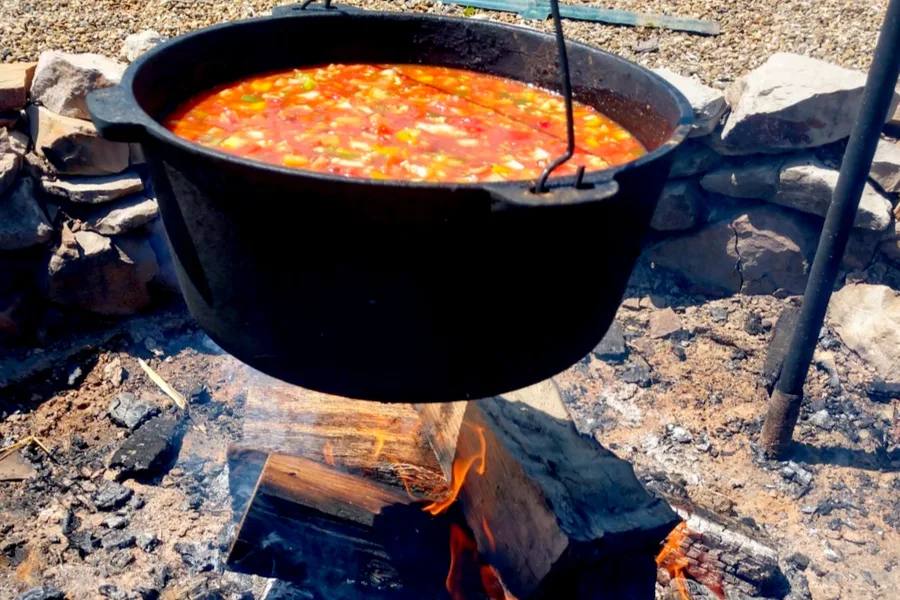
In addition to the large pots of soup we make in the kitchen, we also haul out our big iron cooking pots a few times each fall to make massive pots of beef vegetable and chili soup over our fire pit.
Not only is it an experience, but the wood from the fire gives the soup an incredible flavor. In fact, when we heat up our over-the-fire soups in the winter, the flavor and aroma is amazing! (See : Making Fall Harvest Soup – A Delicious Way To Clean Up Your Garden!)
One thing is for sure, making large batches of soup at once not only helps use up a big garden harvest, it also makes quick work of preparing and preserving a lot of soup bricks for later use.
The Process – How To Make Soup Bricks
Once your soup has simmered and has time to cool, it’s time to start making soup bricks! Using inexpensive plastic storage containers, we first freeze the soup into rectangular blocks.
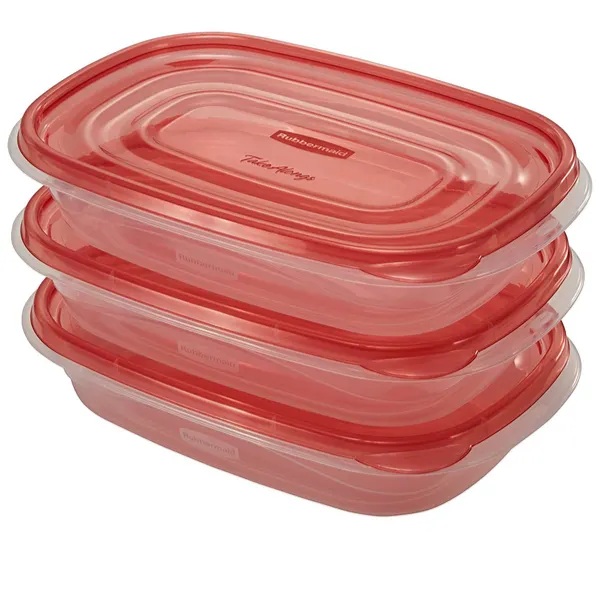
For our soup bricks, we use 1 quart Rubbermaid Take Alongs plastic storage boxes. Measuring just a bit over 6 x 9 inches wide, they create a perfectly shaped and slim 3 inch high soup block. They also happen to be BPA free, freezer safe, and top-rack dishwasher safe.
Each freezer box holds 4 cups of soup, which is perfect for feeding two to four people. And if you are having a few more for dinner, it’s as simple as opening up a second or third brick for bigger crowds.
The snap top lids go on easy and tight, which is always important when first freezing. Once we have them filled with soup, we simply pop them into the fridge for about 24 hours to harden.

Using A Food Preserver For Long Term Storage – How To Make Soup Bricks
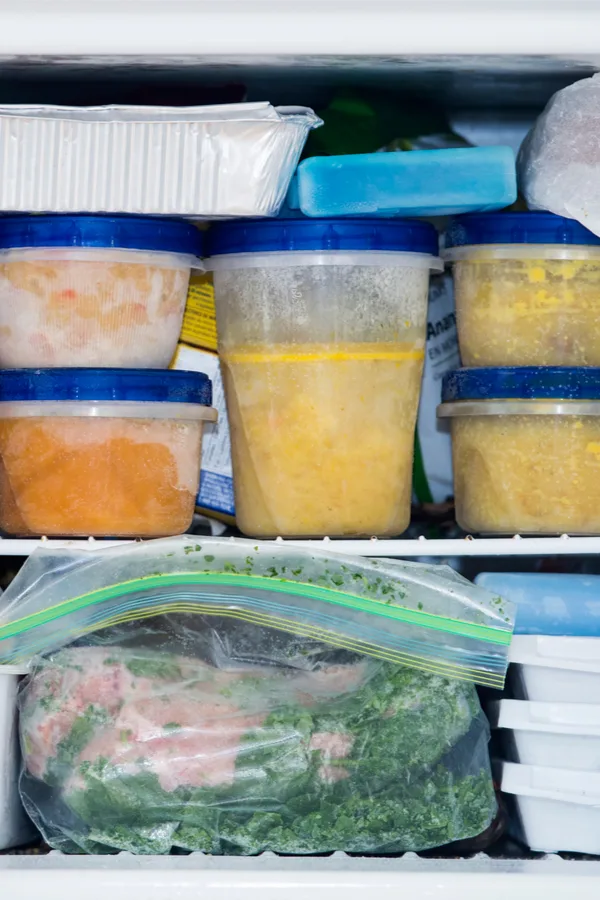
You could, of course, keep the soup in the plastic containers – but there are a few drawbacks. For starters, it means buying and storing a lot of plastic storage containers.
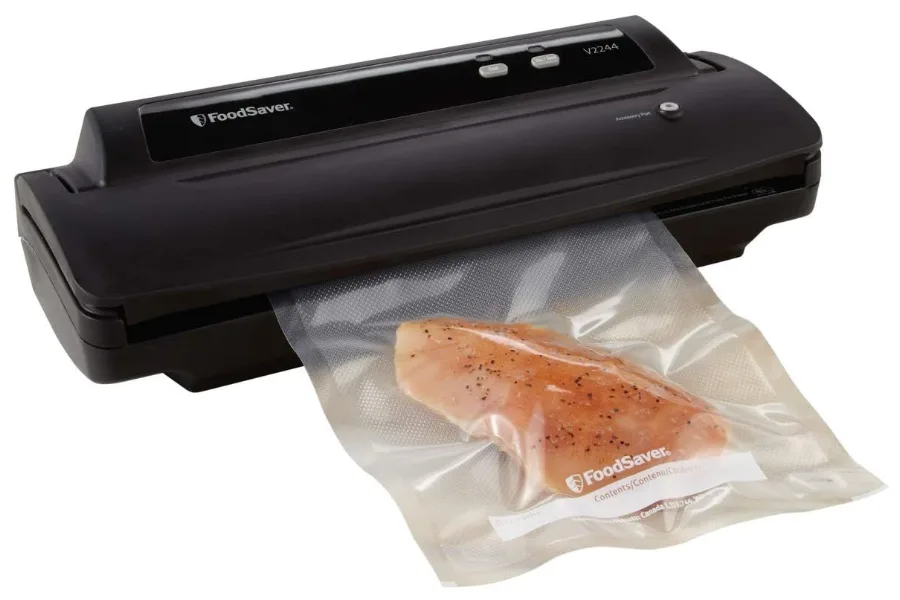
In addition, the plastic boxes take up a bit more room with their lids and sides. And that is exactly why we use our food saver to freeze the soup permanently. Not only does it keep the soup bricks it also prevents freezer burn.
Once the soups have frozen overnight, we take them out of the freezer and pop them out of the container. A bit of warm water over the back will free any ones that might be stuck. Then all that is left is to use the food saver and seal.
The bricks stack so nicely in the freezer, and we mark each bag with the contents and date with a permanent marker for easy reference. Soup bricks truly are the star of our garden’s harvest every winter!
Here is to preserving your late season harvest with your own soup bricks this year and having delicious soup at the ready all winter long!
Enjoy!
Mary and Jim

Jim and Mary Competti have been writing gardening, DIY and recipe articles and books for over 15 years from their 46 acre Ohio farm. The two are frequent speakers on all things gardening and love to travel in their spare time.
As always, feel free to email us at thefarm@owgarden.com with comments, questions, or to simply say hello! You can sign up for our free email list in the subscribe now box in the middle of this article. Follow us on Facebook here : OWG Facebook. This article may contain affiliate links.


