You might be surprised at just how easy it can be to build your very own incredible, low-cost diy fire pit in your backyard. And, just how multi-functional it can be for events with family and friends!
One of the very first tasks we tackled when we started to build our original farm some 11 years back was the building of a fire pit. To this day, it still remains one of our all-time favorite projects. In fact, I don’t think we ever imagined when building it just how much enjoyment it would bring.
It was the perfect place to gather around for great conversation. Whether it was family, friends and neighbors, or just the two of us enjoying the warming glow of a fire with the open sky overhead.
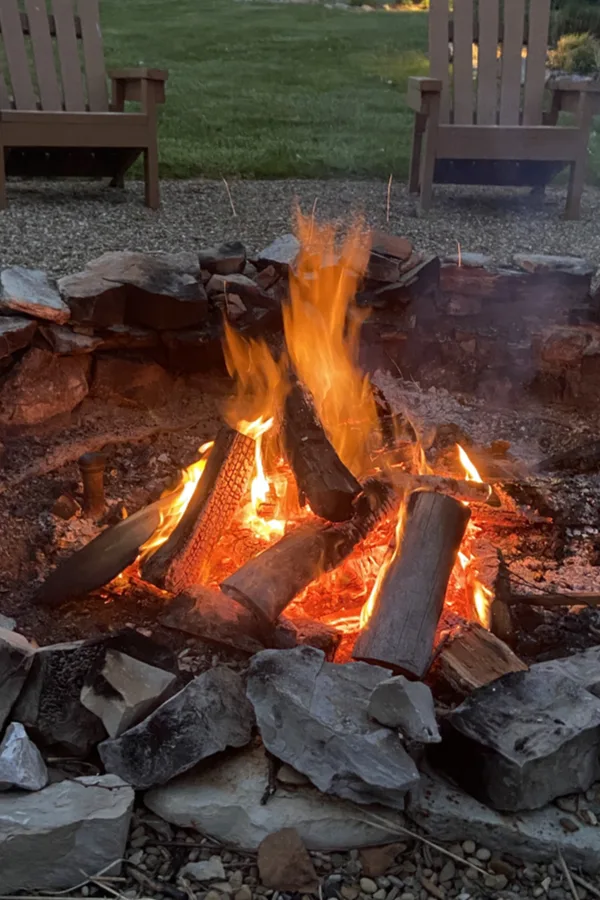
Even better, our original fire pit served as so much more than just a special gathering place. With the simple addition of an inexpensive in-ground homemade cooking bar, it also turned into an instant outdoor kitchen.
I can’t even begin to tell you how many pots of chili or garden fresh vegetable soup we made over the fire. And the taste of that slow-simmering soup made over open flames? Well, it is simply divine!
Creating A Low Cost DIY Fire Pit
One thing is for sure, the fire pit always made an evening seem more than magical. And that is exactly why when we moved to the new farm this year, building one became a top priority. In fact, it was one of the very first projects we completed.
Building a fire pit really can be both simple and inexpensive. The secret to success starts by employing a few basic fire pit building techniques that make it both strong, beautiful and functional. Then, by using natural and locally available materials, you can give it an incredible look that also happens to be quite economical.
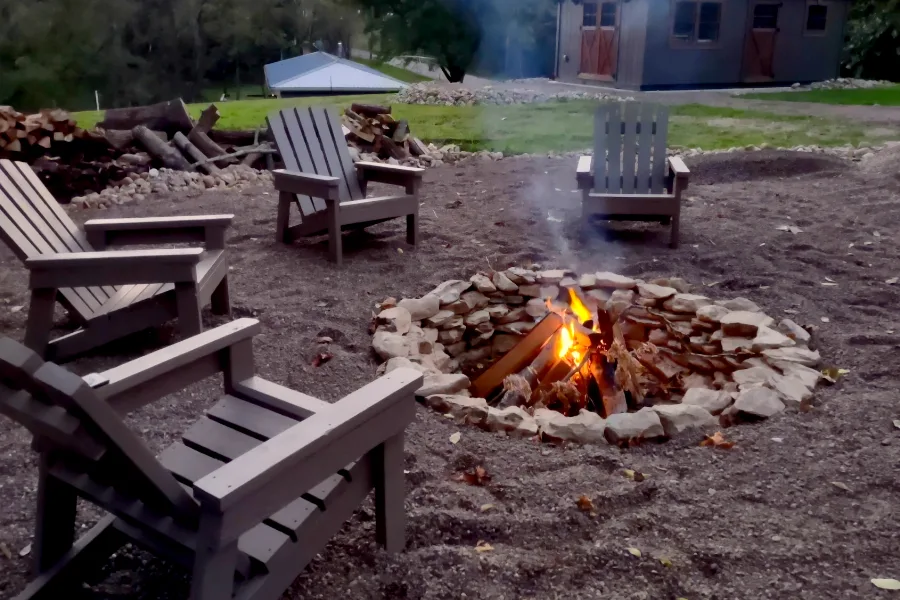
Both of our fire pits were constructed for under $175 using the same process. In fact, our newest fire pit was actually built for under $50! Here is a step by step look at how we created our fire pit, along with a few tips on the best way to keep your project affordable.
Using The Earth As Your Friend – How To Build A DIY Fire Pit
The first key to building a functional fire pit is to keep it slightly below the soil line. Burying the pit a bit under the ground has several big advantages when creating and maintaining a fire.
First, it helps to keep your fire pit safe by preventing the embers of a burning fire from jumping out. It also helps keep the wind from becoming too much of an issue. Both when starting, and for keeping smoke out eyes.
But by burying your fire pit into the earth, it also helps to insulate it. That means a bit slower burn of the wood, and more even heat across the fire. That is not only great for sitting around the flames, but also for cooking as well.
Creating A Template For Your Fire Pit – How To Build A DIY Fire Pit
We created our circular fire pit layout using a 36″ piece of string tied to a round rebar post. We began by driving the rebar post into the ground where we wanted the exact center of the fire pit to be.
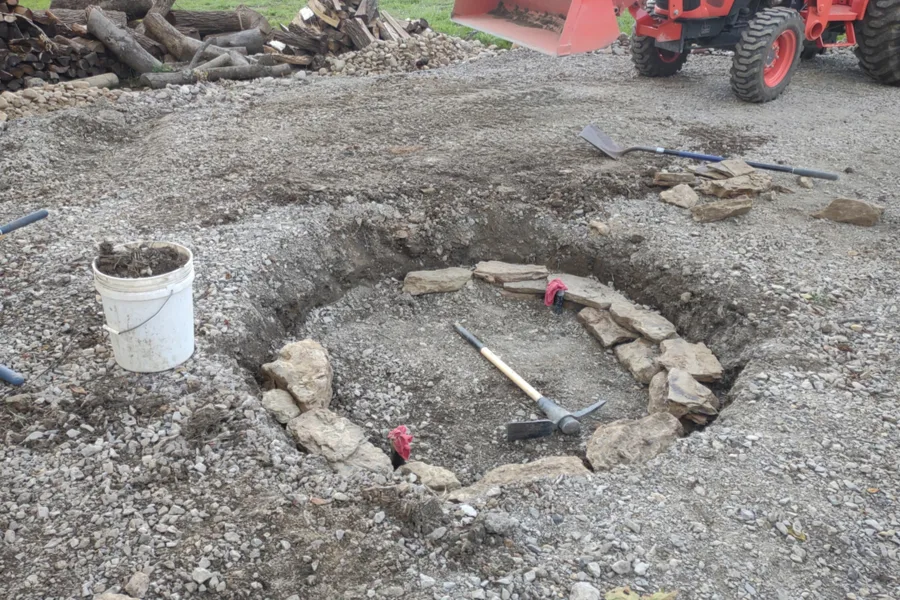
Using a spray can, we then marked out a perfect circle by spray painting a line on the ground as we walked with the string around the post. It makes quick work of what can be a difficult task for measuring an exact circle.
Once the lines were marked, we removed 16 inches of the soil inside of the line. By using a 36″ string, we ended up with a hole that was 72 inches in diameter, and 16 inches deep all the way around.
The 72″ diameter may sound large, but stone will be going inside of this to form the fire pit circle. It also allows enough space as you will see later for our cooking bar base to go in. Of course, you can create your circumference any size you wish. Just keep in mind you will lose some space as you stack the stone to form the circle.
The Cooking Bar Install
This is a purely optional step. But we can tell you, if you plan on cooking over your fire, this is far easier and cheaper than purchasing costly triangle supports. If you want more information on this step and process, we do have a complete article on the cooking bar here : (See : DIY Cooking Bar Project)
In a nutshell, the cooking bar is created with 1″ common black iron threaded iron pipe. This can be found at any hardware store, and creates a strong, sturdy cooking bar.
Using two 90 degree angle threads, we create a “U” shaped bar. The bar then slides down into two slightly 1.25″ larger pipes dug into the ground.
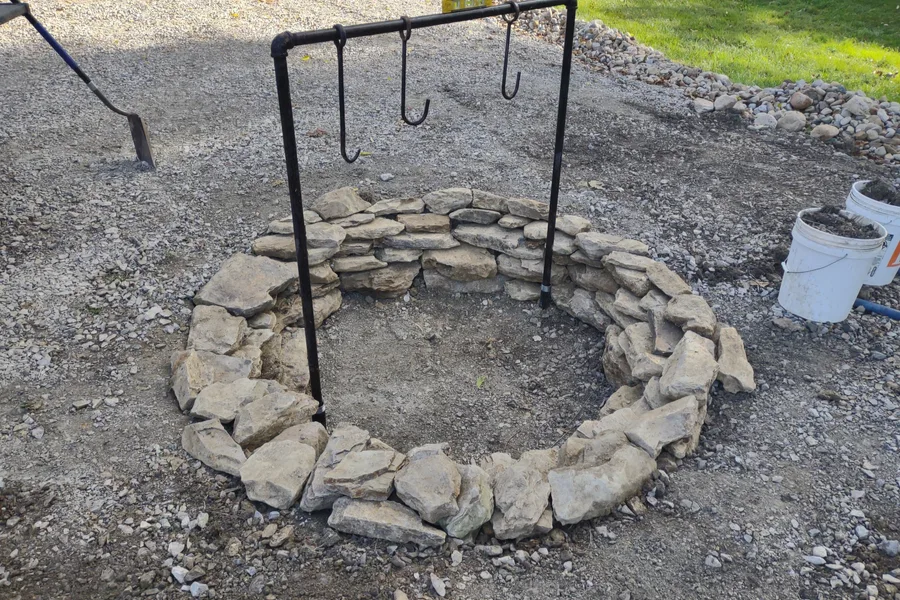
The cooking bar can easily be removed when not in use, and a threaded cover cap can be screwed to cover up the pipes in the pit. It is also extremely easy to use ready made outdoor cooking grates over with the fire pit as well.
We use a Hikeman folding grill in our fire pit to cook hamburgers, chicken, steaks and more. It simply sits within the fire pit on fold out legs and makes cooking anything a breeze! Product Link : Hikeman Folding Grill Top
Creating The Base – How To Build A DIY Fire Pit
A strong base is a key to a sturdy, long lasting fire pit. Especially one that will use stacked stone to create its walls. For our base, we use inexpensive limestone screenings. They can usually be found at a quarry, or small gravel or sand lot locations as well.
At around $7 to $10 a ton, a small pick-up load usually runs around $4. Some places will even allow you to take the screenings in 5 gallon buckets for about $1 per bucket.
Screenings are made up of small bits of limestone and the dust from the limestone rock. The limestone screenings pack down strong and give a firm, level base for a fire pit.
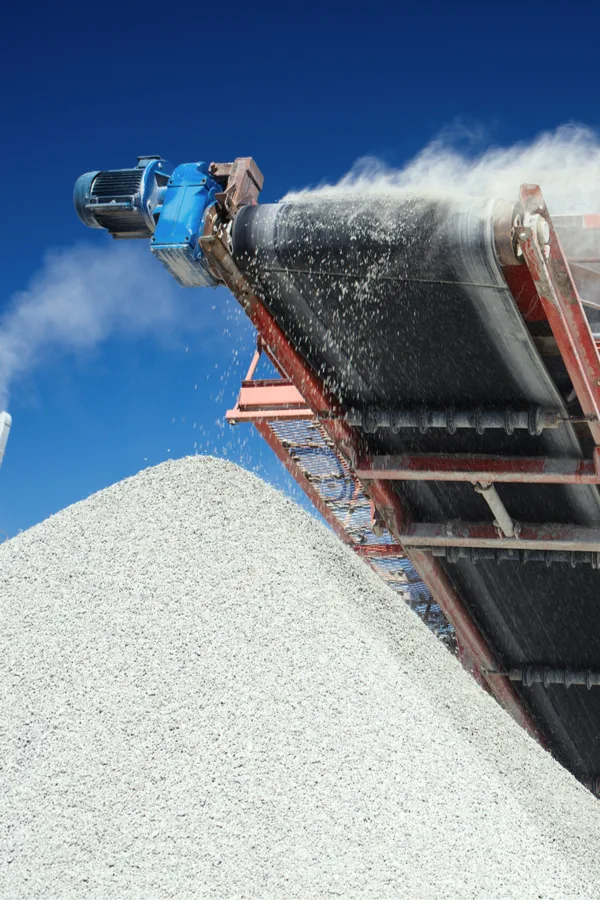
A four inch base of limestone screenings at the bottom of a fire pit are more than enough to create a great base for the stone layers on top. And it still leaves the pit depth at around 12″ down into the soil.
Building The Stone Wall
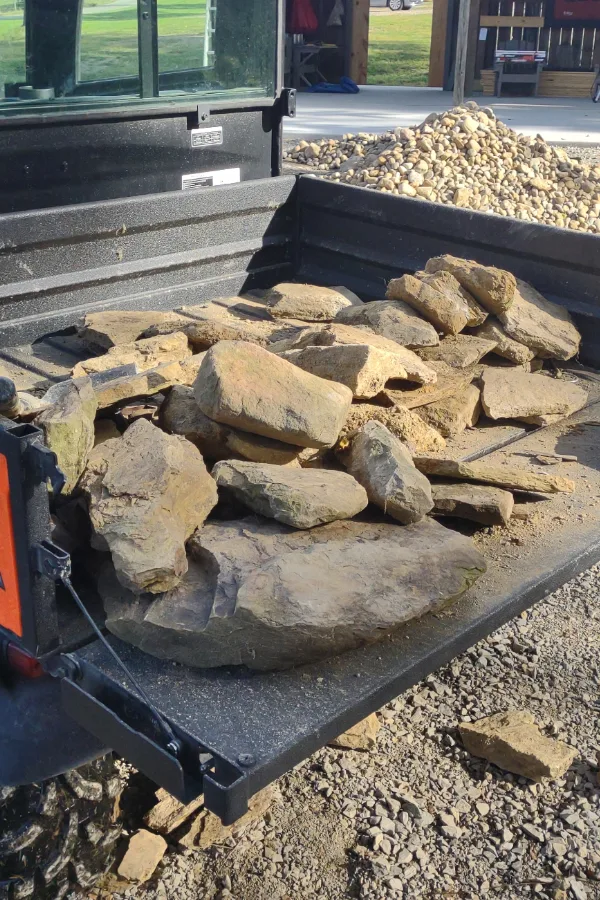
With the base complete, we began building the stacked stone wall. Although you can purchase rock at a stone center, it can be unbelievably expensive. One of the best ways to save is to purchase your rock at a local quarry instead.
For our first fire pit, we used rip-rap mixed size rock found at a nearby quarry. At around $20 per ton, we were able to get all of the rock we needed for around $80.
For our new fire pit, we were even more fortunate. When the crews were digging for our septic and water tanks, they unearthed tons of rocks. Mary and I quickly went to work snatching them up, and were able to build the new fire pit entirely from rock from the farm – and absolutely free!
The point is, however you, find your rock, there are better options that purchasing palletized stone. With a little leg work and creativity, you can save big for sure. Even old brick or broken concrete can look great with its jagged edges.
The Building Process – How Top Build A DIY Fire Pit
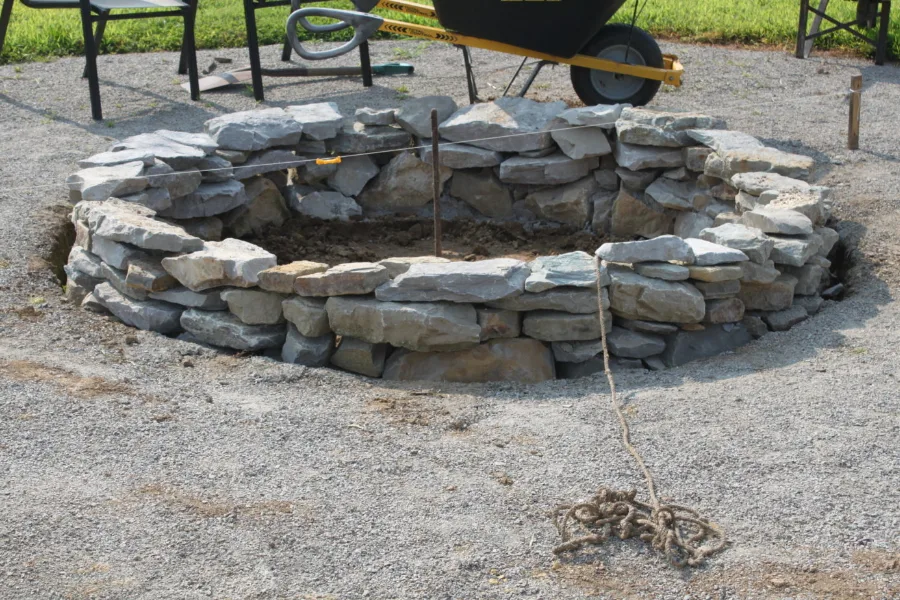
Building a stacked stone fire pit is all about being patient and working slow. We presorted through the rock, setting out the largest stones for the base. From there, we built up with the remaining rocks. We set aside the flattest of the rocks to create the top of the pit.
The key is to set one course at time. Try several rocks in different places, and with patience, you will find rocks that fit perfectly together. Work slowly and make it fun. The beauty of stacking dry stone is it is easy to fix and change. It also makes it nice if a rock is ever damaged to simply put a new one in its place.
Finishing The DIY Fire Pit
For the sitting area around our fire pit, we used limestone screenings again, and then covered with inexpensive pea gravel. It not only looks great, but drains well after any rain.
First, we sprayed the sitting area with high strength vinegar to kill off the grass. Next, we put down a two to three inch layer of limestone screenings to form a strong, hard base.
Once we had a level and firm base, we followed with a 2 inch top coat of #8 pea gravel. We have used this combination of a limestone screening base / pea gravel top coat with great results to inexpensively build walkways as well. It looks great and lasts forever!
The limestone screenings form a near concrete-like base, and can be applied right over the existing soil to level it out and create the walkway.
It’s fast, easy and long-lasting. It is also easy to keep completely free of weeds with a few applications of vinegar spray a year. In square footage cost, it runs right around .5 to .10 per square foot to use, and that’s hard to beat!
Here is to creating your own amazing DIY fire pit in your backyard! Happy building – Jim and Mary.
Jim and Mary Competti have been writing gardening, DIY and recipe articles and books for over 15 years from their 46 acre Ohio farm. The two are frequent speakers on all things gardening and love to travel in their spare time.
As always, feel free to email us at thefarm@owgarden.com with comments, questions, or to simply say hello! You can sign up for our free email list in the subscribe now box in the middle of this article. Follow us on Facebook here : OWG Facebook. This article may contain affiliate links.

