Autumn is here in full force, and that means it’s time to get your raised beds ready for winter – not just to protect the soil within them from erosion and nutrient loss – but also to recharge and revitalize the soil and get it ready for a great growing season next year!
Raised beds are more popular than ever and are a great way to grow vegetables, herbs, and flowers. They are especially useful for gardeners with limited space, while making gardening easier by reducing the typical time consuming garden chores of weeding, watering – and even harvesting.
But although raised beds are easier to care for than traditional gardens, they still need some attention. Especially when it comes to keeping the soil healthy and strong after a full season of growing. And protecting that soil from erosion and other issues that can occur over the winter.

If you leave raised bed soil unprotected over winter, things can go downhill in a hurry. Cold weather, rain, snow and wind can further damage and drain the soil of energy through erosion. At the same time, if you don’t replenish the nutrients in the soil before planting next spring, next year’s crops simply won’t have the power they need to grow and produce.
The good news? By simply performing a few simple tasks this fall, you can revive and protect it all at the same time – and with ease!
How To Get Raised Beds Ready For Winter – Power Up & Protect Your Soil This Fall!
Clear Out Your Plants
The first step in fall care for raised beds is removing old plants. Dead vegetable plants, herbs, and flowers left in the bed can create all kinds of future problems. Not only can decaying foliage attract pests and disease, they can also drop seeds, leading to more weeds from volunteer plants next year.
It’s always best to remove annual plants and their roots as soon as they start to die. Don’t forget to clean up any fallen fruit, seed or flower heads that might still be in the soil. Beyond the seeds and pests they attract, the rotting fruit can also bring disease as well.
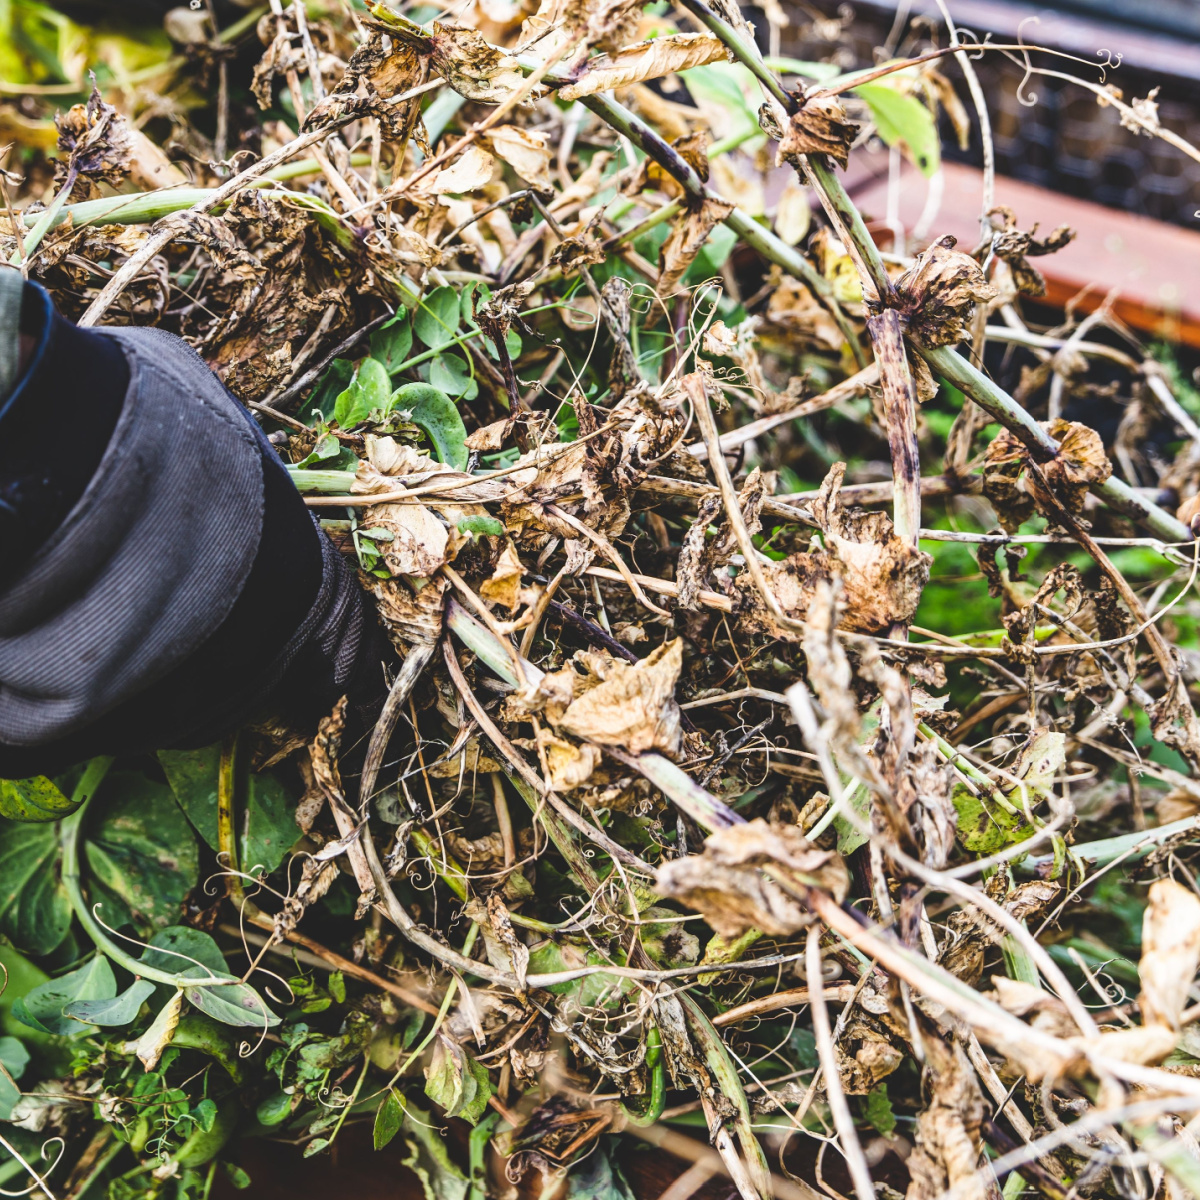
If you have perennials in your raised beds, now is the time to trim them back as well. This will help prevent pests from finding shelter during the winter. After cutting plants back, always cover any perennials with a few inches of mulch to protect them.
Recharge & Rejuvenate Soil – How To Get Raised Beds Ready For Winter
As important as it is to get decaying plants out of your raised beds in the fall, it’s also equally important to bring life back to that soil. Adding nutrients isn’t difficult. In fact, there are several easy ways to do it, including adding compost, planting a cover crop, or using aged or even fresh manure.
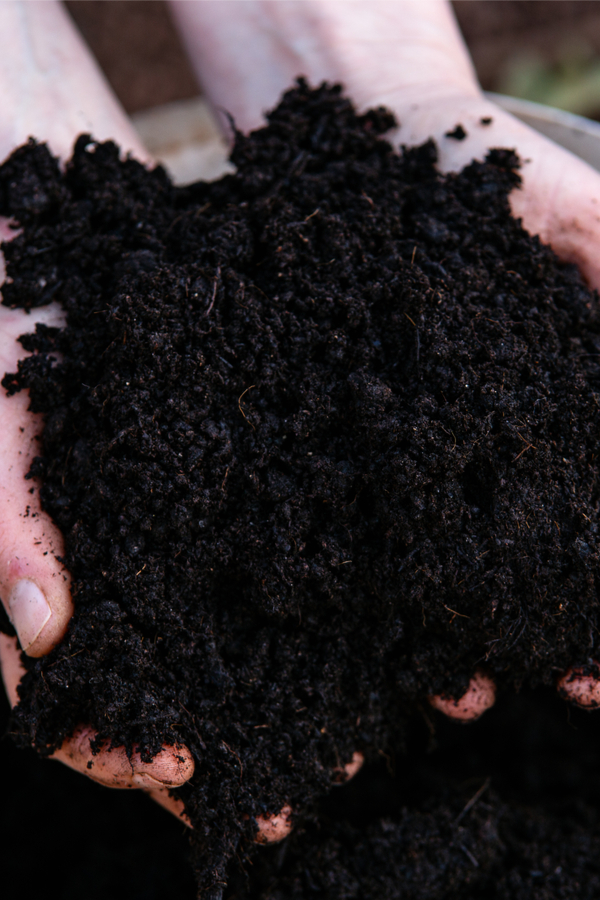
Using Compost – How To Get Raised Beds Ready For Winter
One of the easiest ways of all to improve and recharge the soil in raised beds is by adding compost. Compost is full of life. Not only does it contain all sorts of key trace nutrients and elements that can help to recharge the soil, it also adds structure and humus to it as well.
So how much compost is enough to help re-energize the soil? A good rule of thumb is to add the equivalent of 5 to 10% of the bed’s total volume of soil in fresh compost. If the beds are too full of old soil to do this, simply remove some of the old dirt before adding. That old soil can actually be great for starting a new compost pile to recharge it as well.
It’s best to dig the compost in a few inches deep to help it begin to absorb and incorporate into the soil. Finally, it’s important to protect the compost and soil before winter. Affiliate Product Link: R&M Organics Premium Organic Compost
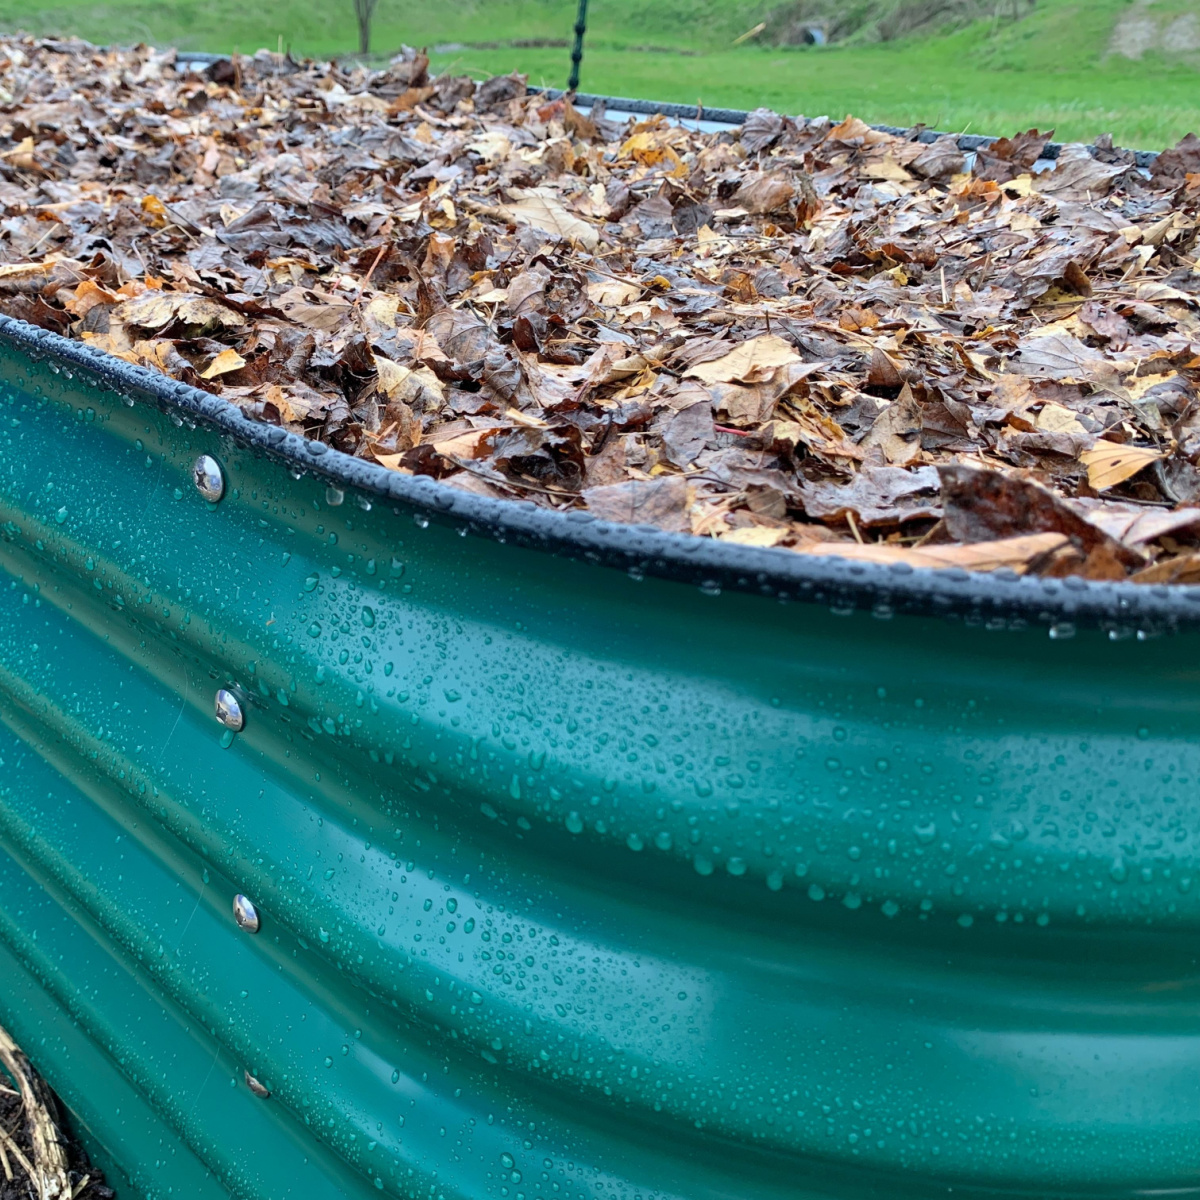
You can certainly cover it with a layer of mulch such as leaves, straw, or grass clippings. This will prevent erosion and add even more nutrients as they break down. But to really recharge your bed soil after adding compost, it’s even better to plant a cover crop in it. It not only gives more power – but also protects the compost and soil at the same time!
How To Plant A Cover Crop In Raised Beds – How To Get Raised Beds Ready For Winter
Planting a no-till cover crop is one of the easiest ways to improve your raised bed soil. They not only help to improve the soil, they also protect it at the same time. The key here is to use crops that work well in confined spaces – and ones that do not require you to till or turn over the soil.
Two of the best for this are oats and peas. These crops grow quickly in the fall, providing a thick cover that prevents weeds and erosion. Their roots also help break up the soil and recharge it.
Oats and peas germinate fast. The roots of each drive deep in the soil to loosen it. Peas actually help fix nitrogen levels in the soil so that the next crops can grow strong and fast. Oats add a long list of nutrients as well.
Both crops die back after the first frost but leave behind their foliage to protect the soil until spring. In early spring, the crops will come out of dormancy, but by simply cutting them back with a string trimmer or shears, they die back.
As the decaying foliage decays, it continues to add organic matter and nutrients to the soil. But as it does, you simply plant your new crops right through the dead foliage. It really is a win-win!


Using Aged Manure – How To Get Raised Beds Ready For Winter
Another alternative to power up tired soil in the fall is to add aged or composted manure. Manure from chickens, rabbits, horses, goats or cows works well. Aged manure is best because it doesn’t have a strong smell and is safe for your soil.
Spread a few inches of manure over your beds in the fall. If you only have fresh manure, you can still use it, but it’s important to dig it into the soil so it can break down properly over the winter. This will also help with the smell of fresh manure.
You can usually still plant a cover crop in aged manure – but fresh is often too “hot” to support germination.
Protecting Bare Soil – How To Get Raised Beds Ready For Winter
Whether you use compost or manure, the final step is to cover your raised beds from winter weather. As mentioned above, the best way to do this is with a cover crop. But if that isn’t an option, you can still cover it organically with straw, leaves or grass clippings.
Individually or all three in combination can help protect the soil from erosion and keep the nutrients in place. The added benefit of organic mulch is that it too breaks down over the winter to add even more nutrients and humus to the soil.
One thing is for sure – you don’t want to leave your soil bare. Bare soil allows weed seeds to find a home – and lets winter’s rains, snows and winds whisk valuable soil away.
If you won’t be planting a cover crop and don’t have access to clippings, leaves or straw, you can use a tarp or plastic sheet to cover the beds as a last resort. Here is to protecting and powering the soil in your raised beds this fall – and to growing better than ever next year! Happy Gardening, Jim & Mary.
Old World Garden
Jim and Mary Competti have been writing gardening, DIY and recipe articles and books for over 15 years from their 46 acre Ohio farm. The two are frequent speakers on all things gardening and love to travel in their spare time.
As always, feel free to email us at thefarm@owgarden.com with comments, questions, or to simply say hello! You can sign up for our free email list in the subscribe now box in the middle of this article. Follow us on Facebook here : OWG Facebook. This article may contain affiliate links.