Spring is near, and that means it’s time to clean up, fertilize, and divide and transplant any overgrown hostas to provide the spring hosta care they need for a great growing season!
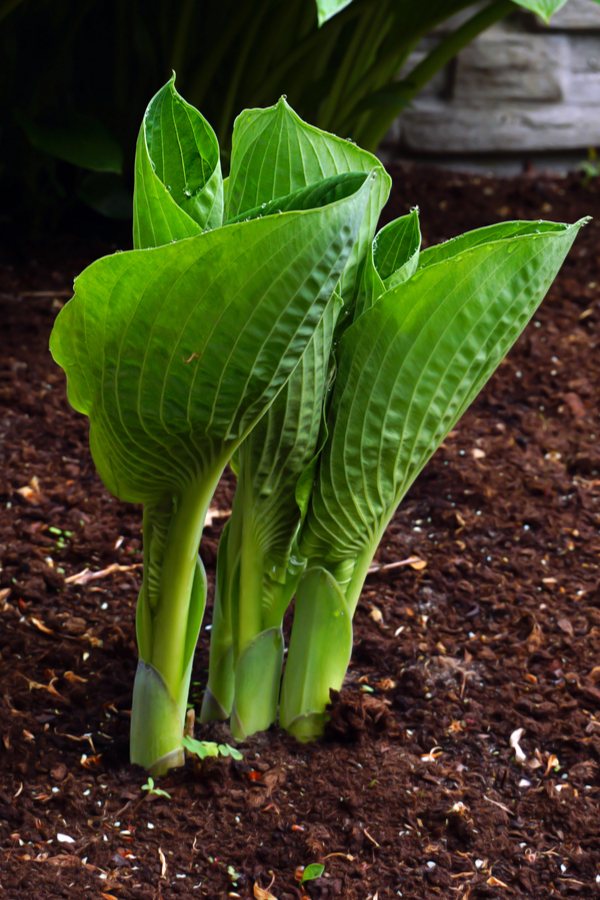
Hostas are one of the most popular perennials of all in the home landscape. With their massive canopy of showy leaves and spiky bloom stems, they add both grace and interest to the landscape. Especially when they stay bright, healthy and vibrant all season long.
But for many gardeners, keeping their hostas in tip top shape can be a challenge. And that is exactly where a little early spring care can come to the rescue!

By simply removing spent foliage, dividing and transplanting overgrown plants, and applying a small boost of energy with fertilizer – you can set the stage now for incredible hostas this summer. Best of all, you can then keep them looking great right on through late fall.
With that in mind, let’s take a look at how to get your hostas ready this spring for an amazing growing season!
Early Spring Hosta Care – How To Divide, Transplants & Fertilize Hostas
The first key to success is getting a jump on the growing season. You don’t have to wait until your hostas sprout through the ground to begin working on them. In fact, it is better to start helping them before they do!
Whether simply clearing off old debris, or dividing and transplanting overgrown clumps, getting an early jump allows the plants to be ready to grow when spring arrives. Unfortunately, the later you start, the longer it will take the plants to emerge with healthy growth.
This is especially true for new transplants. Digging up and dividing overgrown hosta clumps before they emerge allows the newly formed transplants to develop quickly as spring arrives. You can still split and divide hostas once they have emerged, but it will take longer for them to re-establish in the soil.
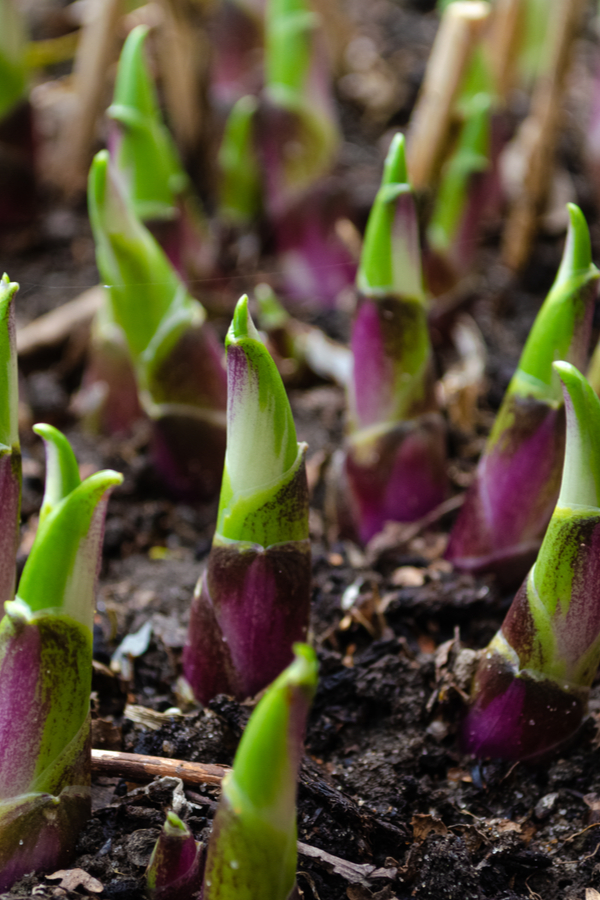
As for just how early you can work hostas, they can be dug up and divided at any point from late winter to early spring, so long as the ground has thawed and the soil around the plants is not overly clumpy or wet.
Late frosts or even a hard freeze will not kill the roots of recently dug plants or new transplants as long as the roots have been planted back in the ground and are covered. It is a good idea to mulch newly planted transplants with a few inches of mulch for added protection.
Spring Hosta Care – First Steps
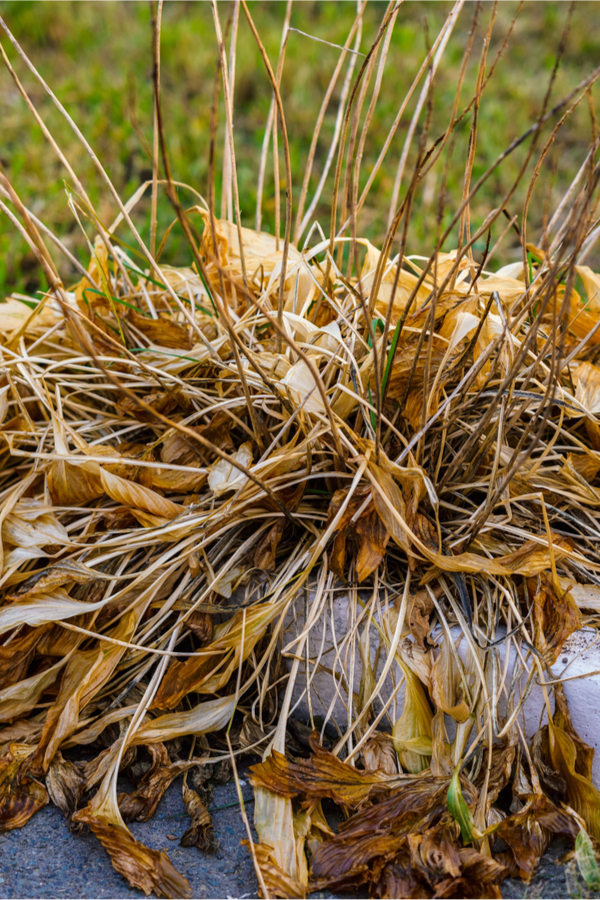
Start by clearing any and all decaying foliage and debris from the base of your plants. If you did not remove the spent leaves in the fall, now is the time to do so.
Not only will this clear the way for new growth, it can also help you determine if the plants will need to be divided. With hostas, one of the easiest ways to remove the old foliage is by simply pulling it off gently with your hands.
Although you can use a good pair of hedge trimmers to cut it at the base, it will usually pull away easily by hand. Not only is it easy, it can be huge time saver.
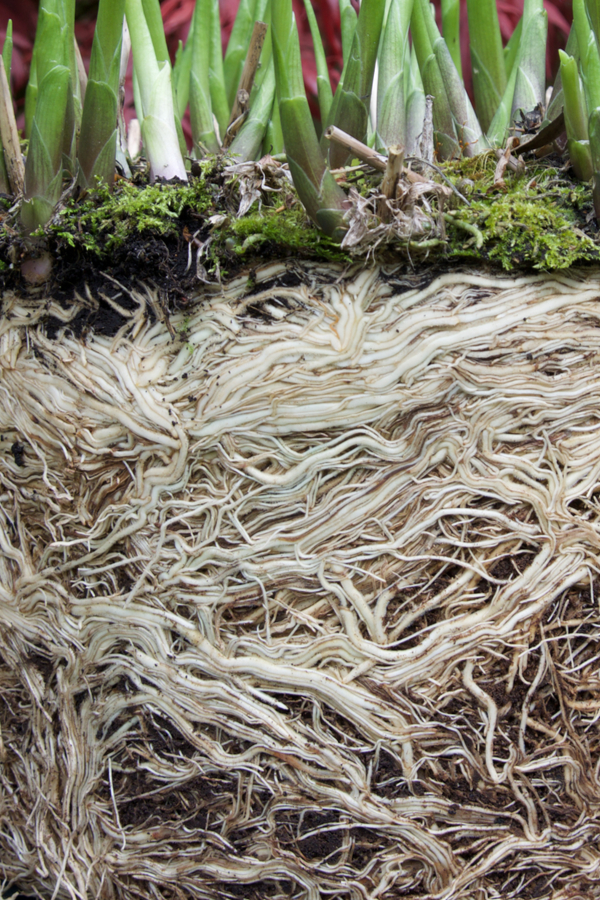
Once the plant debris has been cleared, it is time to assess the size of your hosta’s roots and determine if dividing will be necessary. Overly large clumps and root structures should be divided to maintain their health and vitality.
If your plants are young or small, you can skip on down to the spring fertilizing and mulching steps near the bottom of the article. If, however, your plant is overly large, it is time to dig it up and divide it into new starts.
When To Divide
On average, to remain healthy and vibrant, hosta plants should be divided and split every four to six years. As the root clumps age, they can become tangled and root bound below the surface. The result is a plant that will have difficulty absorbing both nutrients and moisture.
In addition, after four to six years, the plant has also likely depleted the soil of a fair amount of nutrients. By digging up, splitting and transplanting, it gives you the opportunity to amend the soil with plenty of compost to recharge it.
How To Dig Up Hostas – Early Spring Hosta Care
Without the foliage present, slightly brush or rake back the soil over the crown to find the edges around the plant. Next, dig back a few inches from the edges, cutting down into the soil about five to six inches deep.
Continue around the diameter of the plant cutting down into the soil until you have encircled the entire plant. The roots of a hosta plant tend to be fairly shallow. Because of this, they will usually pop out of the ground with little effort.
If you do happen to nick a few of the roots while digging up, don’t worry. Hosta roots are extremely tough and resilient. In fact, to be honest, they are quite difficult to kill off. Now that the plant’s roots are out of the ground, it’s time to turn it over and divide!
Dividing The Plants
By turning the plant over, it makes it easy to divide the plant into sections. When splitting, divide the plant according to the size of the future plants you want in the bed space.
If you want small, accent style plants, slice off small, two to three inch sections. If you want more mature plants, keep the sections larger at four to six inches. Remember that the larger the division, the more quickly you will need to divide in future years.
A shovel will make quick work of the process. Simply slice down to sever the clump into the desired size section. You can usually get at least four (4) good size hosta transplants from mature plants.
One note of caution when dividing overly large plants. If the hosta plant you dig up is extremely large, do not create any plants from the middle section of the plant. A hosta’s root section, much like ornamental grasses, begins to decay from the inside out as it ages.
Therefore, the center portion will likely not produce a viable transplant. It is best chopped up and added to your compost bin. Luckily, you can still get quite a few new plants from the outer edges of large plants.
Transplanting – Early Spring Hosta Care
Now it’s time to transplant all of your new plants! When planting new transplants, start by creating a hole about double the size of the new plant’s root size – both wide and deep.
Fill the bottom of the hole with a 50/50 mix of compost and soil. Next, set the roots into the hole so that the top of the crown is just below the soil surface. If your hosta has already started to leaf out, you can still transplant with the same method. Just be sure when planting that the top of the crown (where the plant emerges from the base) is slightly buried.
Water in well and finish by applying a few inches of mulch over the top of the base. This will help to both conserve moisture and protect the plant until it begins to grow. There is no need to fertilize your new hostas at this point, the compost will provide plenty of nutrients.
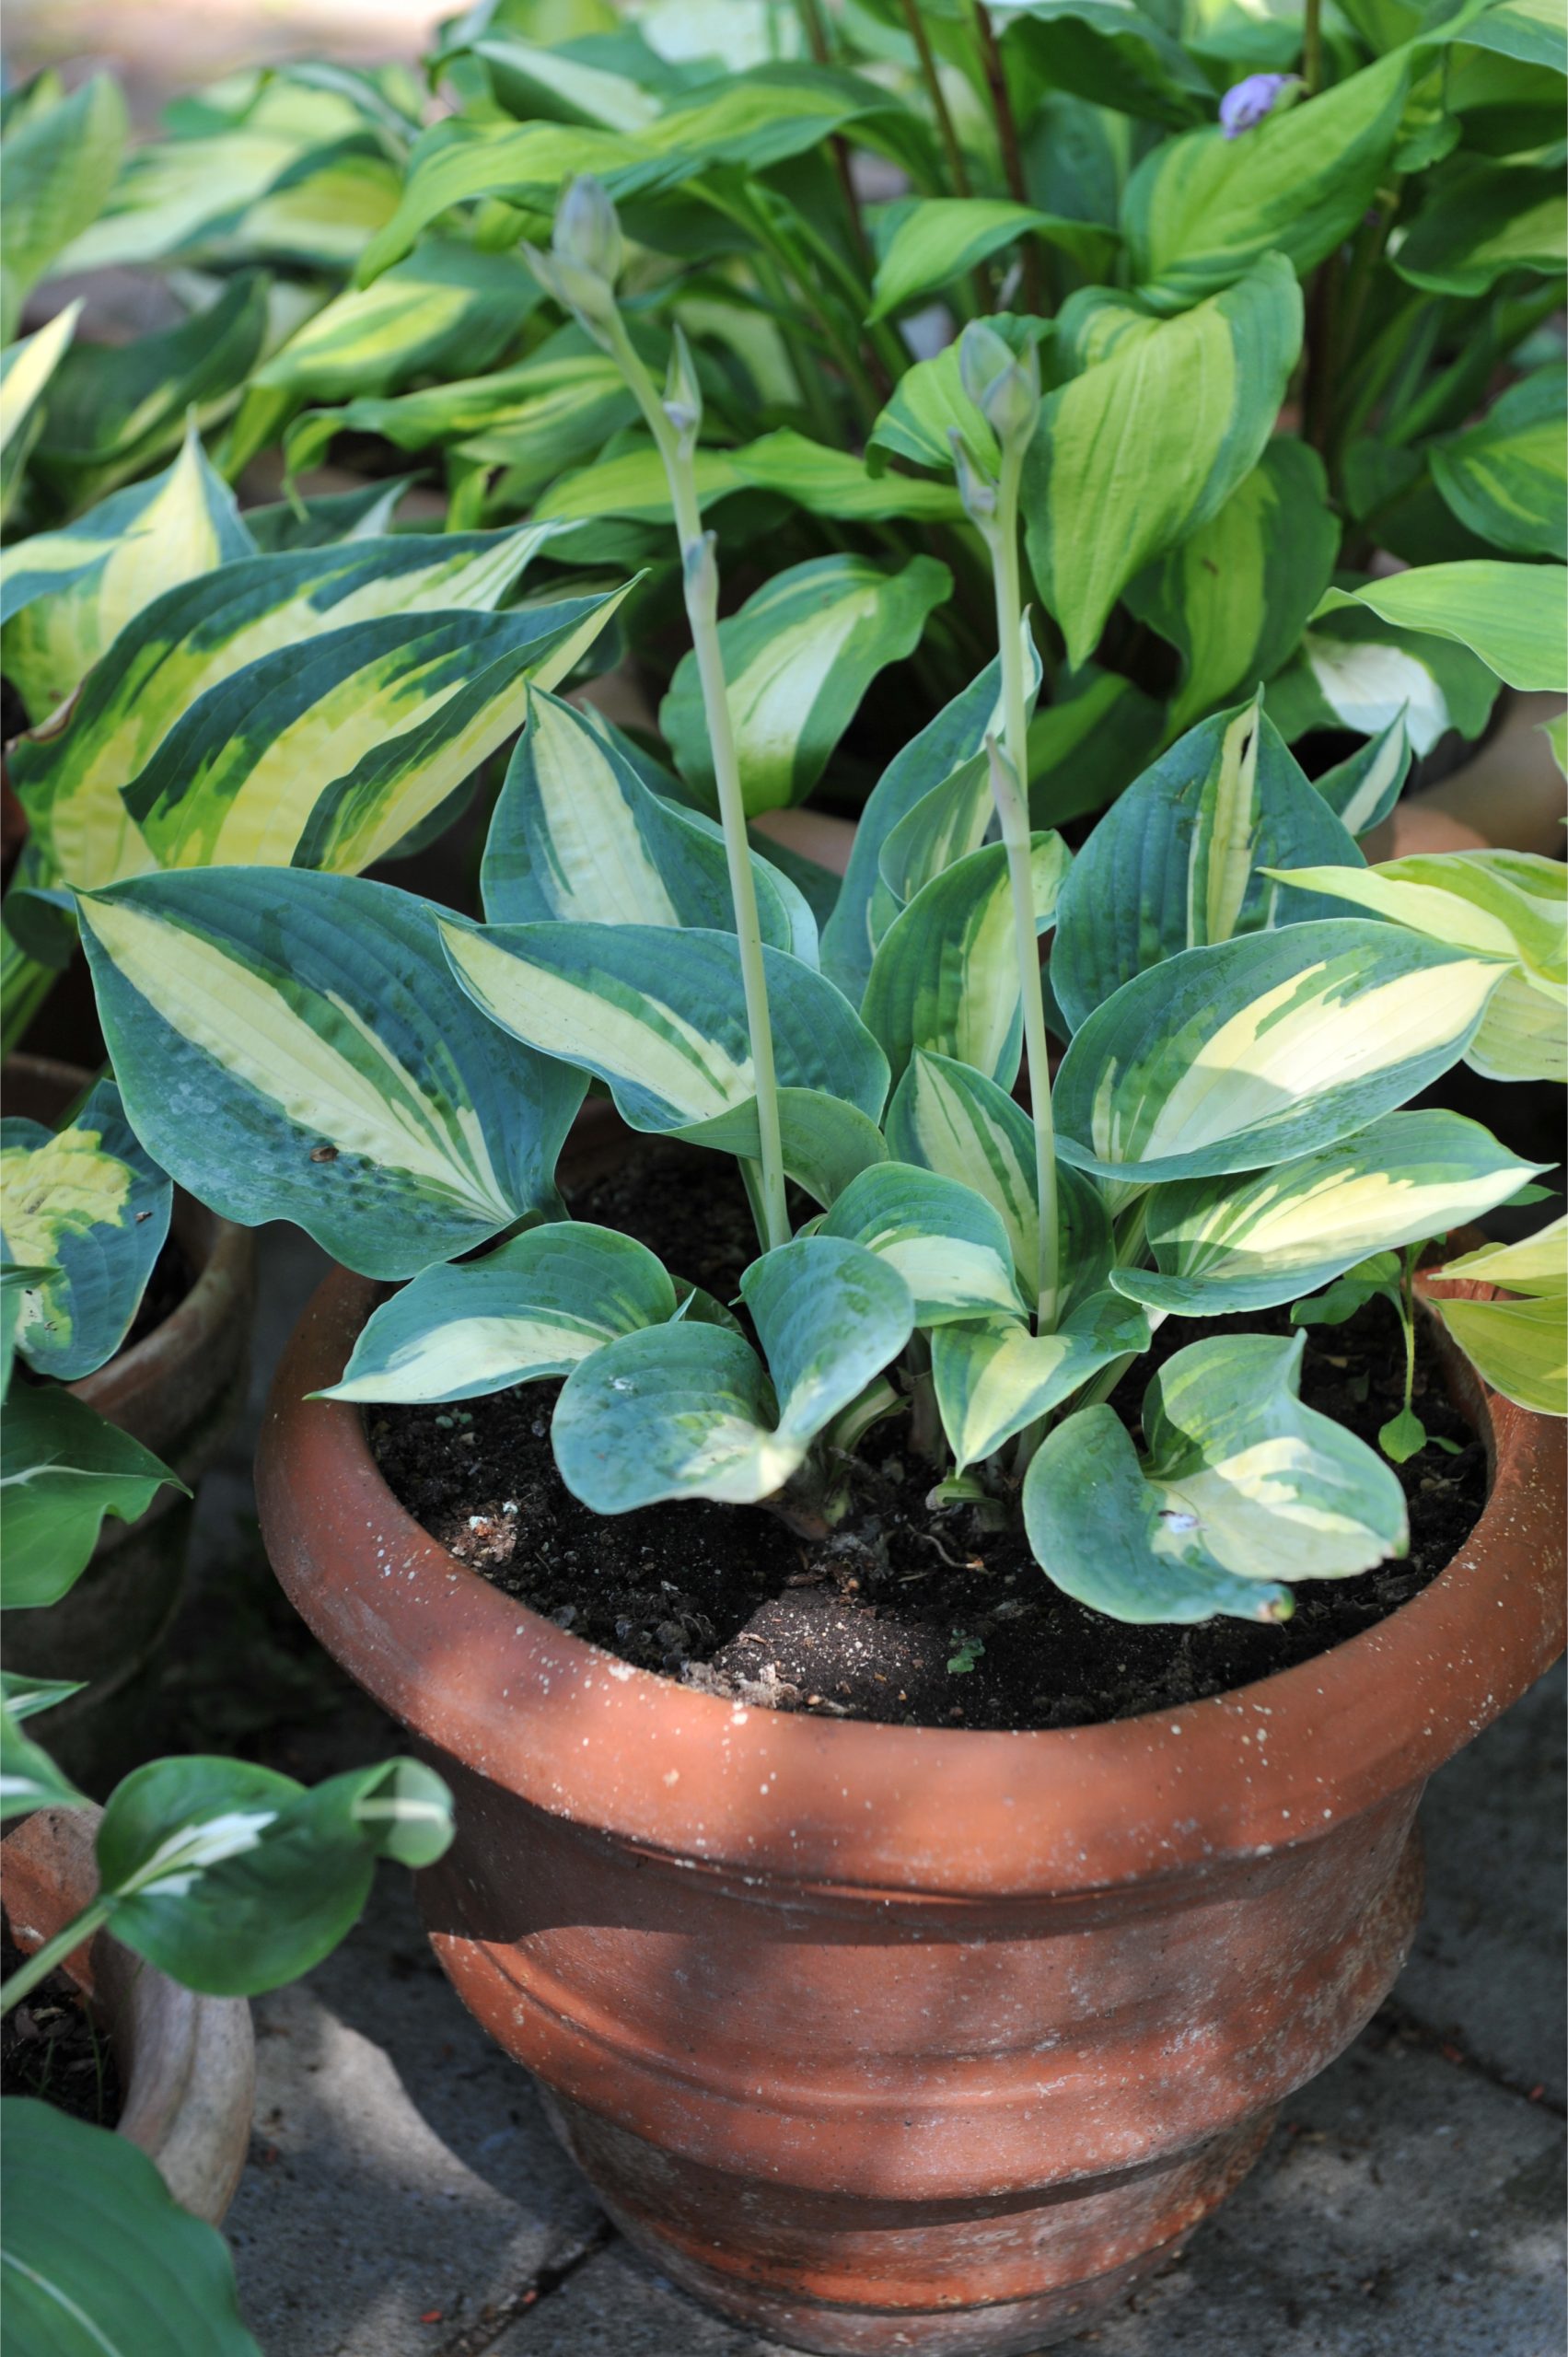
If you find yourself with an overabundance of plants, you can always use a few to plant and grow in pots and containers. Perennials, especially when planted early in the spring, can make beautiful (and free!) potted plants. See: Potting Up Perennials – How To Create Gorgeous, Low Cost Planters!
At the end of the growing season, simply pop them from their container and plant anywhere in the landscape to keep them over winter. Extra plants also make great gifts for neighbors, family and friends.
How To Fertilize Hostas – Early Spring Hosta Care
One of the benefits of growing hostas is they require far less nutrients than most perennials. With that said, they can still benefit from a bit of extra nutrition in the early spring to help propel early foliage growth and power future blooms.
Applying a few inches of compost to the surface of the hostas will provide more than enough in the way of nutrients. As you water or it rains, nutrients from the compost soak into the roots below to supply energy.
In addition to the compost, you can also apply a slow release, all-purpose granular fertilizer to give the plant an early spring boost. Use a fertilizer with a balanced ratio of nitrogen, phosphorus and potassium in the 10-10-10 range. Product Link : 10-10-10 All Purpose Fertilizer
Be careful to not over-fertilize hostas as they can brown and shrivel when given too many nutrients. Fertilize as the hostas are first coming out in early spring, and once more about 6 to 8 weeks later for best results.
Fertilizing should be avoided after this to prevent too much late season growth. That growth can leave the plant weak and vulnerable to winter damage.
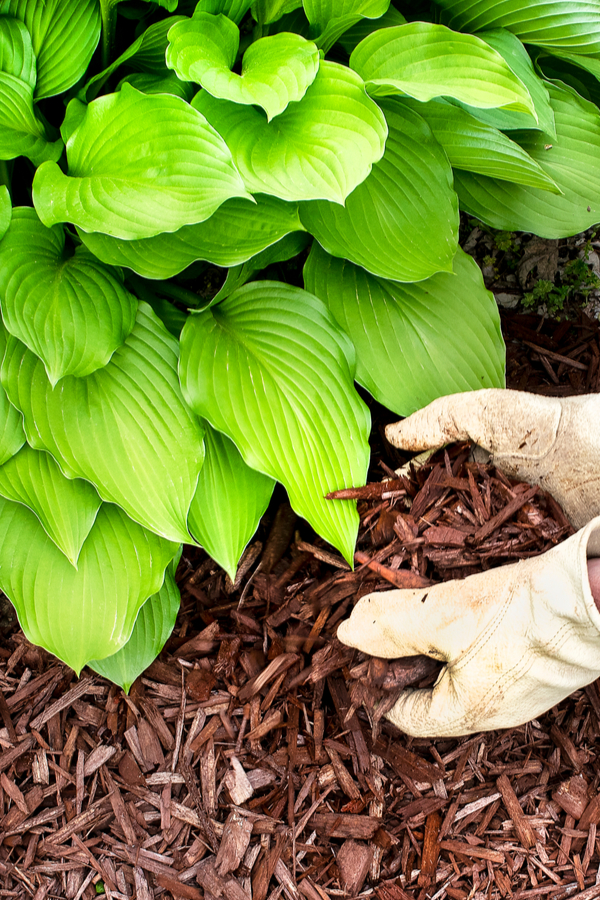
Mulching – Early Spring Hosta Care
Finally, don’t forget to protect your plants with a thick three to five inch layer of mulch. Mulch provides a long list of benefits for hostas. Not only does it prevent competing weeds from taking hold, it also helps insulate the roots, conserve moisture in the soil, and keep the soil temperature regulated as well.
Here is to getting your hostas in shape this spring, and to growing healthy, beautiful plants this year! Happy Gardening, Jim and Mary.
Jim and Mary Competti have been writing gardening, DIY and recipe articles and books for over 15 years from their 46 acre Ohio farm. The two are frequent speakers on all things gardening and love to travel in their spare time.
As always, feel free to email us at thefarm@owgarden.com with comments, questions, or to simply say hello! You can sign up for our free email list in the subscribe now box in the middle of this article. Follow us on Facebook here : OWG Facebook. This article may contain affiliate links.