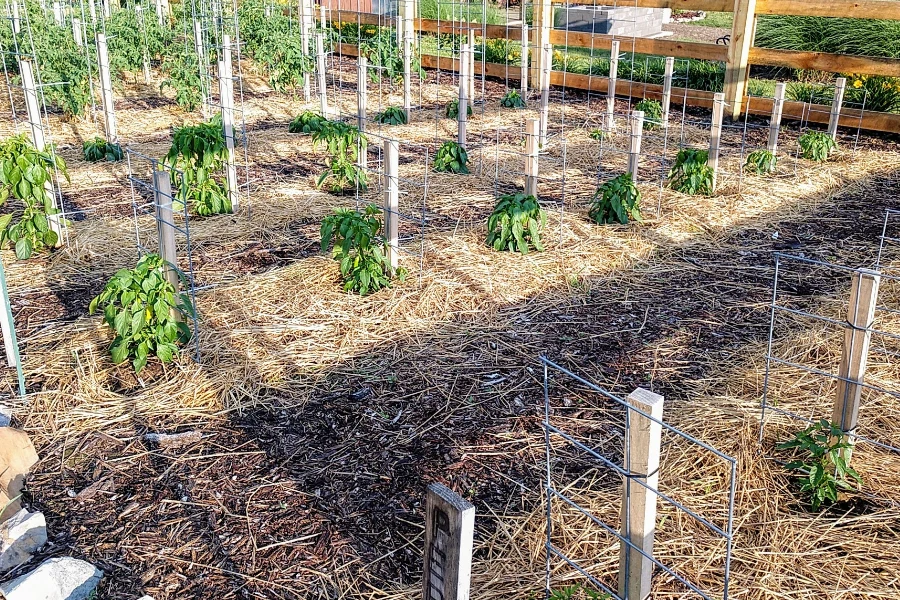
If you are tired of the tedious garden chores of tilling, weeding and watering, followed by even more weeding, tilling and watering – you need to turn your traditional garden into a Raised Row Garden this year!
Not only is it easy to do, it will create a garden that can provide you with more vegetables than you ever dreamed of. Even better, it will be a garden without all of the aforementioned never-ending work!
Raised Row Gardening (RRG) has become more popular than ever. It simplifies gardening with a low-maintenance, low cost and entirely organic approach. And here is the real kicker, it doesn’t require anything more than the most basic of tools!
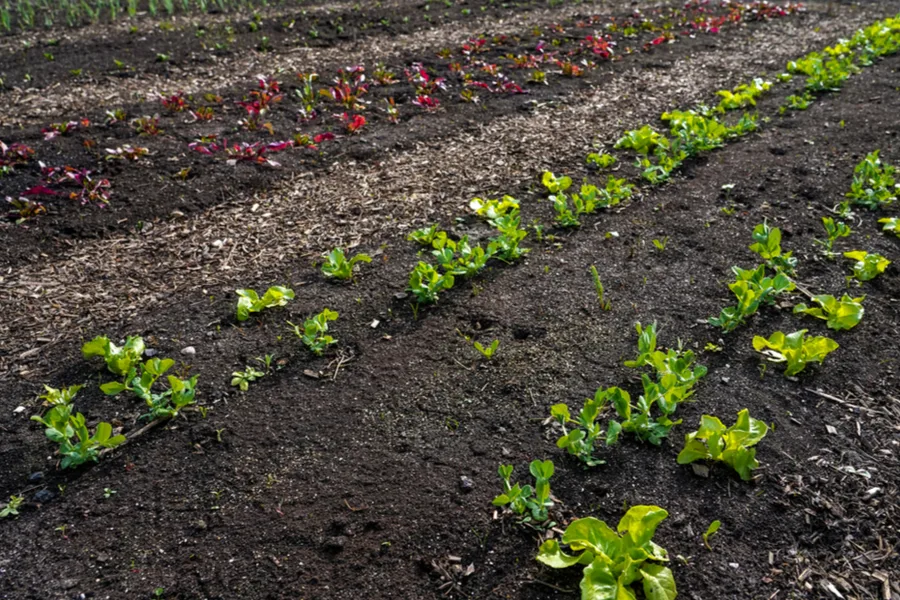
With a traditional garden, the work never seems to end. Not only can it be tiresome, it can be quite expensive too. For starters, the soil needs to be tilled every spring. And that can be hard to accomplish during a wet spring for sure!
The soil then needs to be re-tilled again and again throughout the year, whether for replanting, or to keep weeds in check between the rows.
Hiring someone to till each year can be both difficult and expensive. And even if you happen to own your own tiller, running and maintaining it can be quite costly too. But here’s the good news, once you create a Raised Row Garden, you will never need to till again. Not when planting, nor for weeding, or ever!
The Benefits Of A Raised Row Garden
Raised rows utilize the same concept as raised beds, but without the raised bed edges. Instead of using rock, wood or metal to create “sides”, the soil is simply tapered down on the edges. This saves time and money when creating. But moreover, it is easier to work in and around as you grow your vegetables.
A Raised Row Garden is made up of two types of rows – growing rows and walking rows. The growing rows are created to be around 18″ wide. As their name implies, the growing rows are where you grow all of your crops. Product Link: Raised Row Garden Book
The walking rows of an Raised Row Garden are usually created around 24″ wide. These rows serve as where you will walk to plant, maintain and harvest your crops. Once established, these rows will never be used to grow anything. And as you will see in a moment, that is an important time saving advantage!
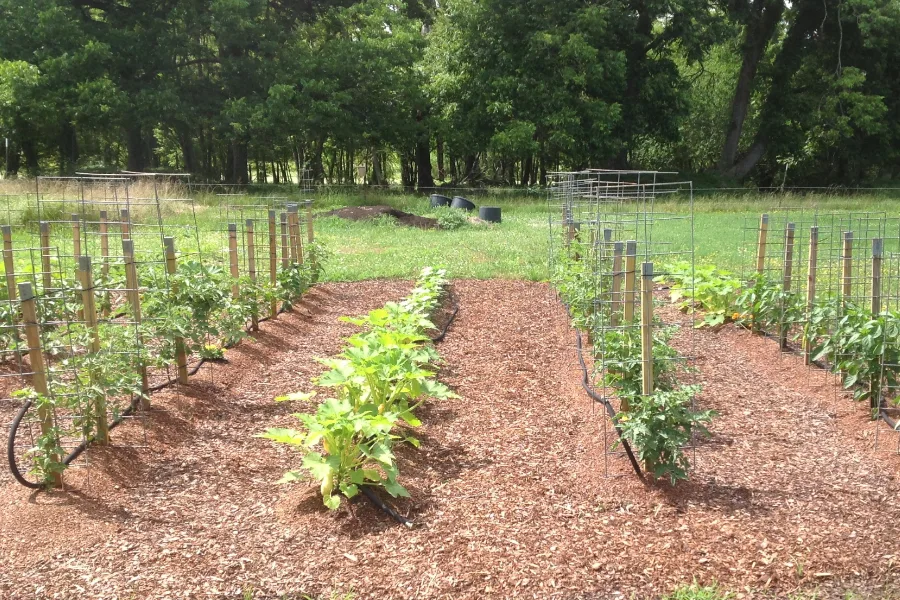
The length of the raised rows are entirely up to the gardener and the space available. When converting an existing garden into a raised row garden, it is usually easiest to simply make the rows the current length of the garden.
Creating Your Growing & Walking Rows
In just a minute, we will go over how to lay out and build your growing and walking rows from an existing garden, but first, it is important to understand what each rows does and how it will be maintained.
In a “regular” garden, the walking space between plants or plant rows requires a lot of weeding and / or tilling maintenance. You plant your crops, and then the dirt in between starts to grow weeds.
You either spend your time constantly weeding, or continually tilling them under. Not only is it time consuming and frustrating, all of that tilling actually hurts your soil structure.
Contrary to popular belief, constant tilling to create super loose and fine soil is not a good thing. Tilling actually disturbs and destroys the beneficial organisms, worms, and soil structure that can help plants grow better.
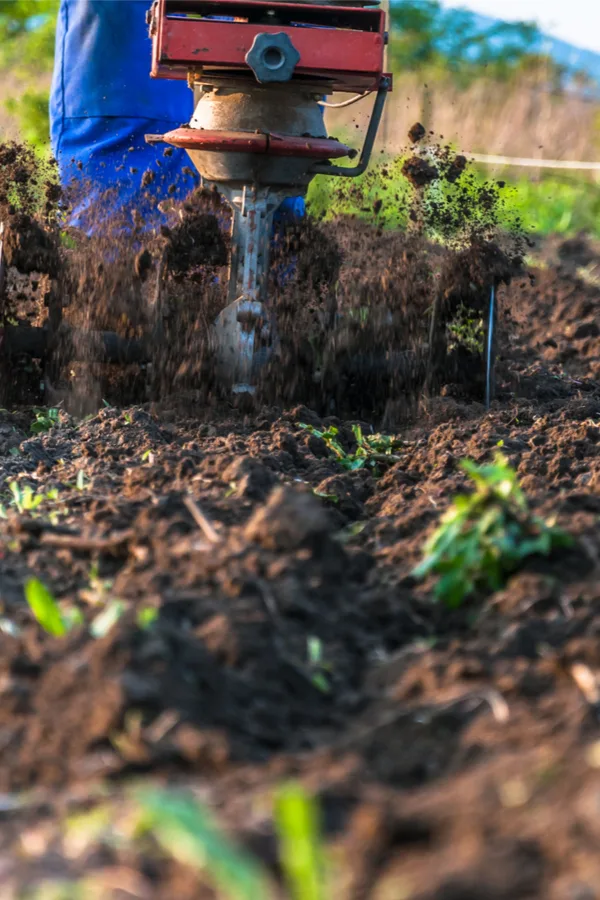
Tilling unfortunately also creates more weeds. That’s right, every time to you till, you plant under all of the weed seeds laying on top. By simply stopping the tilling process, you cut your weeding chores drastically. (See: 3 Great Reasons To Never Till Your Garden)
Eliminating The Madness – How To Turn A Garden Into A Raised Row Garden
In a Raised Row Garden, you eliminate the endless tilling and weeding process. Once you create your walking rows, they will always be your walking rows. Likewise your growing rows will be where you always grow.
There is never a need to work the soil (walking rows) in between your crops again. That also means you will never have to weed it or till it again. You simply fill the walking rows with a thick coating of mulch, and keep it covered to eliminate weeds forever.
That little step of eliminating the walking areas of your garden means you save almost 75% of the yearly work your put into your garden. Forever!
Even better, when you apply precious additives like compost, fertilizer or a fall cover crop, it’s going exactly where you need it – the growing rows. Talk about a great way to conserve precious resources and your time!
How To Turn An Existing Garden Into A Raised Row Garden
One of the easiest ways of all to build a raised row garden is to create it from an existing garden. You of course already have soil. It just comes down to the best way to use that soil to create your new growing and walking rows.
As much as we talk about never using a rototiller, this is actually the one and only time it makes sense to till your existing garden one last time. And here is why – it will give you plenty of available soil from your future walking rows to create your growing rows.
In addition, since you will only be tilling your walking rows, you will not hurt the structure of the new growing rows. You can always opt to bring in more soil to build your new growing rows, but why waste natural resources you already have on hand?
The Process
Begin by marking off your existing garden area in alternating 18″ and 24″ wide rows. Start with an 18″ growing row on the outer edge, and then mark off a 24″ walking row next to it, followed by another 18″ growing row.
To mark off the rows, string and stakes usually work best. Do this all the way across the garden to create as many rows as you can from your existing space. When you get to the far side of your existing garden, end with an 18″ growing row at the outer edge.
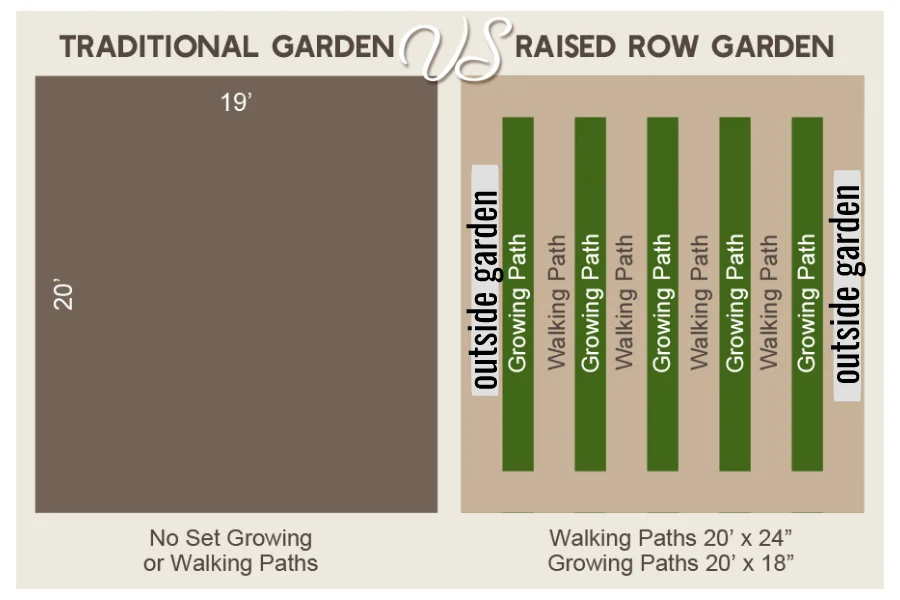
Since can always take care of these outer two rows from the inside walking row or the outside of the garden, this allows you to make the most growing rows possible from your existing space.
Depending on the size of your current garden, you may need to utilize a bit more space to start and end with a growing row. As for the length, again, you can simply use the existing length of your garden.
Building The Growing Rows
Now it is time to start building your growing rows. Start by laying down a thick 4 to 6″ thick layer of organic material in the middle of each growing row you have marked off.
For the organic material, shredded leaves, straw and compost are great choices. Even better, use a combination of all 3 as your base. Place the material down the center of the 18″ growing rows about 10 inches wide, leaving about 4″ on each side of the growing row bare.
Do this for all of the growing rows for the entire garden. Once you have all of your growing rows laid out and have the organic material in place down the rows, now is the time the rototiller will come in handy one last time when converting an existing garden into a raised row garden.

Run the rototiller down each walking row for several passes, loosening the soil to a depth of around 4 inches. Next, using a rake to pull the loose soil up and over your organic material to create your tapered growing rows.
The addition of the soil will compress your 4 to 6″ thick layer of organic material down. Add enough soil so that the center height remains at about 6 inches after it compresses.
It is important not to create a steep slope in your growing rows. Just a gentle taper to the walking row edges. Your growing rows are now all ready!
Cover The Walking Rows
Next, it is time to cover your walking rows to prevent future weeds. To do this, cover the rows with a thick 6 inch layer of wood bark chips, wood chips, straw, or even whole leaves. Wood chips work best as they are much more permanent and do not need replacing as much as straw or leaves.
The leaves can get slippery when wet, so if you use them, cover with a layer of straw or wood chips on top. The key is to put down a very thick layer of material that will eliminate future weeds.
Long Term Gardening And Maintenance
Now it is time for planting your rows! As you plant, cover the growing rows with shredded leaves, grass clippings or straw to keep weeds from taking over. Do not use wood chips here, as they can change the PH of your growing row soil as they break down.
The raised rows will allow plants to grow deep, healthy roots. Especially with the organic matter added in the middle where you plant. The mulch meanwhile will keep weeds out, and moisture in.
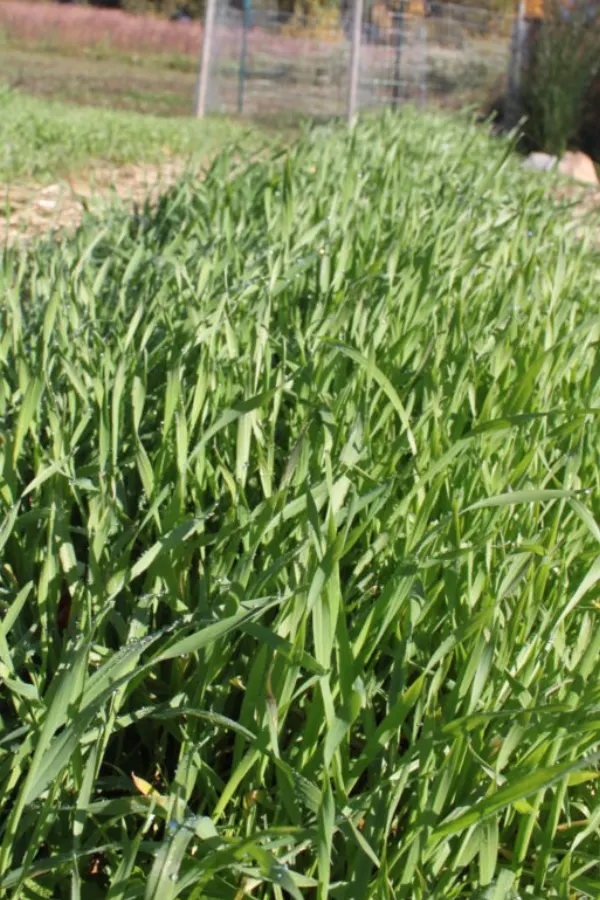
At the end of the season, you remove your plants, and then plant a cover crop of cereal (annual) rye in the growing rows. The cover crop protects and re-energizes the soil over winter.
As the following spring rolls around, you simply mow off the annual rye a few times to allow it to die off. Plants and seeds for the garden can then be planted directly through it. No tilling. No weeds. And little work!
Here is to turning your traditional garden into a Raised Row Garden this year, and growing far more with far less work! Happy Gardening, Jim and Mary.
Jim and Mary Competti have been writing gardening, DIY and recipe articles and books for over 15 years from their 46 acre Ohio farm. The two are frequent speakers on all things gardening and love to travel in their spare time.
As always, feel free to email us at thefarm@owgarden.com with comments, questions, or to simply say hello! You can sign up for our free email list in the subscribe now box in the middle of this article. Follow us on Facebook here : OWG Facebook. This article may contain affiliate links.

