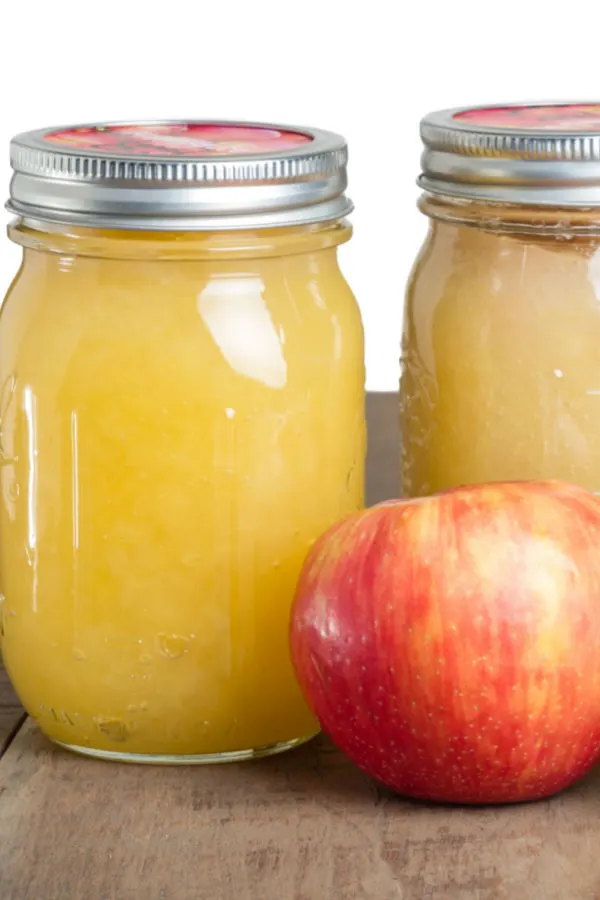
Once you learn how easy it is to can applesauce, you will never want to buy store bought again! It is a fantastic way to preserve all of those fresh picked apples from the local orchard, Farmer’s market or grocery store.
Best of all, you will know exactly what you are eating. Many commercial brands contain high fructose corn syrup to make the sauce extra sweet.
And even the no sugar added varieties include ascorbic acid. Although this is Vitamin C, it is an ingredient that simply isn’t necessary.
Instead, the only thing that you need are fresh picked apples! No sugar, no ascorbic acid, and no artificial preservatives.
Simply process and can the applesauce so that you can use it throughout of year. Then open a jar and eat it as a side dish or as a healthy snack.
Or use it to replace the vegetable oil in your favorite baking recipes such as Mini Blueberry Muffins or Pumpkin Bread to make them a little bit healthier.
Just be sure to make extra while the apples are still fresh because you will find yourself reaching in your canning pantry over and over again for a jar all year long!
How To Make and Can The Best Applesauce
1. You must choose the correct mixture of apples.
That’s right, mixture is the key! Making applesauce with a variety of sweet apples will add the depth of flavor that you are looking for, without adding any sugar.
And don’t think about throwing those Granny Smith apples in the mix. Although we all love to bake with them, it is best to keep them out of the applesauce mixture to keep it sweet without adding any sugar.
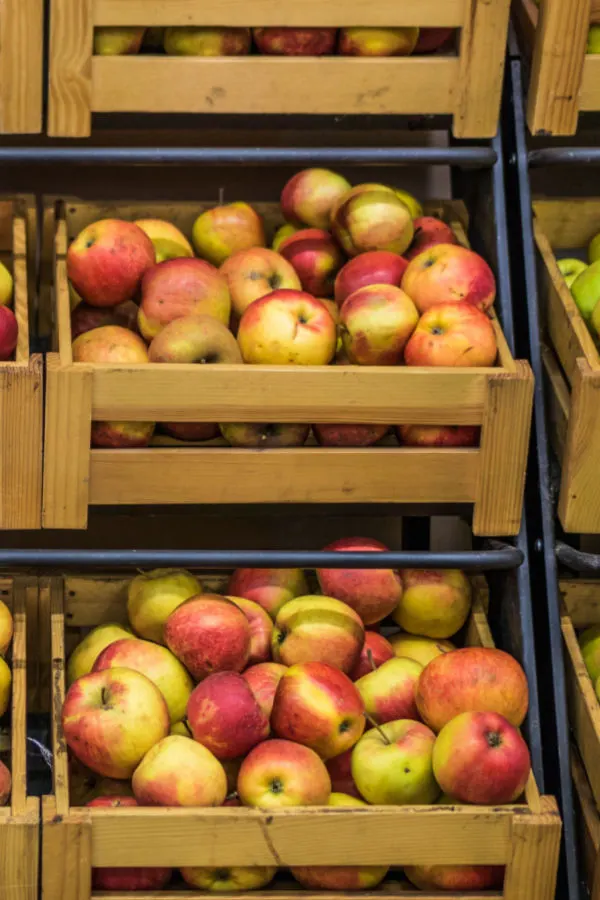
2. Do yourself a favor, and buy ‘seconds’ if you can.
Seconds are the apples that are either misshapen or damaged, which aren’t prime for eating raw.
However, they make great apples for sauce or apple butter, at usually 1/2 or 1/3rd of the cost. Sometimes you have to ask for seconds as they may keep them in the back room, but they are quite a bargain!
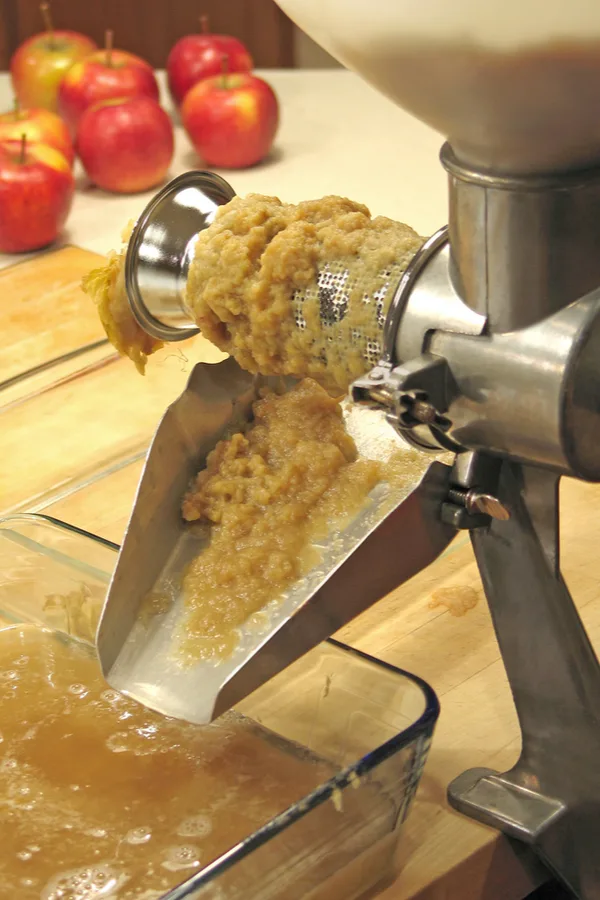
3. If you plan on doing any canning, invest in a food mill of some sort.
The time that it will save you is well worth the cost! We have both a Foley Food Mill and a Food Strainer and Sauce Maker.
Both have been essential in our kitchen! However, if you are just wanting to make a small batch for dinner skip the food mill.
Just take the extra time to peel your apples before throwing them in the pot to cook down. Then use a potato masher to make chunkier apple sauce or use an immersion blender to puree the apples until smooth.
4. The lemon juice/citric acid debate.
Unlike when canning tomato sauce or tomato juice, you will not need to add lemon juice or citric acid when you go to can applesauce.
The apples have enough acidity that you can can them safely without adding anything! Even if you decide to add a little sugar to the jars, there is no need to add additional acid to the mixture.
5. Be sure to get any air bubbles out of the jar by running a plastic utensil down the inside of your jars.
After you fill your canning jars with the pureed apples, you will need to remove any air bubbles that are trapped in the mixture.
Air that is trapped will expand and eventually continue the oxidation process inside the jars. Simply run a plastic utensil down the sides of the jars to remove the air pockets.
6. When your water bath is finished, turn off the heat and allow the applesauce to sit for 10-15 minutes in the hot, but not boiling water.
Allowing the jars to sit in the hot water after being processed will allow time for the applesauce to cool more slowly and condense without producing excessive air pockets at the top of your jars, thus decreasing the risk of excessive oxidation.
So now that you have read the helpful tips, here are the exact instructions on how to make and can apple sauce.
How To Can Applesauce
*Complete recipe instructions including specific measurements, cook temperatures and times are located in a printable recipe card at the bottom of this article. However, be sure to keep reading for helpful tips and tricks when making this recipe.
INGREDIENTS:
- 1 bushel of a variety of sweet apples
- Cinnamon to taste – optional
A bushel weighs 48 pounds and yields 14 to 19 quarts of sauce, an average of 3 pounds per quart.
Sweet apple varieties include:
- Jonathan
- Fuji
- Cortland
- Mollie
- Golden Delicious
- Gala
INSTRUCTIONS:
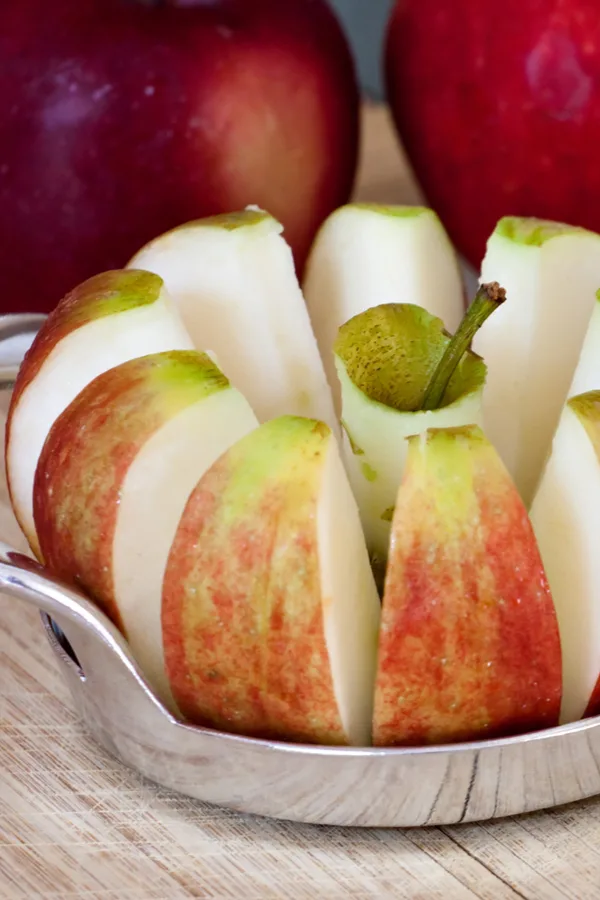
1. Core and cut your apples. Leave the skin intact but cut off any bad spots.
This is where an apple corer/wedger comes in handy. It makes it very quick and easy to cut the apples and fill the pot.
2. Fill the bottom of your pot with the apples and one inch of water, cover and bring to a boil.
3. Once the water begins to boil, stir, reduce heat to medium and let the apples soften for approximately an hour. (The lid should remain on during the heating process).
Stir occasionally to prevent burning.
4. Once the apples are soft, remove the pot from the heat.
**Hint – if there is a lot of extra liquid, remove the liquid to prevent your applesauce from being too runny. Save the juice to be used in later recipes.
5. While the apples are warm, run them through your food mill and return the applesauce to pot. Place the burner over medium heat and keep the pot uncovered.
6. Add cinnamon to taste (optional) and return the mixture to a light simmer.
7. Once the applesauce is heated through ladle the mixture into sterilized and heated quart jars, leaving 1/2 inch headspace.
*Be sure to run a plastic utensil down the inside of the jars to remove any air bubbles.
8. Wipe the rim clean and place a lid and band on the jar. Using jar tongs lower the jars into your water bath canner.
Water Bath Canning Time Required
Be sure that the jars are covered by 1-2 inches of water. Bring the pot to a boil and once it begins to boil place the timer at 20 minutes.
If you used pint jars instead of quart jars process in a water bath canner for 15 minutes.
9. Once your time is up turn off the heat source and let the jars sit in the warm water for 10-15 minutes.
10. Using jar tongs, carefully remove the jars from the hot water and let them cool on a thick towel in a cool place, away from drafts. You should begin to hear that wonderful ‘POP’ sound of the jars sealing.
Let the jars cool for 24 hours. Then check by pushing down on the lids to make sure the jars have sealed.
If you can not press in the lid, store in a cool dark place for up to a year. If the jar did not seal properly, immediately place in the refrigerator and eat within 4 weeks.
Enjoy!
Mary and Jim

Jim and Mary Competti have been writing gardening, DIY and recipe articles and books for over 15 years from their 46 acre Ohio farm. The two are frequent speakers on all things gardening and love to travel in their spare time.
As always, feel free to email us at thefarm@owgarden.com with comments, questions, or to simply say hello! You can sign up for our free email list in the subscribe now box in the middle of this article. Follow us on Facebook here : OWG Facebook. This article may contain affiliate links.
How To Can Applesauce
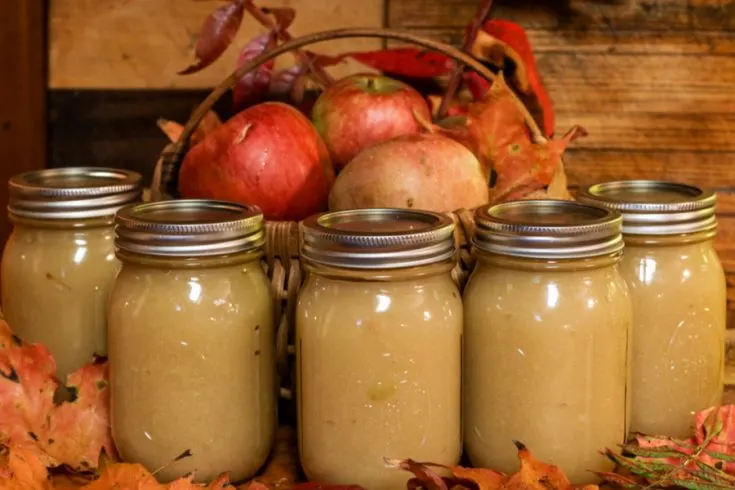
Make the most of those fresh picked apples and turn them into applesauce so you can enjoy them all year long!
Ingredients
- 1 bushel of a variety of sweet apples - this time I used 40% Jonathan, 40% Cortland, and 20% Mollie
- Cinnamon to taste - optional
Instructions
Notes
Recipe courtesy of Old World Garden Farms
Nutrition Information:
Serving Size:
1 gramsAmount Per Serving: Unsaturated Fat: 0g


