Looking for a few simple secrets when planting your tulips this fall to make sure you have gorgeous blooms early next spring?
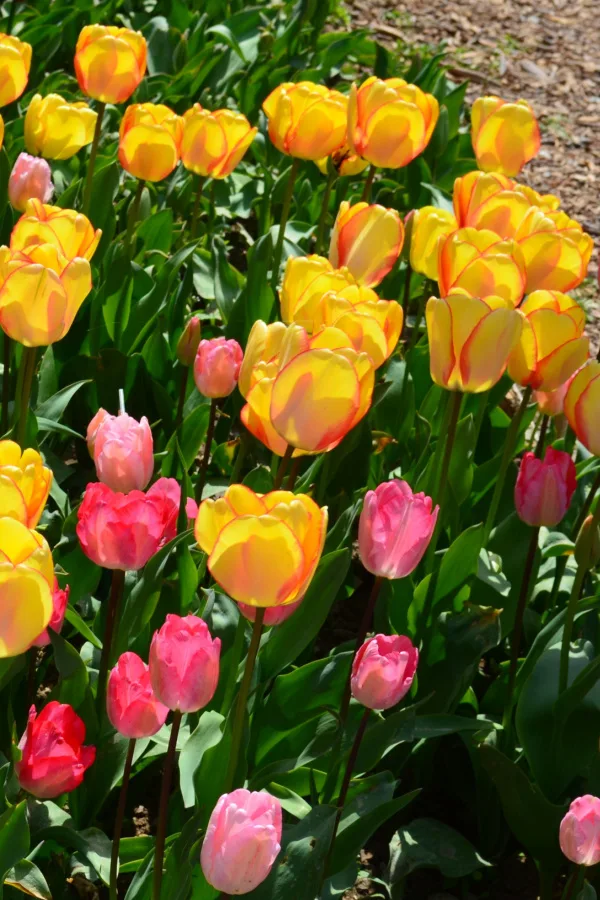
Tulips are one of the most popular bulbs to plant for bringing big interest to the early spring landscape. Not only are they one of the very first plants to pop through the thawing ground after a long, cold winter – their large, distinctive blooms also happen to fill flowerbeds with amazingly bright colors.
Tulips can be stunning when grown in small clusters, rows or in large mass plantings. But wherever you grow them, the key to having your bulbs bloom with gusto in the spring is to make sure you plant them for success in the fall.

Although growing tulips isn’t necessarily difficult, there are a few key factors when planting that can make a huge difference in just how well they grow and bloom the following spring. Get those factors right – and you can have an incredible spring show of color. But get them wrong – and you can end up with tulips that might not even sprout – let alone bloom.
With spring tulip flower power in mind – here is a look at the simple secrets to planting your tulips this fall to get the most from your bulbs!
The Secrets To Planting Tulips In The Fall
Timing Is Everything
One of the biggest secrets of all for getting tulips to bloom big is to plant your bulbs at just the right time. Planting them too early or too late can cause serious issues – not just with getting them to bloom, but to even survive the winter.
If tulips go in the ground too early in the fall when temperatures are still warm, the bulbs often sprout and grow prematurely. Unfortunately, that leaves them in danger of dying out as soon as the first hard freeze arrives.
In addition, getting the bulbs in the ground too soon can also leave bulbs susceptible to rot. Fall’s cool temperatures and wet weather can have bulbs sitting in water. And when they do, they quickly can begin to deteriorate and rot. The result are bulbs that either die out completely, or are so weak they barely have energy to even sprout.

If tulip bulbs go in the ground too late, it can be just as costly. Tulips need to have around 14 weeks of 40º Fahrenheit or below temperatures. These hours at lower soil temperatures are what are known as chill hours – and for tulip bulbs, chill hours are vital to their success.
Chill hours allow the bulbs to store nutrients for producing their blooms in the spring. Without enough hours in cool soil over the winter, the bulbs don’t generate enough energy to grow – let alone bloom.
The Optimal Time To Plant
So when should you plant your tulips bulbs? It all depends on your climate. The optimal time to get tulips in the ground is 4 to 6 weeks before your first average hard freeze. This time frame allows the bulbs to adjust slightly to the soil conditions and push out roots before the ground freezes.
For those who live in the cooler northern and midwest climates, the ideal time is between mid-September through October. For those in more southern and southwestern climates, the timing is more between November through December.
Now that you know when to plant your tulips – the next step to success is locating them for success!
Choosing The Perfect Planting Location – The Secrets To Planting Tulips In The Fall
Plain and simple – tulips need sunlight to bloom to their full potential. Always try to plant tulip bulbs in full sun or at the least partially sunny locations. Not only will these bulbs sprout sooner, they will also bloom and flower with more vibrancy.

In addition, where you bulbs face will also determine how early they sprout. Bulbs that are facing south tend to bloom sooner than those planted in more shade or in north-facing locations.
With this in mind, many gardeners plant a variety in both locations to have tulips blooming both early and later all through the spring season. Affiliate Product Link: Tulip Bulb Pack – 60 Days Of Tulips
Preparing The Planting Hole – The Secrets To Planting Tulips In The Fall
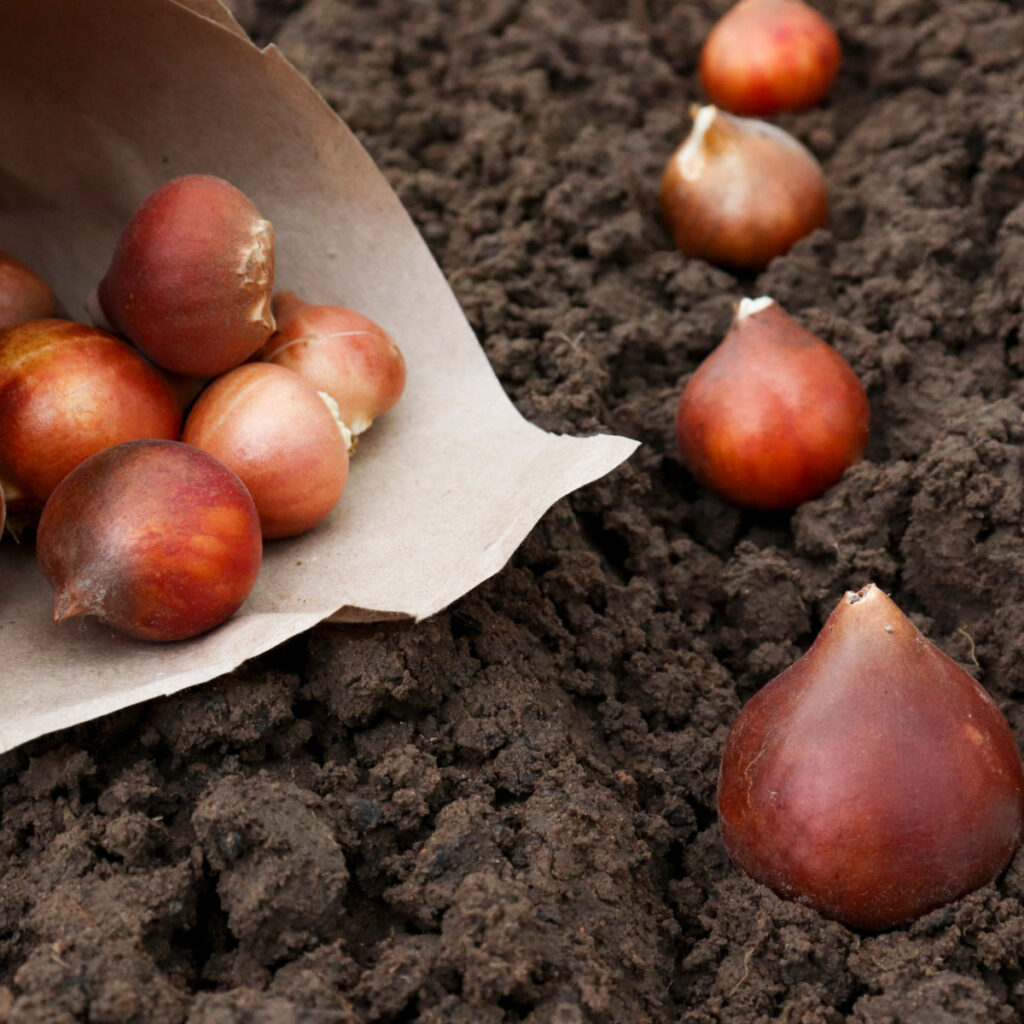
How you plant your tulip bulbs is just as important as when and where you plant. For big success, you want to create an environment that will set the bulbs up for fast growth when spring arrives. And that means planting your bulbs deep enough – and with added power!
First, you need to make your planting holes wide and deep enough to allow the bulb to grow easily. Loosening the soil around the bulbs allows it to expand its roots easily and quickly. Holes that are barely wider and deeper than the bulb will result in them struggling to expand in hard soil.
Of the two, depth is most important of all. A good rule of thumb is to make the hole three to four times deeper than the width of the bulb. So, for example, if your bulb is one inch wide, the hole needs to be about three to four inches deep.
For the width of the hole, add an extra half inch around the entire bulb. This will give your tulip bulbs plenty of space to grow when spring weather appears.
Best Tools To Use For Planting – The Secrets To Planting Tulips In The Fall
One of the simplest ways to plant tulip bulbs is by using a bulb planter. This small handheld tool allows you to easily create individual holes. Many also include measurements so you can easily see just how deep you are planting. (Affiliate Product Link: Edward Tools Bulb Planter)
Another great option for digging planting holes in to use a drill auger attachment. This simple tool attaches to a basic power drill quickly pushes through dense and heavy soils with little exertion from the user. They come in many different lengths as well as widths and are also perfect for planting transplants in your garden in the spring as well. (Affiliate Product Link: Drill Auger Bit)
And for those with bad or sore backs – a post hole digger can be great for planting! A post hole digger allows you to stand up while creating the hole – saving on your back and knees in the process. And to boot – many even come with measuring marks on their blades and handles.


Planting The Tulip Bulbs – The Secrets To Planting Tulips In The Fall
Once you have your tulip bulb planting holes ready to go, now it’s time to add a few extra nutrients and resources that can energize your bulbs when they sprout. Having these fast-absorbing items already in the hole allows the bulbs to utilize them immediately when spring arrives.
Into each planting hole, add a few inches of equal parts compost and loose soil. To this, mix in about 2 to 3 tablespoons of worm castings as well. This powerhouse combination will be just the nutrient boost your tulip bulbs need to get off to a great start in the early spring.
Press your tulip bulb deep into the hole so that it is surrounded by the compost and worm casting mixture. Ensure that the pointy end of the bulb is facing up toward the sky. Backfill with additional equal parts of loose soil and compost.
After planting, water the planting area well to help settle the soil mixture in and around your tulip bulbs. Affiliate Product Link: 5 Incredible Fall Bulbs To Plant Now For Amazingly Unique Spring Color!
Late Fall & Winter Care – The Secrets To Planting Tulips In The Fall
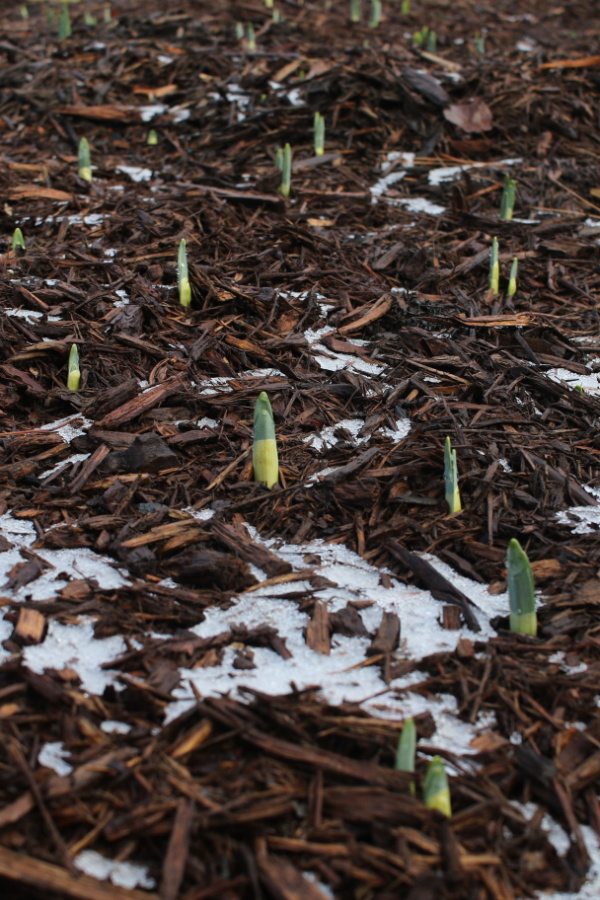
After planting and watering in, it’s important to add a layer of mulch on top of the bulbs. For tulip bulbs, this helps in several ways.
For starters, mulch acts as an insulator throughout the cold winter months and keep weeds out as well. It also helps to retain moisture to keep the bulbs from drying out. But even better, a layer of mulch can help deter hungry squirrels from digging up newly planted bulbs.

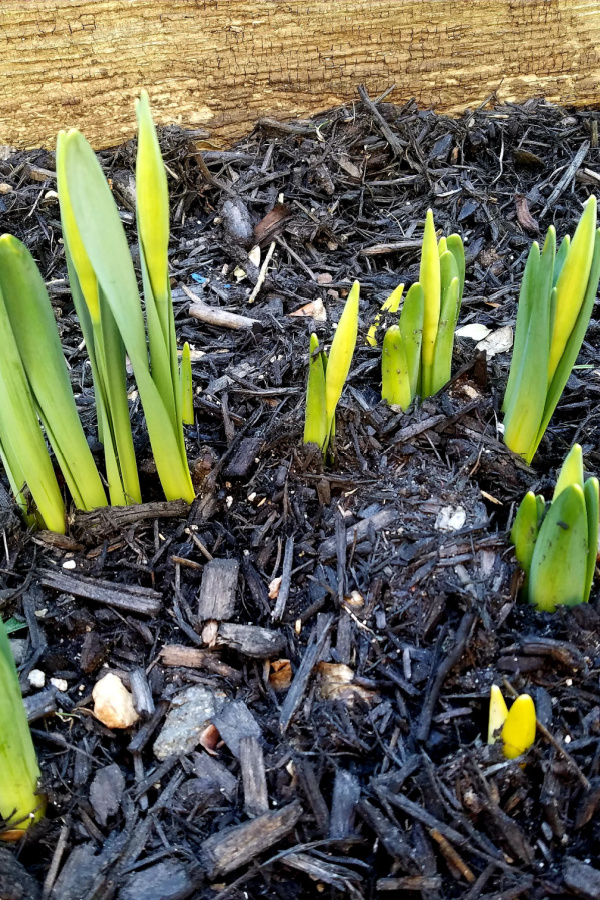
Keep your tulips watered once per week for the first month, then hold off on watering for the remainder of fall and throughout winter. Once spring arrives, your fall-planted tulip bulbs will be one of the first flowers to greet you after a long, cold winter. Happy Gardening! Jim and Mary
Jim and Mary Competti have been writing gardening, DIY and recipe articles and books for over 15 years from their 46 acre Ohio farm. The two are frequent speakers on all things gardening and love to travel in their spare time.
As always, feel free to email us at thefarm@owgarden.com with comments, questions, or to simply say hello! You can sign up for our free email list in the subscribe now box in the middle of this article. Follow us on Facebook here : OWG Facebook. This article may contain affiliate links.