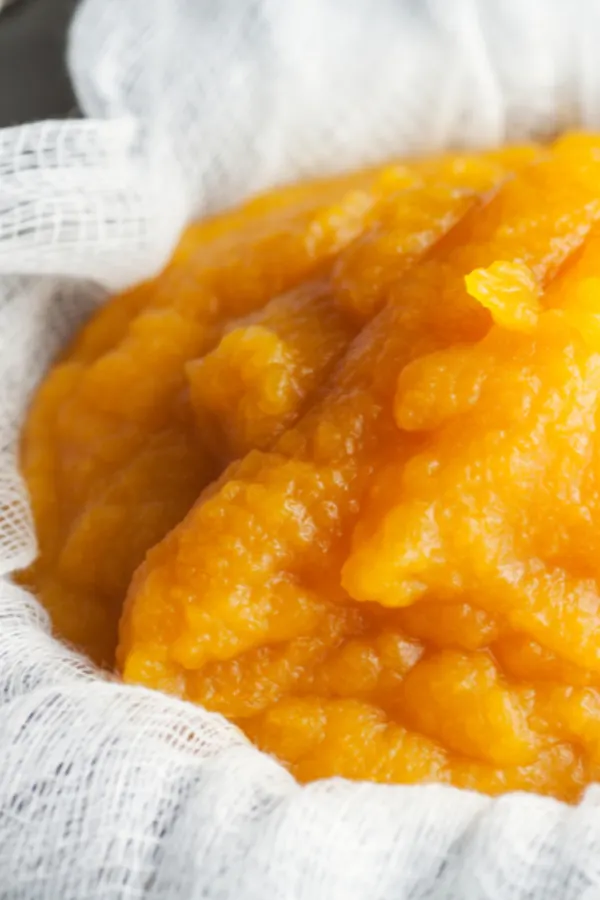
Pumpkin puree is a staple ingredient in many fall recipes, from pies and muffins to soups and chili. While it’s convenient to grab a can from the store, making your own homemade pumpkin puree is surprisingly easy to do.
And now that pumpkins are readily available it is the perfect time to take advantage of the harvest. However instead of only purchasing large pumpkins to decorate your porch and to carve Jack-o-Lanterns, this year purchase a few extra pie pumpkins as well.
Then cook the small pumpkins using one of the methods listed below. Once they become nice and soft, scoop out the flesh and turn it into puree.
Use the pumpkin to make cookies, donuts, mini muffins and even pumpkin chili. Then you can freeze the remaining puree to use throughout the year.
It is the perfect ingredient to have on hand when it comes time to make your Thanksgiving or Christmas pumpkin pie. However, before you go out and purchase your pumpkins keep reading to find out which pumpkin is the best one to turn into puree.
What Type Of Pumpkin Makes The Best Puree
Even though you can use any pumpkin to make puree, the results will vary on what type of pumpkin that you choose to use.
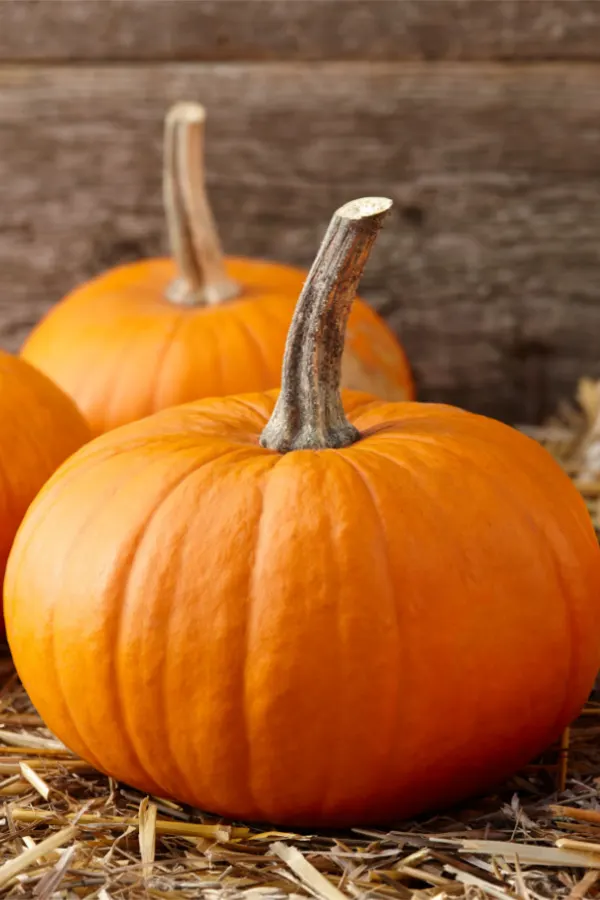
Standard decorating pumpkins can be made into puree. However, the texture and taste will be different than if you use the smaller pie pumpkins.
Pie pumpkins are generally sweeter in nature and have slightly less water content. If you can’t find pie pumpkins look for sugar pumpkins as they are sometimes labeled differently depending on where they are sold.
Once the pie pumpkins cook down they have the perfect texture and sweetness to make all sorts of recipes. If you have the choice between standard carving pumpkins or pie pumpkins definitely choose the later.
Once you have your pumpkins it is time to get them cooking. There are several ways to puree your pumpkin and below you will find 4 different methods to make homemade pumpkin puree.
Four Methods to Make Homemade Pumpkin Puree
No matter what cooking method that you choose to make pumpkin puree, starting by cleaning the outside of your pumpkin. You will be cutting through your pumpkin and you want to prevent any dirt from touching the inside flesh.
Do this by simply placing the pumpkin under cool running water and remove any visible dirt. Then dry the outer surface with a clean towel.
Next using a large sharp knife, carefully cut the stem off and then cut the pumpkin in half. Remove the seeds and stringy fibers with a metal spoon or ice cream scoop. Save the seeds for making Roasted Pumpkin Seeds and discard the remaining innards.
Now it is time to choose the best method for cooking the pumpkins.
1. Bake The Pumpkins To Make Homemade Puree
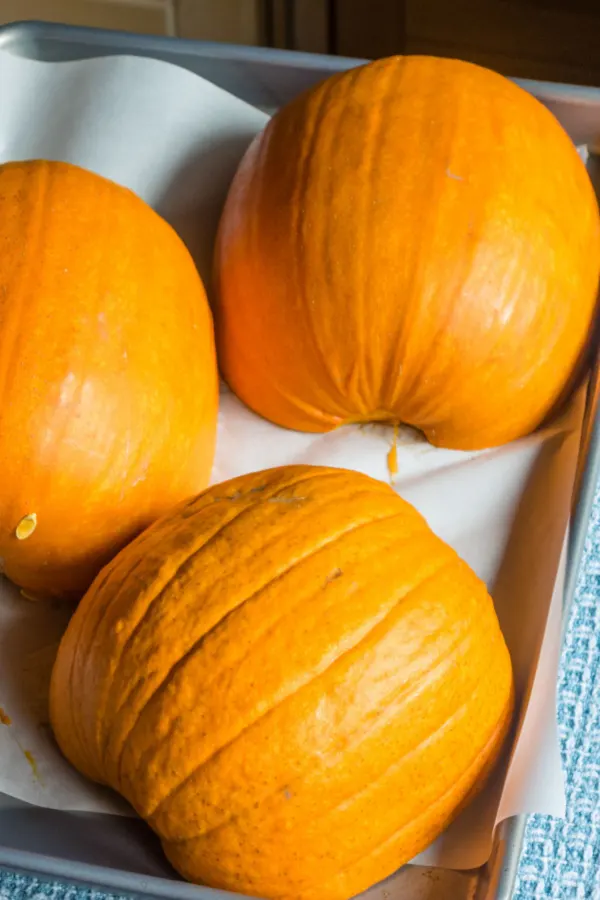
Preheat your oven to 350°F (175°C). Then place each half, cut side down on a parchment paper lined rimmed baking sheet or on a baking sheet lined with a silicone mat.
However, if you have a larger size pumpkin you will need to cut the pumpkin into 4 sections. This will allow the pumpkin to bake in the recommended time listed below.
Place the baking sheet in the oven and bake until the flesh is tender when pierced with a knife. This takes approximately 45-60 minutes for a pie pumpkin that has been cut in half. However larger pumpkin sections may take up to 90 minutes.
2. Steam
A quicker method that you can use to make homemade pumpkin puree is to steam smaller pieces of pumpkin. Start by filling the bottom pot of a double boiler with just enough water that it does not touch the top pot.
Then cut the pumpkin halves into evenly sized smaller pieces. You will want to cut them small enough that they fit down and inside the pot.
Cover and let the pumpkin pieces steam for about 20 minutes or until the flesh is tender when pierced with a knife.
3. Boiling Method To Make Homemade Pumpkin Puree
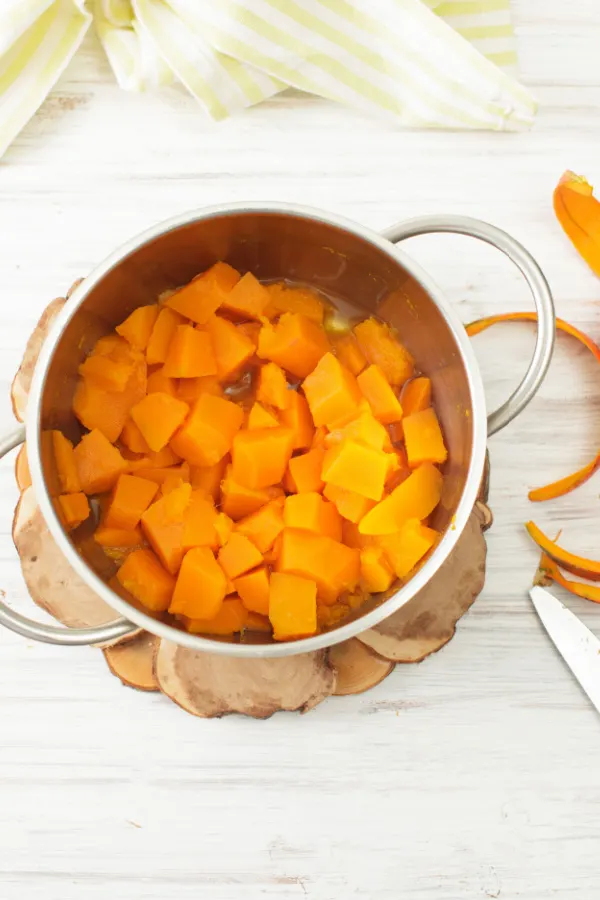
Bring a large pot of water to a light boil. Then cut each half of your pumpkin into evenly-sized smaller pieces. *If you prefer you can cut off the outer skin before putting the pumpkin in the water.
Place the pumpkin in the boiling water and maintain a light boil for about 20 minutes or until the flesh is tender when pierced with a knife.
4. Instant Pot/Electric Pressure Cooker:
One of the easiest ways to make homemade pumpkin puree is with the use of an electric pressure cooker. Over the past few years these small appliances have made their way into kitchens and have quite honestly been underutilized in many homes.
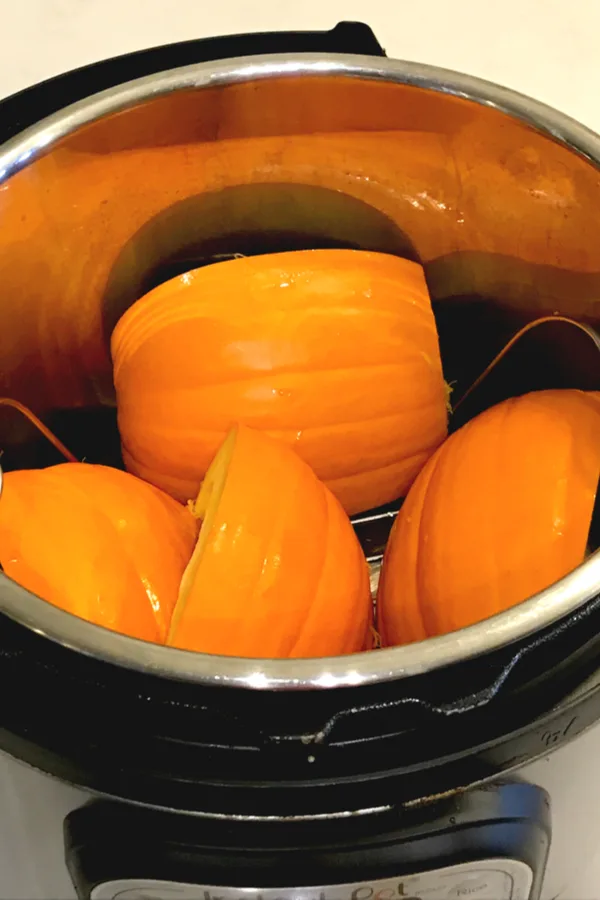
However, this is a great recipe that even a novice Instant Pot user can master. To make the puree start by cutting the pumpkin into 4 equal size pieces.
Then add 1 cup of water to the liner of the Instant Pot and set the trivet down inside the water. Next, place the pumpkin pieces on the metal rack.
Close the lid and place the valve in the sealed position (if your type of pressure cooker requires you to do so).
Press the Pressure Cook or Manual button and cook on High for 30 minutes. Once the cooking time expires slowly move the valve to release the pressure.
Once the pin drops, unlock the lid and remove it so that the steam inside the pot releases away from your face.
Make The Homemade Pumpkin Puree
When the pumpkin pieces are fork tender, remove them from whatever cooking appliance that you used and place them on a flat surface to cool.
Once cool enough to handle, but not completely cold, peel the skin off and scoop out the pumpkin flesh. Place the pumpkin pieces in a food processor, in a food mill, or use a hand held blender and process until smooth.
Because fresh pumpkin can hold a lot of moisture, you may need to strain the puree before using or storing.
Simply line a sieve or fine mesh colander with cheese cloth or a coffee filter and set it over a deep bowl. Allow it to drain for about 2 hours and stir occasionally to release any hidden moisture.
How To Store Homemade Pumpkin Puree
Store the puree in the refrigerator for up to a week. Or you can freeze the pumpkin puree in an air tight container or a freezer bag for up to one year.
Just as a side note, canning pumpkin is not recommended by the USDA. Freezing is the only method that is considered safe for long term storage.
Enjoy!
Mary and Jim

Jim and Mary Competti have been writing gardening, DIY and recipe articles and books for over 15 years from their 46 acre Ohio farm. The two are frequent speakers on all things gardening and love to travel in their spare time.
As always, feel free to email us at thefarm@owgarden.com with comments, questions, or to simply say hello! You can sign up for our free email list in the subscribe now box in the middle of this article. Follow us on Facebook here : OWG Facebook. This article may contain affiliate links.


