Did you know that you can save the seeds from your mums this fall to grow new plants next spring? Not only is it true – it’s easier than you might ever think possible!
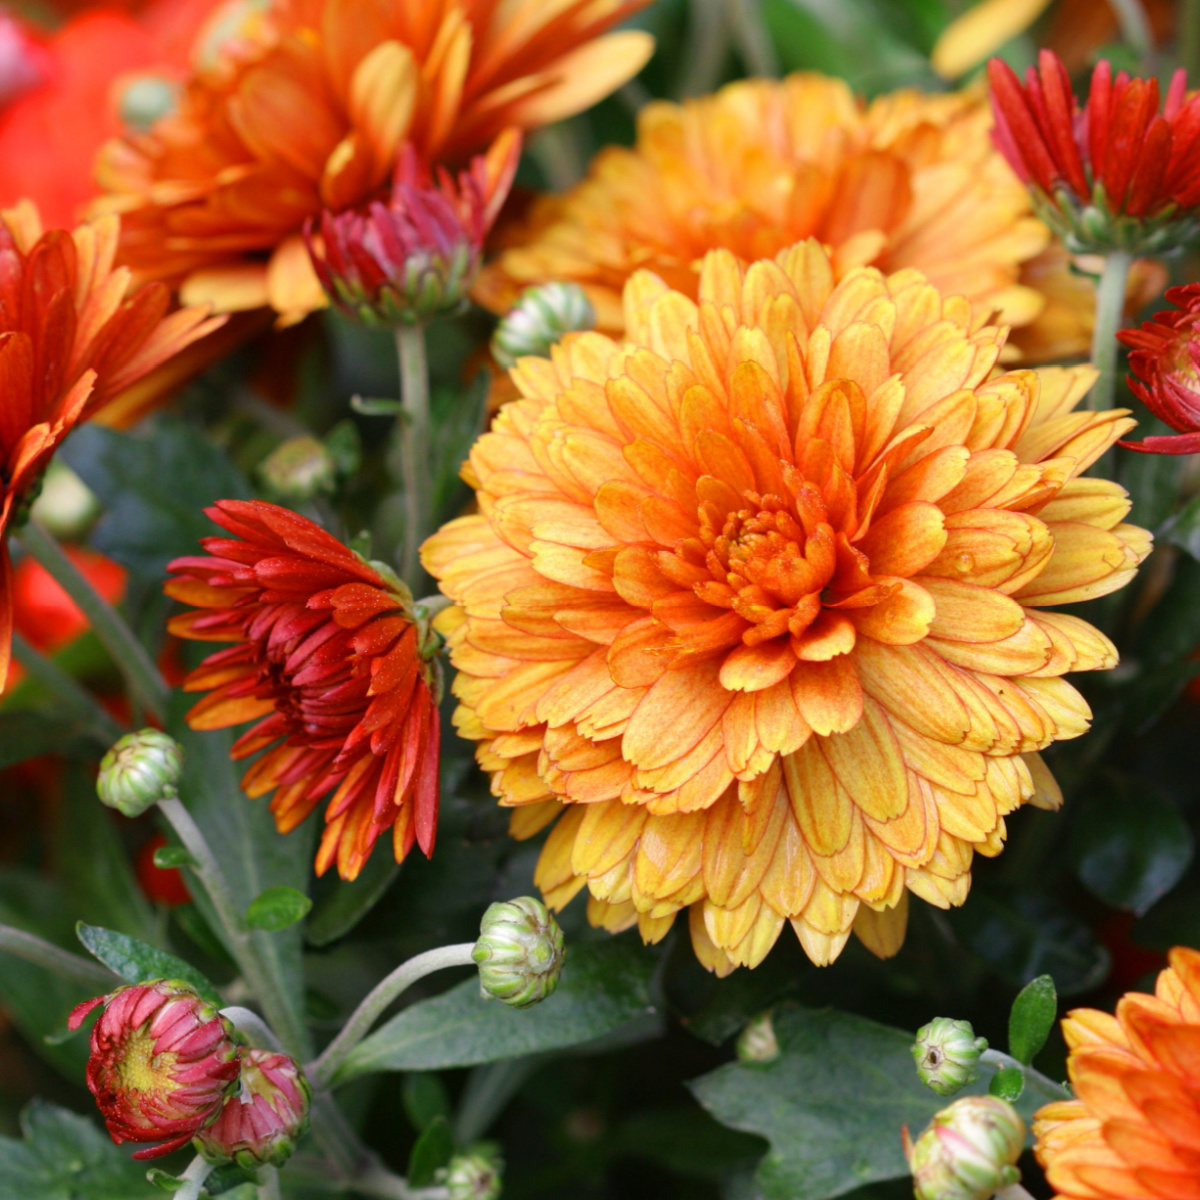
Mums produce an amazing display of multiple blooms on a single plant. Their vibrant fall-hued flowers are the perfect way to brighten up an entryway or front porch when most other flowering plants have started to die due to the colder temperatures.
While mums are often the choice for many people for outdoor fall decorating, they can get rather expensive. Even small displays can start to rack up a hefty bill. So why not start growing your own from seed each year!
Saving Mums – How To Save Seeds From Your Mums
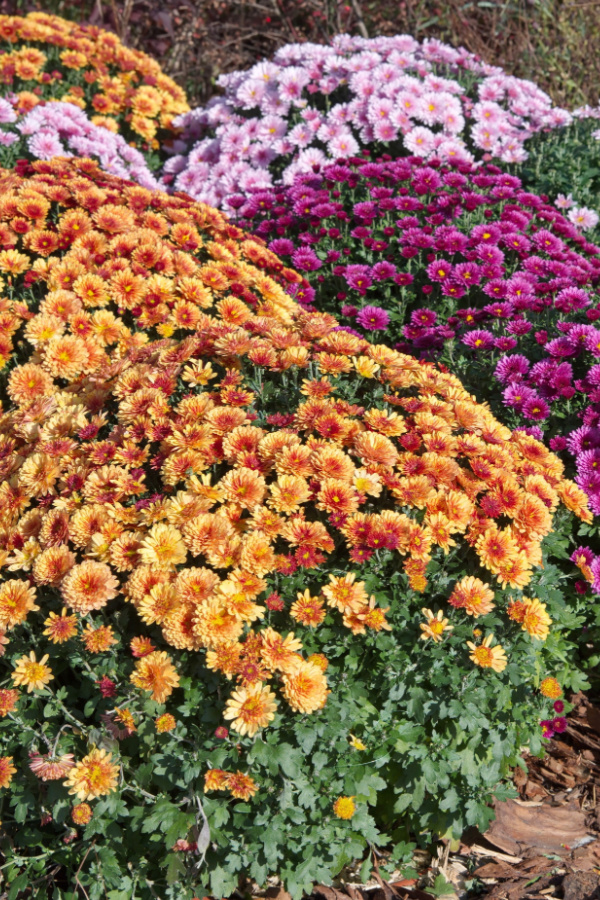
Potted mums, also known as chrysanthemums, start to dot store shelves at the very beginning of the fall. Most mums you purchase are considered to be hardy mums. That means that you can actually save or plant them in the ground for overwintering. See: “How To Save Mums – Keeping Your Mums Alive Over Winter!”
Saving hardy mums is a great option for getting the most out of your money. However, some people don’t want to mess with keeping a mum alive throughout the entire winter and beyond.
That’s where saving the seeds of your mums comes into play. It’s an easy and simple process that can be extremely rewarding. When you think about it, how cool is it to know that the mums you display in the fall were grown by you – and all without paying a dime!
Saving Seeds From Mums – The Low Down…
In order to get mums that are the exact copy of the parent plant, you need to harvest seeds from an open-pollinated plant. This includes all mums labeled as heirloom varieties.
Many mums, however, are what are considered to be hybrids. They were created by combining two different plants to create the new plant.
When you save the seeds from hybrid plants, you will likely not end up with an exact copy of the parent plant. Instead, you will end up with one of the two plants used to create the plant. If you save seeds from an heirloom or open pollinated, it will be an exact match.
It is something to keep in mind if you are hoping to get a specific color or look from your mum seeds. The good news is once you save and grow seeds, the mum you get will be the mum you always get year after year from that point on!
How To Save Seeds From Mums
Collecting Seeds
The first step in saving and using seeds from your mums is to wait until they are ready to harvest. If there is any green on the seed pod at all, then it is too early to harvest. The seeds will not continue to mature and ripen after you harvest them from the plant.
On the flip side, if you wait too long, the seeds might start to fall out and you will be left with empty pods. Instead, wait around six weeks after the bloom has started to fade before you can collect the seeds. The seed pods need to be completely brown and dried out in appearance. In late fall, when many mums have died off – it actually is perfect for collecting seeds!


When the seed pods are ready, simply remove the pod from the mum plant using a pair of small pruners, scissors, or even your fingers. The pods usually snap off the plant with ease. Affiliate Product Link: Fiskars Micro-Tip Pruning Snips
Drying The Seeds
The next step is to collect the seeds from the pods. Gently shake the seed pods upside down onto a paper plate, paper towel or a piece of paper. The seeds are extremely tiny, so you need to work carefully to make sure to safely capture the seeds as they fall out.
Once you separate all of the seeds from the pods, remove as much of the chaff as possible. The chaff is all of the extra organic remnants falling from the seed head. The goal is to only have the seeds left behind for storage.
Storing The Saved Mum Seeds
When the seeds are clean and separated from any chaff, it’s time to store them. Use a small paper envelope or paper bag to place the seeds in. Do not use plastic since this can harbor any excess moisture and cause the seeds to mold. Affiliate Product Link: 100 Pack Paper Seed Envelopes
Label the seed packet with the date as well as information about what is inside. The seeds can now be stored in a cool, dry location that is away from light. A great choice is your refrigerator, but avoid putting seeds in a freezer.
Starting Mum Seeds – How To Save & Grow Mums From Seed
In order to get your mums ready for fall blooming, you need to get your seeds planted at the right time. To do this, it’s best to start your mum seeds about 8 weeks before your last spring frost date.
Fill your growing containers with moistened seed starting soil. It’s important to use soil that drains well since overly wet conditions will cause seeds to mold and die.
Sprinkle a few seeds in each container and lightly cover with soil. Keep the soil moist but not overly saturated. The seeds should germinate in around 10 to 21 days. Once the seeds have started to germinate, place them under grow lights or fluorescent shop lights. Both will work great for this.
Thinning & Planting…
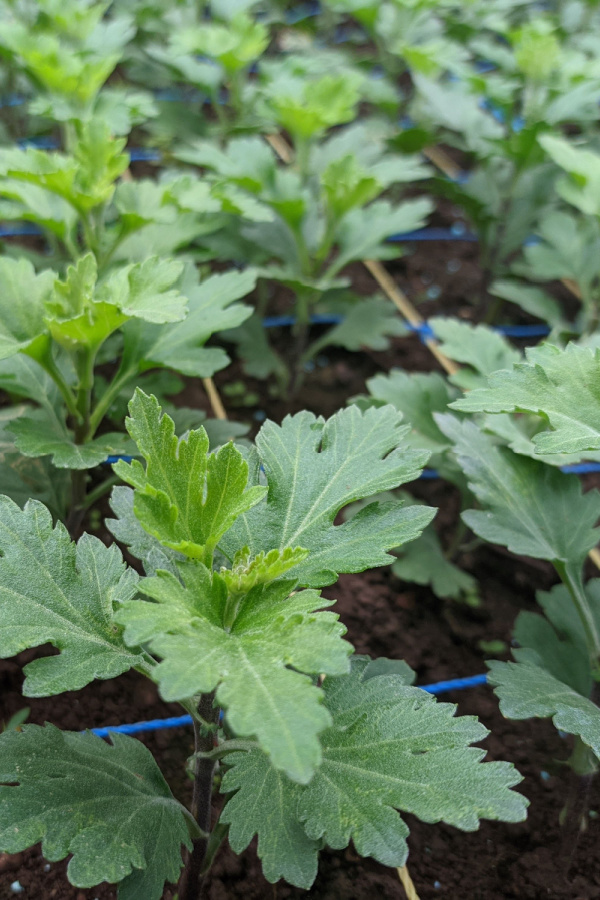
Thin seeds when they have a few sets of true leaves, keeping one healthy plant per container. Continue to water and adjust the grow lights as needed. When the seedlings are 3 to 4 inches tall, you can transplant them into bigger pots or plant them outside.
Be sure to harden off the seedlings before transplanting them outside. Always bring plants back inside if there is a threat of frost or damaging conditions. Last but not least, keep the mums in a location with full sun and continue to water well.
With a little bit of time and care, you will have grown your very own beautiful, heavy-blooming fall mums – all from the seeds you saved! For even more simple tips on growing great mums, see our article 3 Secrets To Keep Your Mums Blooming Longer Than Ever! Happy Gardening – Jim and Mary
Jim and Mary Competti have been writing gardening, DIY and recipe articles and books for over 15 years from their 46 acre Ohio farm. The two are frequent speakers on all things gardening and love to travel in their spare time.
As always, feel free to email us at thefarm@owgarden.com with comments, questions, or to simply say hello! You can sign up for our free email list in the subscribe now box in the middle of this article. Follow us on Facebook here : OWG Facebook. This article may contain affiliate links.