If you are looking for a homemade bread recipe that you can use to make sandwiches, then you are going to love this Sourdough Sandwich Bread recipe. Although traditional sourdough loaves are often rustic and crusty on the outside, a sourdough sandwich loaf is soft, tender, and perfect for everyday use.
Whether you’re making deli sandwiches, toast, or even a quick grilled cheese to serve with your homemade tomato soup, this soft bread that has a mild flavor, which makes it perfect to use for just about anything.
It has the ability to hold up well even when thick spreads are used, yet it remains tender and is easy to eat (even the crust). I’ve been experimenting with this recipe for a while, and I’m excited to share it with you, along with tips and adjustments to ensure that your bread turns out perfect every time.
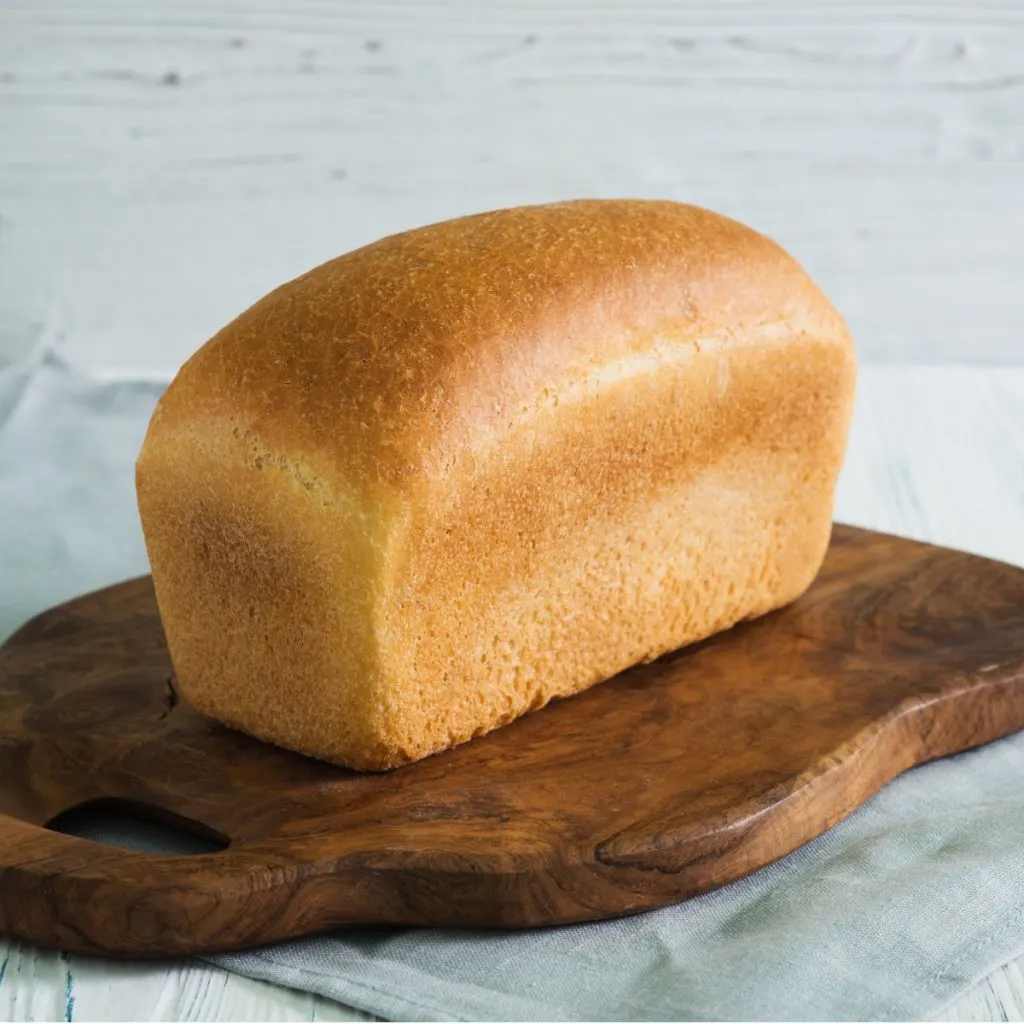
While sourdough baking often feels intimidating due to the precise measurements, long fermentation times, and shaping techniques, this sandwich bread recipe takes the pressure off by using simple techniques. Although you do need to plan ahead, as it takes a little time to prepare.
Luckily, most of that time requires you to do nothing. In fact, the majority of the time required happens while you sleep.
And because it’s baked in a loaf pan, you don’t have to worry about achieving that perfect round shape and fancy cuts and designs that you find at bakeries. Instead, this bread is formed in a traditional loaf pan and becomes soft and easily sliceable which is ideal for beginners and seasoned bakers alike.
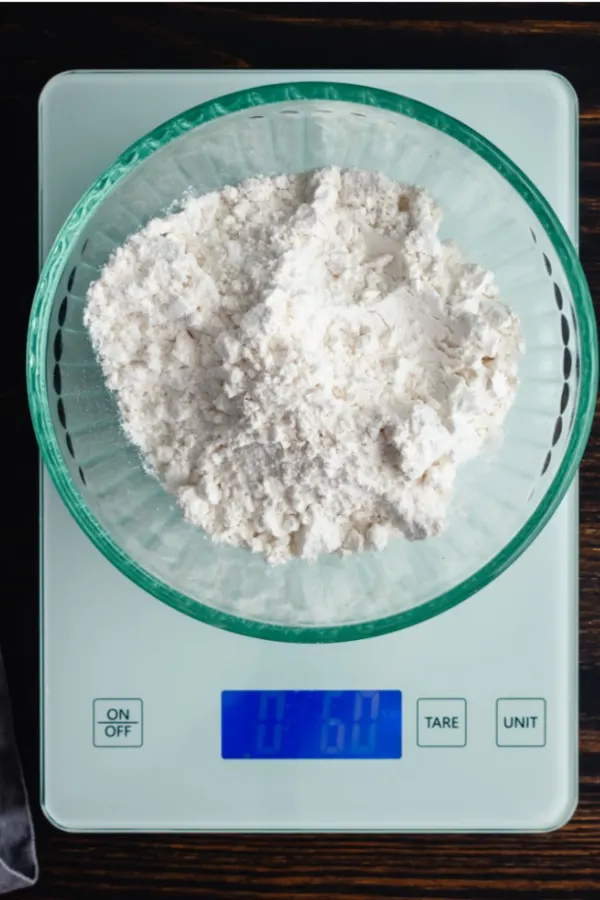
Use A Kitchen Scale
However, before getting to the instructions, I must first stress the importance in weighing the ingredients. Just like when you make Sourdough Starter, a kitchen scale is your best friend.
For this recipe, it’s crucial to weigh your flour, water, and sourdough starter. Measuring by tradtional measuring cups can lead to recipe variations and even disaster.
For example a packed cup of flour might weigh significantly more than a loosely scooped one. This can result in dry dough or a loaf that doesn’t rise properly.
Trust me, weighing your ingredients is worth the extra step because it ensures precise measurements, which is crucial for achieving the soft, consistent texture and perfect rise that makes this sourdough sandwich bread so great.
Active Sourdough Starter
To make this sourdough sandwich bread, you’ll need all-purpose flour, unsalted butter, sugar, fine sea salt, an active sourdough starter, and warm water. If you’re new to sourdough, “active” means your starter is bubbly and ready to use.
If your starter is sluggish, your dough will take much longer to rise, which can impact the final texture and flavor of your bread. To revive a sluggish starter, try feeding it with equal parts flour and water and keeping it in a warm spot for 4-6 hours until it becomes bubbly and active again.
Signs of an active starter include a doubled volume, a pleasant tangy aroma, and visible bubbles on the surface. To test to see if the starter is ready to use, place a small, pea-size portion into water. If it floats, it’s ready to use.
Sourdough Sandwich Bread Recipe
*Complete recipe instructions including specific measurements, cook temperatures and times are located in a printable recipe card at the bottom of this article. However, be sure to keep reading for helpful tips and tricks when making this recipe.
INGREDIENTS
- 500 g. all purpose flour (approximately 4 cups)
- 60 g. unsalted butter, softened, cut into cubes (4 tablespoons)
- 12 g. sugar (1 tablespoon)
- 9 g. fine sea salt (approximately 1 1/4 teaspoons)
- 150 g. bubbly, active sourdough starter (approximately 3/4 cup)
- 250 g. warm water (approximately 1 cup)
INSTRUCTIONS
Start by mixing the flour, butter, sugar, and salt in a stand mixer with the paddle attachment until the butter is no longer visible. Then, add your sourdough starter and warm water. Mix until the the flour is absorbed, scraping down the sides and the bottom of the bowl as necessary.
The dough will still be sticky at this point. Cover the top of the bowl with a damp towel and let the dough rest for 30 minutes. This rest period, called autolyse, which helps hydrate the flour and makes kneading easier.
After resting, switch to the dough hook attachment on your stand mixer and knead the dough on medium-low speed for 6-8 minutes. The dough should feel soft and will no longer be sticky. If it’s sticking to your hands or the sides of the bowl sprinkle in a little more flour and mix until it no longer sticks.
Don’t have a stand mixer? No problem. Knead the dough by hand on a lightly floured surface for about 8-10 minutes or until the dough achieves a smooth, elastic texture
Bulk Rise Your Sourdough Sandwich Bread Dough
Once kneaded, it’s time for the bulk rise. Transfer the dough to a flat bottom cylinder container. Mark the height of the dough by placing a large rubber band on the outside of the container. You can also use a dry erase marker to mark the height.
Let it rise overnight at room temperature. Depending on the temperature of your home, the rise time will vary. Therefore, if you are making the bread during warmer months, the rise time can significantly be reduced.
Continue to let the dough rise until it doubles in size. Then gently turn it out onto a lightly floured surface and press down on the dough to release any large air bubbles. Let the dough rest 5-10 minutes.
Pull The Dough
Shape the dough into a log. Then pull one end of the dough (out and upward) and place the end into the top center of the dough. Do the same thing with the other side.
Rotate the dough 1/4 of a turn and complete the process again, pulling each end into the center of the dough. Continue to rotate and complete the pulling of the dough 2 more times.
Shape the dough into the approximate size of your loaf pan.
Final Rise
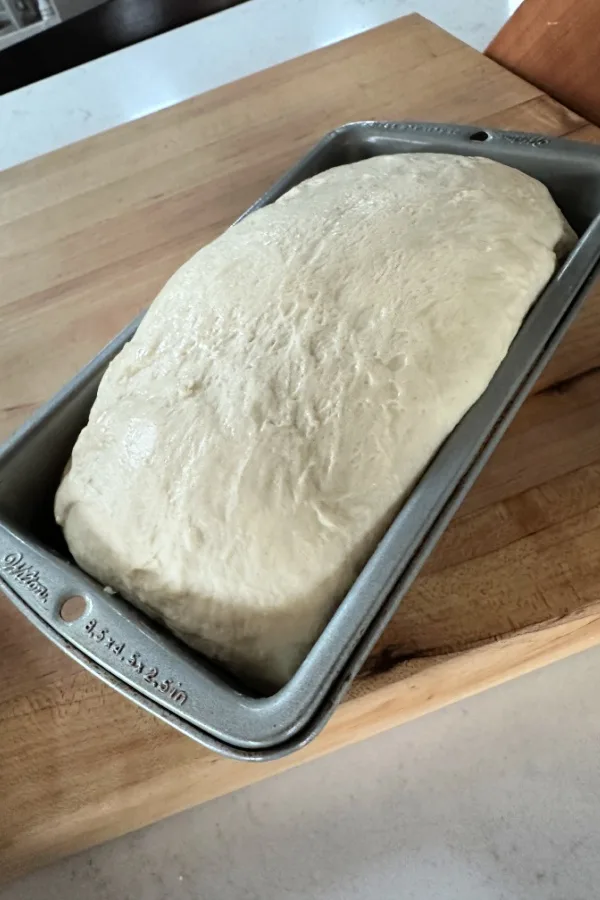
Carefully place the sourdough sandwich bread loaf into a buttered and floured 8.5×4-inch loaf pan. Cover the pan with plastic wrap that has been sprayed with non-stick cooking spray.
Let the dough rise again until the center is about 1 inch above the rim of the pan. This second rise typically takes 1½ to 3 hours but can vary based on the room temperature.
Baking Time
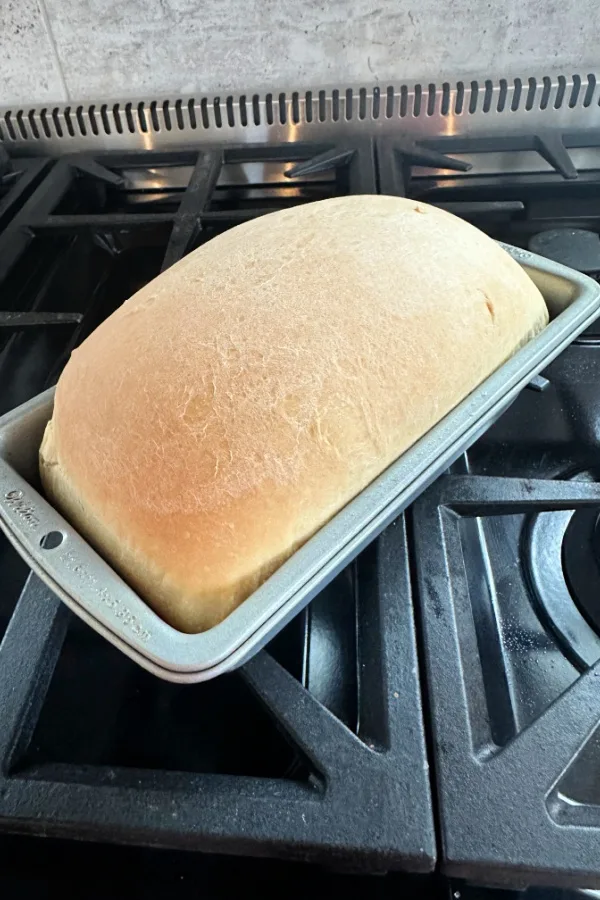
When the dough is ready, preheat your oven to 500°F and then reduce to 375°F once the bread goes in. Bake the loaf on the center rack for 45-50 minutes, or until it’s golden brown.
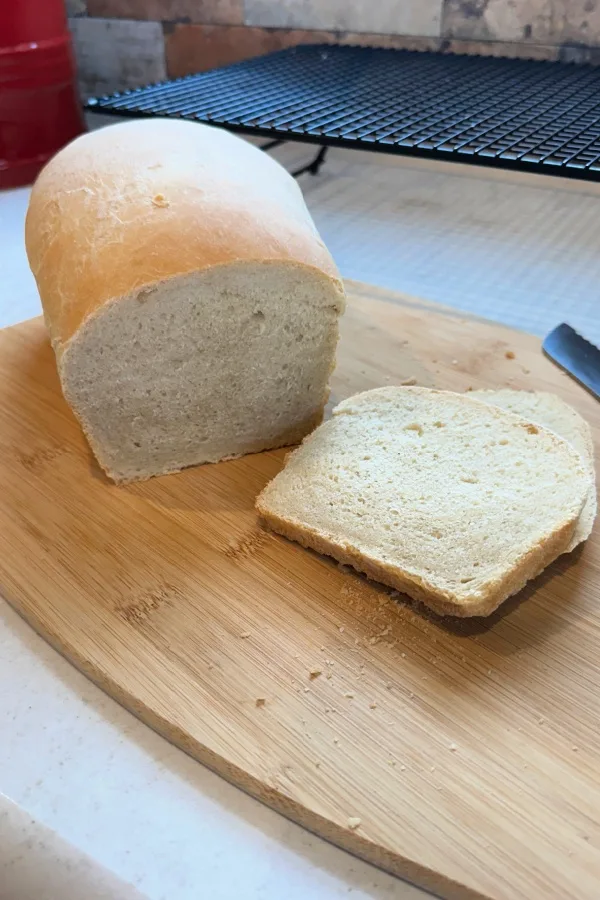
For additional assurance, check the bread’s internal temperature with a food thermometer; it should reach 190°F to 200°F for a fully baked loaf. Let the bread cool in the pan for at least 10 minutes before transferring it to a rack to cool completely. This cooling step is essential as cutting into hot bread can result in a gummy texture.
Vegan Option
For those who want to make this bread vegan, it’s an easy adjustment. Simply replace the butter with a plant-based butter alternative. The rest of the ingredients are already vegan-friendly, so there’s no need for further substitutions. The result is a loaf that’s just as soft and flavorful as the original.
Storing Your Sourdough Sandwich Bread
To keep your bread fresh, store it in a plastic bag at room temperature for up to three days. If you won’t finish it in time, slice and freeze the loaf.
Frozen slices can be toasted straight from the freezer for a quick breakfast or snack.
Sourdough baking is all about timing and temperature. So don’t be discouraged if your first attempt takes a little longer than expected. Adjust the rise times based on your environment, and remember that with a little practice you will have the perfect homemade sandwich bread.
Enjoy!
Mary and Jim

Jim and Mary Competti have been writing gardening, DIY and recipe articles and books for over 15 years from their 46 acre Ohio farm. The two are frequent speakers on all things gardening and love to travel in their spare time.
As always, feel free to email us at thefarm@owgarden.com with comments, questions, or to simply say hello! You can sign up for our free email list in the subscribe now box in the middle of this article. Follow us on Facebook here : OWG Facebook. This article may contain affiliate links.
Sourdough Sandwich Bread
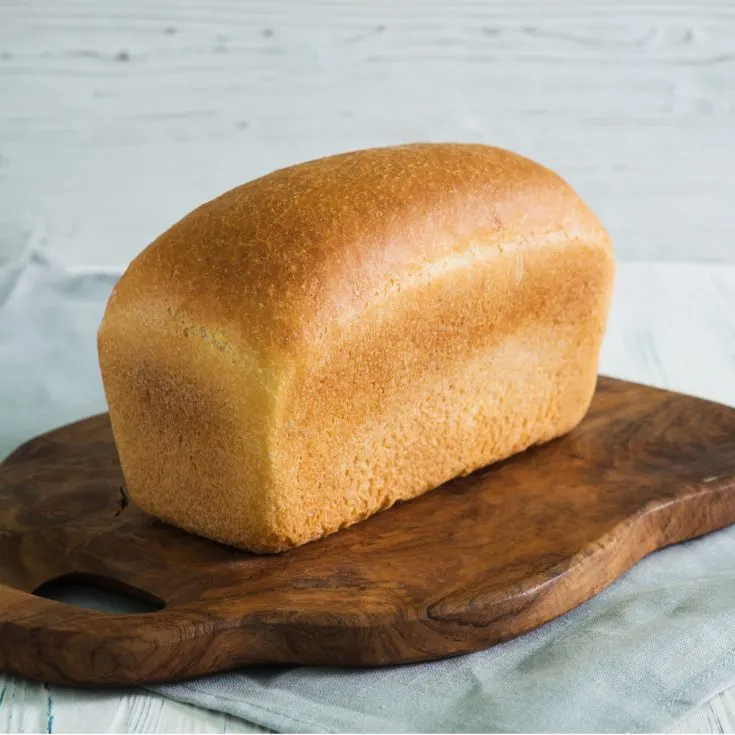
Sourdough bread that is made in a traditional loaf pan that is perfect for every day use. Slice it and use it for sandwiches, toast, grilled cheese and more!
Ingredients
- 500 g. all purpose flour (approximately 4 cups)
- 60 g. unsalted butter, softened, cut into cubes (4 tablespoons)
- 12 g. sugar (1 tablespoon)
- 9 g. fine sea salt (1 1/4 teaspoons)
- 150 g. bubbly, active sourdough starter (approximately 3/4 cup)
- 250 g. warm water (approximately 1 cup)
Instructions
- In a stand mixer fitted with the paddle attachment, add the flour, butter, sugar and salt. Mix on low speed until combined.
- Add the sour dough starter and warm water. Mix until the flour is fully absorbed, scraping down the sides and the bottom of the bowl as needed. The dough will be slightly sticky at this stage. Cover with a damp towel and let the dough rest for 30 minutes.
- After the dough has rested, switch to the dough hook and run the machine on medium-low power for 6-8 minutes. The dough will feel soft and supple and not stick to the bowl or your hands. If it does, add a dusting of flour and continue to mix until the dough is soft and can easily be handled without sticking to your hands.
*See note below if you don't have a stand mixer with a dough hook for kneading instructions.
Bulk Rise
- Place the dough in a flat cylinder container and mark the height of the dough with a rubber band or a dry erase marker on the outside of the container. Cover the bowl with a lid or damp towel and let rise overnight at room temperature (68 F) until double in size, about 10-12 hrs. If your home is warm, the rise time will be much quicker.
Shape the Dough
- When the dough doubles in size coat an 8.5 x 4 inch loaf pan with butter and then dust it with flour. Set aside.
- Remove the dough onto a lightly floured work surface. Gently flatten the dough to release any large air bubbles.
- Pull one side of the dough into the center. Do the same with the other side. Then rotate the dough 1/4 turn and pull each side into the center. Do this two more times, rotating the dough after the second fold. Let the dough rest for 5-10 minutes.
- With floured hands, gently shape the dough into the desired loaf pan shape. Then carefully transfer the dough and place it seam side down inside the prepared loaf pan.
Second Rise
- Cover the loaf pan with plastic wrap that has been sprayed with non-stick cooking spray. Let rest at room temperature until the center of the dough raises to about 1-inch above the rim of the loaf pan. This will take approximately 1 1/2-3 hours, depending on the temperature of your kitchen.
Bake the Dough
- Place your top oven rack in the lower center position, being sure that there is no rack above it. Then preheat the oven to 500°F. Once the oven preheats, immediately reduce the temperature to 375°F and place the loaf pan in the oven.
- Bake for about 45-50 minutes, or until golden brown and the bread is cooked through.
- Carefully remove the loaf pan from the oven and let it cool in the pan for 10 minutes. Then transfer the bread to a wire rack to cool completely.
- Let the bread cool completely before serving.
Notes
- Note: If you do not have a stand mixer, the dough can be kneaded by hand. Knead the dough on a lightly floured surface for 8-10 minutes, or until smooth, soft and elastic.
- This sandwich loaf will stay fresh for up to 3 days, stored in a plastic bag at room temperature.
Recipe courtesy of Old World Garden Farms
Nutrition Information:
Yield:
12Serving Size:
1 sliceAmount Per Serving: Calories: 214Total Fat: 5gSaturated Fat: 3gTrans Fat: 0gUnsaturated Fat: 2gCholesterol: 11mgSodium: 293mgCarbohydrates: 38gFiber: 2gSugar: 1gProtein: 5g
Nutritional Information is to be used as a general guideline only . Nutritional calculations will vary from the types and brands of the products used.

