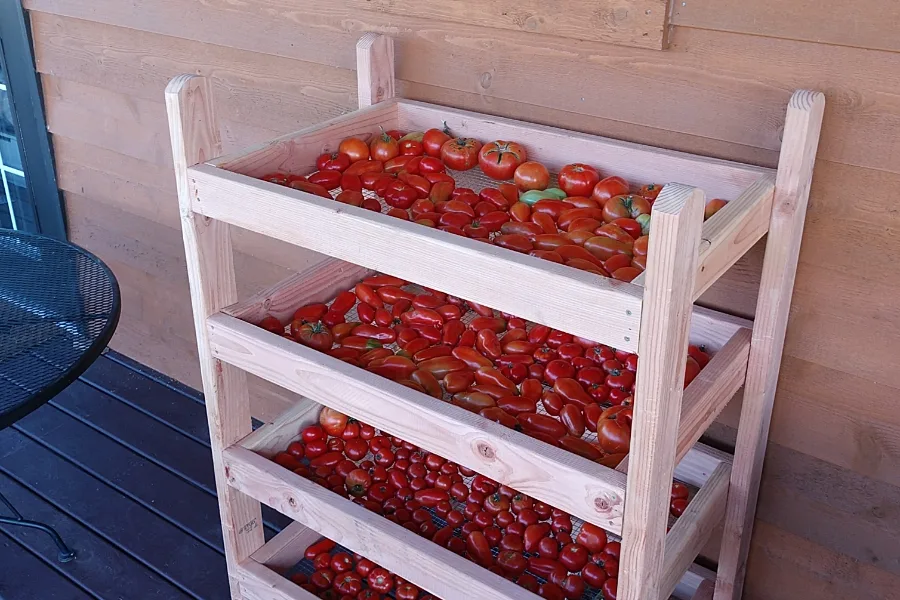
If you are looking for a simple, efficient way to ripen, dry or cure fresh produce coming from your garden, building your own 2×4 harvest rack might just be the ticket!
Go into the home of any avid gardener during harvest season, and you will likely encounter vegetables everywhere. And we mean everywhere!
On the counter, on tables, on the back porch, and even in the garage or basement. The simple truth is, when harvest season hits, vegetables come on fast.
And unfortunately, it can be difficult finding space to keep them all ripening and safe. Especially if you are waiting for enough produce to can or preserve. See: How To Preserve The Garden By Freezing, Canning & Drying
Using The 2×4 Harvest Rack
We know the scenario of overflowing vegetables stashed anywhere and everywhere all too well. We have used kitchen tables, patio tables, benches and every open countertop we could find to keep a harvest.
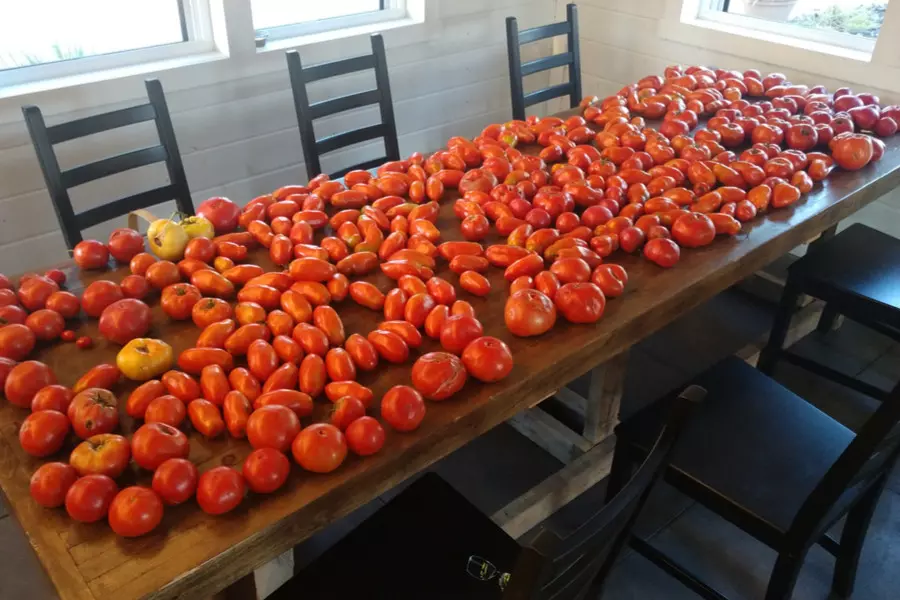
Especially when it came to finding space for our tomatoes to ripen off the vine. So to help, a few years back, we created a small table top harvest rack from hardware cloth and a 2×4 frame.
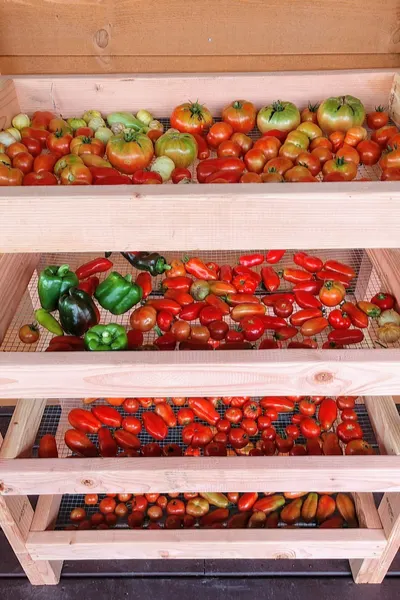
We were pleasantly surprised how well it worked. The open grid of the hardware cloth worked perfectly for ripening and drying vegetables. allowing air to circulate around the vegetables.
But unfortunately, the single frame simply wasn’t large enough to handle all of our harvest. Inevitably, we would still end up with vegetables eventually covering the kitchen table and countertops.
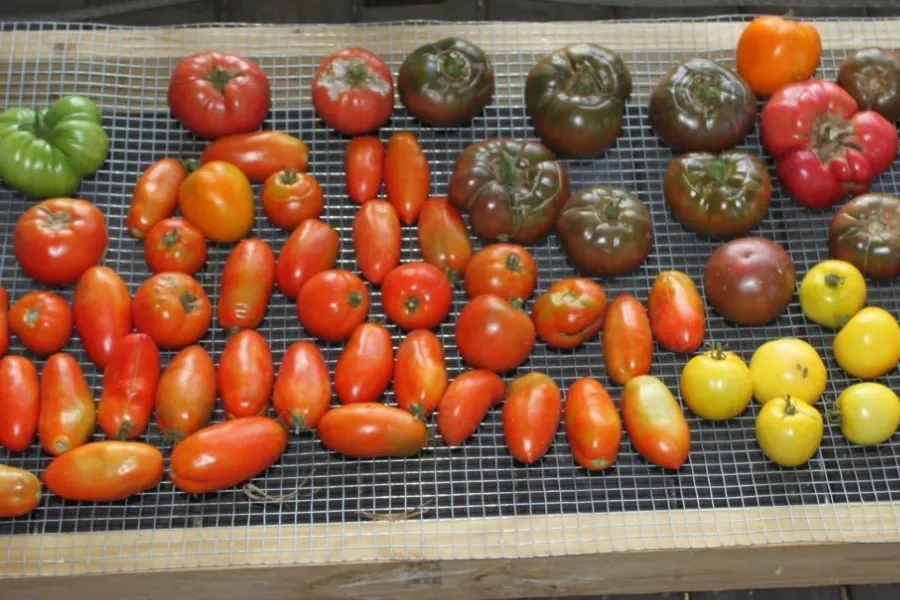
So this year, we decided to expand the rack with an entire shelf, and has it ever worked wonders!
It not only helps keep our harvest storage more organized, the multiple shelves and open air of the hardware cloth is working like magic as well for fast ripening of our tomatoes.
Creating Our (4) Shelf 2×4 Harvest Rack
2×4 Harvest / Drying Rack Details
The drying rack is extremely easy to build using just a few basic materials and tools. We created our entire rack from just (7) 2x4x8’s, a 2′ x 25′ roll of hardware cloth, and a single 1 x 8′ furring strip. As for tools, it’s pretty easy to assemble with a basic saw and a staple gun.
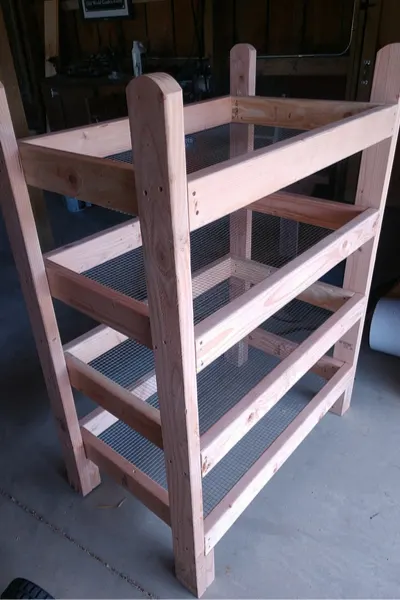
At just a bit over 3′ wide and 2′ deep, it fits into small spaces. But with 4 separate racks, it has 24′ square feet of space for ripening and drying. It can also easily be modified if larger or more racks are needed.
To build it, we used the same stacked leg method as we do for our DIY tables and potting bench. Not only are they extremely strong, but they make assembly a cinch too.
For any one wanting the complete detailed plans, we did upload and include them in our Etsy Plans shop. See: Step By Step Harvest Rack Plans
Perhaps best of all, when it’s not in use, we’ll keep our 2×4 Harvest Rack in the garden shed to store our summer pots and hanging basket containers. And who cant use extra shelves in a garage, barn or garden shed for that!
Happy Gardening – Jim and Mary
Jim and Mary Competti have been writing gardening, DIY and recipe articles and books for over 15 years from their 46 acre Ohio farm. The two are frequent speakers on all things gardening and love to travel in their spare time.
As always, feel free to email us at thefarm@owgarden.com with comments, questions, or to simply say hello! You can sign up for our free email list in the subscribe now box in the middle of this article. Follow us on Facebook here : OWG Facebook. This article may contain affiliate links.
