
Wondering what to do with your fading hostas in late September?
By late September, hostas can look like they’ve had a rough season. Leaves that were full and beautiful in spring may now be torn, chewed, spotted or faded. Some clumps have grown so large that they crowd neighboring plants and leave bare spots in the middle.
The good news is that you don’t have to leave them looking that way all fall. Late September is a great time to clean up tired foliage and divide overgrown plants. Both jobs can make your flowerbeds look better now while helping your hostas head into next spring in great shape.
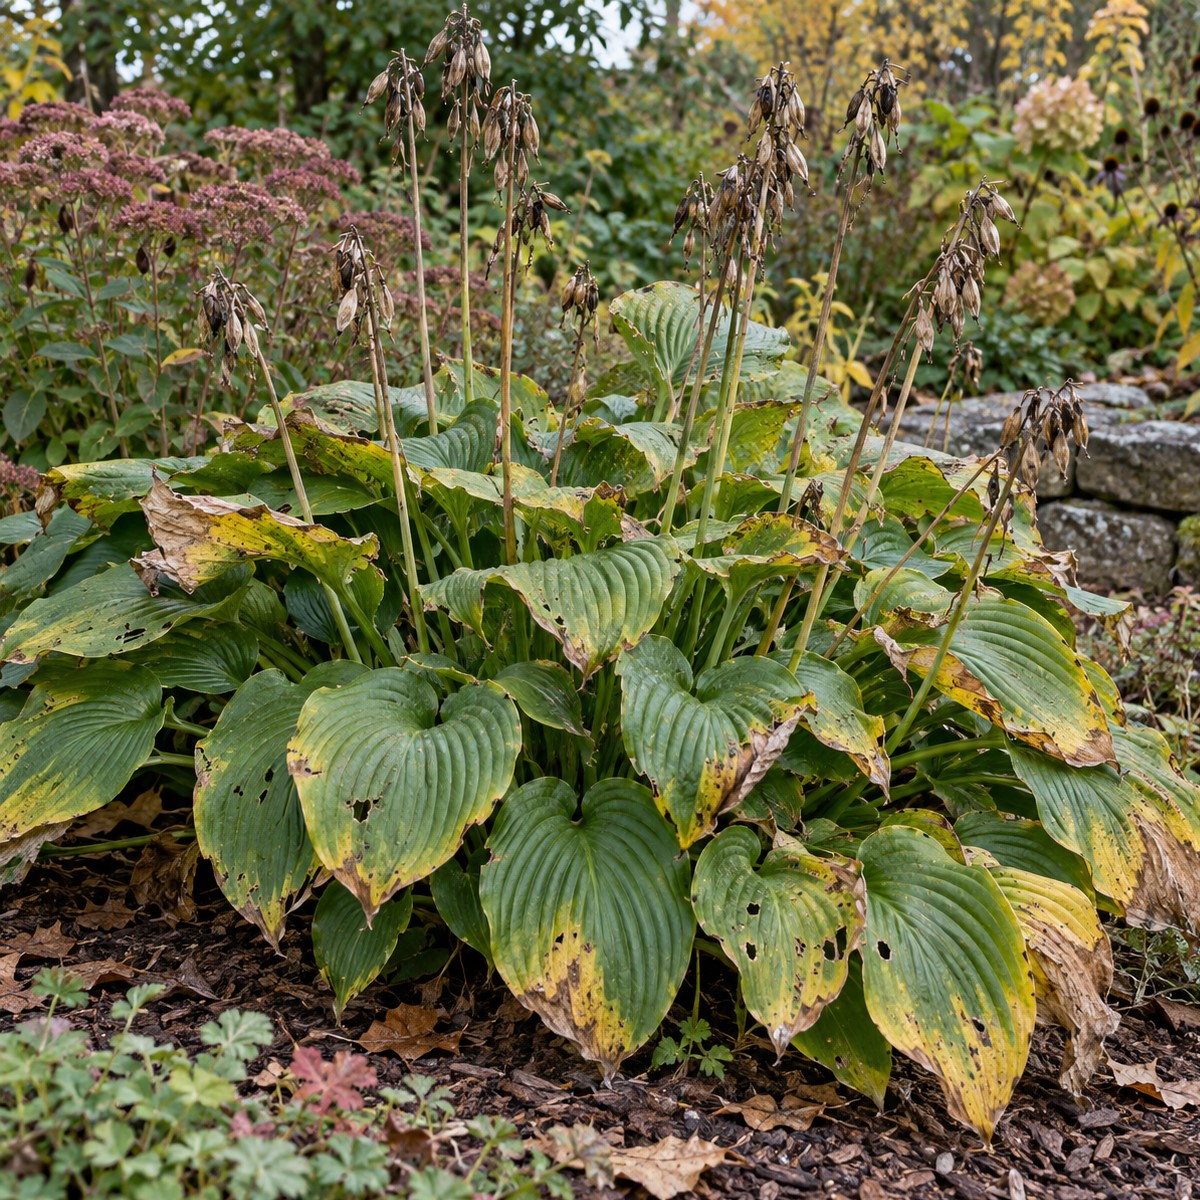
What To Do For Hostas In Late September
1. Cut Back Tattered And Pest-Damaged Foliage
Hosta leaves take a beating over the course of a growing season. Slugs and insects leave holes behind, summer heat browns the edges, and storms can tear large leaves apart. By early fall, even a healthy hosta may look worn out.
You can remove those damaged leaves without hurting the plant. Use clean pruners to cut individual leaves near the base of their stems. If most of a clump looks bad, you can cut the entire plant back to a few inches above the soil.
Hostas store the energy they need for next year in their roots and crowns. Cutting back battered foliage in late September won’t stop a healthy, established plant from returning in spring. When conditions are mild, it may even send up fresh leaves that give the bed a cleaner look for the remainder of fall.
Don’t worry if new leaves don’t appear before frost. At that point in the season, some hostas are already slowing down and preparing for dormancy. The cleanup still removes unsightly foliage and gives you a head start on tidying the bed.
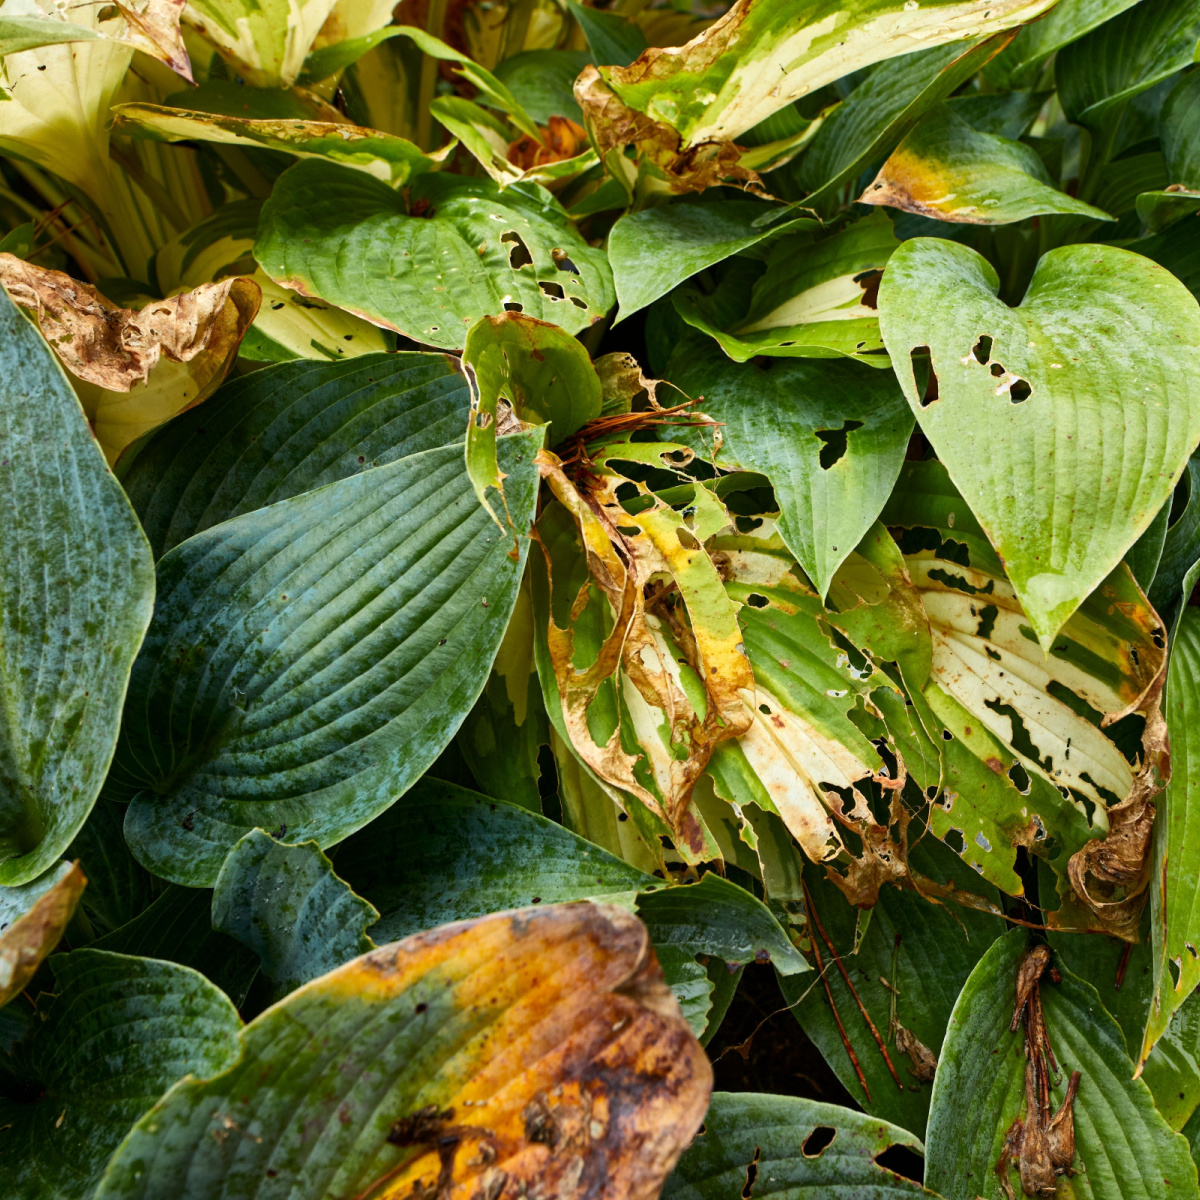
Collect the leaves after cutting, especially if they have spots or signs of pest damage. Removing that debris leaves fewer places for slugs to hide around the crown. Take care not to cut into the crown itself – that’s where next year’s growth will emerge.
2. Dividing Hostas In Late September That Have Outgrown Their Space
A hosta that once fit perfectly in a flowerbed can become a massive clump over time. Its leaves may spill over a path, cover smaller plants or crowd another hosta. Older clumps can also develop a sparse center, making them look less full than they once did.
Late September gives you a chance to turn one overgrown hosta into several new plants. The soil is often still warm enough for root growth, while cooler days put less stress on divisions than the heat of summer. This is actually true for many of the perennials in your flowerbeds. See our article: The Best Perennials To Divide In The Fall – And How To Do It To Get Free Plants!
Start by watering the hosta a day before you plan to divide it. Then dig around the outside of the clump and lift as much of the root system as you can. Shake or rinse away enough soil to see where the plant can be separated. A small clump may pull apart by hand; a large one may need a sharp spade or garden knife.
Make sure each new section has several healthy shoots or buds and a good portion of roots. You can make a few large divisions for an immediate, full look, or create more smaller plants to fill empty spaces elsewhere in your beds.


Give New Divisions A Strong Start
Replant your hostas as soon as you divide them so the roots don’t dry out. Set each division at the same depth it grew before, with the crown near the soil surface. Firm the soil gently around the roots, then water thoroughly to settle it.
Keep the soil evenly moist while the divisions establish. Fall rain may do much of that work for you, but check the soil during dry stretches. A light layer of mulch can help hold moisture and moderate soil temperatures. Keep the mulch pulled back from the crowns rather than piling it directly on top.
Dividing in late September can give hostas several weeks to put down roots before the ground freezes in many areas. Some divisions may also produce a little fresh foliage. Even if they don’t, root growth now helps them get off to a strong start next spring.
Timing matters, especially where hard freezes arrive early. Aim to divide hostas about four to six weeks before the ground typically freezes in your area. If that window has already passed, save the dividing for spring and focus on removing damaged leaves for now.
Skip The Late-Fall Fertilizer
After cutting back or dividing a hosta, it can be tempting to give it fertilizer for a boost. In late fall, that’s a job to skip.
Hostas are preparing to go dormant as temperatures fall. Fertilizer can encourage tender new growth at a time when a hard frost may be close. What freshly divided hostas need most is good contact between their roots and the soil, along with consistent moisture while those roots settle in.
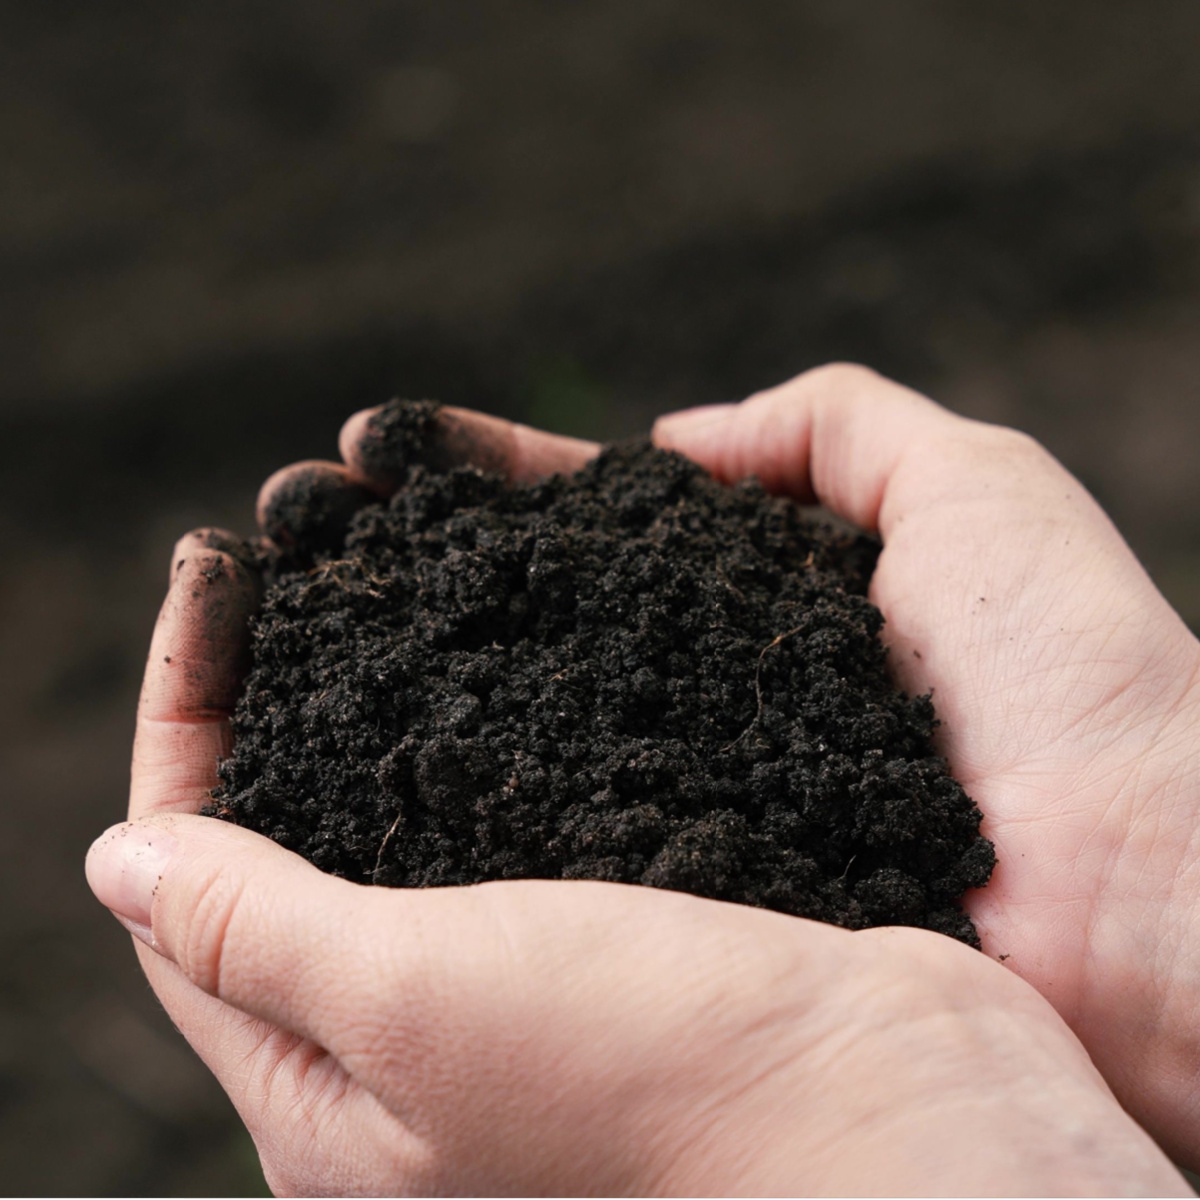
If you want to improve the soil, mix a little finished compost into the planting area when you divide. Then wait until spring, when new shoots begin to emerge, to consider whether your hostas need additional feeding. Affiliate Link: R&M Organics Compost Soil Amendment Fertilizer for Garden Plants & Lawns
Late September hosta care doesn’t have to be complicated. Trim away the leaves that have seen better days, divide the clumps that have grown too large, and keep new plantings watered. Your beds will look tidier this fall – and you’ll have even more hostas to enjoy next year! Happy Gardening – Jim & Mary.
The Farm @ Old World Garden
Jim and Mary Competti have been writing gardening, DIY and recipe articles and books for over 16 years from their 46 acre Ohio farm. The two are frequent speakers on all things gardening and love to travel in their spare time.
As always, feel free to email us at thefarm@owgarden.com with comments, questions, or to simply say hello! You can sign up for our free email list in the subscribe now box in the middle of this article. Follow us on Facebook here : OWG Facebook. This article may contain affiliate links.