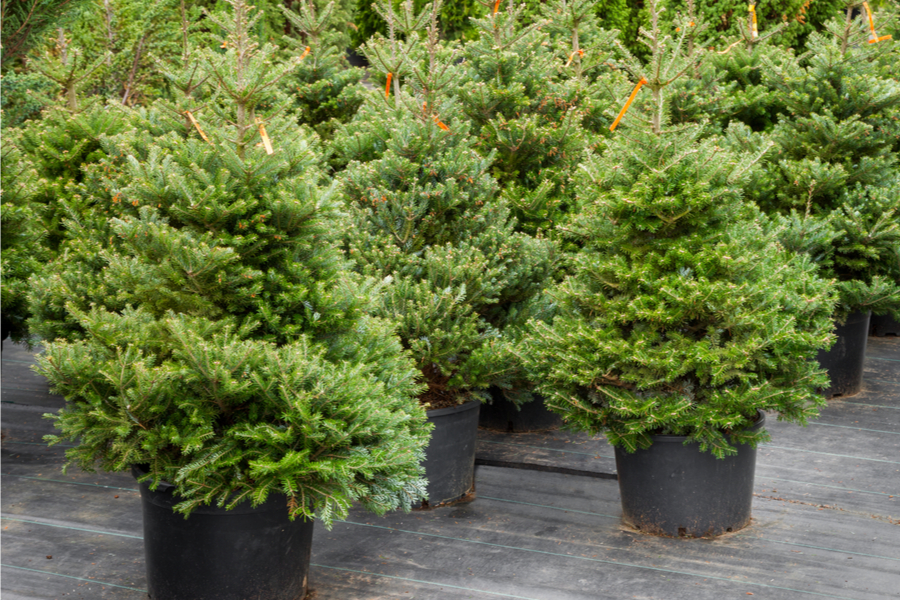
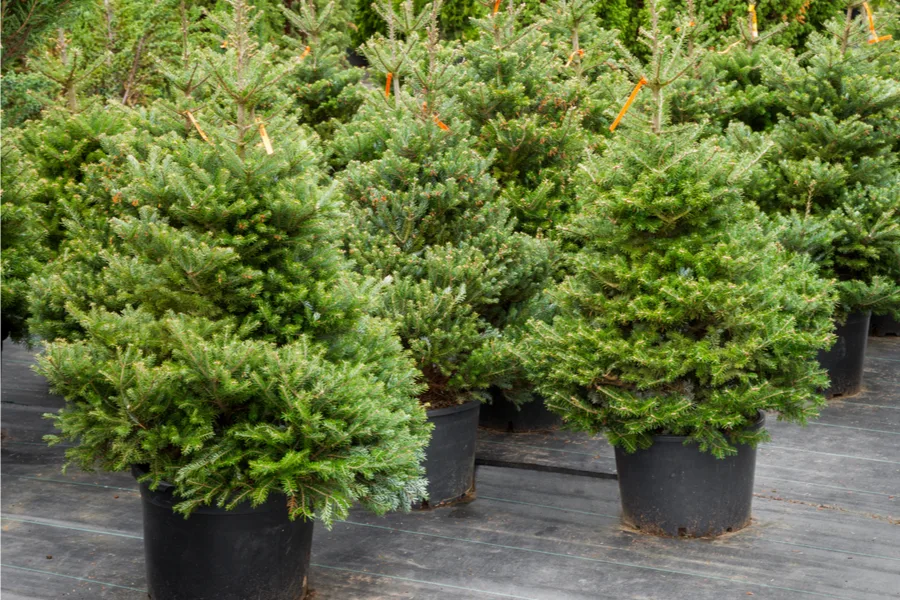
How To Keep A Live Christmas Tree Healthy – Before, During & After Christmas!
If you are considering purchasing a live Christmas tree this year to celebrate the season, there are a few key tips and tricks to make it sure it can stay …
If you are considering purchasing a live Christmas tree this year to celebrate the season, there are a few key tips and tricks to make it sure it can stay …
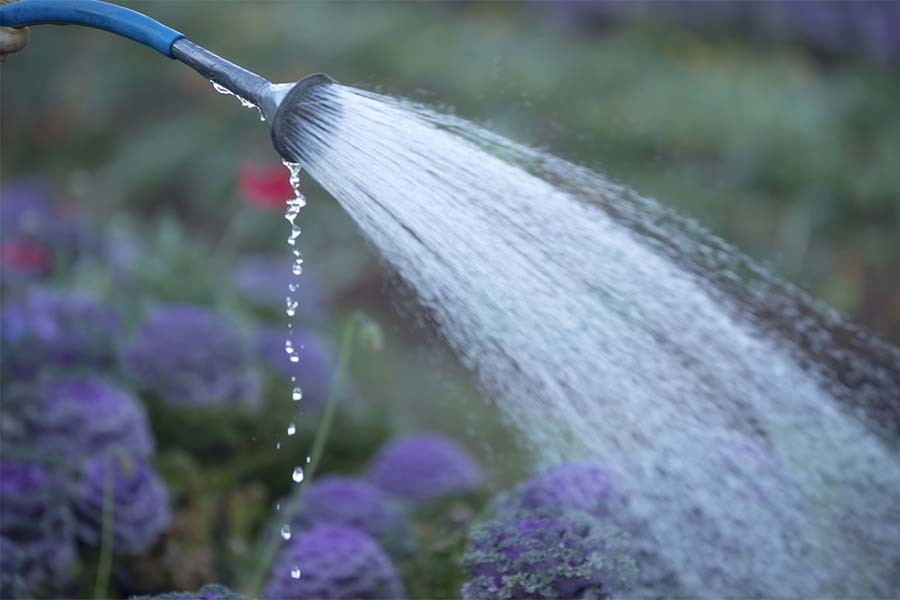

Creating A Simple, Inexpensive Way To Collect Rainwater When we first started our little “farm” back in 2010, we had little to work with. No house, no electricity, and no on-site …
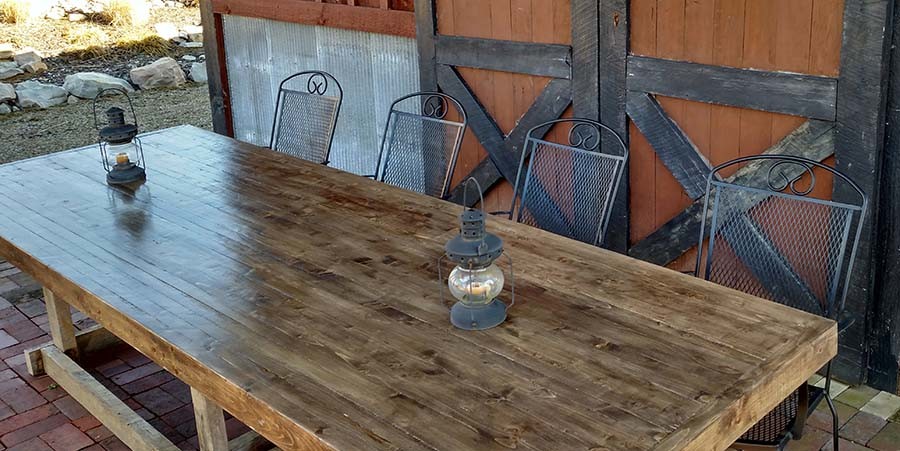
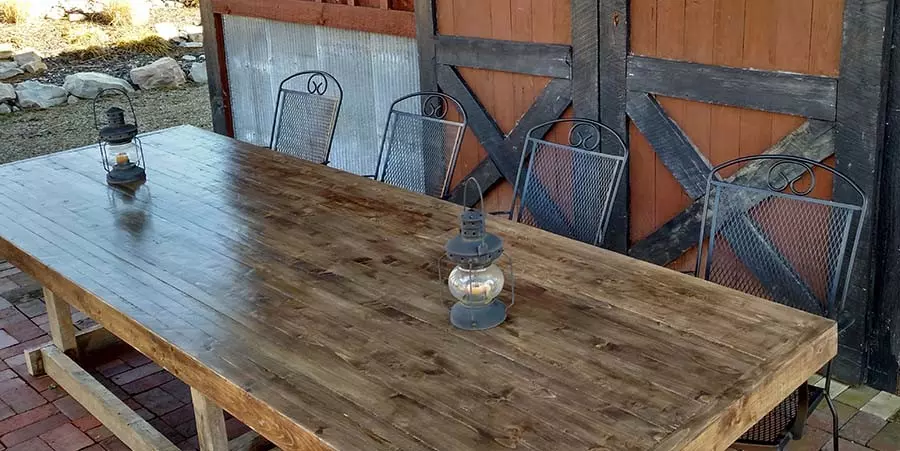
This 2 x 4 farm table is the perfect weekend DIY project for those looking to make their own kitchen or harvest table. It’s simple to build, durable, and best of all, it’s …
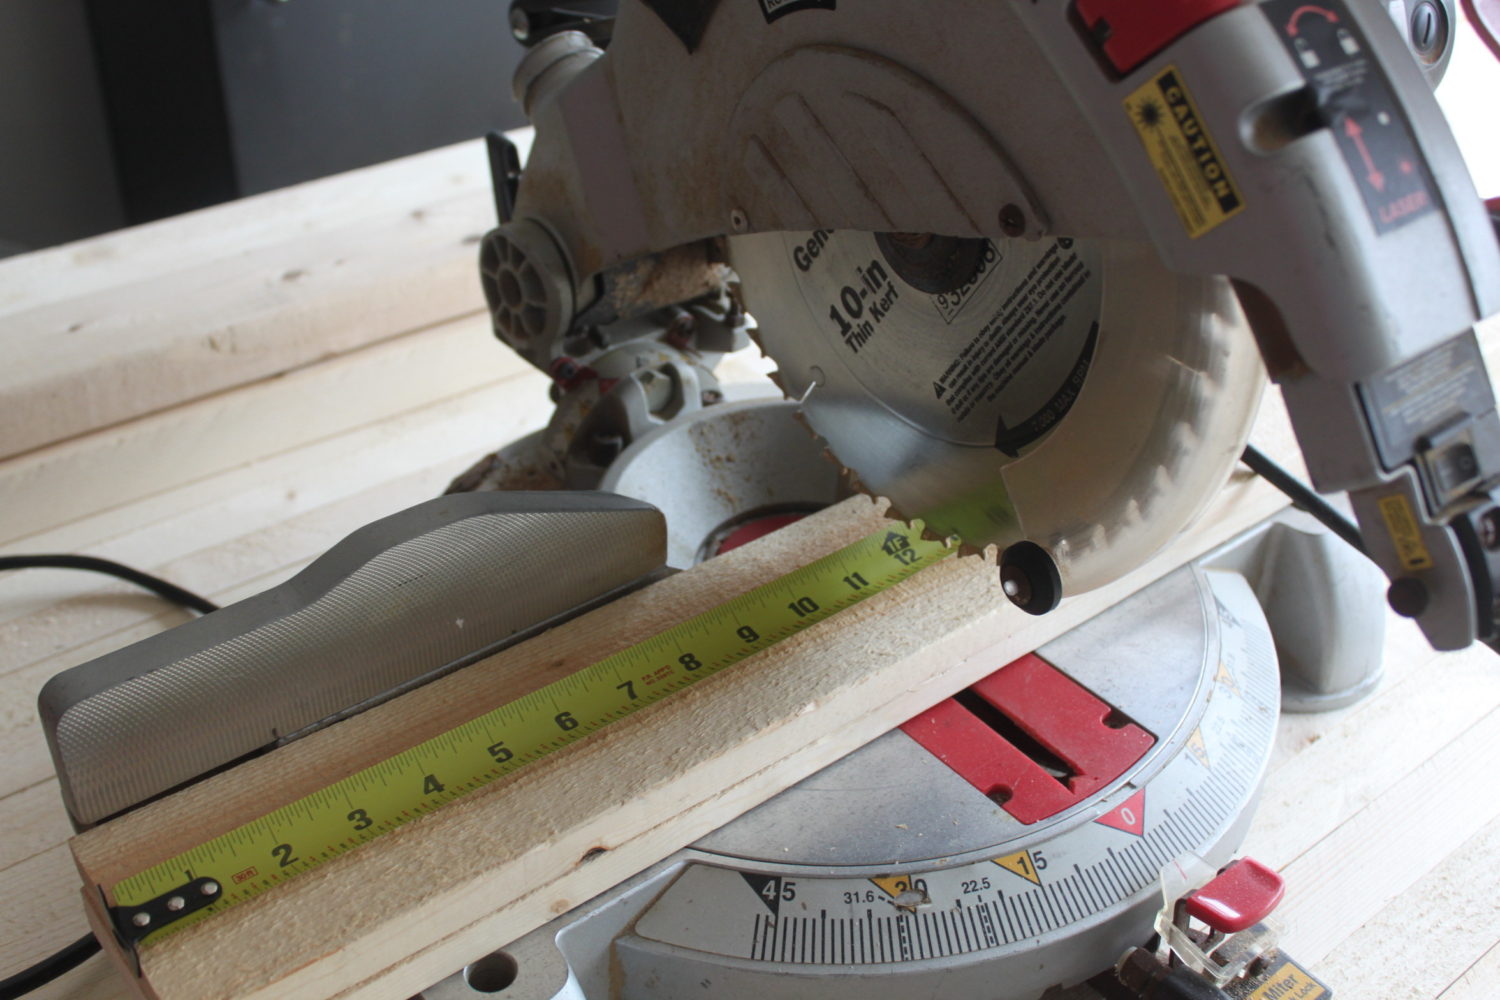
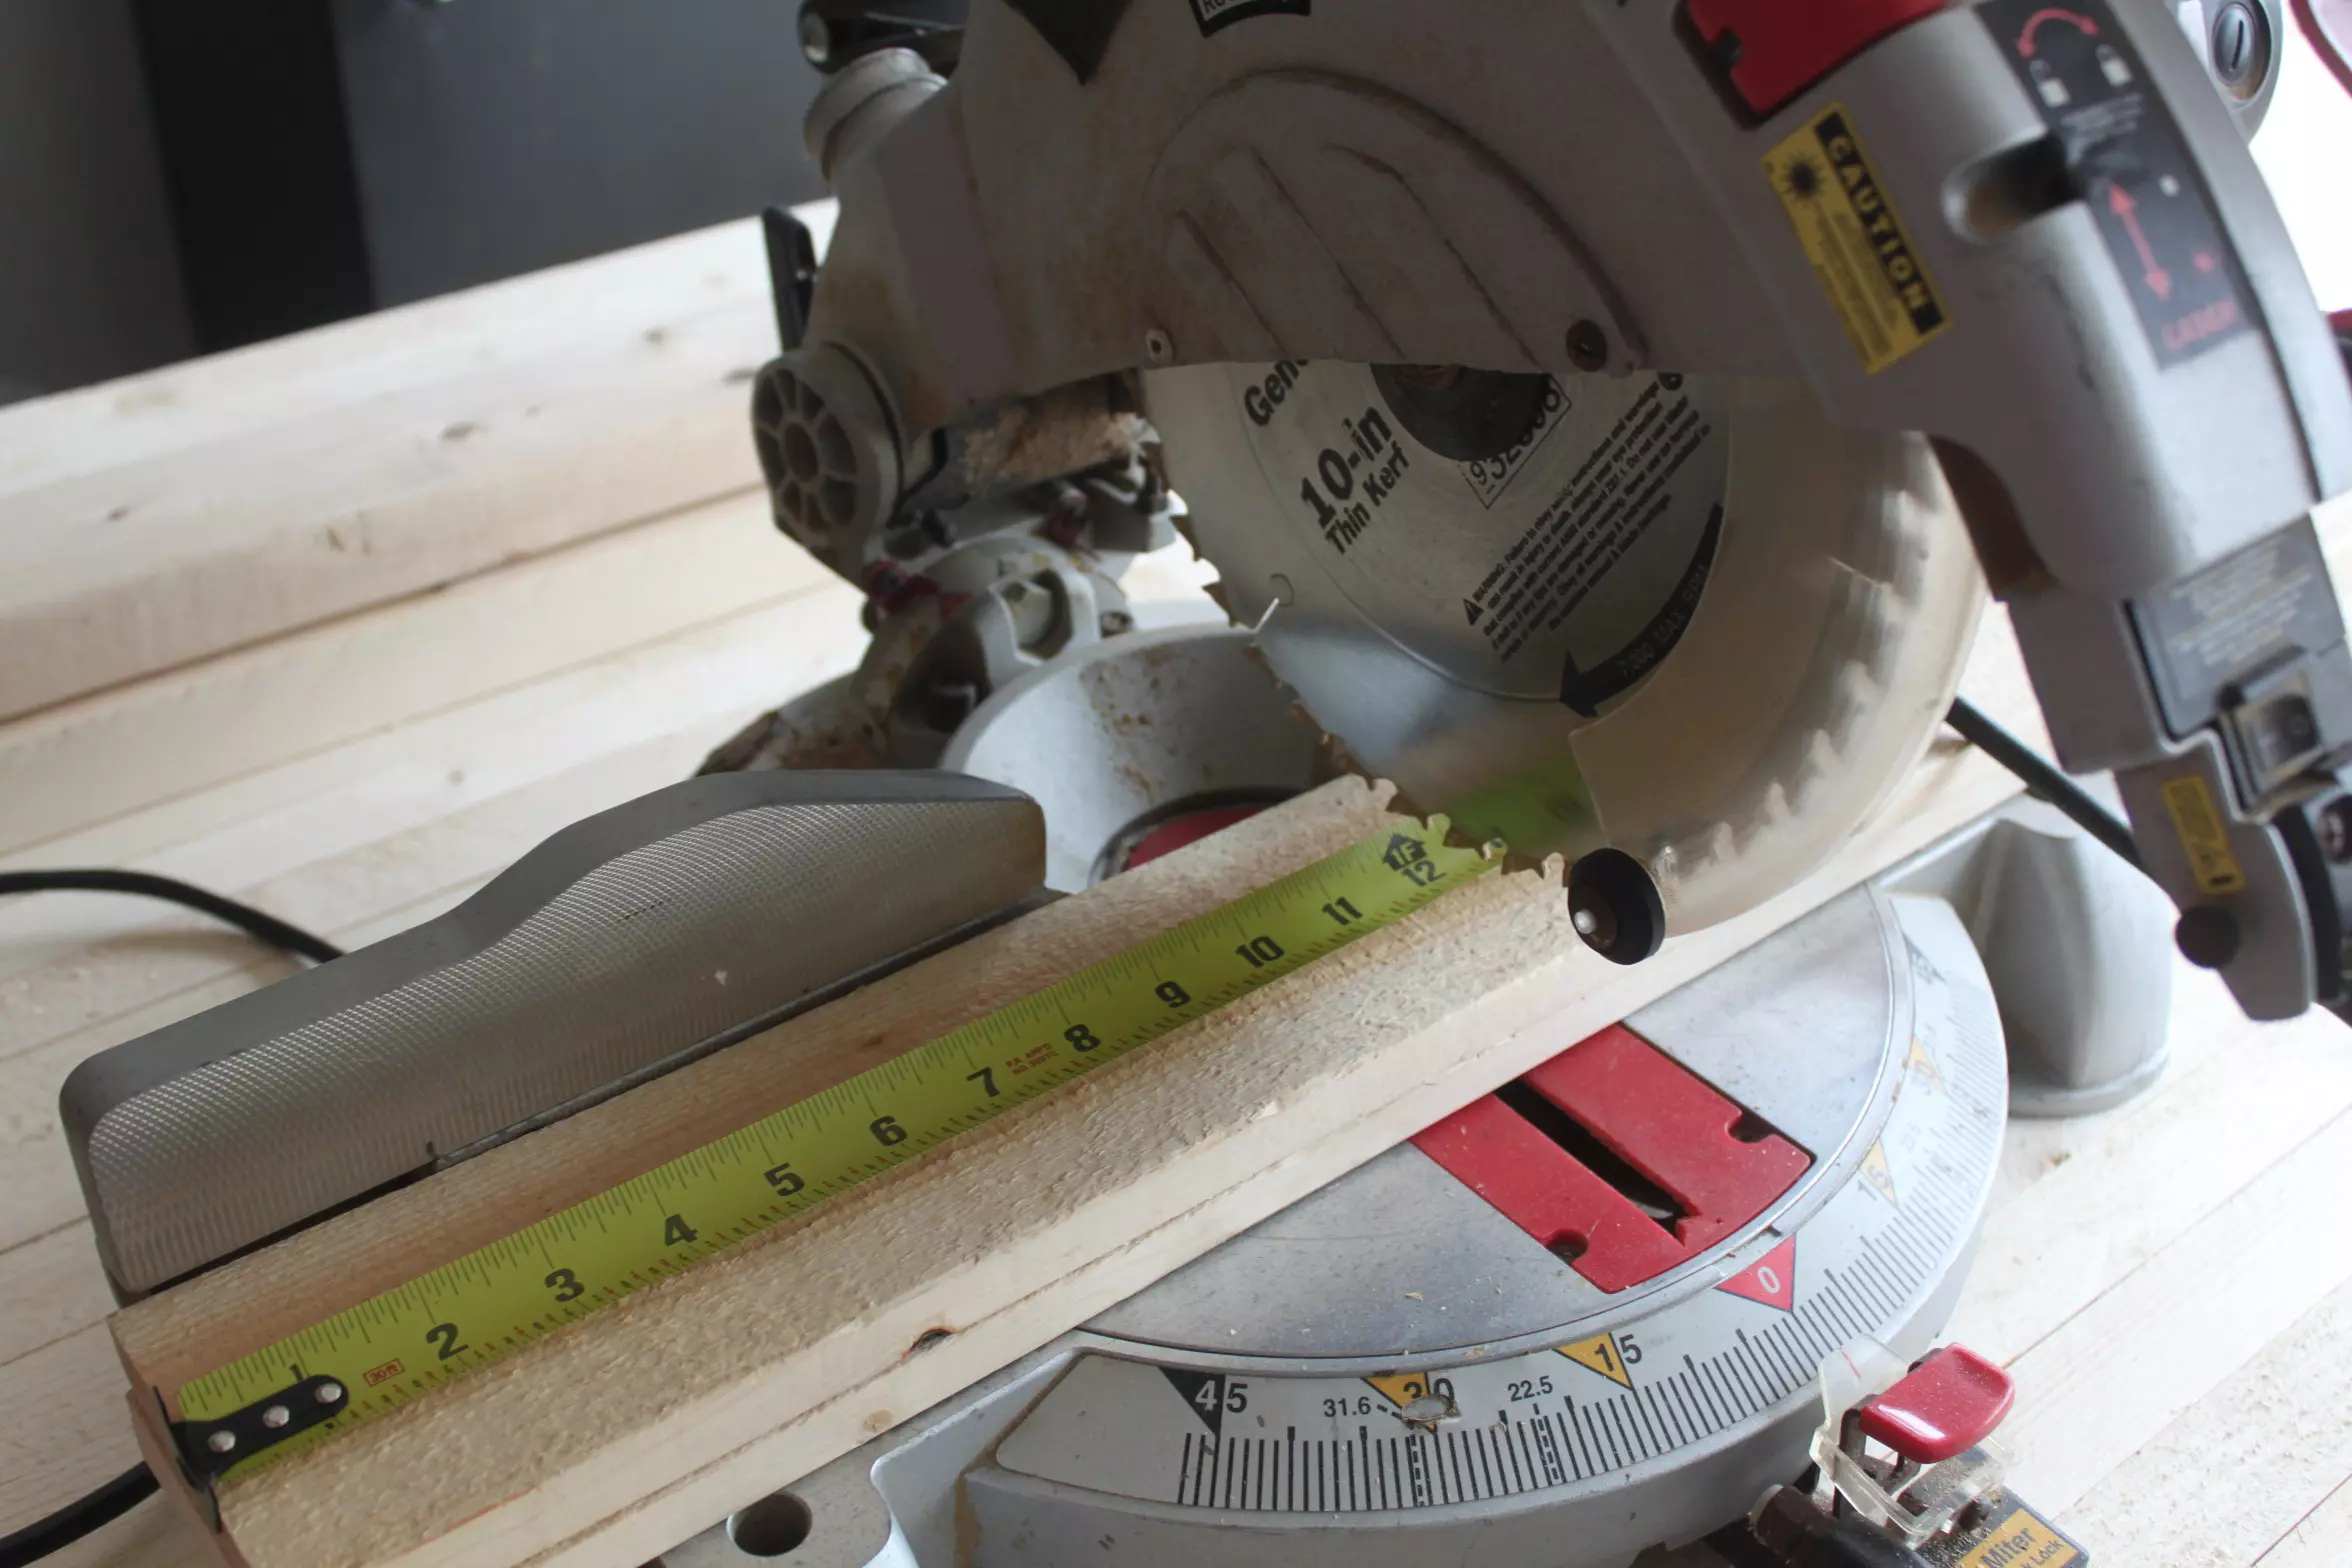
When it comes right down to it, the majority of our farm has been built from scratch with the aid of 6 main power tools. During past 5 and a half years …

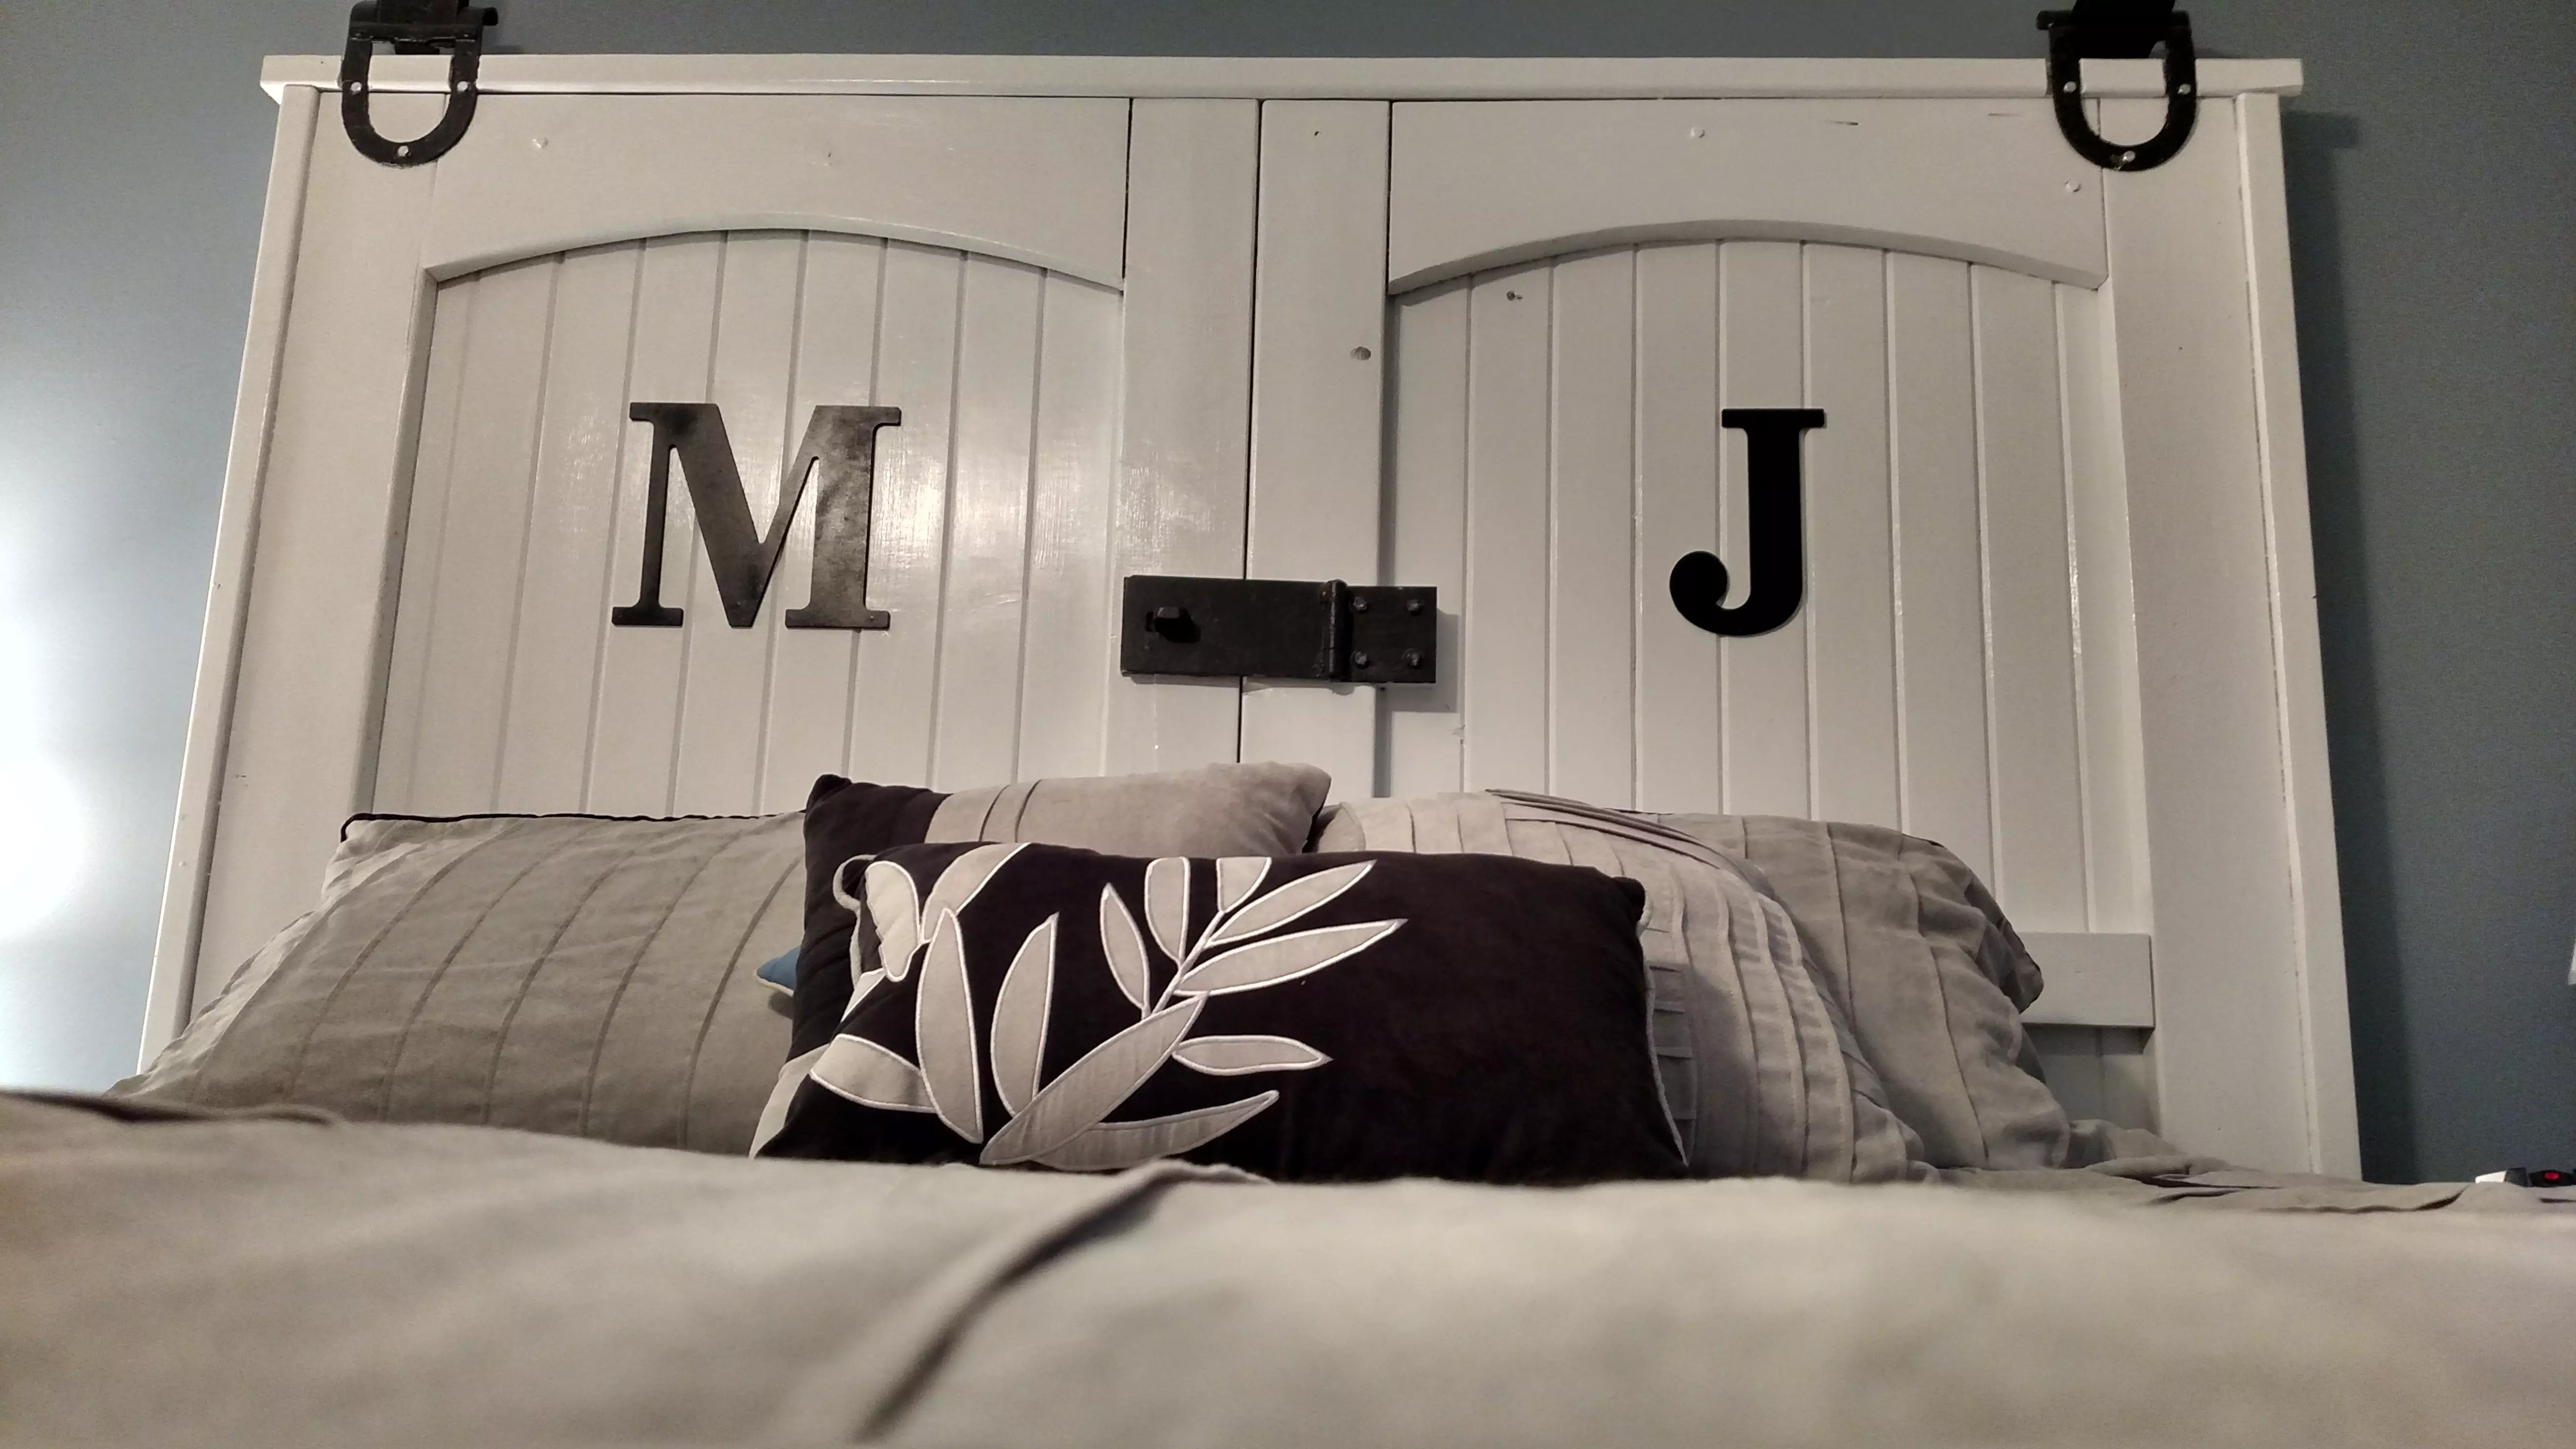
Whether you want to redecorate your room or your whole house – you don’t have to break the bank to do it. With a little leg work, you can salvage, recycle …
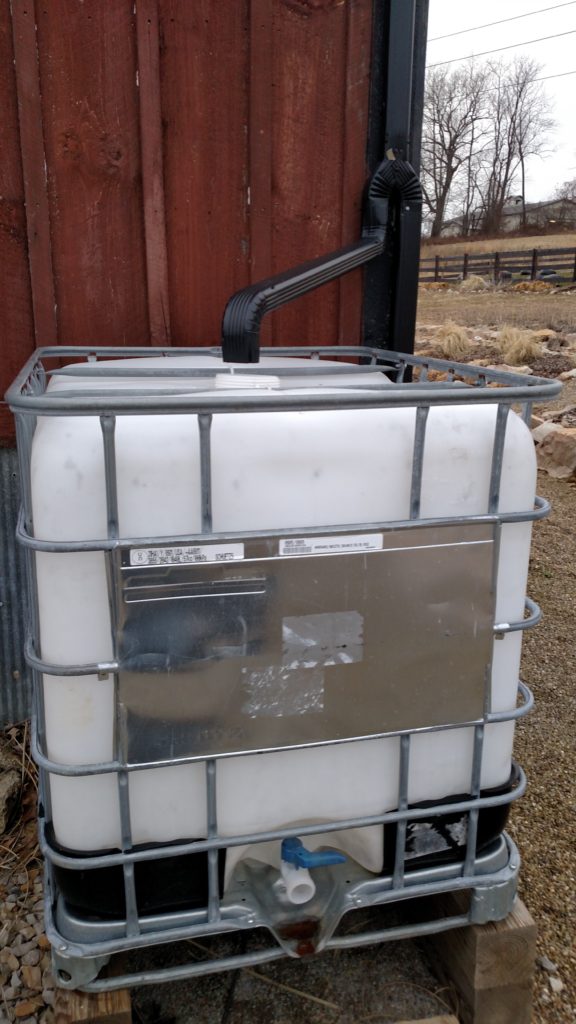

When we first began to clear the land for our little farm in the fall of 2010 – one of our biggest concerns was water – or should I say, …


With Christmas just a few months away – now is a great time to start thinking about what to get those “hard to buy for” friends and family. Here’s a great …
Visitors to the farm are usually surprised to learn that we water the entire garden and landscape with only the water from our rain water collection system. Our system, which …
Our living room also doubles as our home office area. It seems like there is never enough space to organize our own work – let alone the homework assignments and …
With the ever-increasing popularity of turning old into new again, re-purposing and upcycling have become great ways to redecorate and furnish on a budget – all while keeping our landfills …